
What does my housing have that your does not?
I guess lookig at the title image you may spot two small differences.
Those parts are installed.

You will have noticed that your housing does not have a screw hole to mount a ball to put your monitor or focus light.
What you need to do is to remove one of those from the handle plates.

You can then install the M5 ball so that you can use it to put the accessory you need.
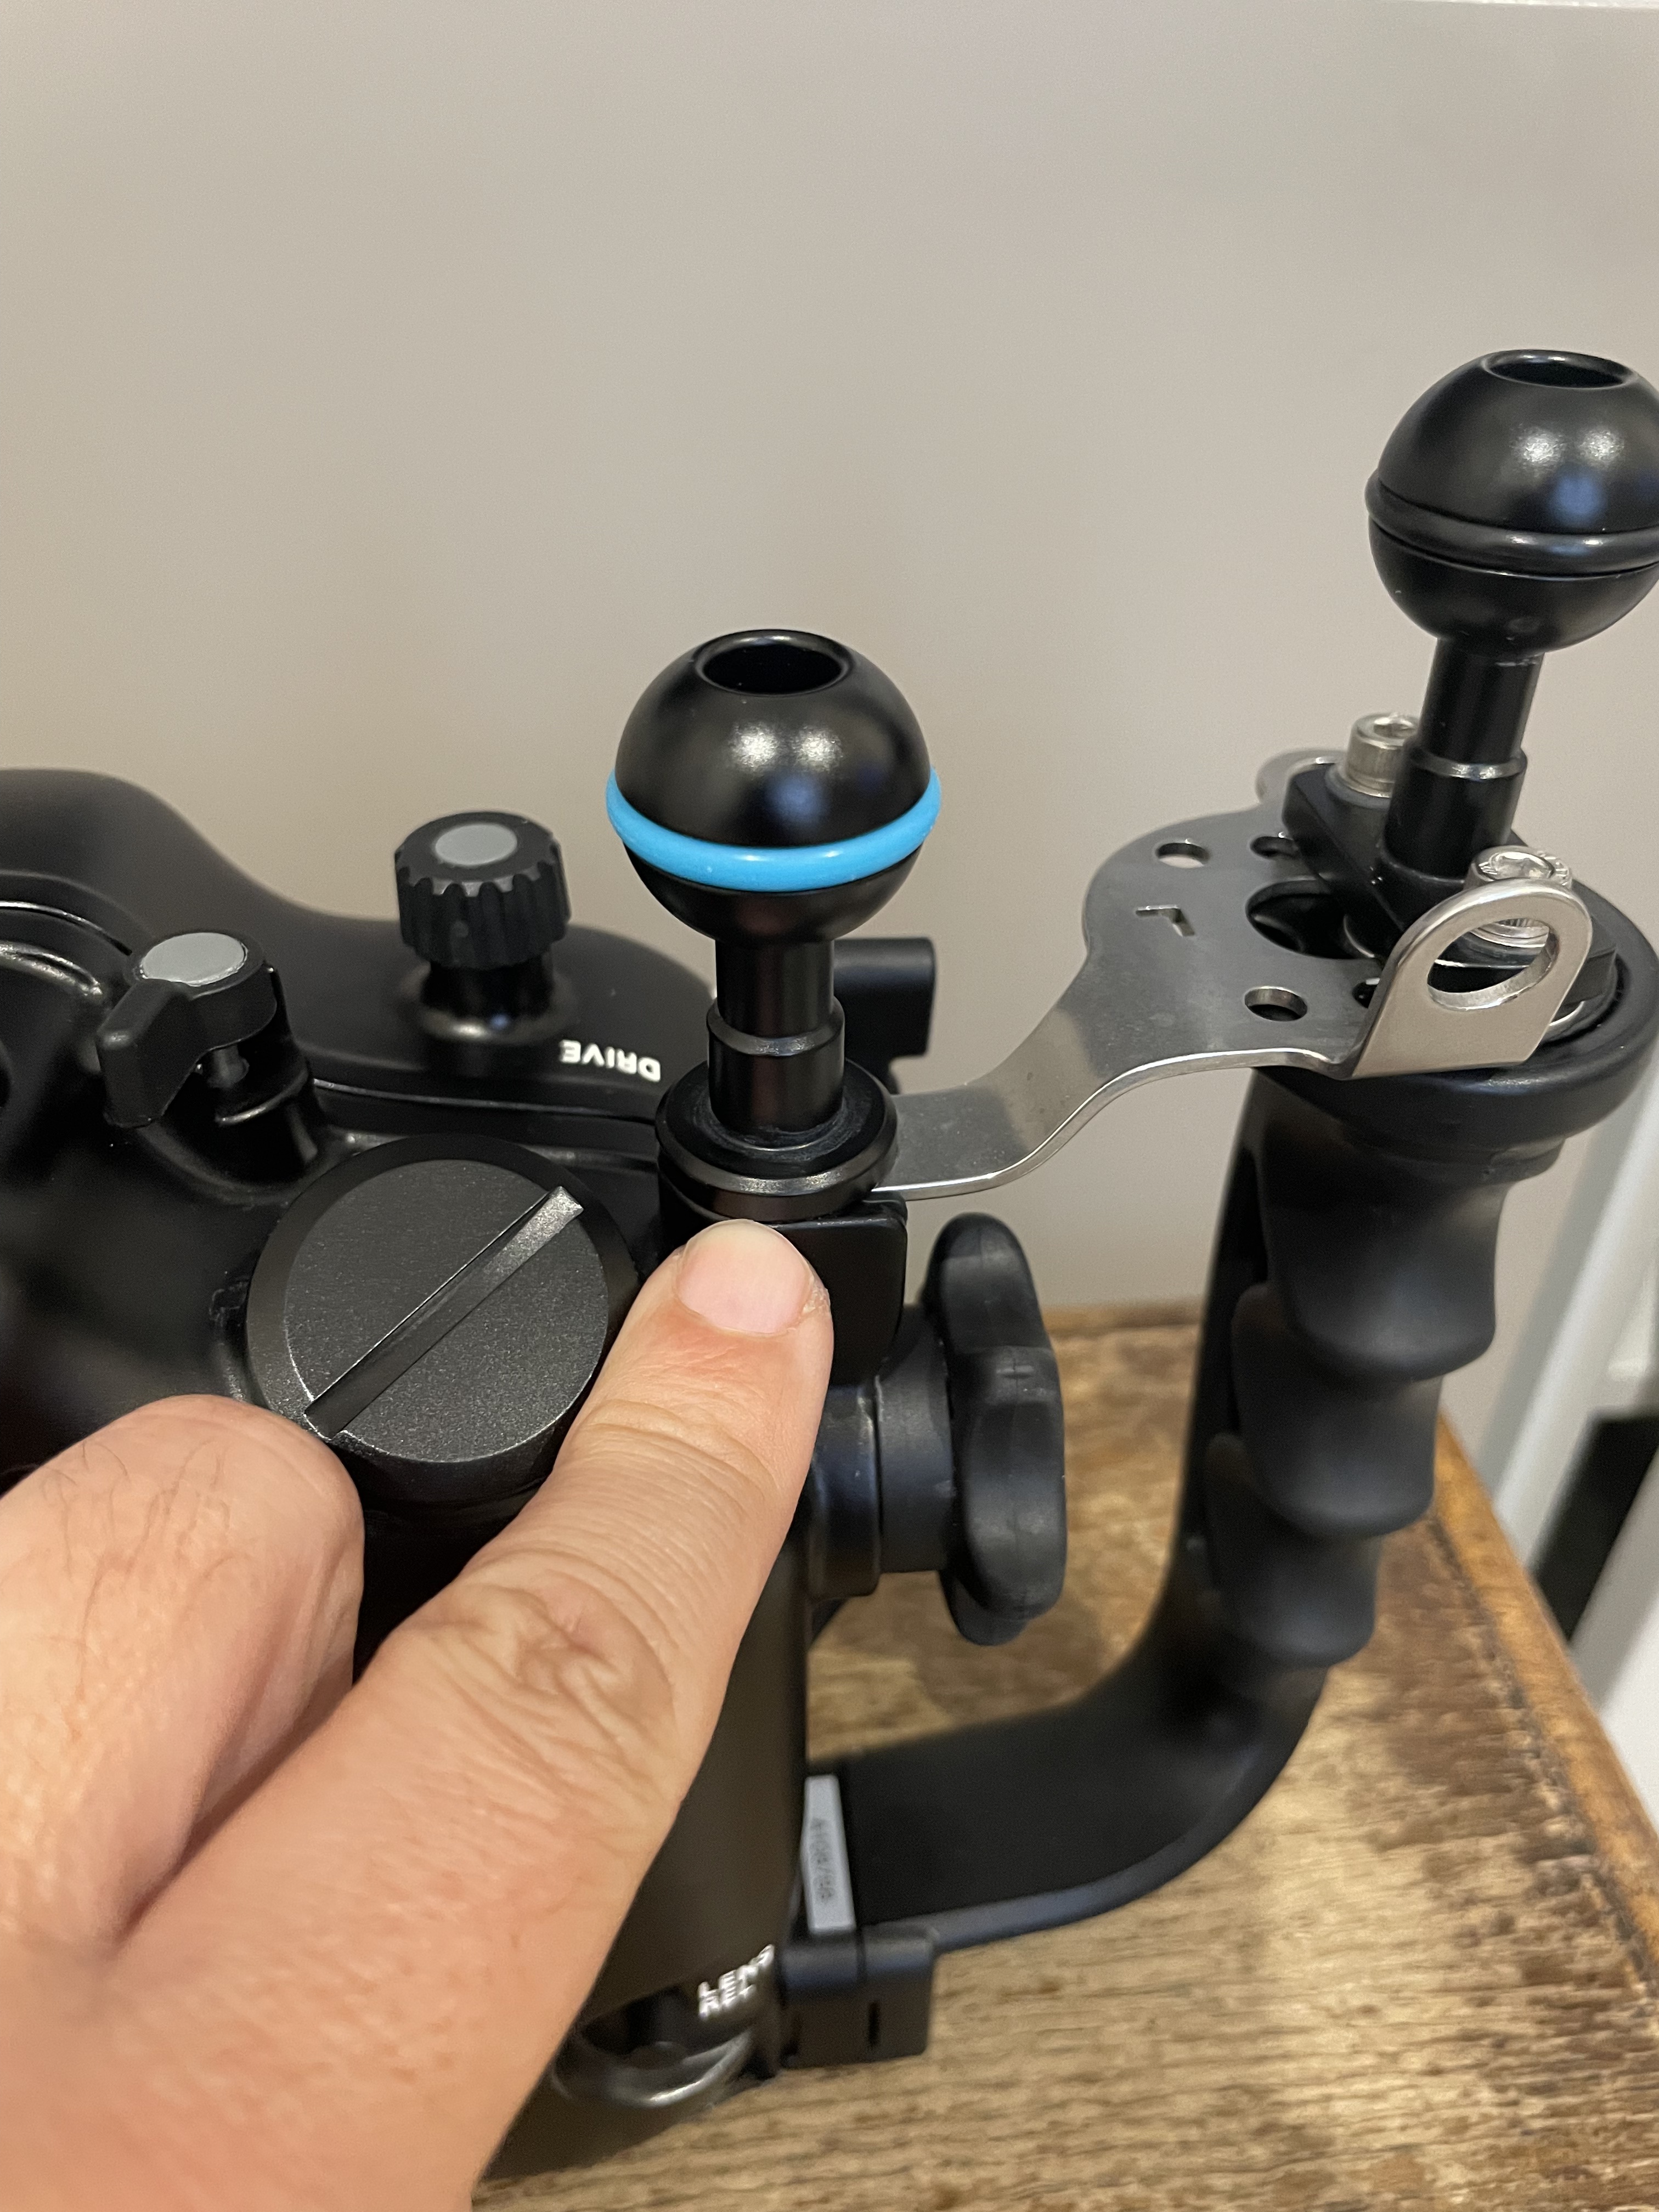
I am left eye dominant so I want to have free space in front of my right eye while my left is on the viewfinder so I put my ball on the left however you can do as you see fit.
You can also take the rubber assembly out of the socket and put an M10 ball mount which is more sturdy however you will be screwing metal on metal and I do not recommend that.
The other thing that you have noticed is that my housing has almost equal distance between the handle ball mounts and the centre.

However the housing as it comes out of the factory has a shorter distance between the left handle and the center than the right handle as consequence of the camera lens mount being on the left.
This is ok for topside but for underwater as soon as you are taking very close images with two strobes you will realise you have lights uneven and more shadow on your side.
Installing a single spacer into the handles give you this.

Now your strobes or lights are simmetric however the housing fits a bit more snug into the travel case if you use that. You may need to remove it for travel if you pack case in case as I do.
Hopefully this was useful subscribe to my channels on for more tips and/or to this blog to get updates. And feel free to donate using the button on the left hand of the menu.
