Best Settings for 4K video with the Panasonic DMC-LX100

There is no doubt that the Panasonic LX100 is a very capable camera and has a great 4K mode that works great especially at the wide end. In this post we will look at the settings that in my opinion maximize the camera features and have the best ergonomics for shooting underwater and actually also on land for most.

There is quite a bit of confusion between still image settings and movie settings and if your objective is to shoot video I recommend saving all the settings below or your preferred choice in a custom memory. The LX100 has 3 custom memory so you can save your settings for movie, stills and something else. Note that due to the absence of mode dials aperture, shutter and exposure are not saved so check you have the right settings before starting your recordings.

Movie Menu

Photo Style: I tend to leave this on the standard setting. Some users like to define a custom setting with sharpening of -2 I don’t think this is necessary. Likewise noise reduction is fine out of the box

4K Photo: I leave this option off as I want to shoot in 24p, setting it on will force the camera in 25/30p mode.

Rec Format: mp4

Rec Quality: 4K 24p I like the cinematic movie but also want to extract the maximum quality from the image

AFS/AFF/AFC: AFS single focus at the beginning of the scene

Picture Mode: setting not relevant in 4K

Continuous AF: set to OFF to prevent the camera to hunt focus especially underwater. If used on land this may be set to ON

Metering Mode: I tend to use centered weighted average for macro and multi metering for wide angle.

Highlight/Shadow: this is a very powerful control but I leave it to default

i.Dynamic: set to OFF to avoid unpredictable artifacts

i.Resolution: set to OFF the camera is very sharp no need for this

i.Zoom: set to ON due to the limited focal range it is important to allow for some extended zoom although there is some quality loss especially at high ISO. It works pretty well on the first notch

Digital Zoom: set to OFF the digital zoom looses too much quality

Mic settings: all left default

Wind cut: auto

Custom Settings Menu

Silent Mode: can be set on if you are working with wildlife on land

AF/AE lock: set to AE lock, as we have disabled continuous focus and we keep the focus at the beginning of the scene there is no need for AF lock in video. AE lock allows you to lock exposure when entering caves and wanting to keep a natural light without abrupt changes in exposure

AE/AF lock hold set to on so that the exposure lock is released only when the button is pressed again.

Shutter AF: ON we want to focus when we press the shutter at the beginning of the scene

Half Press Release, Quick AF, Eye sensor AF: all left to OFF

Pinpoint AF time: set to MID

Pinpoint AF display: picture in picture

AF assisted lamp: off

Direct Focus Area: set to OFF otherwise moving the cursor will override other buttons

Focus/Release Priority: irrelevant in movie mode

AF+MF: this allows for fine tuning with manual focus if the shutter is half pressed can be useful if the camera struggles to focus

MF Assist: focus

MF Assist display: PIP

MF Guide: ON

Peaking: ON your preference of color and level. I find the defaults to work fine some people prefer orange.

Histogram: OFF

Guide Line: rule of thirds

Highlight: irrelevant for video

Zebra: I use zebra 2 with 100% setting to just show me overexposed areas.

Monochrome live view: OFF

Constant Preview: OFF

Expo Meter: ON

Dial Guide: ON

LVF/Monitor Display: set default

Info display: ON

Rec Area: Movie, this settings makes the picture format lever redundant if you shoot videos so you don’t need to set the dial to 16:9.

Remaining Display: movie (this is only useful at the end of the memory card)

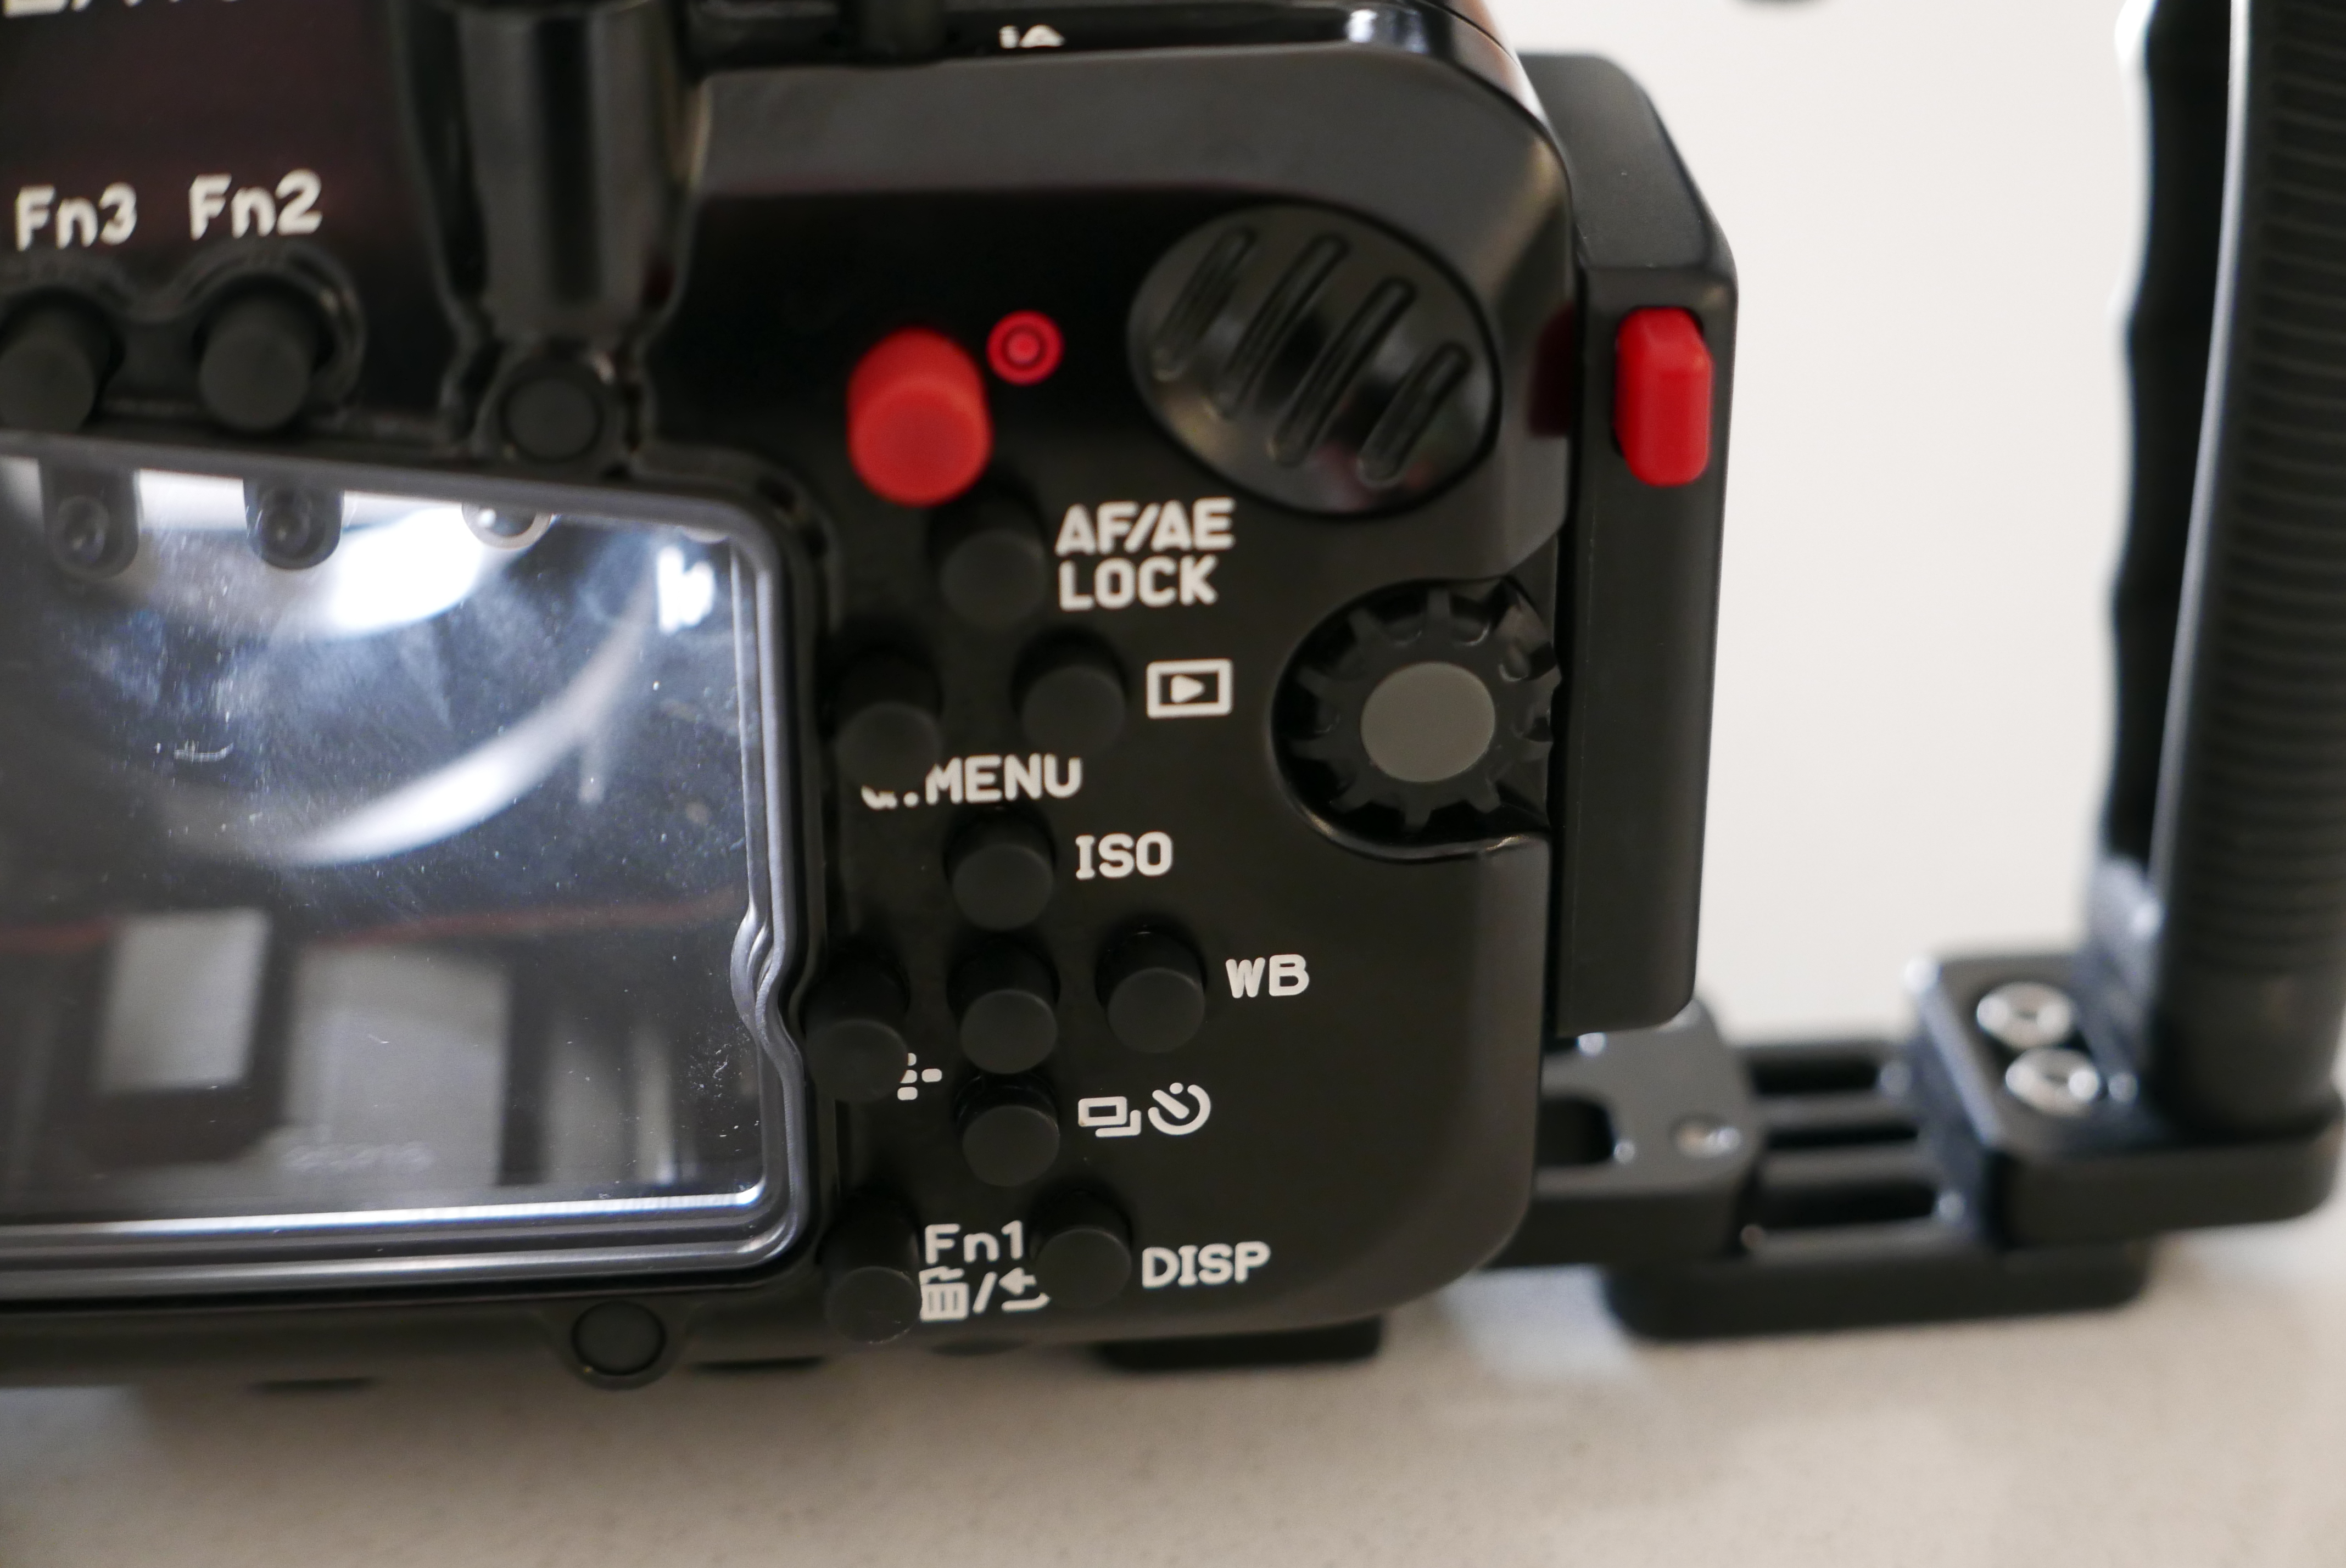
Fn button set: For underwater use F1-Set record area F2-default(Wireless) F3-Custom memory settings

Zoom Lever: I prefer to move in steps

Control Ring: defauls

Zoom Resume; OFF very important if you have the LX100 in the short port and accidentally you zoom too much leaving this to on can compromise your dive

Q.Menu: preset

iA button: default

Video Button: leave to On

Eye Sensor: LVF Monitor Switch: Mon

Custom Menu

All settings default except

Menu Resume: set to ON

Focus Area: 1 Area recommended for underwater use alternatively pinpoint for macro

Recommended Shooting Settings

Wide Angle

As discussed I prefer 24p and therefore I leave the aperture dial to auto and the ISO setting to auto too for wide angle. Generally the camera will operate prioritizing a low ISO to a small aperture and if you touch the aperture you end up in manual exposure that may be a possibility. Shutter dial on 1/60 with shutter speed reduced to 1/50 this gives plenty to play with in terms of aperture and in bright scenes the aperture will quickly go above f/8. The focus will be fixed as you set it at the beginning of the scene however if you need to refocus you can half-press the shutter and the camera will re-focus.

Macro

For macro other considerations on depth of field apply so you need to get going with the aperture until you get a decent focus, consider that the camera does not follow any rules so in effect you will set the shutter to 1/50 and then play with the ISO until you reach the desired exposure. As you will be shooting macro with lights this should not pose a large issue. If your subject is in the center of the frame use centered weighted average metering if not you need to be careful here is where the zebra control comes very useful. In general is better to avoid under exposure  and the zebra can help to ensure you prime subject is exposed correctly. For what concerns focus here you can try auto+manual as a starting point and then fine tune. Depth of field is limited so once you lose the focus it may be worth stopping and starting again instead of trying to refocus.

You can also keep the focus constant and move the camera back and forth.

I hope you find those settings useful let me know how you get on.

Nauticam NA-LX100 4K Video Review

Following the previous review that was dedicated to still images we now go into the subject of 4K video with the Panasonic LX100 and related Nauticam LX-100.

Currently there are only two compact cameras that produce 4K video the Sony RX100 and the Panasonic LX100.

The housing for the Sony RX100 has a traditional M67 port whilst the LX100 uses the N50 compact port system.

This means you can use all your wet lenses with the RX100 without specific adapters. The LX100 has however a number of benefits.

This table compares the field of view of the two cameras in 4K video mode.

LX100
4K Horizontal FOV Vertical FOV Diagonal FOV Sensor width 35mm 3:2
26.00 71.90 44.40 79.50 15.80 23.86
81.00 26.20 14.90 29.90 15.80 74.40
RX100
4K Horizontal FOV Vertical FOV Diagonal FOV Sensor width 35mm 3:2
28.00 67.90 41.50 75.40 11.85 26.73
80.00 26.00 14.80 29.60 11.85 76.37

When the camera shoots in 4K mode the focal length remains the same however the camera uses a smaller part of the sensor. A normal micro four third sensor measures 17.3×12 mm whilst the 1″ sensor of the RX100 is 13.2×8.8 mm. Note that the LX100 does not use the whole sensor due to the multi aspect format that keeps the diagonal field of view unchanged regardless of the image format.

What we can see in the LX100 table is that although the focal length in 4K is 26mm the horizontal field of view is the same of a full frame camera with a lens of 23.86mm this means the field of view in 4K should be slightly wider than a picture taken by the LX100 in 4:3 format.

I put the camera on a tripod and took two sample shots, this is the first at 24mm in 4:3 format that I then cropped to 16:9.

4:3 Crop to 16:9
4:3 Crop to 16:9

This other shot is from exactly the same position taken extracting a 4K frame from a small video.

4K Photo 16:9
4K Photo 16:9

As stated the horizontal dimension is just a few mm wider in 4K 16:9.

What this means is that this is the same that any normal camera with a 24mm lens that then is cropped to movie format in terms of field of view.

The Sony RX100 does not have a multi aspect sensor and therefore the horizontal field of view drops more.

With the short port on the LX100 using a wet lens like the Inon UWL-H100 we can achieve more than 97° horizontal which is very wide and zoom all the way to 79° and if we use a wetmate or the mini dome cover the other range between 72° and 50°.

Practically the LX100 with wet lenses and wetmate or minidome gives you access to focal lengths between 15.5-21mm and again 24-35mm is like having an 8-18mm lens on a micro four third which is good for whale sharks and mantas this is even wider than the 7-14mm lens on a Panasonic GH4 in 4K and the LX100 has a (weak) optical stabiliser on the lens.

The RX100 mark IV instead can only cover between 96° and 90° before the wet lens stops working properly and we jump to 68° if using a wetmate.

UWL-H100 Flat Test Cards

This shot taken at around 15cm shows a nearly rectilinear and very wide image.

In short if you are after some super wide angle in 4K the LX100 is definitely the way to go.

From an ergonomic point of view I shoot video in shutter priority and let the camera work out ISO and aperture, this is relatively easy to do with the LX100 although the absence of custom memory modes on a mode dial is painful.

A control that can be quite useful due to the tendency of the LX100 to go focus hunting is to set the ae/af lock button to af-on. This requires the shutter to be set in release priority with this control you can use manual focus and force the LX100 to refocus when you hit the af-lock. This is a very useful feature.

Update 28 September the method described to fight focus hunting does not work in 4K. There is going to be another post with the best settings for 4K video for the LX100.

For what concerns macro both the LX100 and RX100 present their challenges due to the short zoom lens, the LX100 more so due to the horrible rectangular port. It can be argued that you can’t shoot wide and macro with the LX100 whilst you can do that with the RX100 however the strength of the LX100 is certainly in its very wide lens and the short port that combined with a flat wide angle lens can produce an extremely wide field of view able to cover practically almost any wide angle scene.

For macro the GH4 and upcoming GX8 are probably going to be better placed due to the higher crop factor giving focal lengths in excess of 100mm using the 14-42mm lenses.

If you want to get into 4K video and your focus is primarily wide angle the LX100 is an excellent device.

The WWL-1 on a Nauticam LX100


Nauticam NA-LX100 housing and port system review

Nauticam has given me the opportunity to test the housing for the Panasonic LX100 priced at $1,200 or £922 in UK.

As anticipated some time ago this housing features the new N50 mini port system for compact.

NA-LX100 aperture and format dial

The housing comes with the rectangular port as a standard, as the LX100 has a 24mm equivalent lens and the lens extends quite a lot between the shortest and longest focal length it is not possible to use an M67 long port or there will be vignetting.

In order to install the camera you need to set the aperture to f/16 and the aspect ratio to 4:3 with focus mode in normal and lift the zoom lever. Likewise to take the camera out of the housing.

LX100 housing preparation

Unfortunately as mentioned several times on this blog pincushion distortion severely affects the image at focal lengths shorter than 35mm equivalent as our in water test shot demonstrated. If you zoom in the corners you can see also extensive blur and chromatic aberrations.

LX100 flat port at 24mm

Furthermore the lack of an M67 port means you now need the Nautical flip diopter for rectangular port that costs $220 or £170.

When you eventually get to put a diopter on the lack of zoom means that magnification with traditional lenses is quite limited.

UL-165
NA-LX100 UCL-165

The frame width is 62mm with a single Inon UCl-165 and goes to 5cm when we stack another UCL-330.

UCL-165+330
NA-LX100 UCL-165+330

Image quality is ok except some blue fringing at the borders.

A single UCL-100 gives a frame width of 42mm.

UCL-100
NA-LX100 UCL-100

Apparently the Nauticam CMC ($320 or £240) gives 32mm frame width that is adequate for macro.

So if you are into macro you need to invest $1,200+$220+$320=$1,740 to have some decent magnification.

If you possess many clamps and cold shoe ball mounts you can buy an Inon M67 lens arm and use the lenses you have saving some $$$ but the magnification is limited unless you get the CMC.

For semi-wide angle a mini dome port is available at $280 or £216.

N50 3.5
N50 3.5″ Mini Dome

This restores the field of view in air however you can only zoom to 40mm before the camera can’t focus anymore. I have even tried with dry diopters on the camera there is no improvement.

Optical quality is great.

LX100 Mini Dome 24mm

Probably the most useful port is the N50 short port that has an m67 thread and allows to use wet wide angle lenses.

N50 Short Port
N50 Short Port

I went to Swanage but got the tide wrong visibility was shocking still gives an idea of the image quality of the LX100 with the Nauticam WWL-1 wet lens.

SWANAGE (4 of 4)
Atlantic Ocean Anemones
SWANAGE (3 of 4)
Kelp?
Upside down
Upside down
SWANAGE (1 of 4)
Myst!

If you have a Nauticam wet mate you can also use it with the short port and achieve the same or better sharpness than the minidome thought with some residual chromatic aberration.

LX100 Short Port Wet Mate 24mm

The big benefit is that if you find that your wet wide angle lens is too wide for what you are shooting you can change lens without changing the port.

NA-LX100 rear buttons

For what concerns the ergonomics of the LX100 they are quite intuitive on land.

One of the characteristics is the lack of a mode dial.

You have an auto position  for shutter speed and aperture and if you leave them as such the camera shoots in program mode.

Once you move the aperture the camera goes in aperture priority mode. Probably the worst situation is the shutter dial that once touched has to come down all the way from 1/4000 to whatever you need it to be.

Also you don’t have thirds of exposure for the shutter dial and for example to get 1/50 you need to go to 1/60 and then use the rear dial.

I found the ergonomics of the camera in water particularly annoying as I was shooting with gloves. I did like the nauticam trigger system for the shutter however the amount of hardware of the nauticam tray and its weight are not really an option for me.

The Panasonic LX100 is a very interesting camera on land but in water ends up quite uncomfortable and expensive. The housing with the 3 ports comes at $1,200+$180+$280 if you add the Nauticam CMC and the WWL-1 you end with a whopping $3,195 the camera costs another $800. Total investment $4,000.

This is a lot of money in my opinion considering that with another $300 you can get a Panasonic GX7 with GX7 housing, an Olympus 60mm with 65 macro port and a Panasonic 8mm fisheye with 4.33″ dome. The LX100 and GX7 share the same sensor but there is no doubt that the macro performance of a dedicated lens as well as the fisheye of the 8mm lens have no comparison.

In conclusion the Panasonic LX100 with NA-LX100 is a bit of a flop for stills the only use that I can think of is wide angle 4K video with the short port and a wet lens but other than that I don’t see how Nauticam is going to sell many of those units.

Nauticam WWL-1 Wet Wide Angle Lens Review

Nauticam has been working on a wet wide angle lens for some time now, the first prototype was seen with the release of the new N50 port system for compact but nothing has come to market yet.

Until now!

Last week I have received a pre-production version of the WWL-1 (Wet Wide-Angle Lens – 1) coming in a retail box.

Edward had advised that the lens is bigger than the competition and this is due to the construction that includes 6 elements in 5 groups.

The box size is the same of a small compact housing and inside you find a pouch that looks like a mini picnic basket.

WWL-1 Pouch!
WWL-1 Pouch!
The lens comes with a neoprene dome cover.

WWL-1 With Cover
WWL-1 With Cover
Other characteristics include an adjustable dome and a large loop ring. I am unsure if this is to secure the lens, as it is so heavy you can’t really remove it in water or to operate it more easily.

WWL-1 Section
WWL-1 Section
Thanks to that ring I could easily remove and replace the lens with gloves.

The other feature is the extremely large rear element that measures 48mm, larger than the Inon UWL-H100. This makes the lens virtually compatible with any camera at 28mm equivalent. Edward mentioned that it could work even with an A7.

The lens has a standard M67 mount.

WWL-1 Rear
WWL-1 Rear
So off I went to Essex to test the lens in a pool. I was hoping for girls in bikini or at least some model but the water was around 14C so off I went with my dry-suit and gloves.

Interceptor121's test rig with WWL-1
Interceptor121’s test rig with WWL-1
The lens itself weights 1.28 Kg and is heavier than many compact housings including the camera.

I took some test shots with the WWL-1 and with the Inon UWL-H100 with and without dome.

First of all the WWL-1 seems wider than the Inon once you get rid of the vignette. I was using the WWL-1 with a Panasonic LX-100 in Nauticam housing and short port. The WWL-1 would stop vignetting at 28mm whilst the Inon lens needed zooming until 29mm.

Shooting a Snell’s window gives you an idea of the field of view.

WWL-1 Snell's Window
WWL-1 Snell’s Window
The Snell’s window requires an angle of 97.2 ° in order to be fully captured along a specific axis. We can appreciate that the WWL-1 on the LX-100 at 28mm has more than the required field of view on the diagonal and horizontal dimensions but is narrower than required on the vertical axis. Looking at this image the field of view on the diagonal looks more around 120 ° this may be due to the fact that the lens on the LX100 even with the short port is still around 2 cm away from the glass.

However when compared with the Inon the WWL-1 shows a better field of view overall.

UWL-H100 Snell's Window
UWL-H100 Snell’s Window
I did have some fun shooting through the window.

Shooting through snell's window
Shooting through snell’s window
The calm conditions of the pool allow the camera to see through the surface.

WWL-1 Photographer Through Window
Having concluded that the WWL-1 is at least as wide as the Inon UWL-H100 I took some shots with the PADI test cards.

WWL-1 Test Card
WWL-1 Test Card
The images are taken with strobes at an aperture of f/5.6 which is the sweet spot of the camera. I wanted to check what is the level of softness in the corners as well as chromatic aberration.

I took few shots where the PADI logo was right on the bottom corner and this is the crop.

WWL-1 Corner Crop
WWL-1 Corner Crop
There is some softness and virtually no chromatic aberration.

The lens has the typical barrel distortion of a fish eye lens.

UWL-H100 Test Card
UWL-H100 Test Card
I took the same shots with the UWL-H100 with dome and the corners were much worse in terms of softness, CA was not a big issue.

UWL-H100 Corner Crop
I then took a few shots with the UWL-H100 flat, the LX-100 stopped vignetting at 25mm.

UWL-H100 Flat Test Cards
I had to step back in order to be able to capture the two cards and I could not achieve a Snell’s window on the horizontal axis as expected however the field of view is impressive for a rectilinear image I would say around 108-110 °.

UWL-H100 Flat Crop
UWL-H100 Flat Crop
The  wide field of view and the lack of the dome element present challenged, corners present both softness and large amounts of chromatic aberration.

Operating with Gloves
Operating the lens and housing with gloves was acceptable and I could remove it as well.

What I liked the most is the fact that the hood can be adjusted without an allen key just operating the screws on the back.

The retail price of the WWL-1 is going to be $995, £769 and €1060 the lens is going to be slightly more expensive than the Inon UWL-H100 with dome but compared to the Inon it offers increased sharpness and contrast and comparable field of view.

The only draw back is the size the lens weights quarter of a Kg more than the Inon and is substantially longer.

If you are after the best optical quality for a wet lens this is the lens to buy at time of writing.

I would like to thank Edward Lai at Nauticam for sending me this pre-production model and Alex Tattersall at Nauticam UK for shipping me promptly.

I have not bought the item and I do not sell equipment this review is based on my independent view.

I will be testing this lens with the Panasonic GX7 and 14-42mm Mega OIS II soon.

A day at the pool
A day at the pool

Guide to Micro Four Third Lens and Port selection for Underwater Photography

Micro Four Thirds camera have become increasingly popular for underwater photography especially for macro and close up subjects in the last years.

The micro four thirds standard is shared between Olympus and Panasonic however in terms of underwater use Olympus is on the forefront and in fact it produces their own poly-carbonate housings for all new models.

Nauticam has their own N85 port system for micro four third that as of today has 10 different ports, two extension rings and a large number of focus and zoom gear. You can also buy cheaper 3D printed gear to save a few bucks for majority of lenses.

The other interesting characteristic of the micro four third market is that since the introduction of the 16 megapixels sensors, there have not been any substantial improvement in image quality among the various model, we will have to see what the 20 megapixels sensor of the Panasonic GX8 will bring but all in all the camera choice is mostly one of ergonomics and features.

Olympus is quickly clearing stock but you can still found the OM-D E-M10 out there for £478 with kit lens. The might Panasonic GX7 is now £433 with kit lens. In US you can find both the Panasonic GX7 and the Olympus O-MD E-M100 for $599 with kit lens.

The Panasonic LX100 sets you at £589 in UK and $698 in US really if you are into photography and want a micro four third it is a no-brainer you get a previous version GX7 or OMD EM10 (as you can’t find an EM5 new) and happy days.

Now that you have committed to the camera you are into lenses and ports for underwater use. The Olympus housing costs on average 25% less than Nauticam and has less choice of ports for me really is not appealing so let’s assume we are into Nauticam. What lens or port to choose?

Both the Olympus 14-42 EZ and the Panasonic 14-42 II fit in the Nauticam 35 port and require 3D printed gear to operate. The flat port will be OK for fish portrait and if you already have wet lenses it is definitely recommended to buy the 35 macro port first especially if you shoot video.

Nauticam Macro 35 port
Deepshot zoom gear on the GX7

Both lenses do need a wet diopter to shoot small subjects in water as the smallest frame is around 7-9 cm width otherwise.

If you come from a compact camera most likely you have wet lenses and therefore you can re-use them for close range work.

Obviously a flat port for a 28mm equivalent lens is not a solution for wide angle.

First of all at the wide end due to water magnification the angle of view is the same of a 37mm lens which gives a field of view of just 60 degrees. The other point is that you really want to shoot at the tele end to avoid cluttering the background too much and typically in water those kit lenses work only at over 25cm from the port which means they are only good for medium size fish portraits.

The sequence of shots shows that even if the size of the cup is pretty much the same it looks much better at long focal length.

Cup at 28mm
Cup at 28mm

At 28mm you can see the glass in the frame on the right side and the window in the background.

Cup at 50mm
Cup at 50mm

At 50mm with similar size of the cup the glass is half gone and the cup looks nicer less of the window is showing.

Cup at 42mm
Cup at 42mm

at 42mm the glass is nearly out of the frames and the windows in the background is gone.

If you did not have any wet diopters the first additional lens and port to get will depend on your subjects, if you shoot macro you need a macro lens, if you shoot close focus wide angle you need a fisheye lens it is as simple as that.

Olympus 60mm and Nauticam 65 Port (35 + 30 mini extension)

The Olympus macro 60mm is the preferred lens combined with the Nauticam 65 port (or 35 port plus 30 extension). This lens can focus 10cm from the port and therefore can be used also in low visibility. Really there is no reason to use the more expensive 45mm Leica lens. The 60mm is great also for portrait work of small fish.

Cup at 60mm
Cup at 60mm

The same shot of the cup at 60mm means we now say goodbye to the glass due to the reduced angle of view. The increased working distance also means a more pleasant perspective.

I hope this explains why for underwater macro we want to shoot with long focal length as this helps us to get rid of the background so a longer lens will always be better than a zoom lens with a wet diopter and it will also give more magnification in case you have really small subjects.

If macro is not your priority and you are happy with kit lens and diopter for wide angle the first option is the Panasonic 8mm fisheye, that since the introduction of the Olympus 8mm pro fisheye has also reduced in price.

Panasonic 8mm Fisheye and Nauticam 4.33
Panasonic 8mm Fisheye and Nauticam 4.33″ Dome Port

This lens works best with the Nauticam 4.33″ dome port. If you shoot in 3:2 format you can also try the Nauticam 3.5″ wide angle port that makes the set up even smaller however there are no substantial improvements on how close you can get as the strobes will fail to lit properly anything that is right on the port without risking to see the strobe lights in the frame. The 3.5″ port will vignette in 4:3 image format though some users report success.

EDIT 7 September 2015

The issue of the 3.5″ port has been put forward again with the argument that it allows you to get closer than the 4.33″ dome with the Olympus EM5. I do not have an EM5 but I do have a Panasonic GX7 the end of the dome is 9 cm away from the focus point and this means that the dome allows you to get closer than the minimum focus distance of the lens of 10cm. As the dome is shorter than the minimum focus distance on the GX7 the 3.5″ port does not bring any benefit. Furthermore as trays are in general around 30cm you need to be around 15 cm anyway to be able to illuminate the subject properly with edge lighting, in virtue of this I remain convinced that the 3.5″ port does not bring any real benefit except is a bit cheaper and may vignette.

So your starter kit if you upgrade from compacts of you own a close up lens is Macro 35 port followed by Olympus 60mm and mini extension ring 30 or Panasonic fisheye 8mm with 4.33′ dome for wide angle.

Wide angle zoom lens are less of a priority but the choice is between the Olympus 9-18mm and the Panasonic 7-14mm bearing in mind that if you had a wet wide angle lens you may not even bother getting an intermediate wide angle zoom lens.

That’s all for now hopefully this will cover most of the ground for all new micro four third underwater shooters with kit lenses!

Blog Posts Coming Soon

These days I don’t have too much time to write nevertheless there are some exciting articles coming.

Nauticam is sending me a few items for testing that include the Panasonic LX100 housing and the new Nauticam wet lens.

The nauticam wet lens has been in the works for a very long time and is going to be released end of September, I will compare performance with the Inon lenses and report back finding.

I am also going to review the new Leak Sentinel v4 that has a number of promising updates.

But the first post will be about lenses for micro four third cameras. The system is very flexible and so is the Nauticam Port system there are many lenses supported and getting the right one is a bit of a headache for newcomers to the ILC space, I will try and make it simple and suggest a way forward so stay tuned.