The Covid-19 pandemic has had a severe impact on the travel industry and consequentially on scuba diving, underwater photography and video.
I had to cancel my plans for the second part of 2020 and also for 2021 as test requirements and scarcity of flights made many destination very difficult to reach.
We are now in 2022 and things and the pandemic seems to have slowed down. In UK it is estimated that 96% of adults have antibodies. Travel has started again but there have been difficulties as airlines and hospitality struggle to hire and retain staff. A few European flights I have done for business trips were all severely delayed. Prices have gone up and frequency of connections dropped. It will take a while until we resume to pre-pandemic levels and perhaps we will never get back to 2019 and earlier.
During the long period without travel I found myself with my camera and lenses and unable to use most of my underwater housing and gear so I decided to expand my photography and videography interests.
What can I do with my equipment?
An underwater photographer/videographer will normally have an arsenal of fisheye or super wide lenses, macro lenses and in some cases standard zoom lenses.
You realise quite quickly that it is not exactly easy to put to use your fisheye lenses for land photography.
Most of wildlife shooting on land is carried out with long telephoto lenses. Wide rectilinear lenses are used for landscape but frankly extra wide are less used than others.
Shooting people involves focal lenghts that are normally used underwater for macro.
Macro photography is perhaps where there are more similarities between land and underwater photography. Long lenses are used in both cases and flash photography is also rather common on land for certain subjects (mostly plants and animals that move very little).
Another significant difference is driven by depth of field. High quality lenses for land use are generally f/2.8 and faster and wide lenses most cases f/4. Many times especially when shoooting portraits depth of field is limited and users try to get the best performance out of lenses which is generally in the f/5.6-f/8 interval.
The closer case to underwater photography is the sunny 16 rule which means to use f/16 to have plenty of depth of field for your shots. For macro you also need to have sufficient depth of field for your shots.
Generally venturing into other photography styles will mean investing in different lenses that fit the objectives.
When it comes to lighting underwater strobes are not fit for purpose for land use. A decent photographer knows that a basic flash will only give you flat lighting and potentially red eye effect so majority of land photography for portrait or studio uses off camera lighting with a variety of modifiers including umbrellas, soft boxes, continuous light and main powered flashes. Again if you decided to go in that direction you will need to buy equipment, the good news is that it is really unexpensive as there are high volumes so you can get flash, triggers etc with a few hundred pounds.
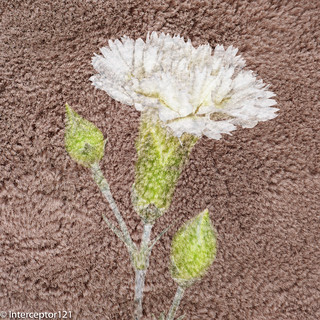
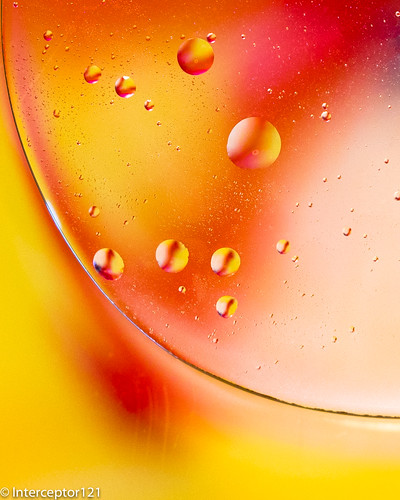
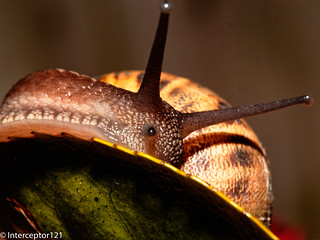
So in conclusion without any investment is relatively difficult to do anything with your underwater gear. As example here are some garden macro shots without flash.
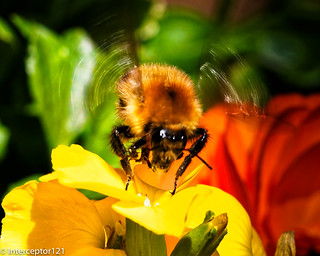
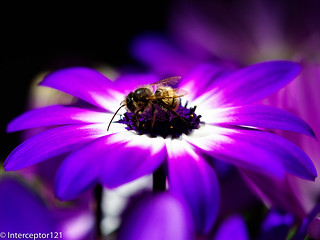
Using flash is esaier on things that do not move at all or move really slow
I have made several attemtps at shooting bees with flash and the colors are great however mortality of your shots is extremely high.
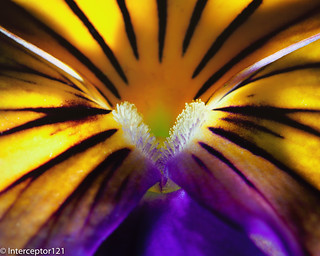
You can obviously try some abstracts with flower or go into flower photography but you need to be mindful that in bright light subject isolation and background rendering may be a challenge.
I am not a macro guy myself or a fish portrait person so for me garden macro was not particularly exciting as a discipline. In addition as the bugs do not really let you get close you get better result with a long tele photo lens and teleconverter or extension tubes. This again means investing in new kit.
Landscape Photography
I have to admit before Covid-19 I would sometimes take landscape but just really take a shot. Having more time on my hands and not being able to travel I joined a local camera club and also some local instagram and facebook groups for inspiration.
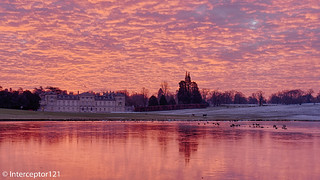
At one point I did a whole study of sunset phases, golden hour, twilight in the same spot

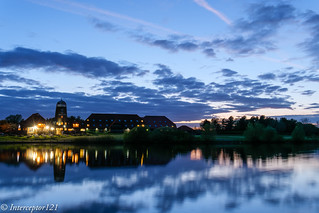
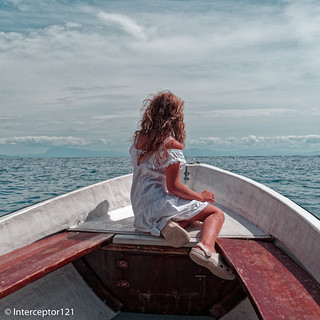
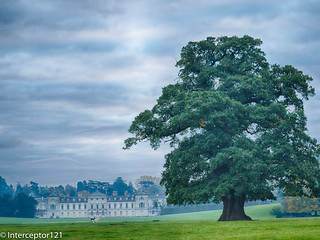
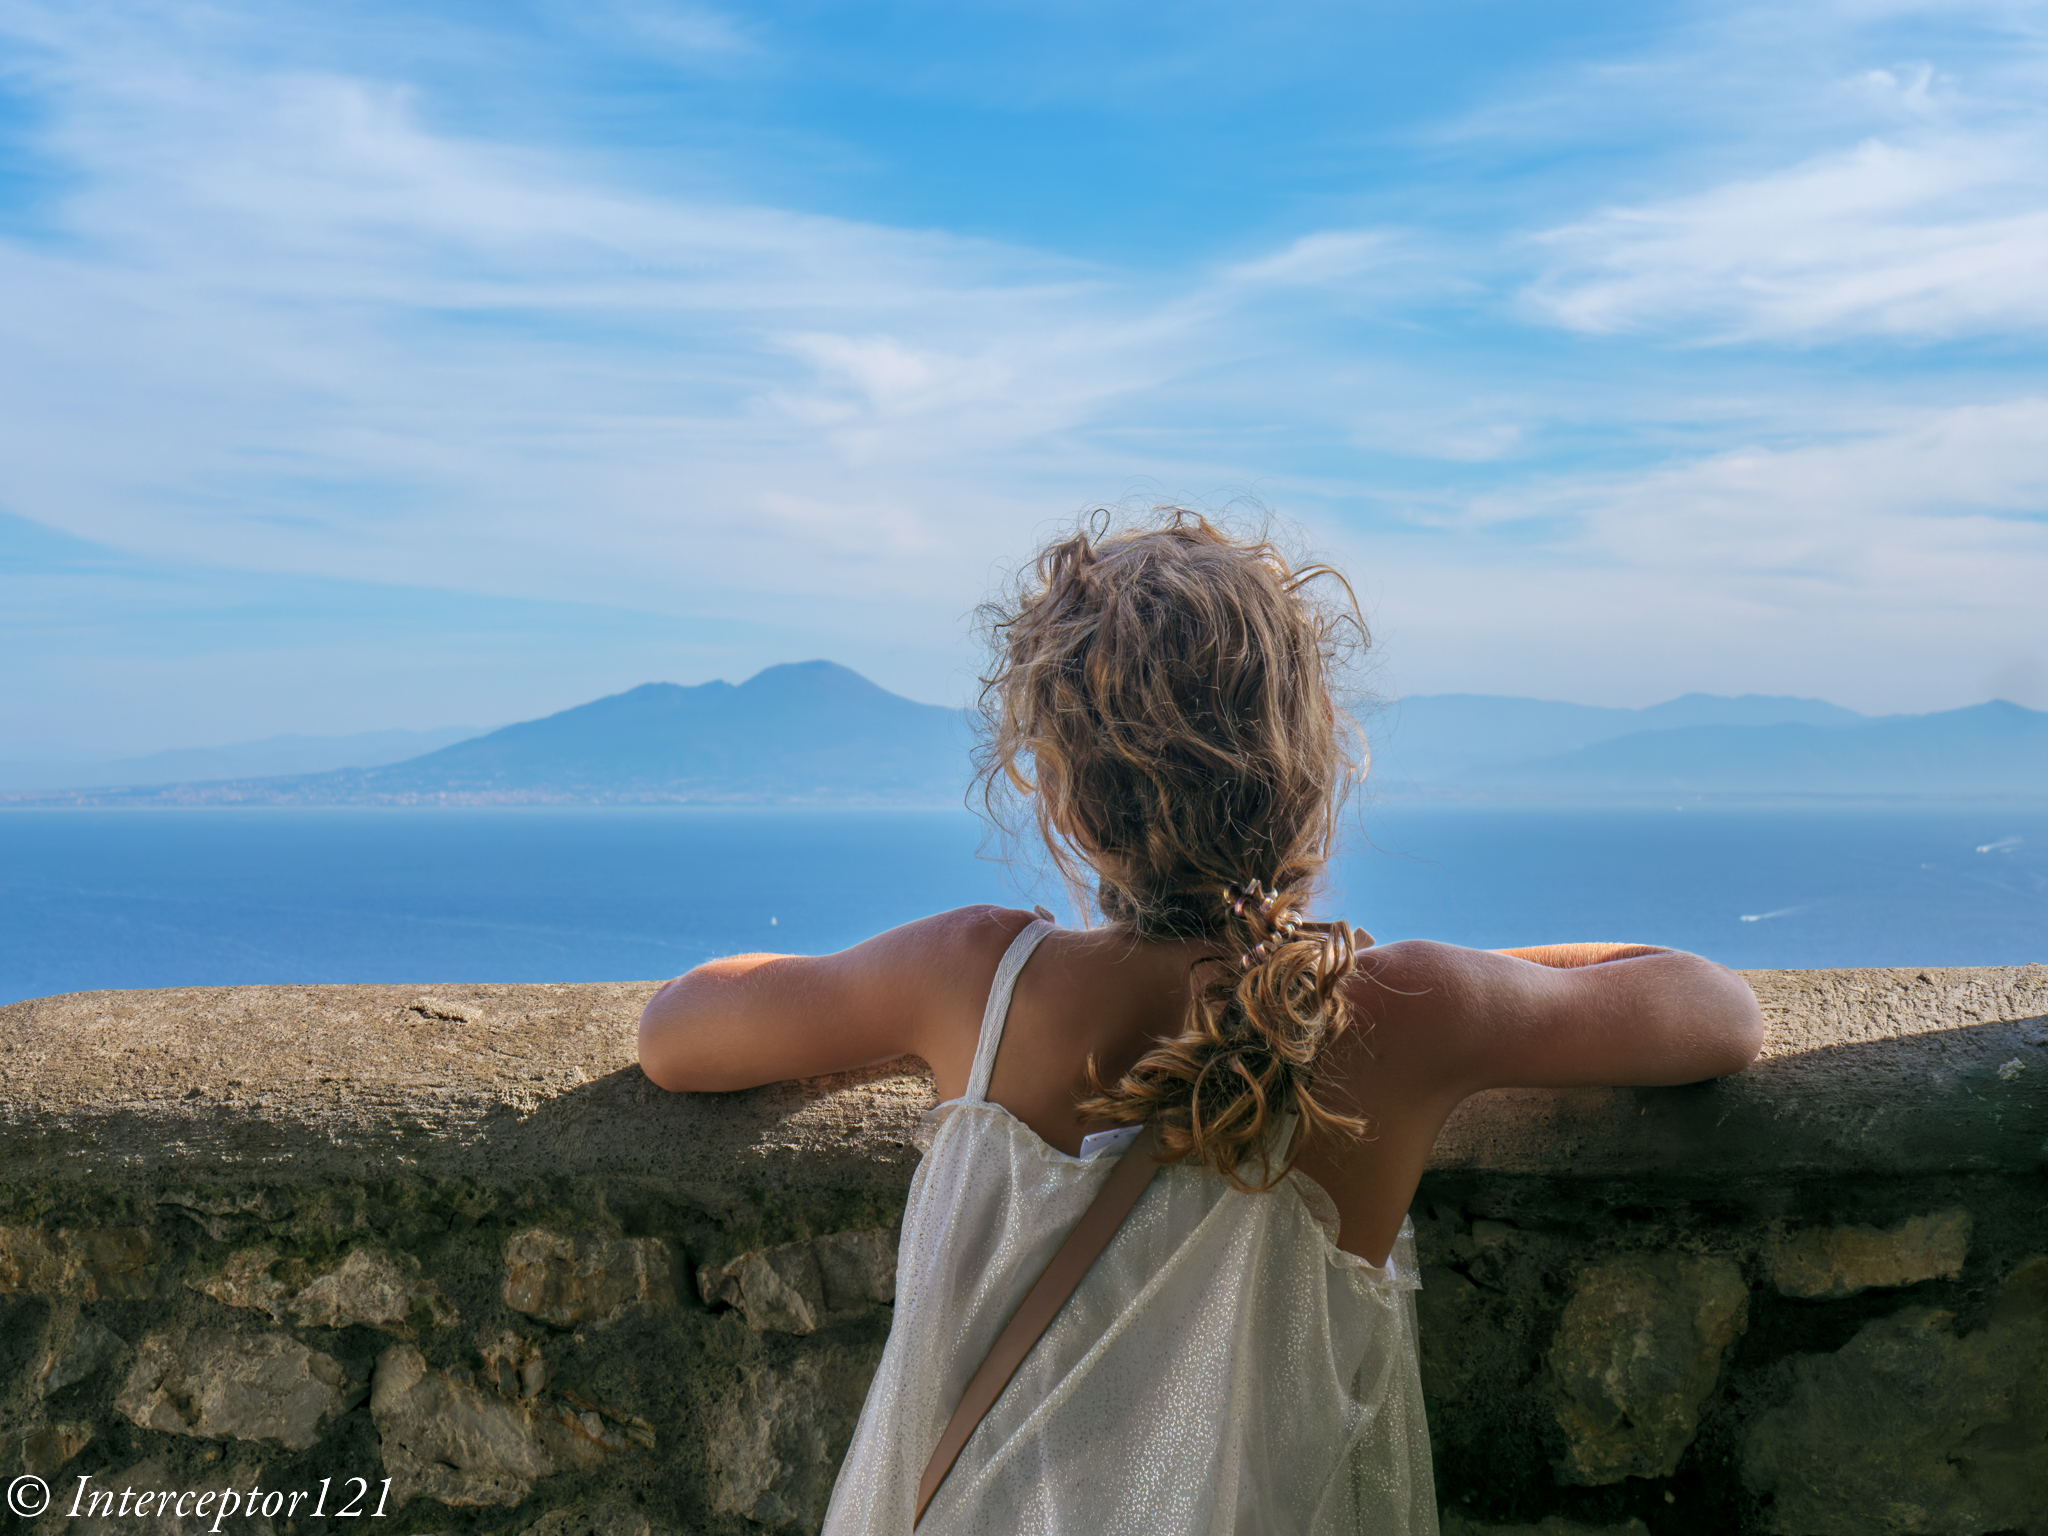
I guess the job of a landscape photographer is one of chasing light not just being on location and I learned how frustrating it can be to have the perfect conditions. As an illiterate land photographer I thought good weather is always good as there is plenty of light only to find out that too much light and a clear sky do not make good images.

I also found that is more interesting to have a person in a shot instead of just the landscape.
Wildlife Photography and Videography
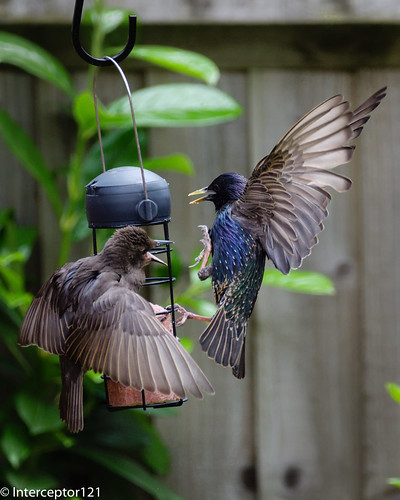
The move from underwater to land wildlife is not a simple one. As I mentioned this is mostly a long lens job. A further complication is due to the fact that depending where you are there may not be many subjects available. Due to the destruction of habitats in most places local wildlife means predominantly birds.
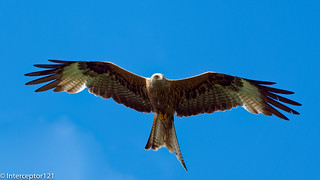
Personally I do not prefer birds to other wildlife I find difficult to compose shots due to the speed they move and the related difficulties to take shots. I did however develop a soft spot for Red Kites

This culminated with a visit to Gigrin farm in April 2022 when normal operations had resumed.
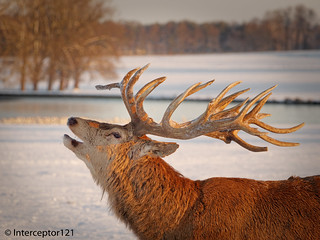
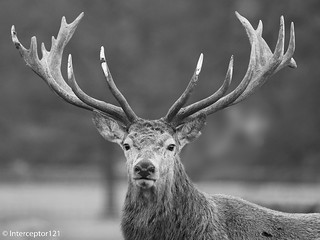
Due to the vicinity of Woburn Deer Park I found a real passion shooting Deer, especially Red Deer. A did an entire video project on this during 2021 and this is the result (shorter versions with selected scenes are available).
I have also taken some of my best images ever on the grounds of Woburn some of which I have sold on canvas 30×20.
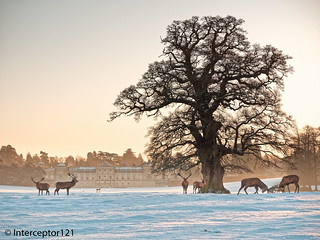

I like deer as they are very attractive and they lend themselves to a variety of photos and videos. I got pretty good results at it, in fact very good results and I now run some workshops during the red deer mating seasons.
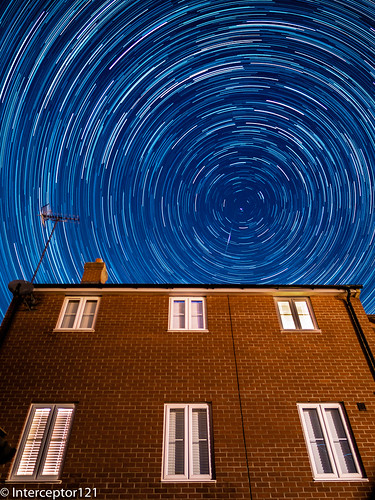
Nightscapes & the Milky Way
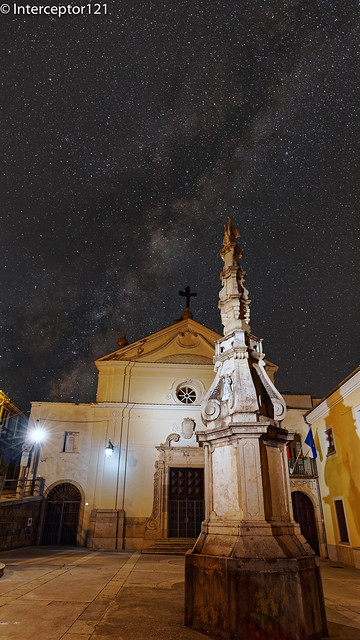
Clear skies are not good for daylight landscapes but are essential for shooting stars. During the period where there were travel restrictions I started venturing locally for spots to shoot the Milky Way at night.
I had the best results in Italy near my home town.

This culminated in a trip to Tenerife which led to some of my best shots to date.
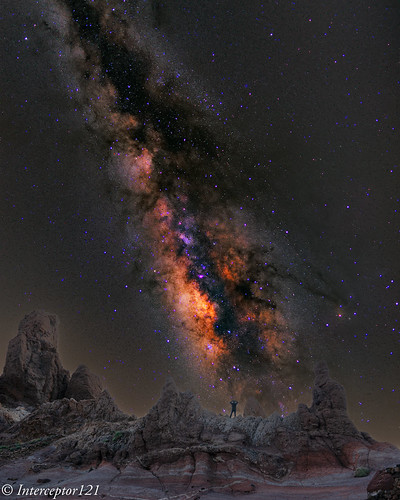
This shot has done very well on facebook with something like 3.5k likes on specialised groups.
In terms of skills there is absolutely nothing in common with underwater imaging. Here you need fast lenses, a tripod and specialised devices like a star tracker. In addition there is a lot of standing around some warm clothes and even a dew prevention device for your lens are in order.
It is generally inexpensive to get into this kind of photography however due to light pollution you may not have any real chance where you are.
Portraiture
This is the genre I have explored the least. It requires additional lighting set up, which I now have, but especially interesting subjects to shoot which in general terms means models. Most models are for hire so this adds extra costs to your hobby. There are several other opportunities like re-enactors, cosplay shows, and others but I have not really explored those. This is an area under development.
Intentional Camera Movement
This includes blurred shots with pans as well as other technique like zoom etc. If you have read about Nick More here and elsewhere you know that those techniques can be used succesfully underwater. Personally although I like the technique for certain use it is definitely not my favourite and remains an area of future but not current focus.
What else?
One lesson that comes from trying different types of photography is that you do not know your camera as much as you think. During the periods of shooting on land I have probably learned more about the mechanics of a camera than I ever did when I was focussed on underwater.
The second lesson is about editing, there are some real photoshop wizards out there and many lessons and tools can be transported back to underwater imaging. I was not a photoshop user before the pandemic now I have the whole subscription set.
Final thoughts
Underwater imaging is an expensive hobby, what I have learned is that if you only do 3-4 trips a year your camera is really under leveraged. There are 365 days in a year and all of them are good to take some photos. Many items especially lenses can be bought on deals or second hand and there are many other ways to enjoy yourself.
I guess as of today I would class myself predominantly an outdoor photographer, indoors shots remain the minority and studio is not really something I do however I think the pandemic was a great boost to my imaging in general and I hope you find this article stimulating for you to try new things where you are as well as when you travel.