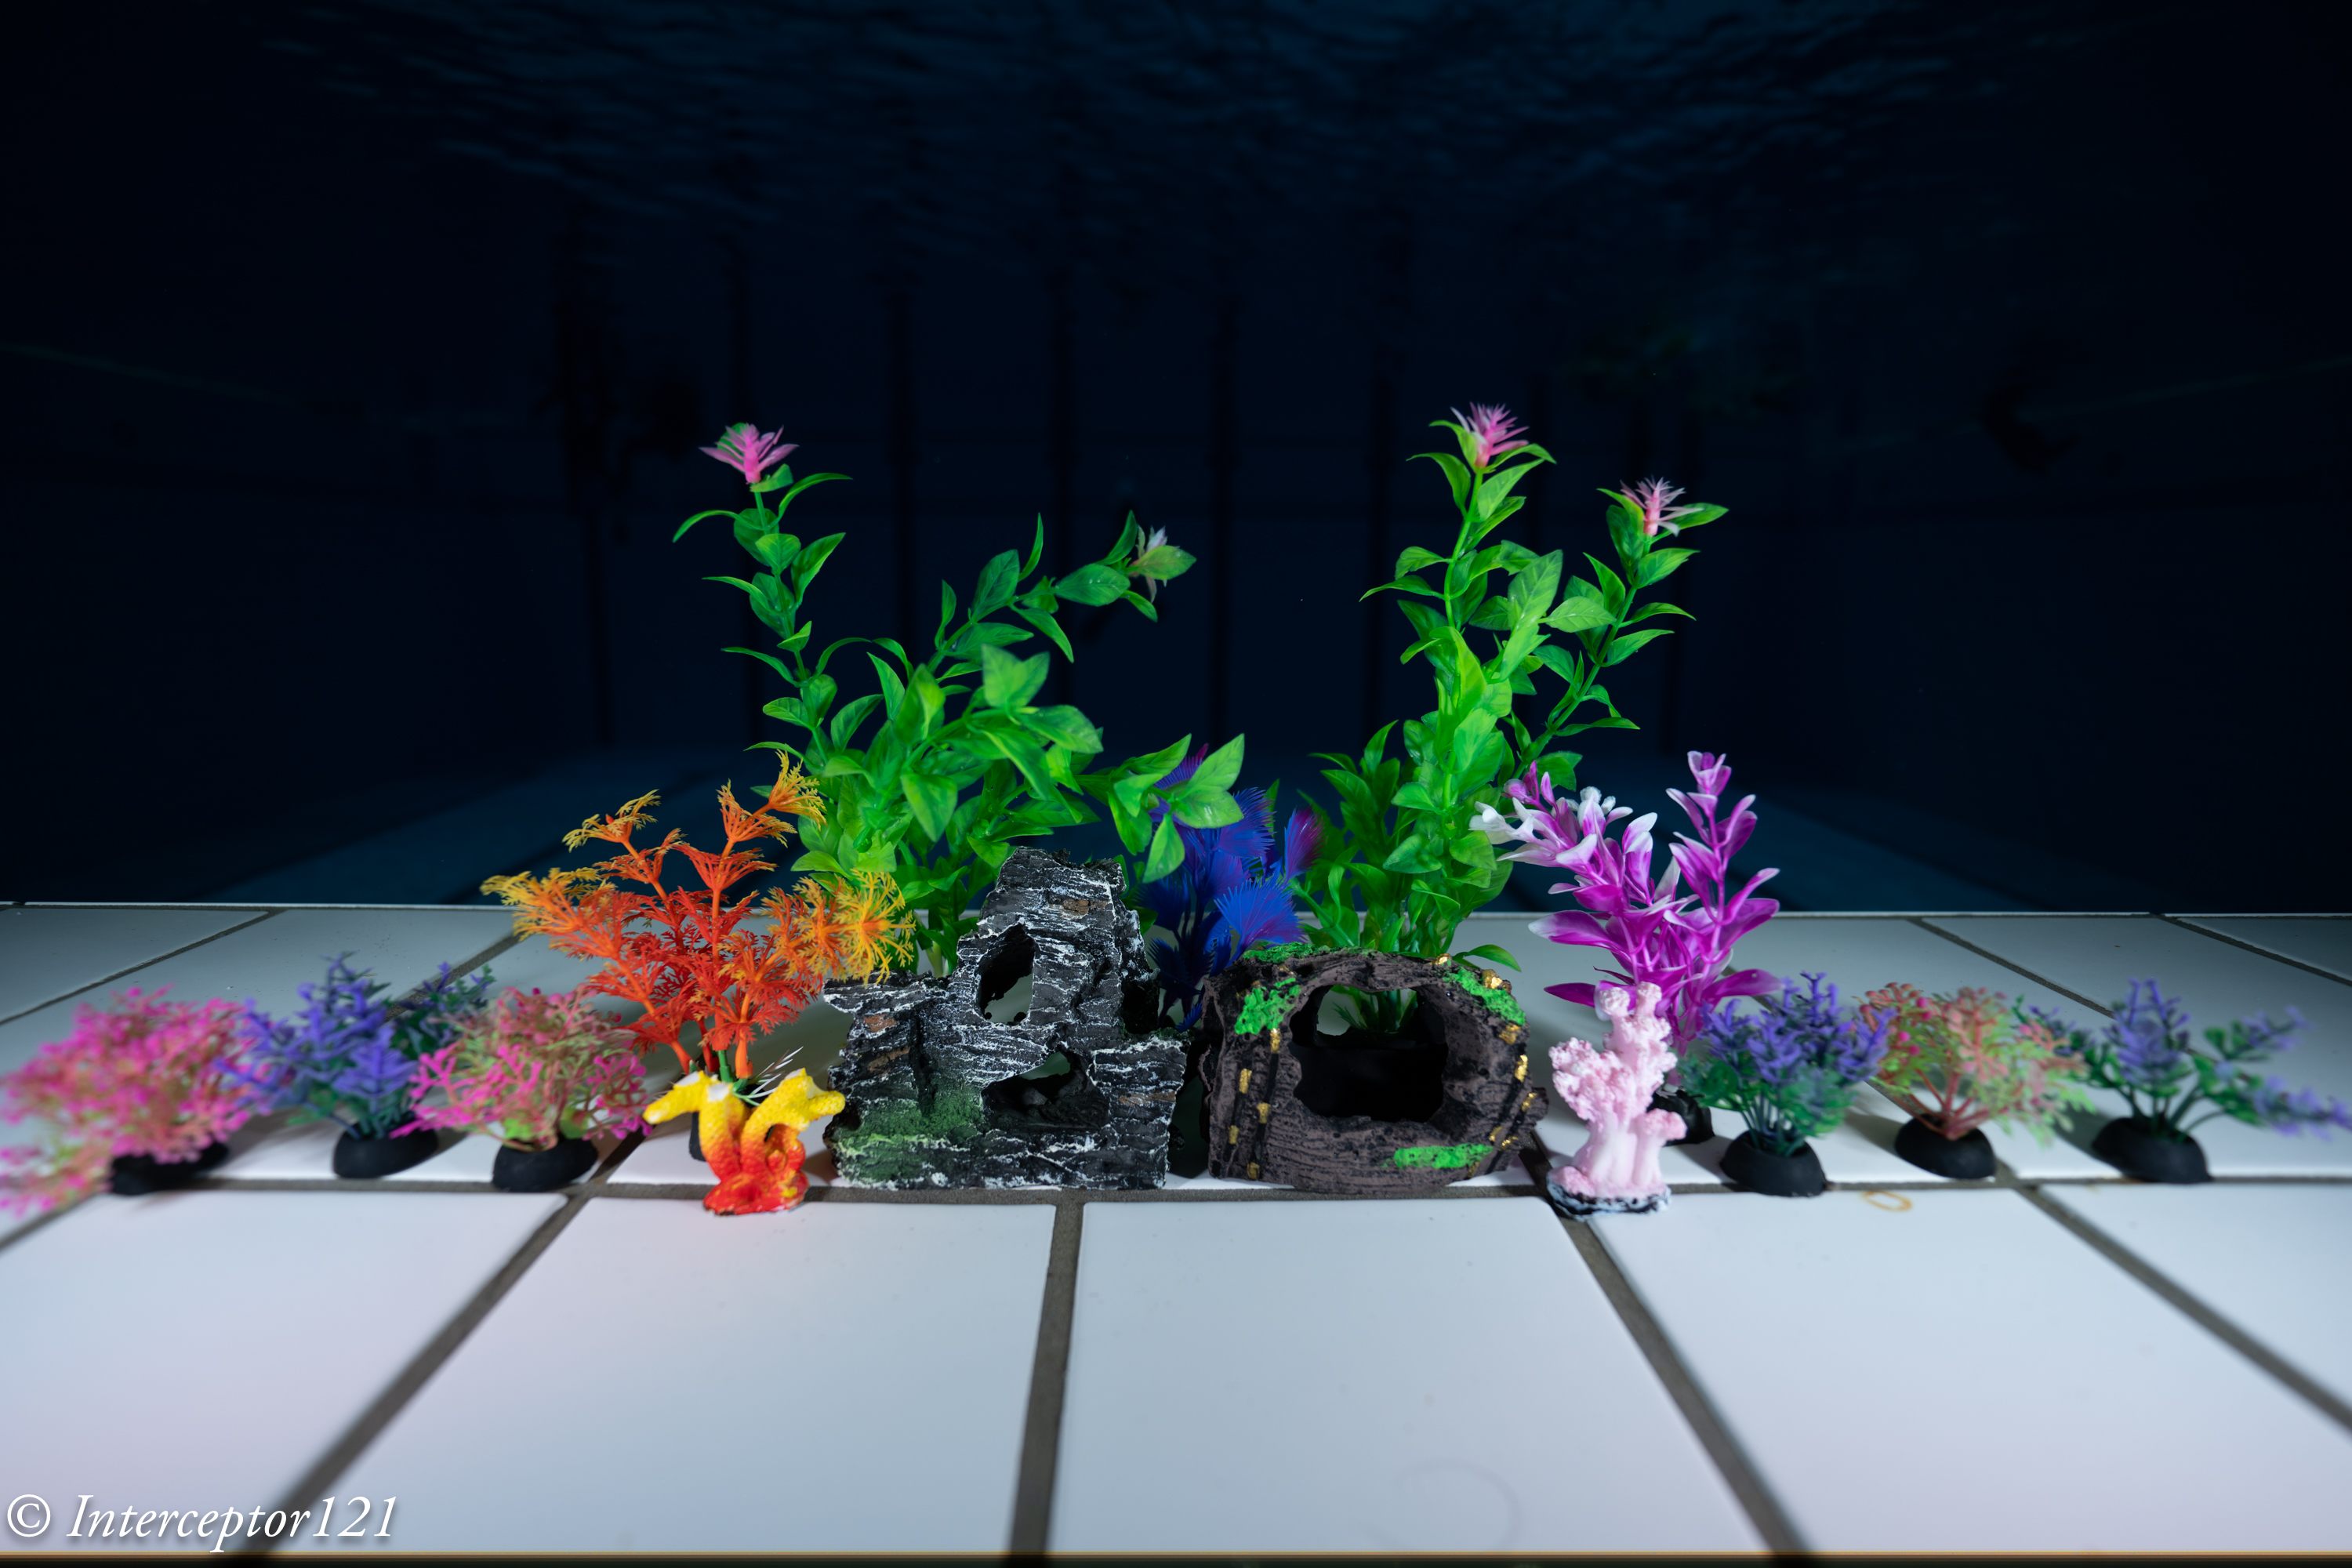
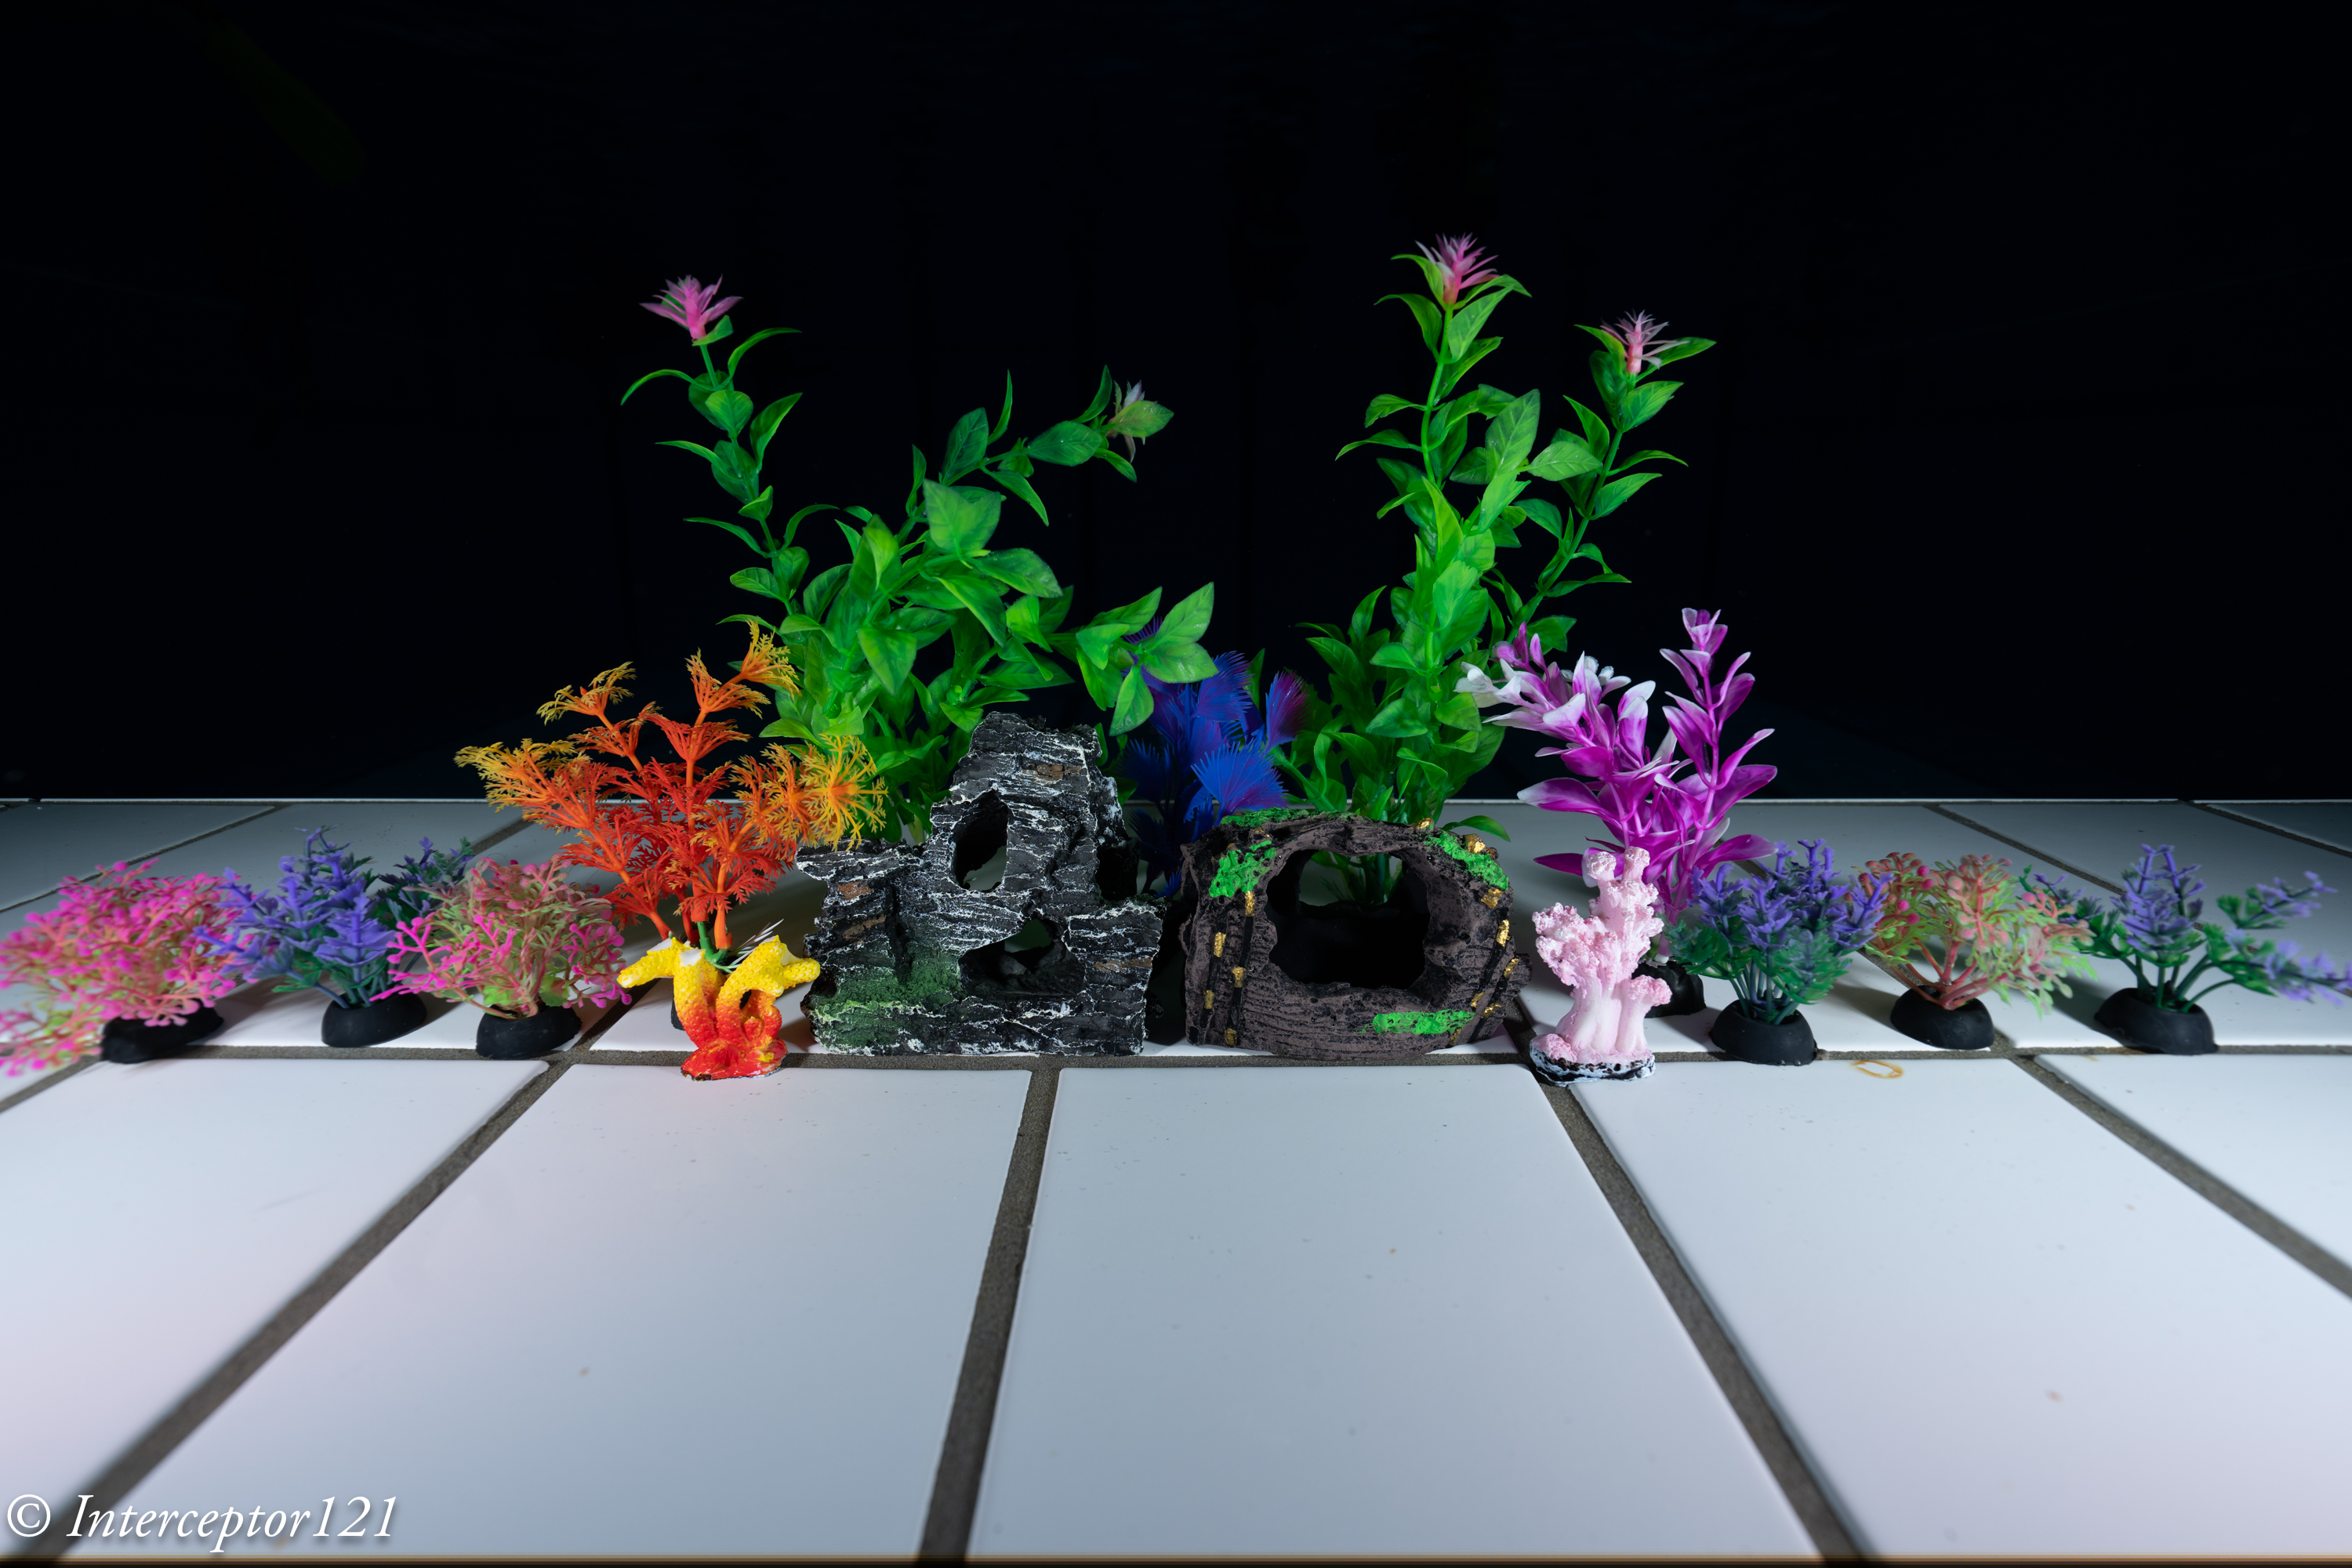
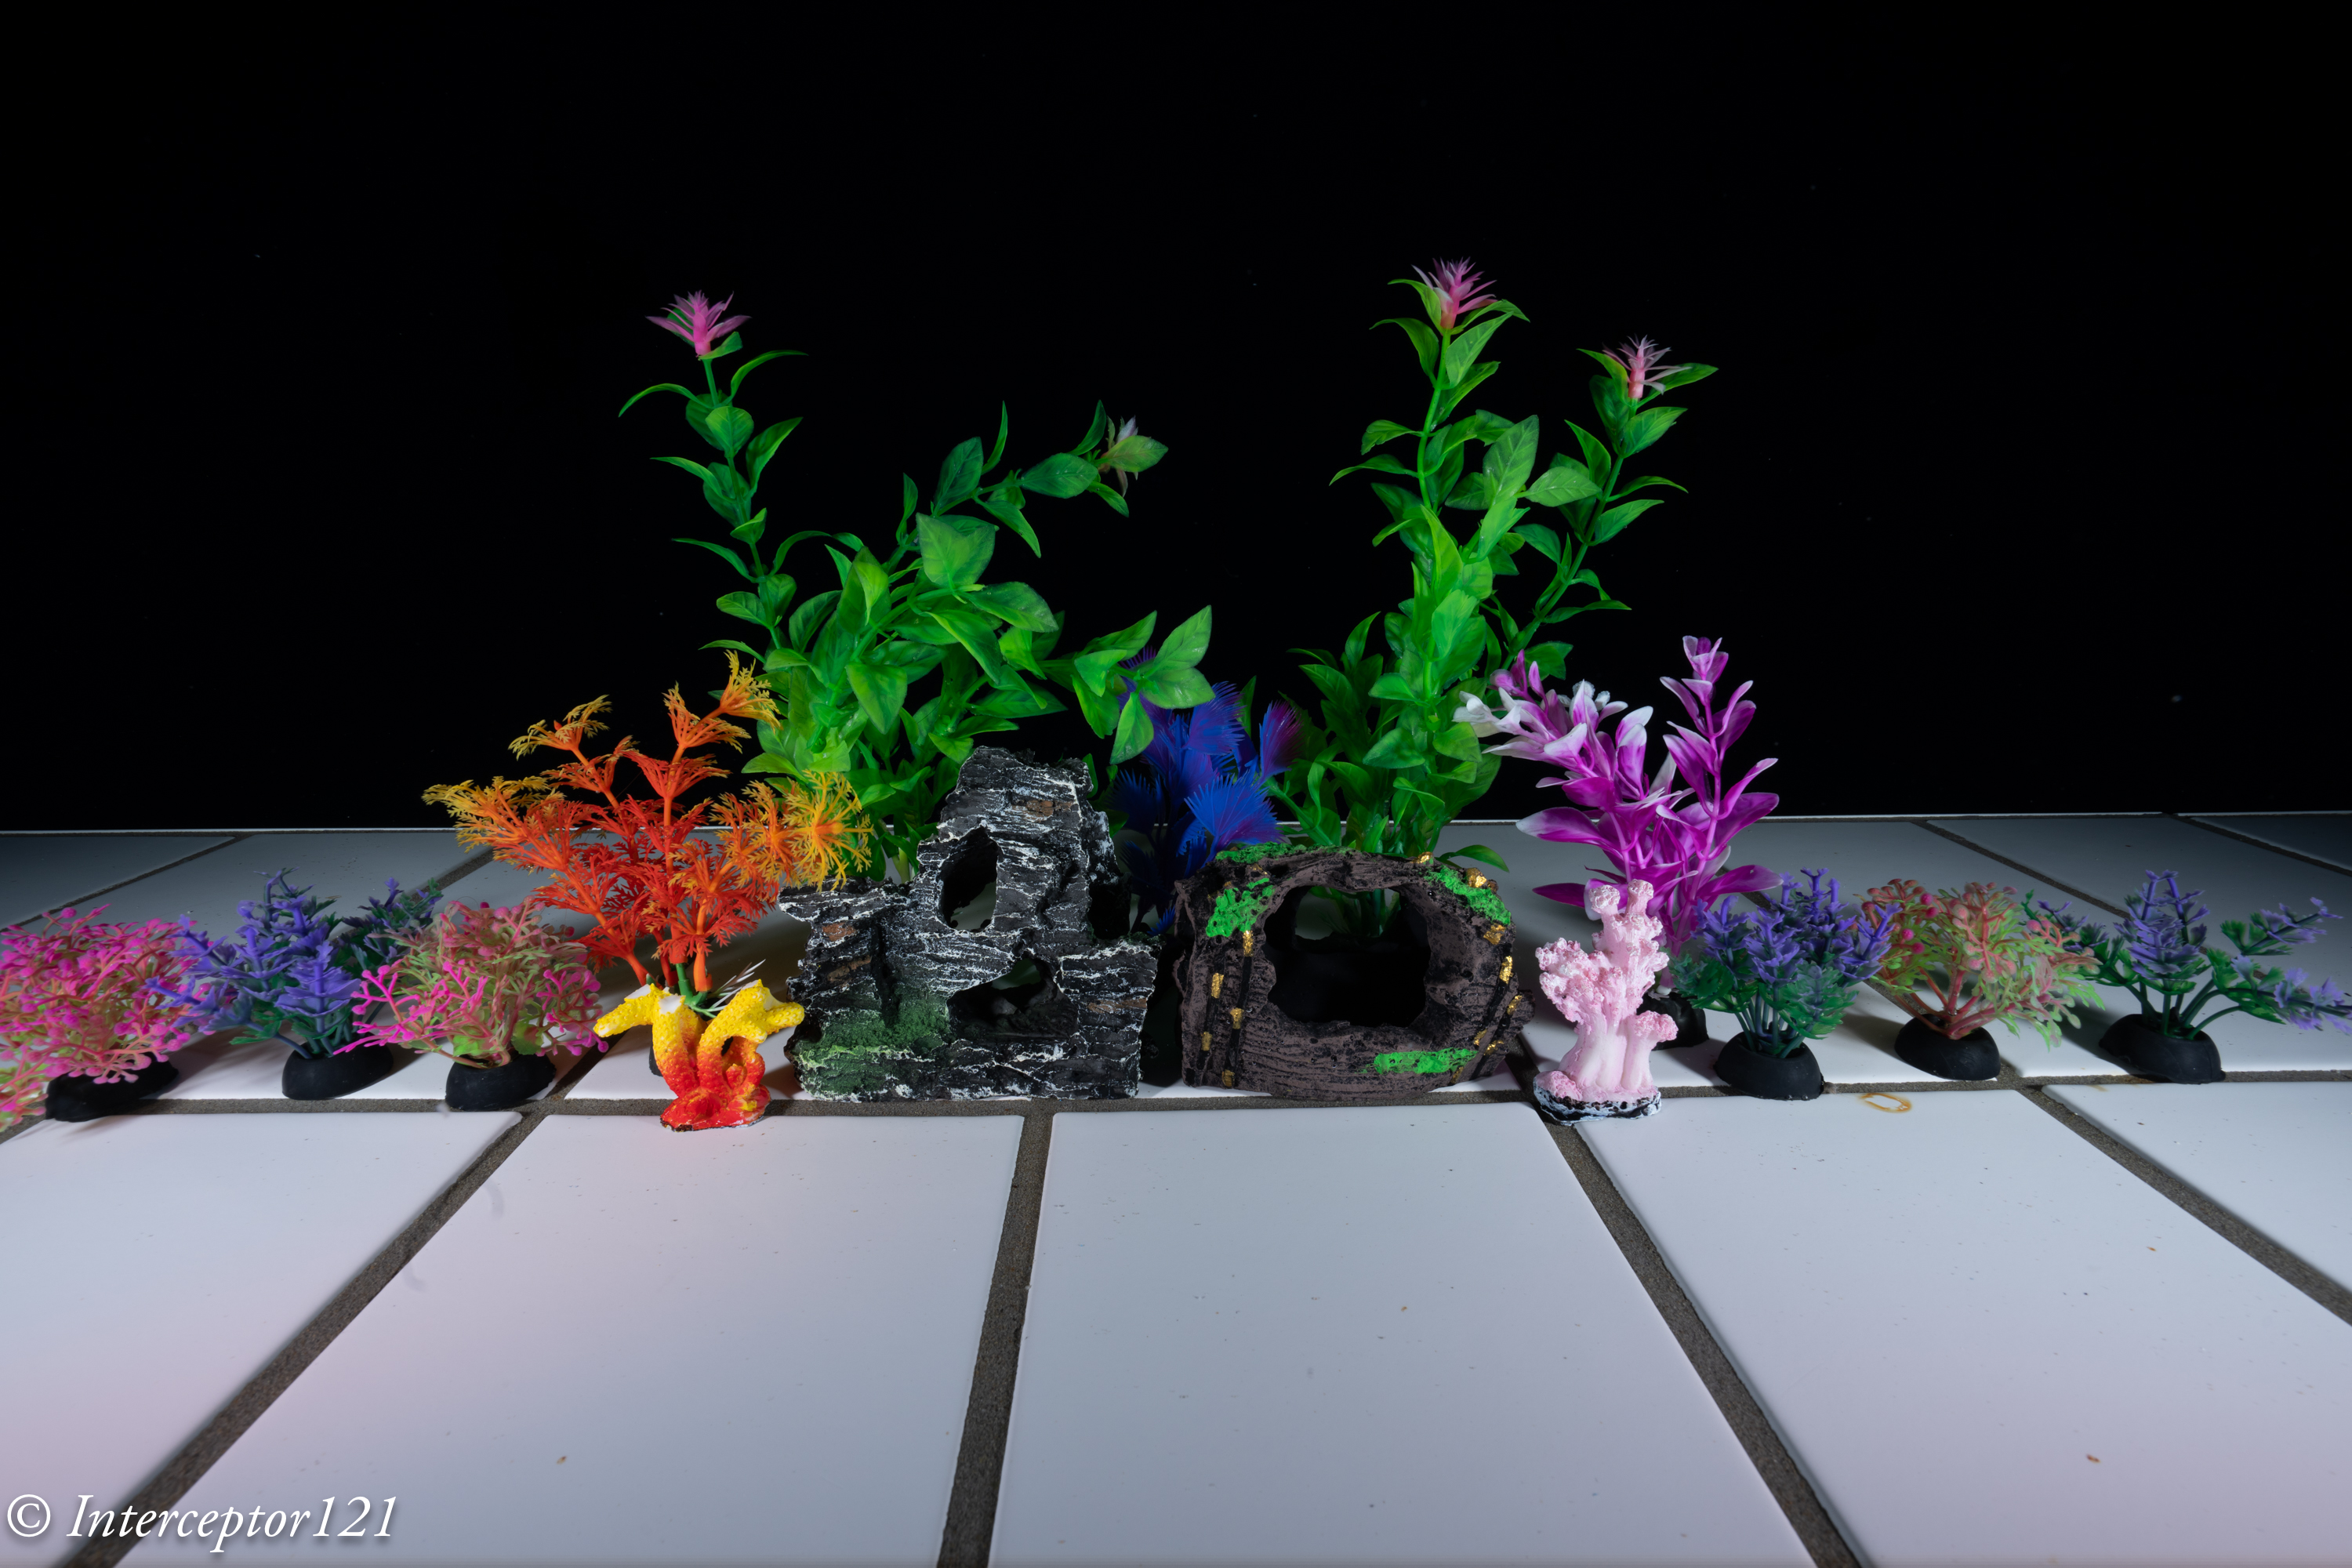
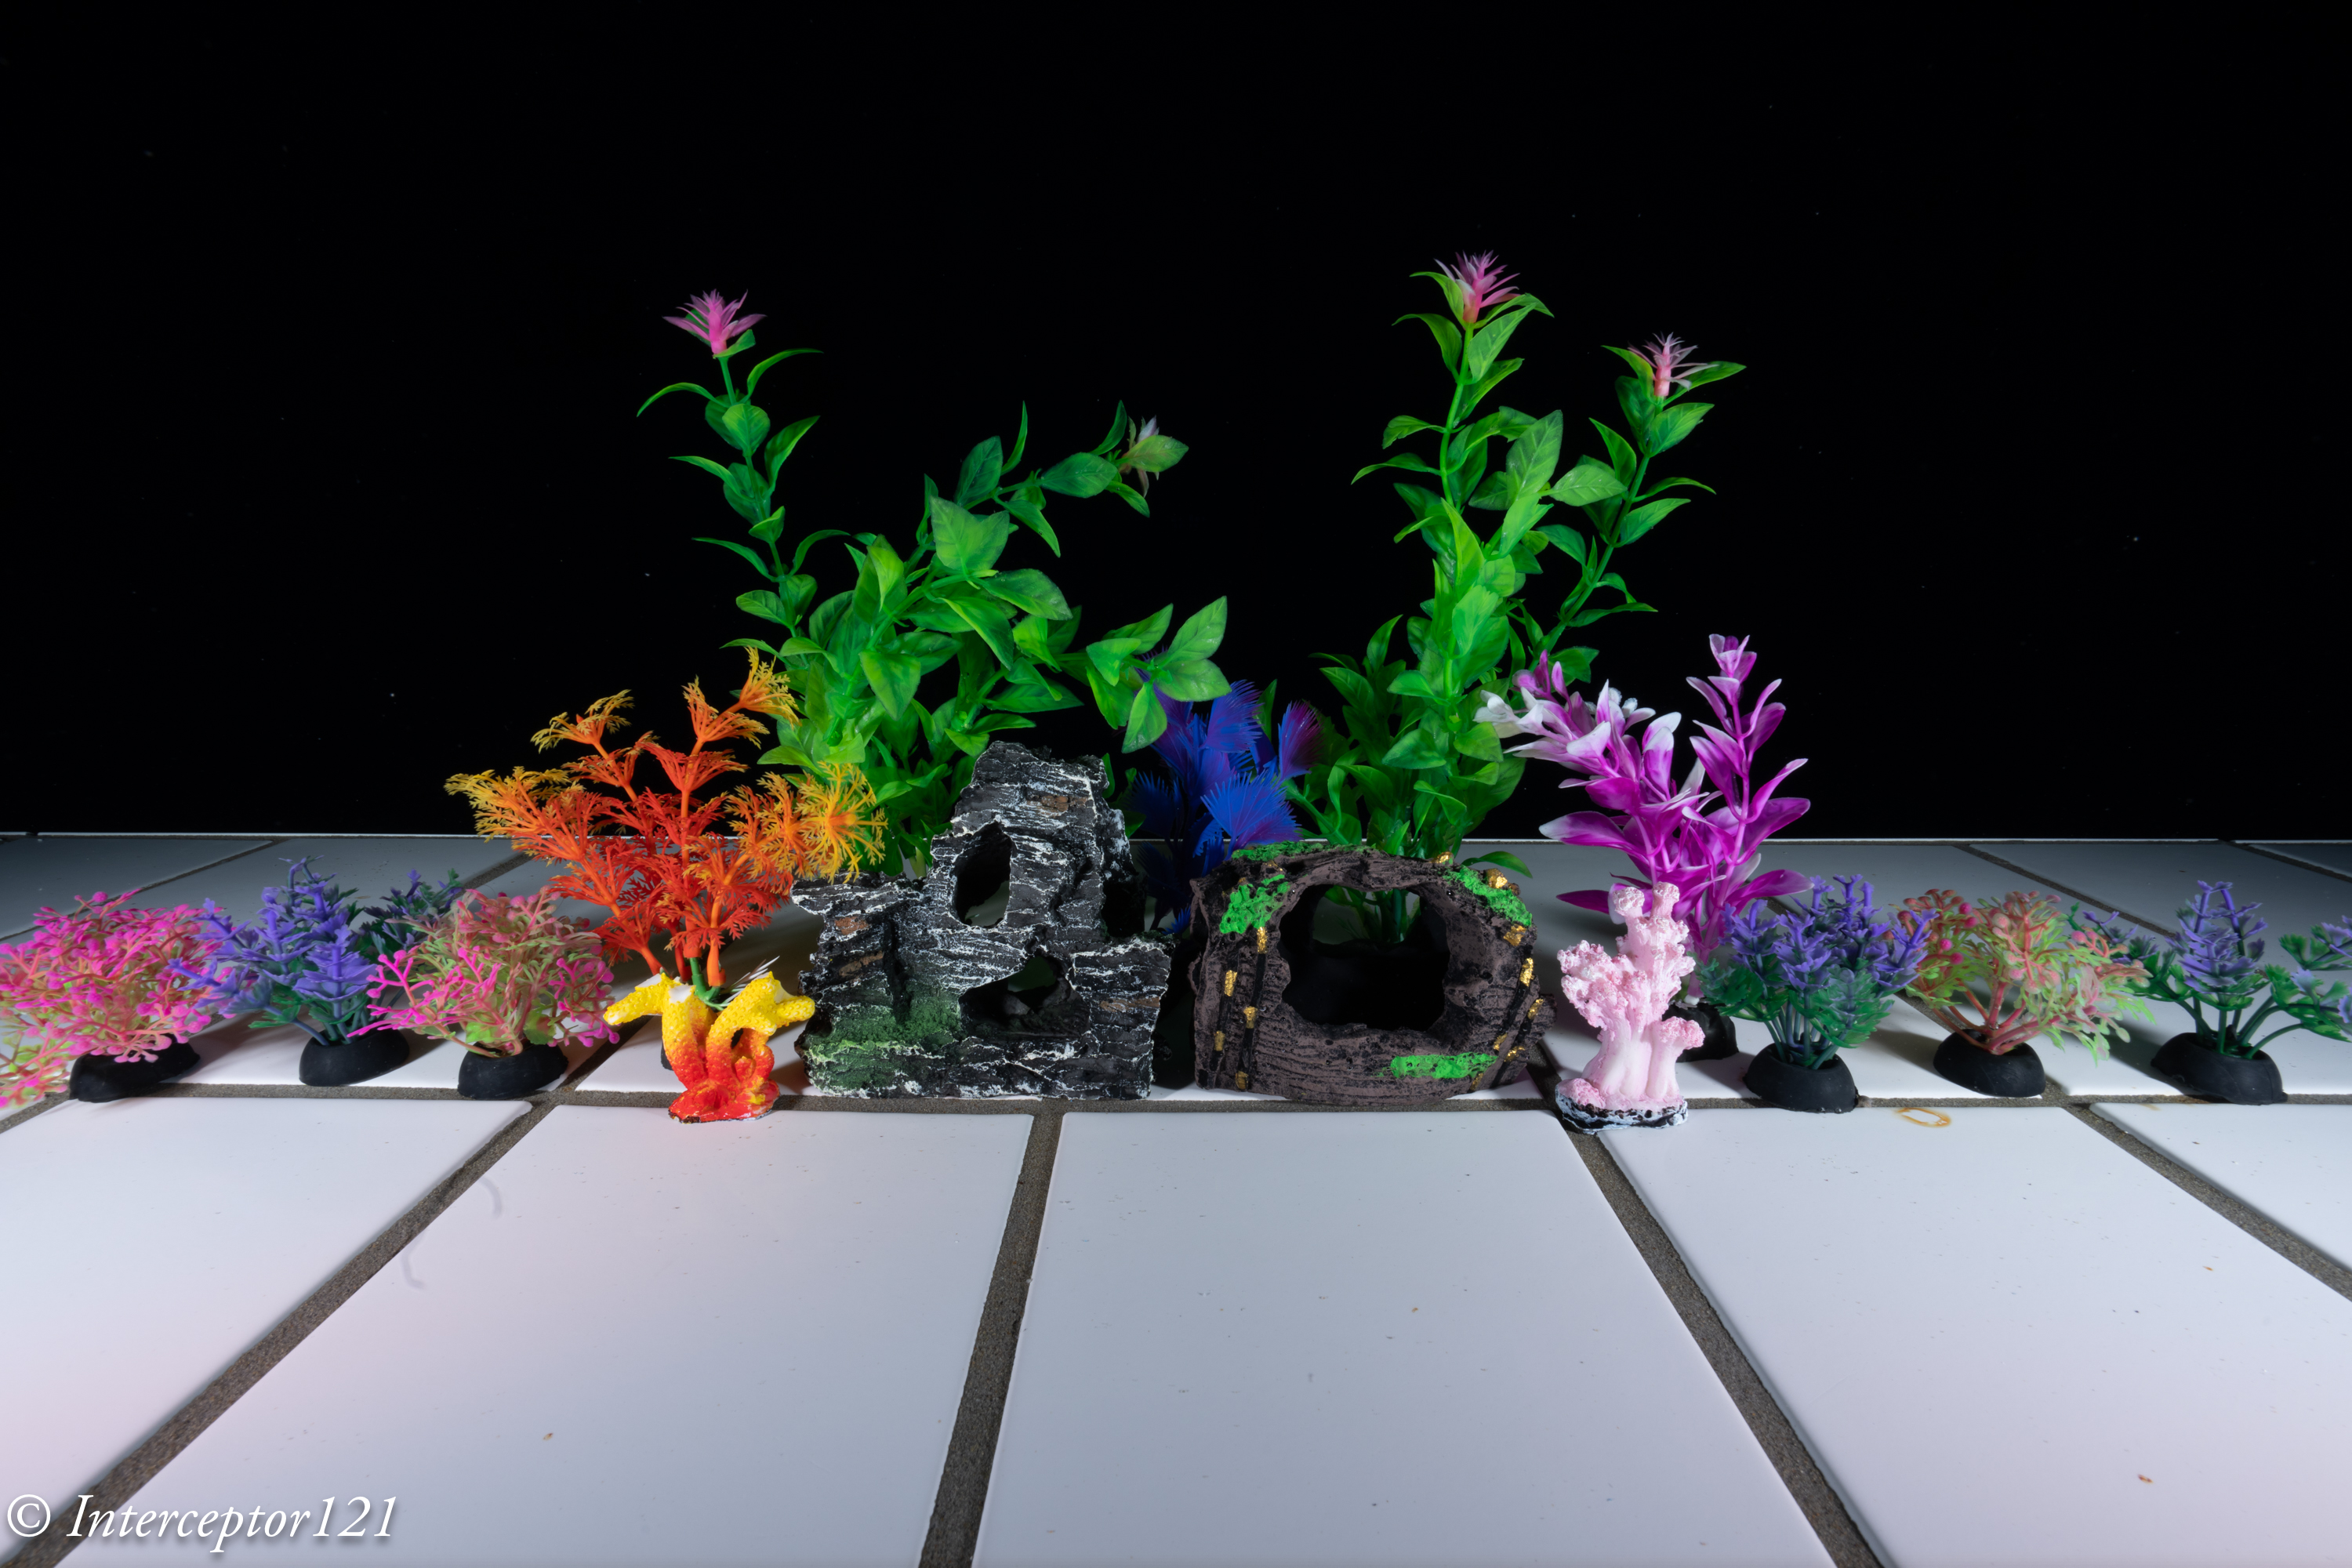
As I wrote in a previous article this lens has several strengths
Close minimum focus distance (19 cm wide – 26 cm tele)
Lens does not extend when zooming
Reasonably compact (99 mm and 420 grams)
Good sharpness at the edges from f/4 onwards
Low cost compared to other Sony lenses.
The lens will cost you $799 vs $2,299 of the Sony 16-35 GMII which is the best lens in this class however the price difference will convince most people especially those only using the lens underwater that the Tamron is the way to go.
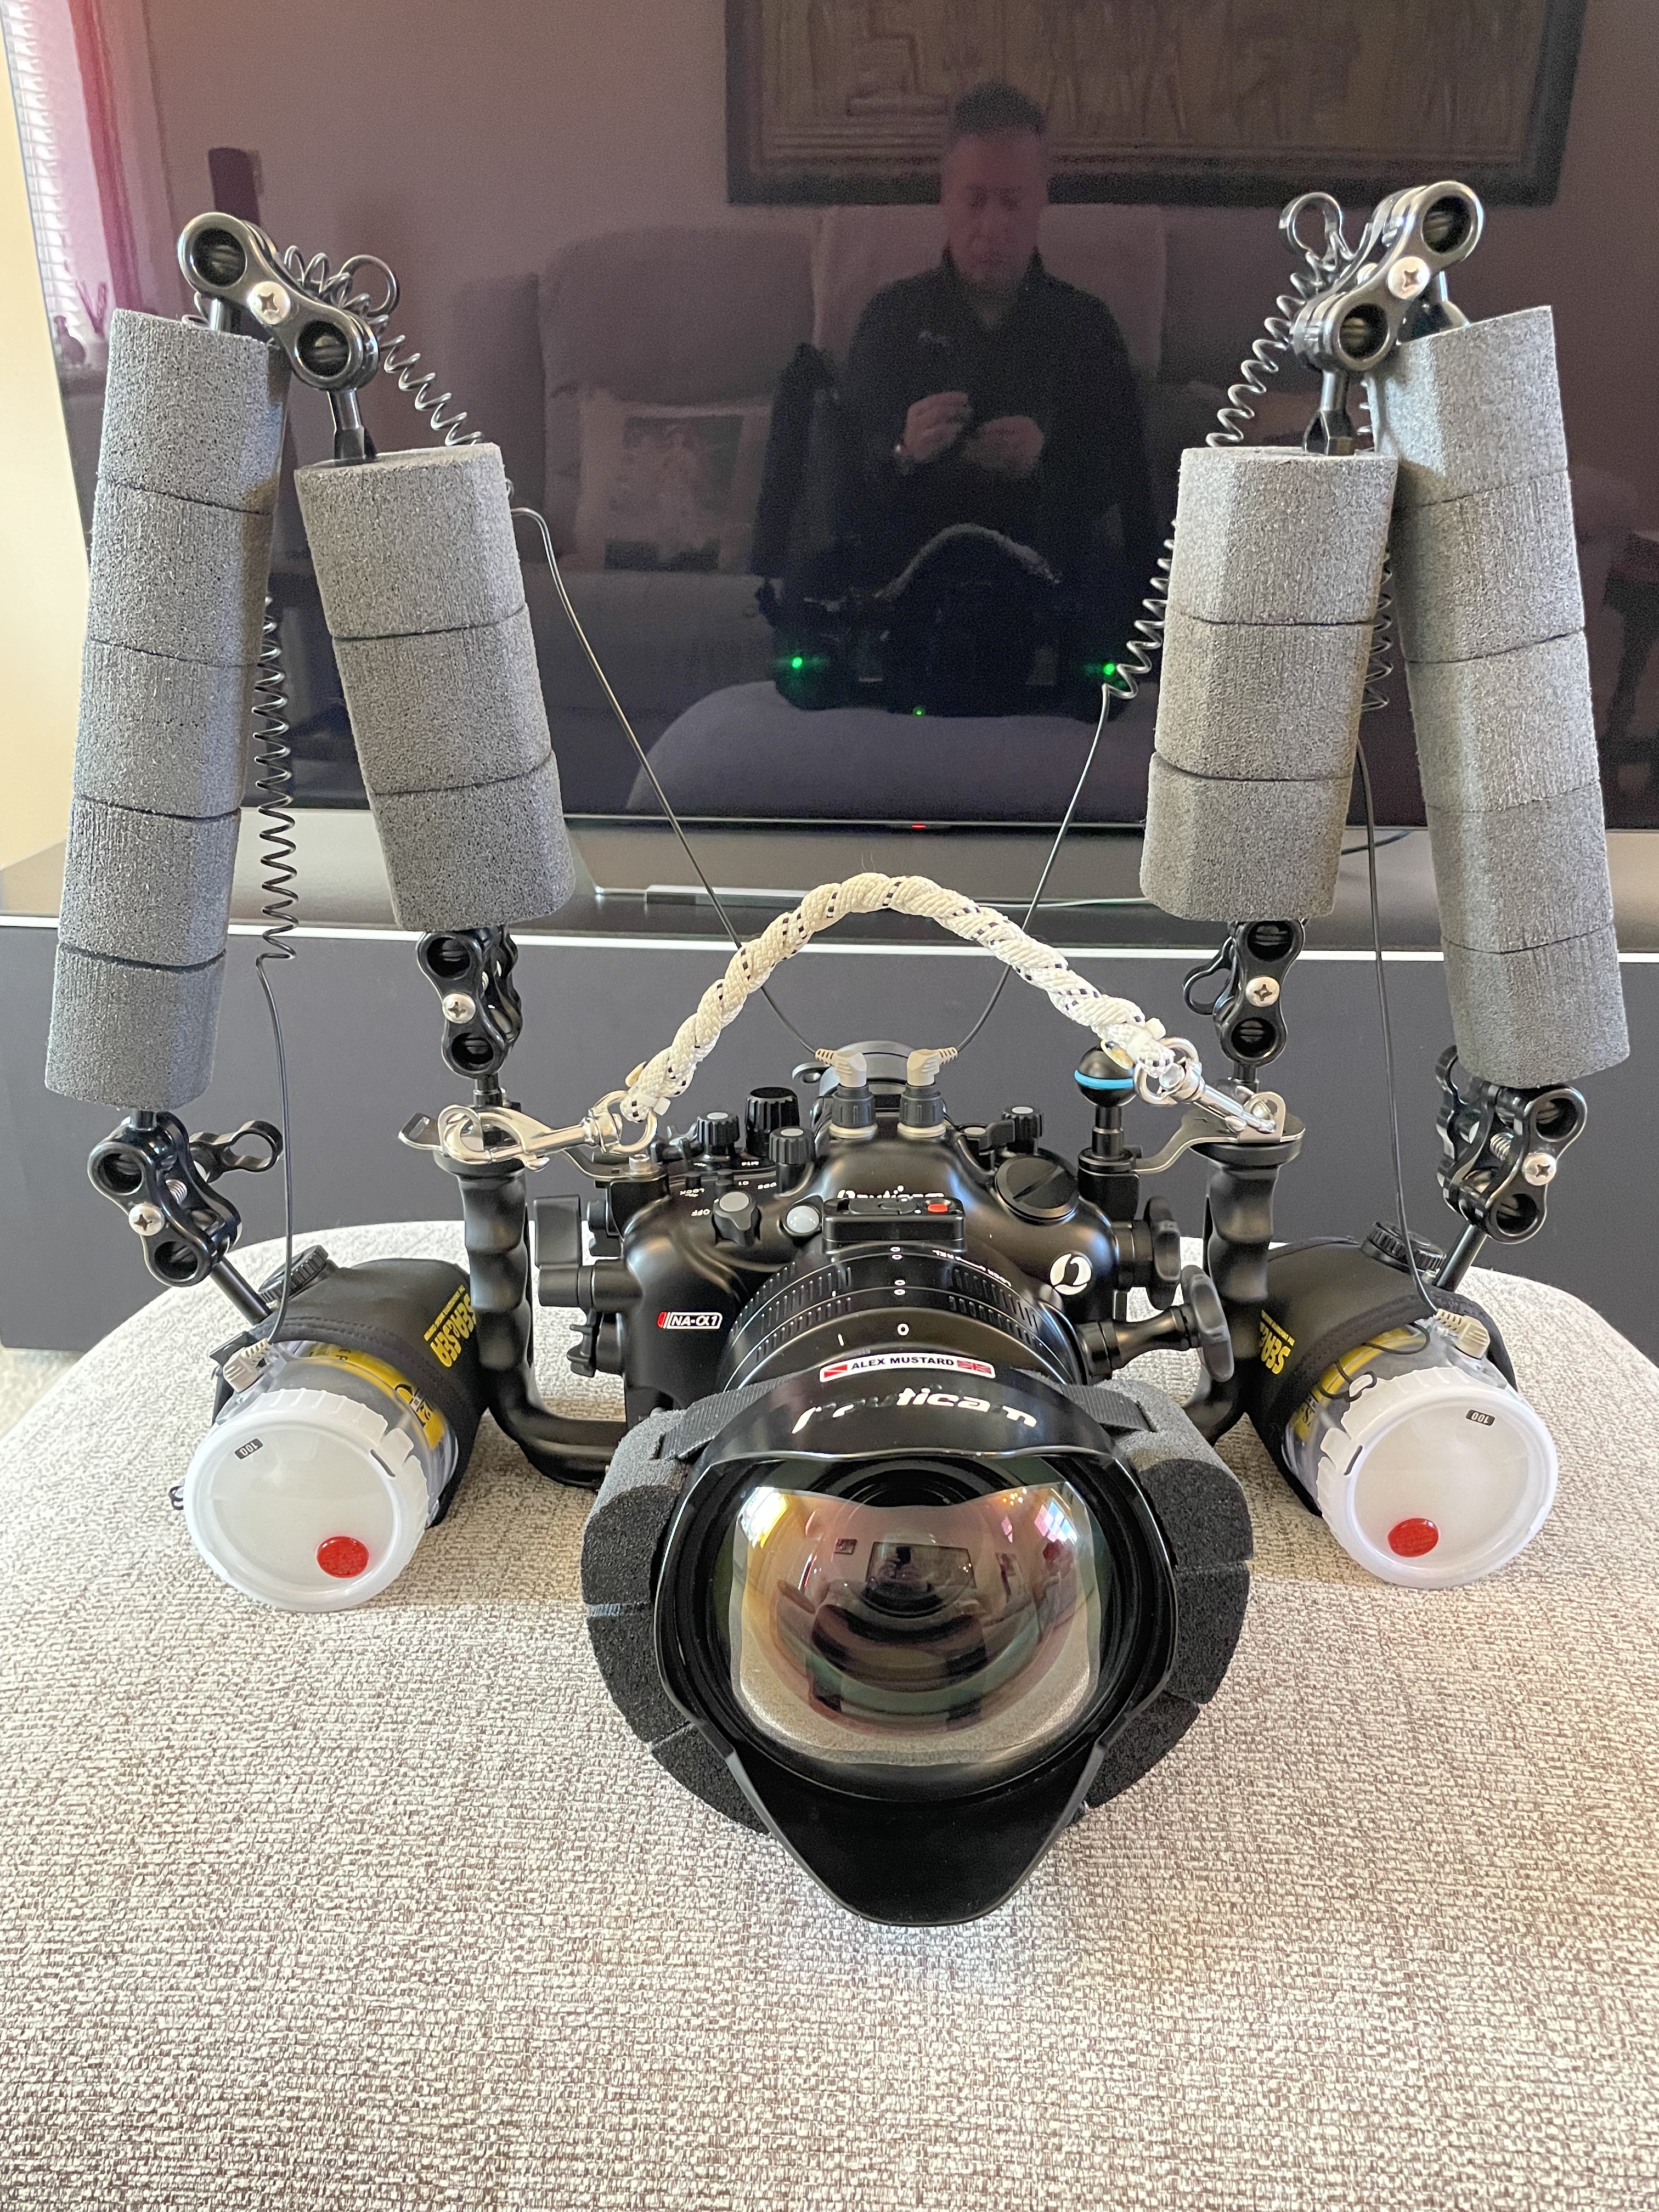
Parts for Nauticam Housings
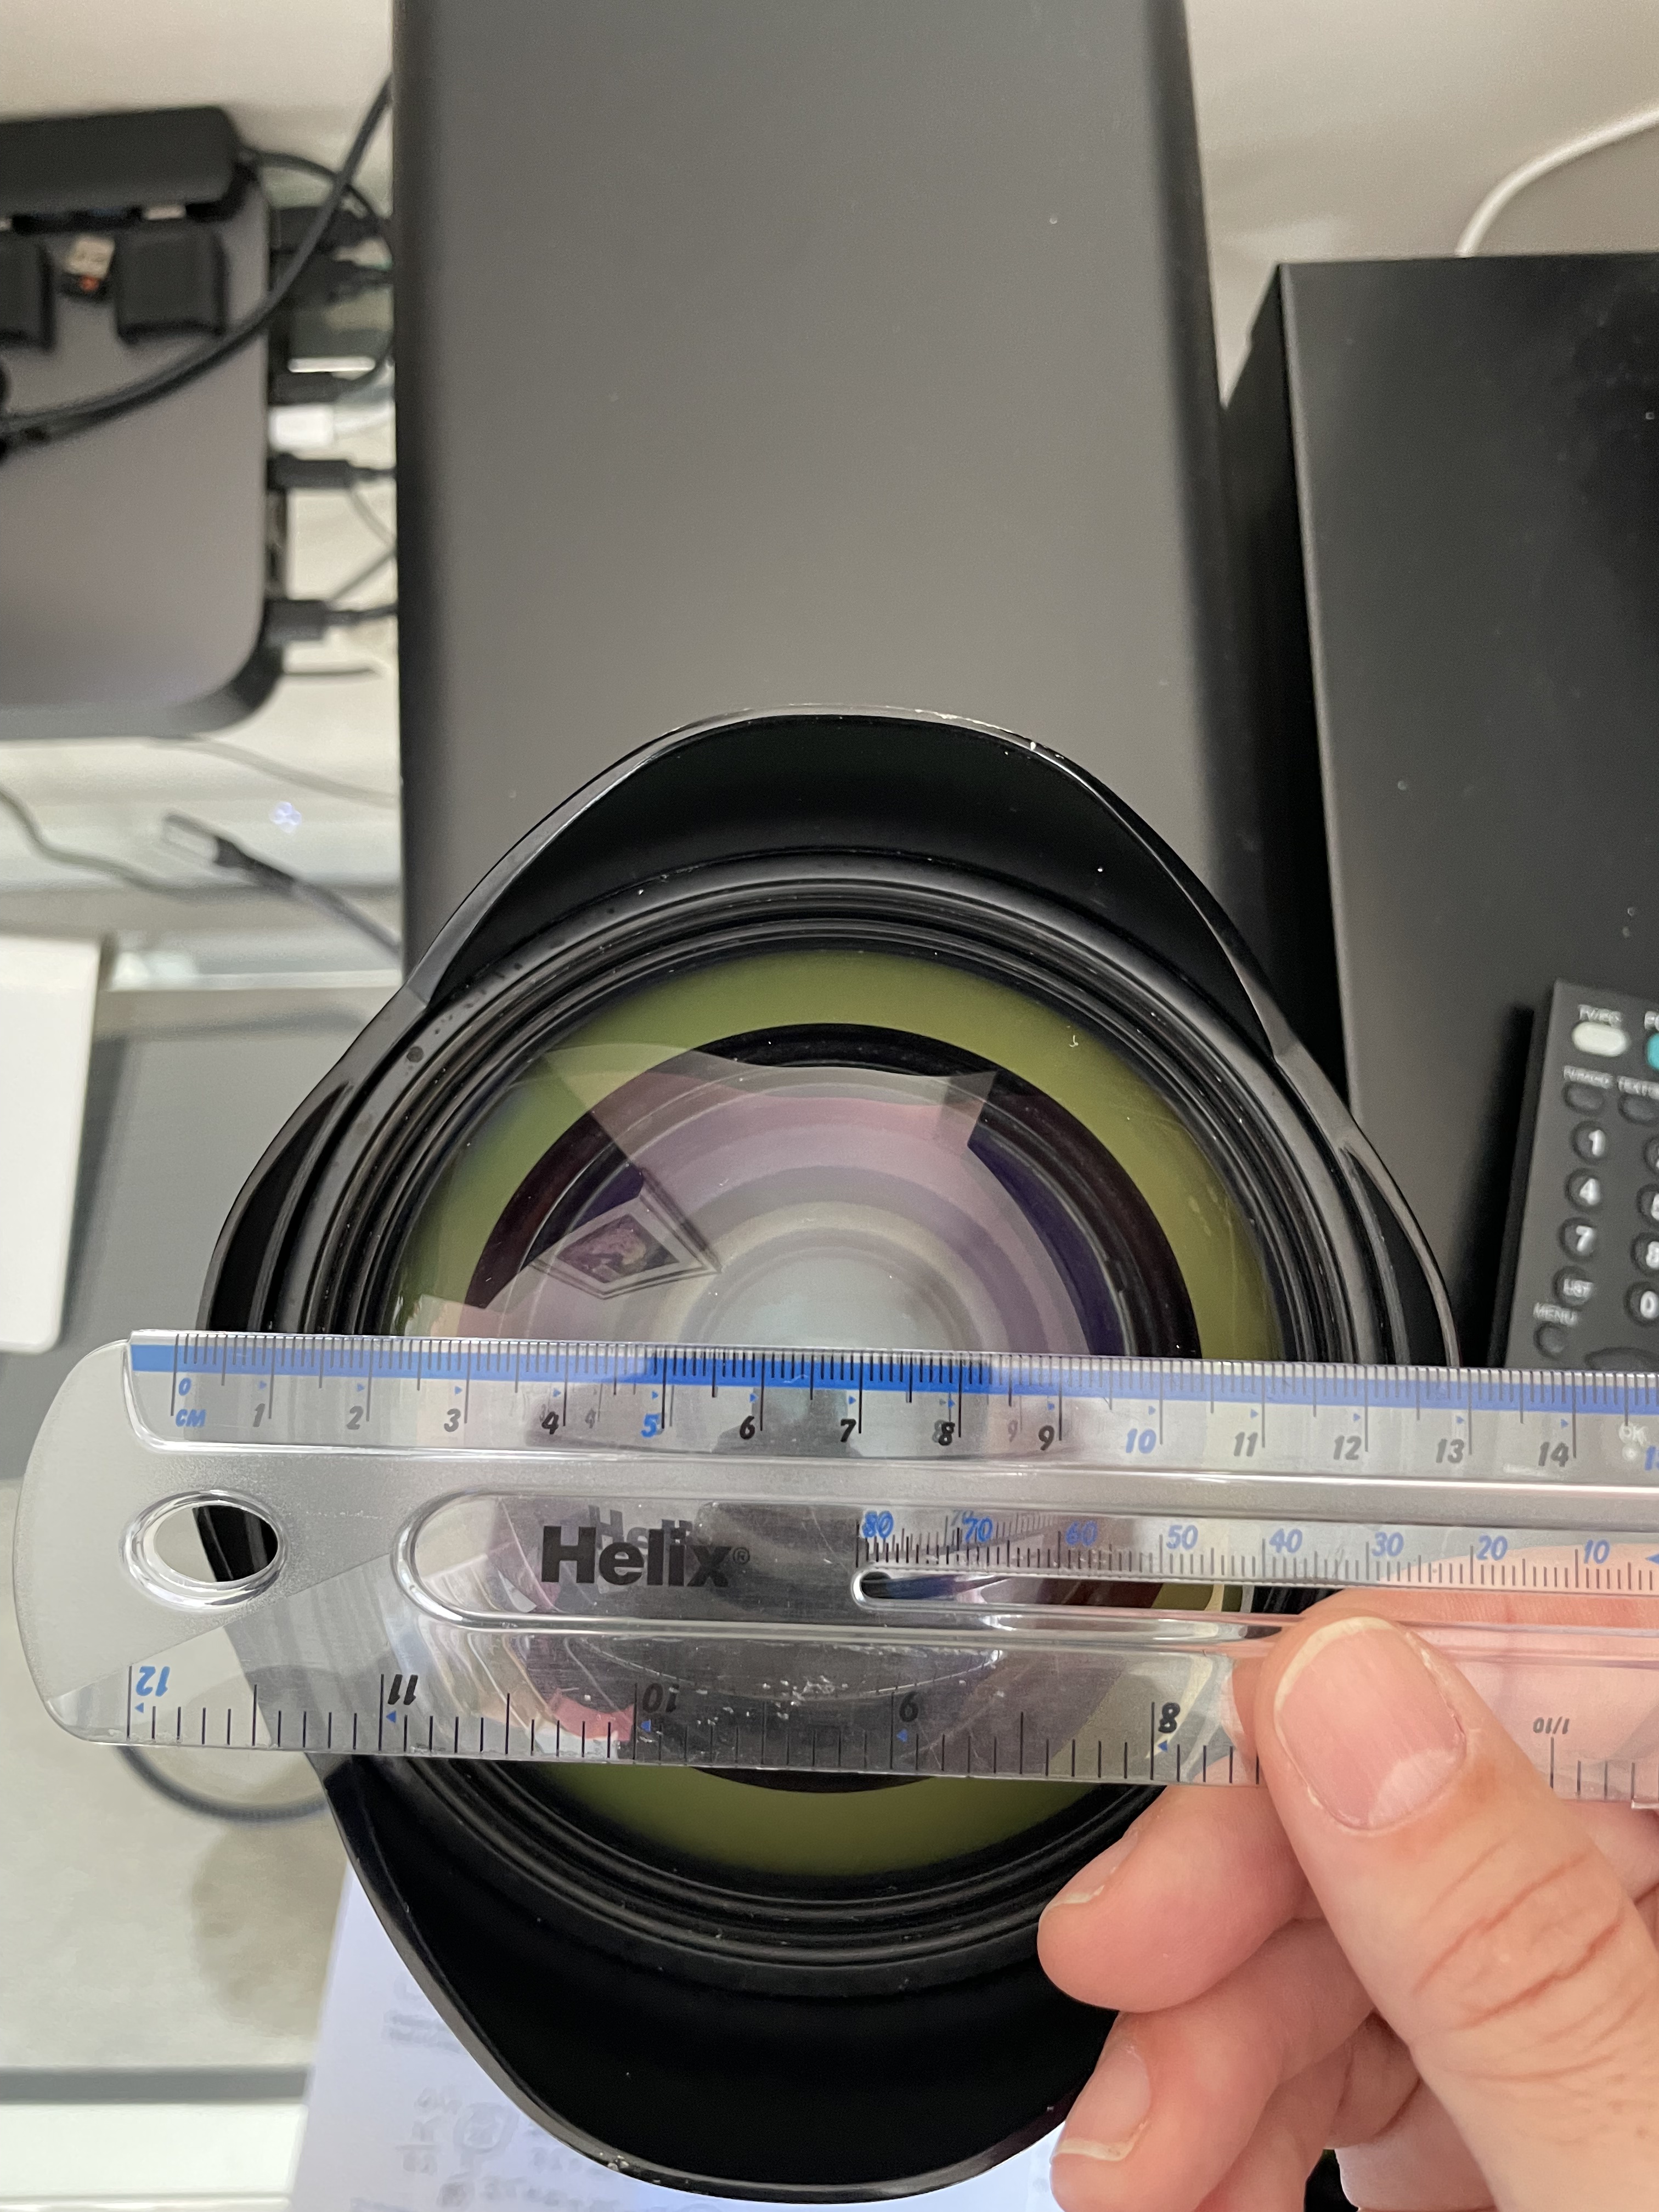
The Nauticam 18809 wide angle dome port is not a classic dome but has design without a flat base. The port has 11cm radius of curvature and is 85mm deep 180mm wide this means the entrance pupil needs to be 25mm behind the extension.
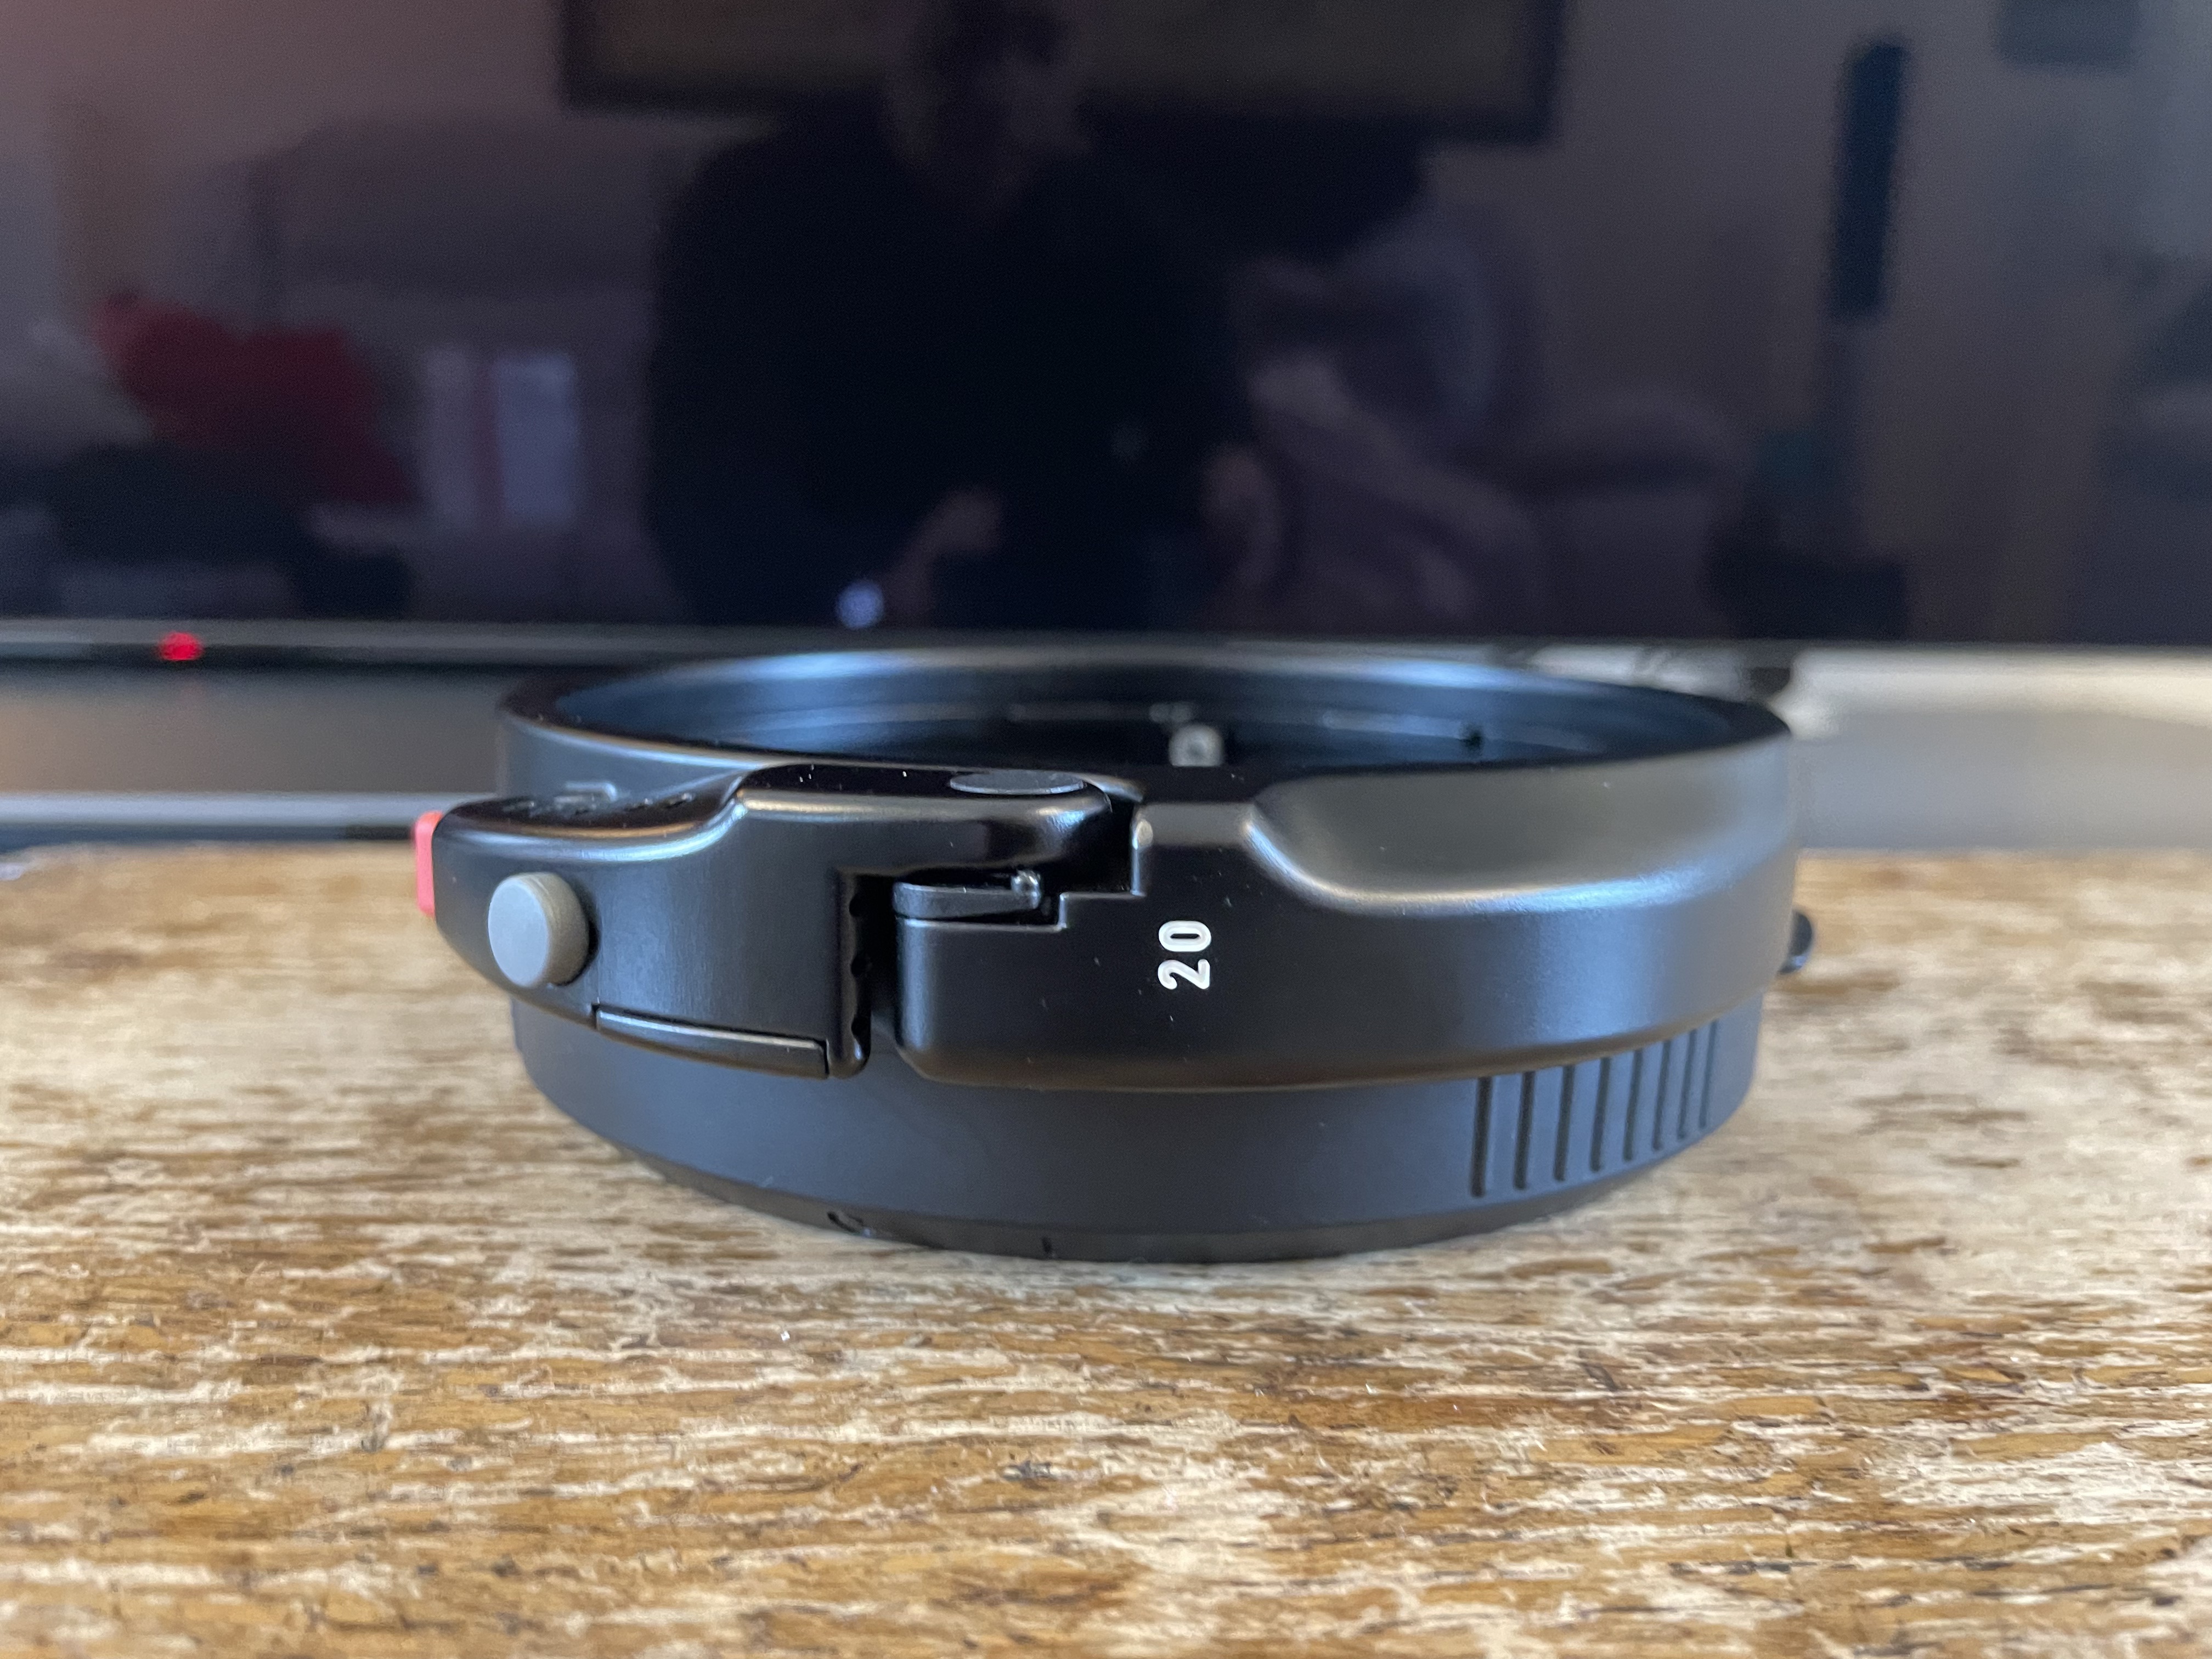
Nauticam 18809 180mm Wide angle dome port
Nauticam recommended extension is 40mm when combined with the 35.5mm N120 to N120 port adapter. Due to the shape of the lens this cannot be used with the N100 port as the zoom is close to the front of the lens.
Tamron 17-28mm with Nauticam zoom gear
Underwater housing manufactures unfortunately do not apply any science to the selection of domes and extension for a lens but out of pure coincidence the 40mm extension ring is what this lens requires.
Tamron 17-28mm 35.5 adapter and 40mm extension
With the 40mm extension the glass port will be exactly 11 cm from the entrance pupil and focus right on the surface.
The Nauticam parts will set you at $2,284 for the gear, extension and wide angle port.
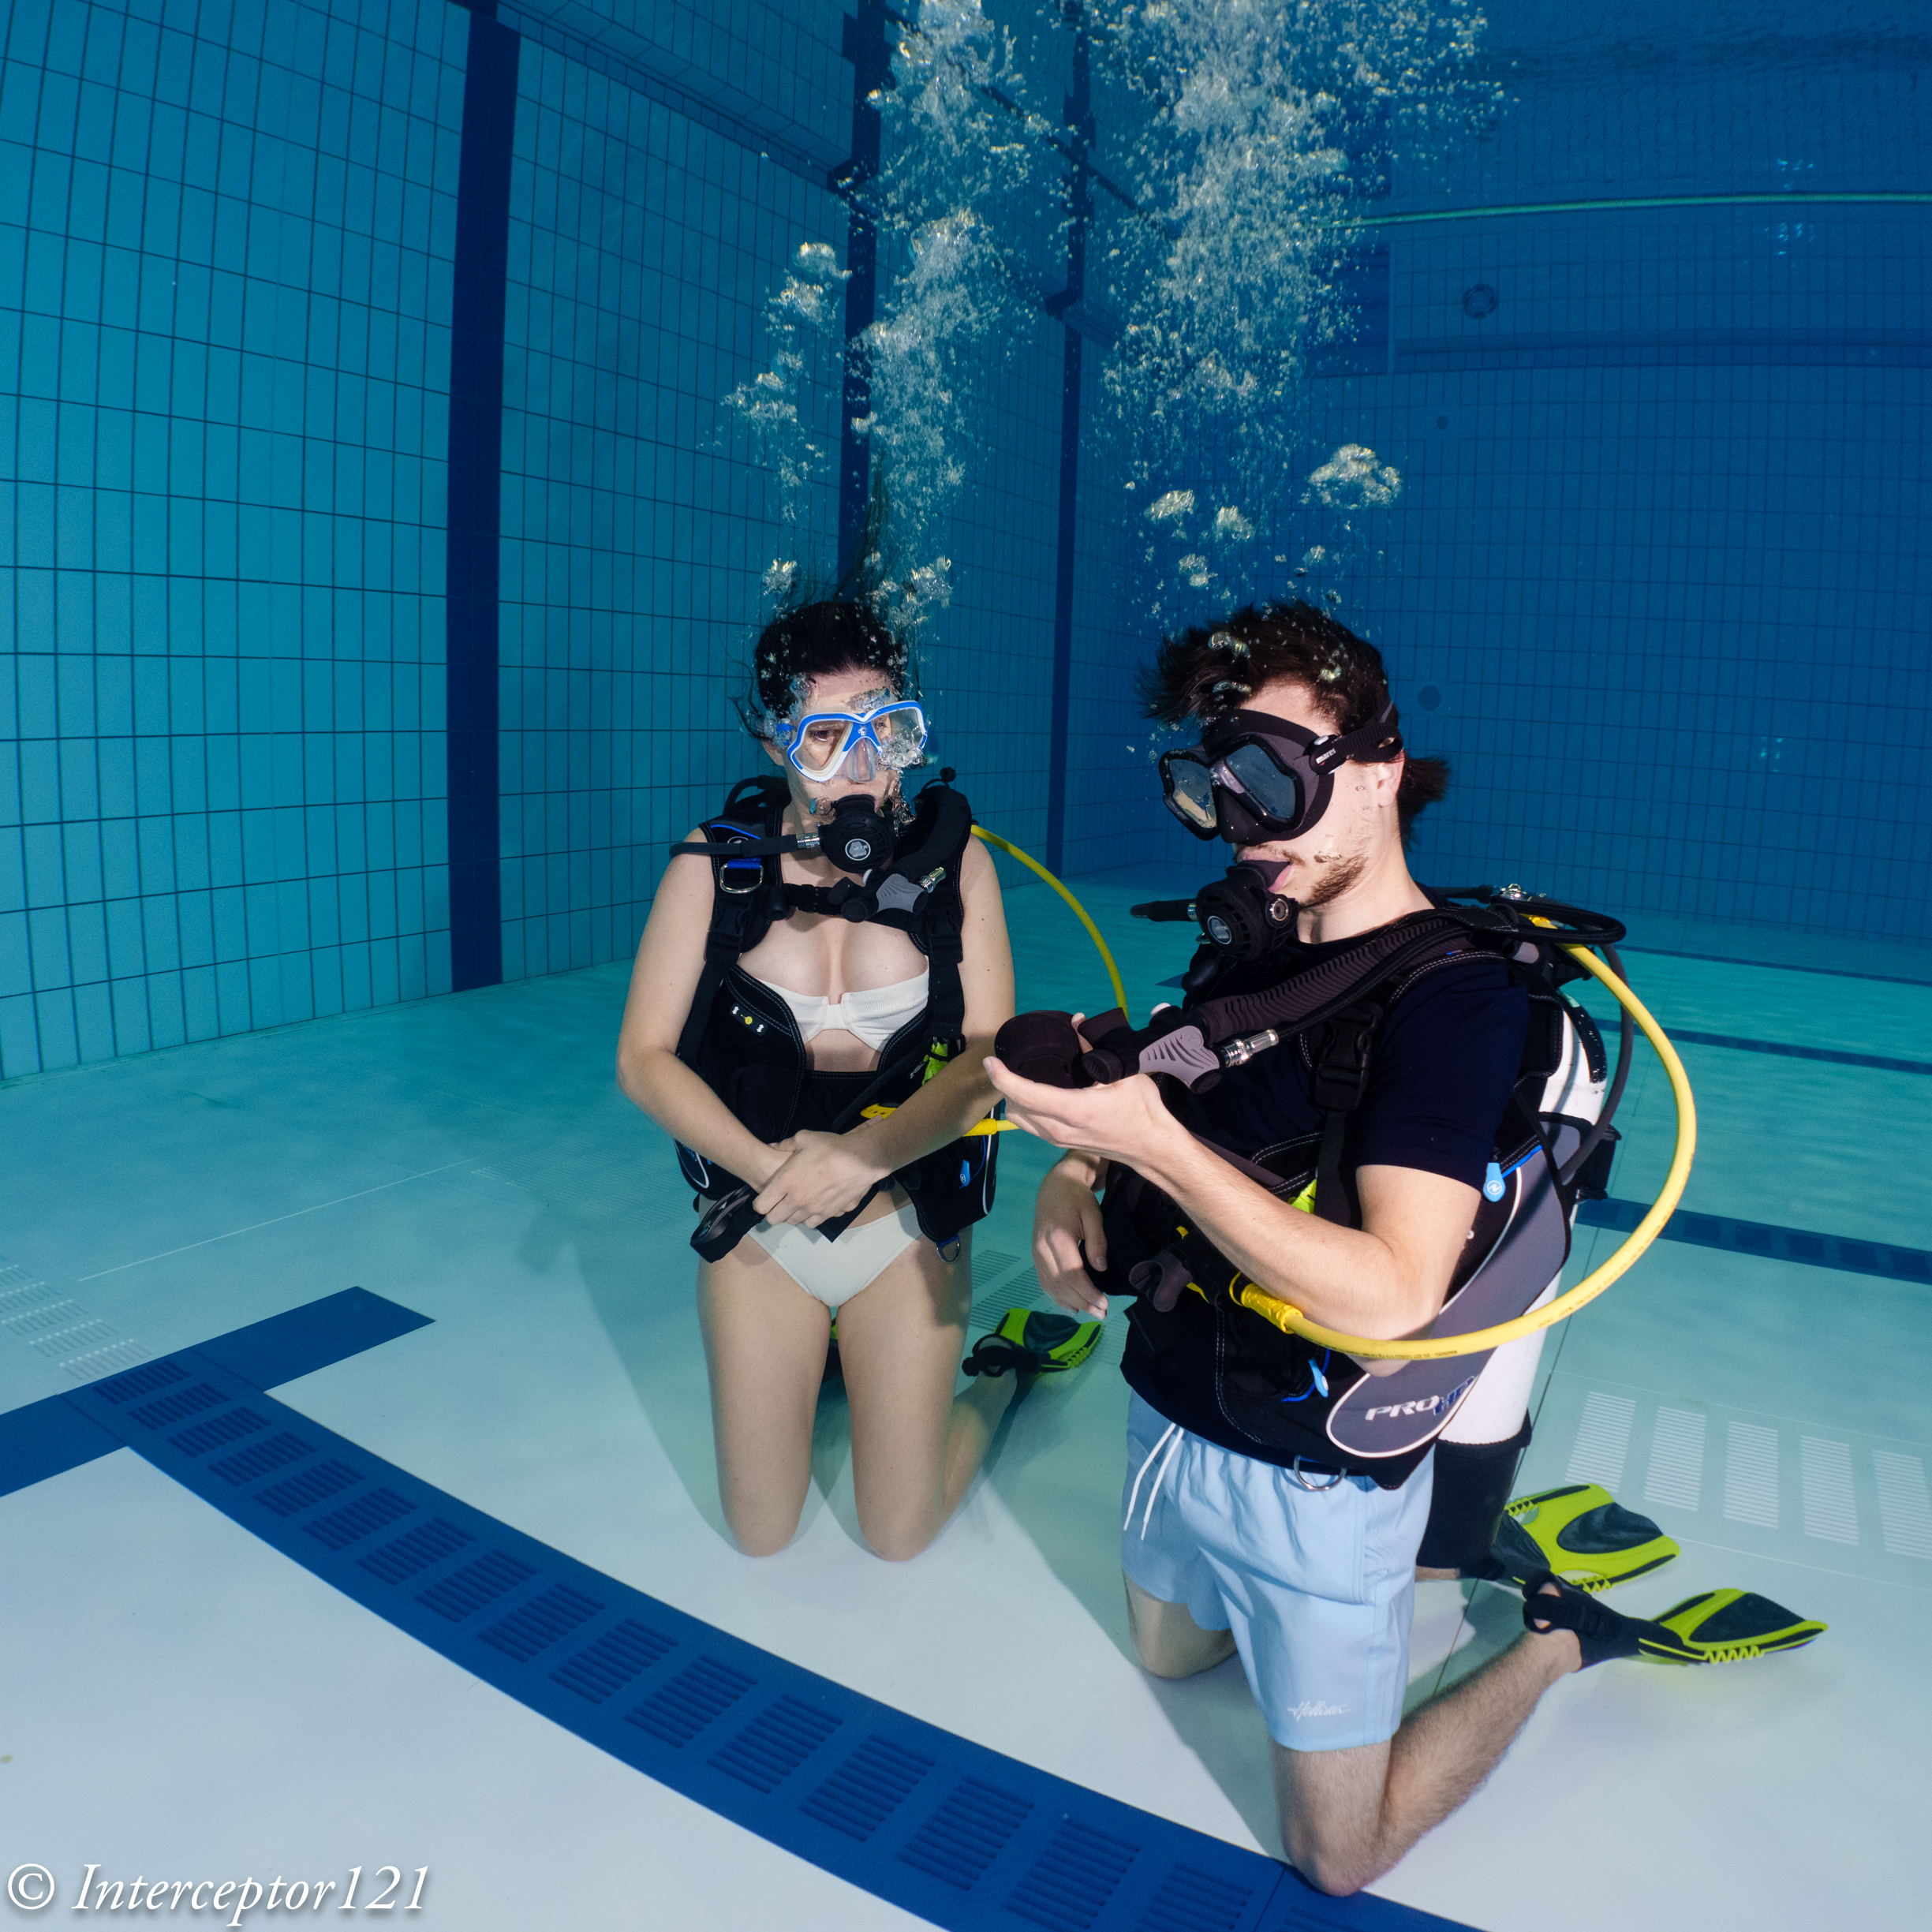
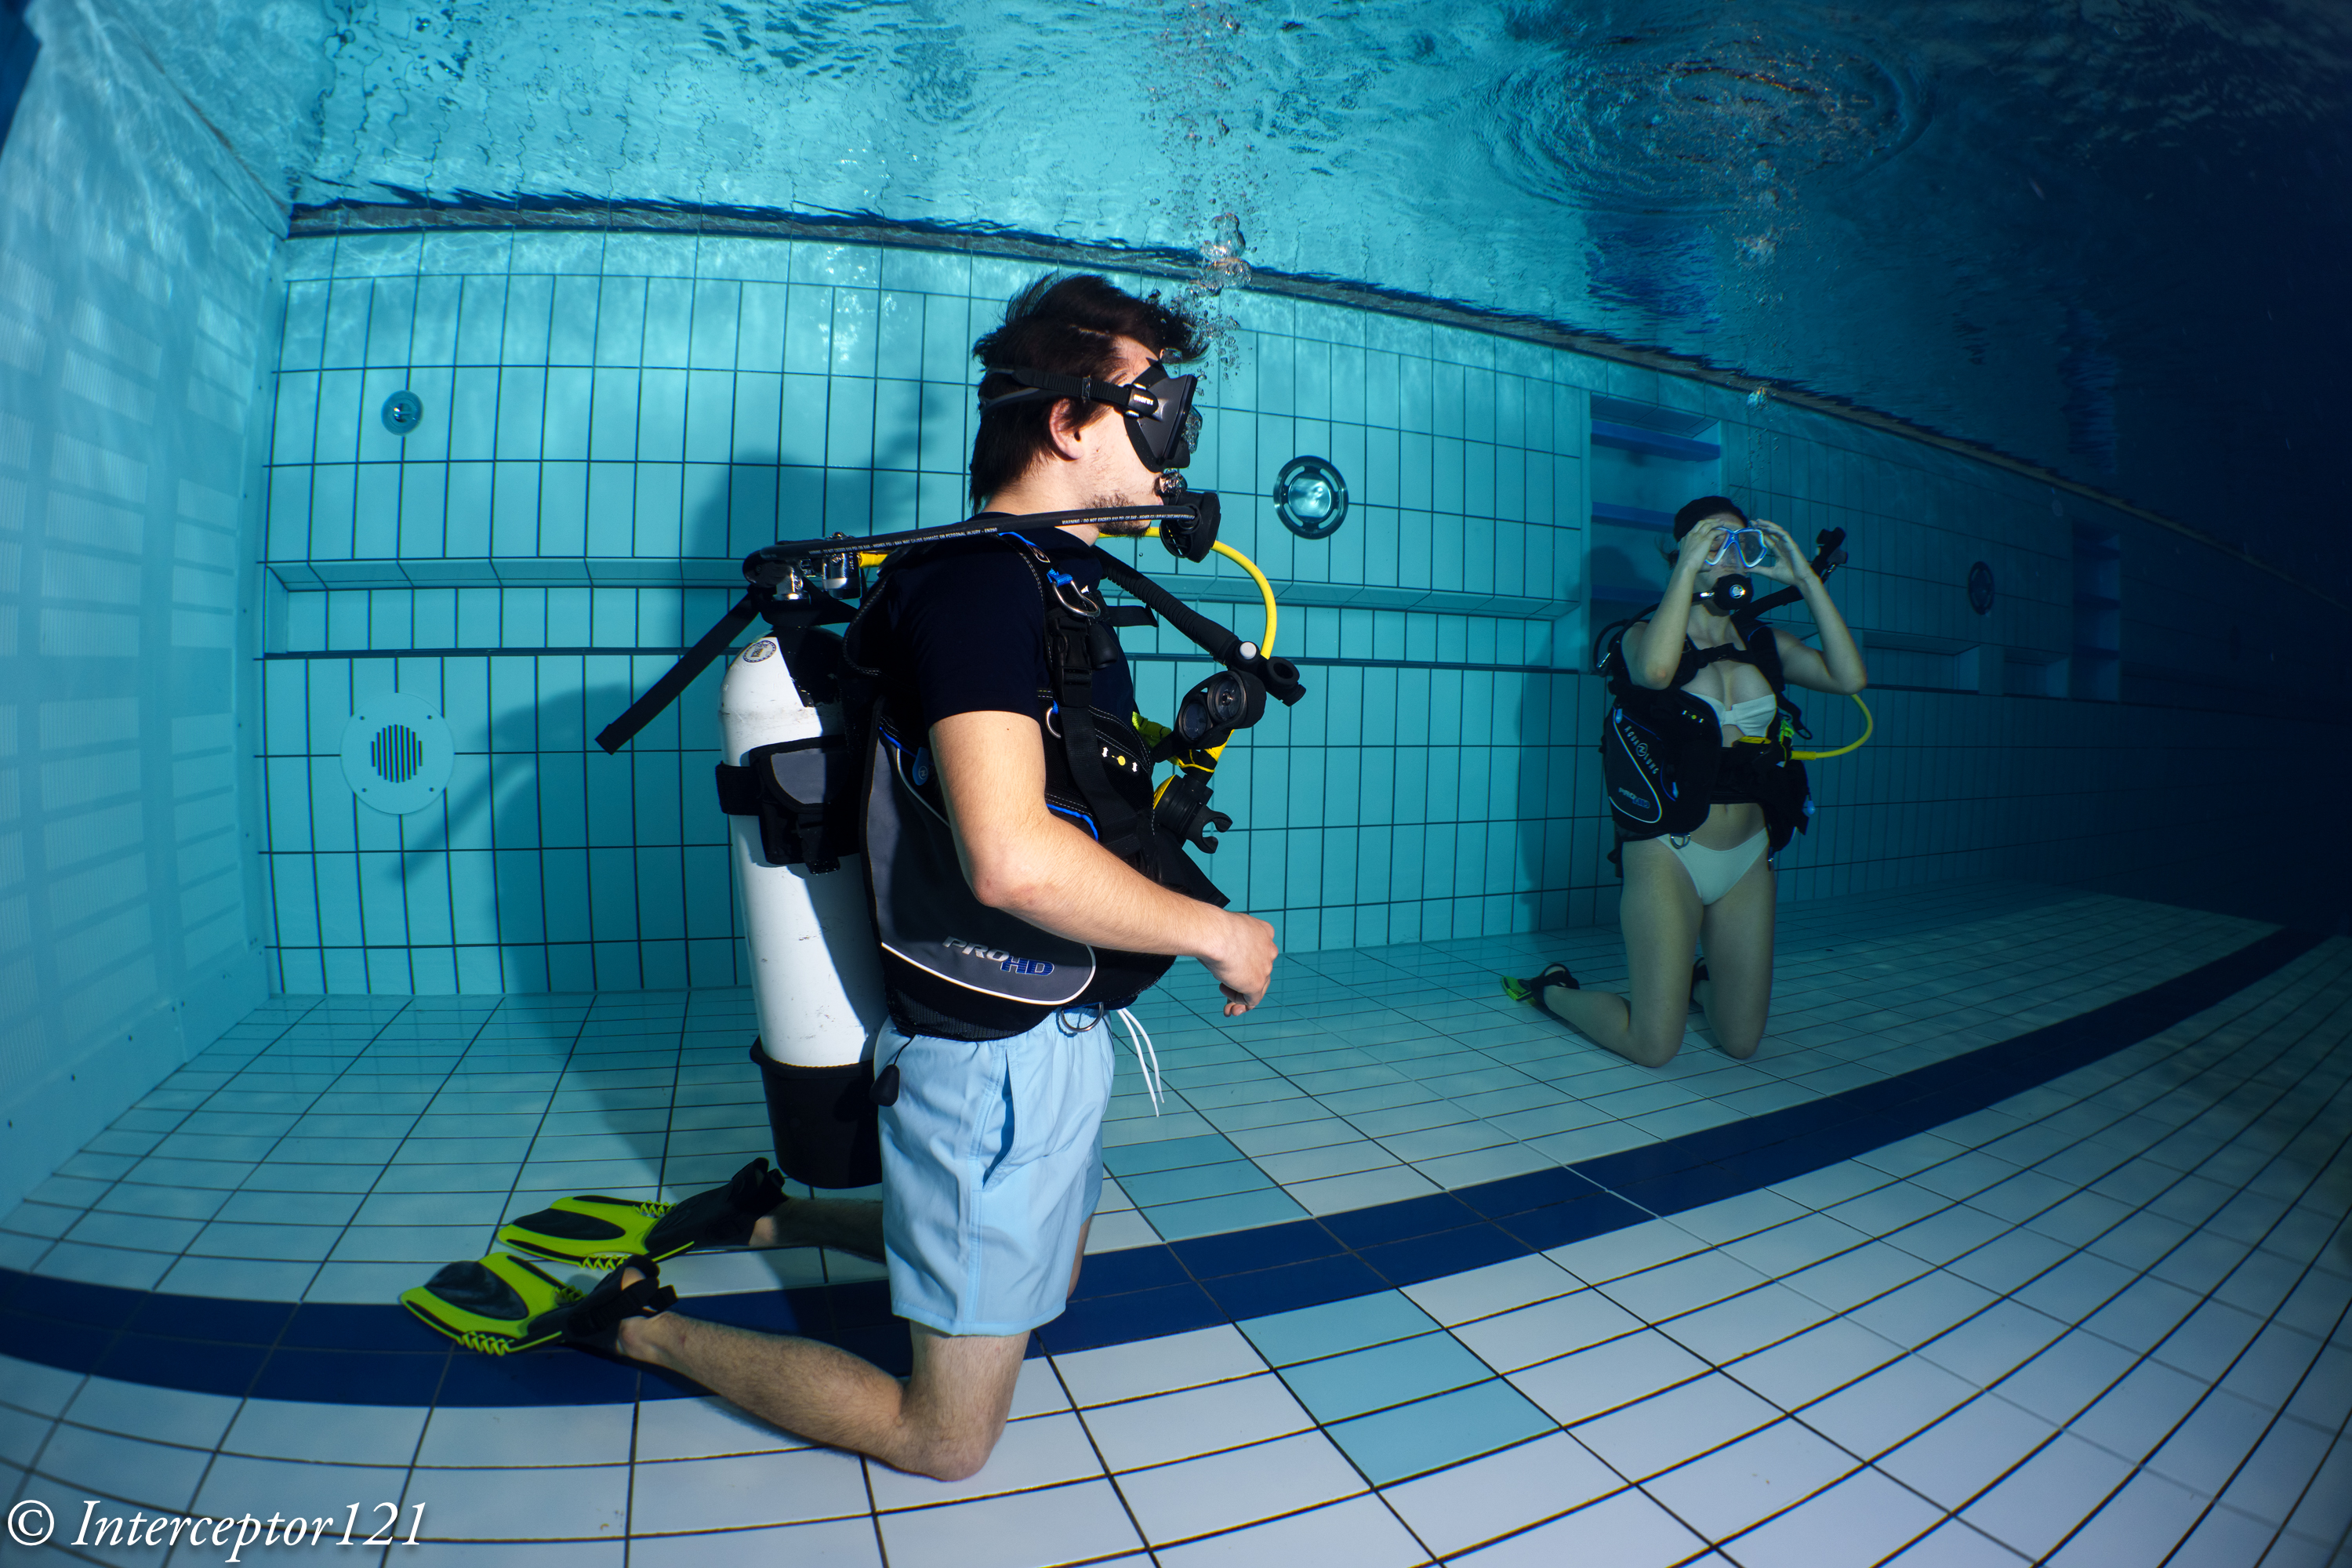
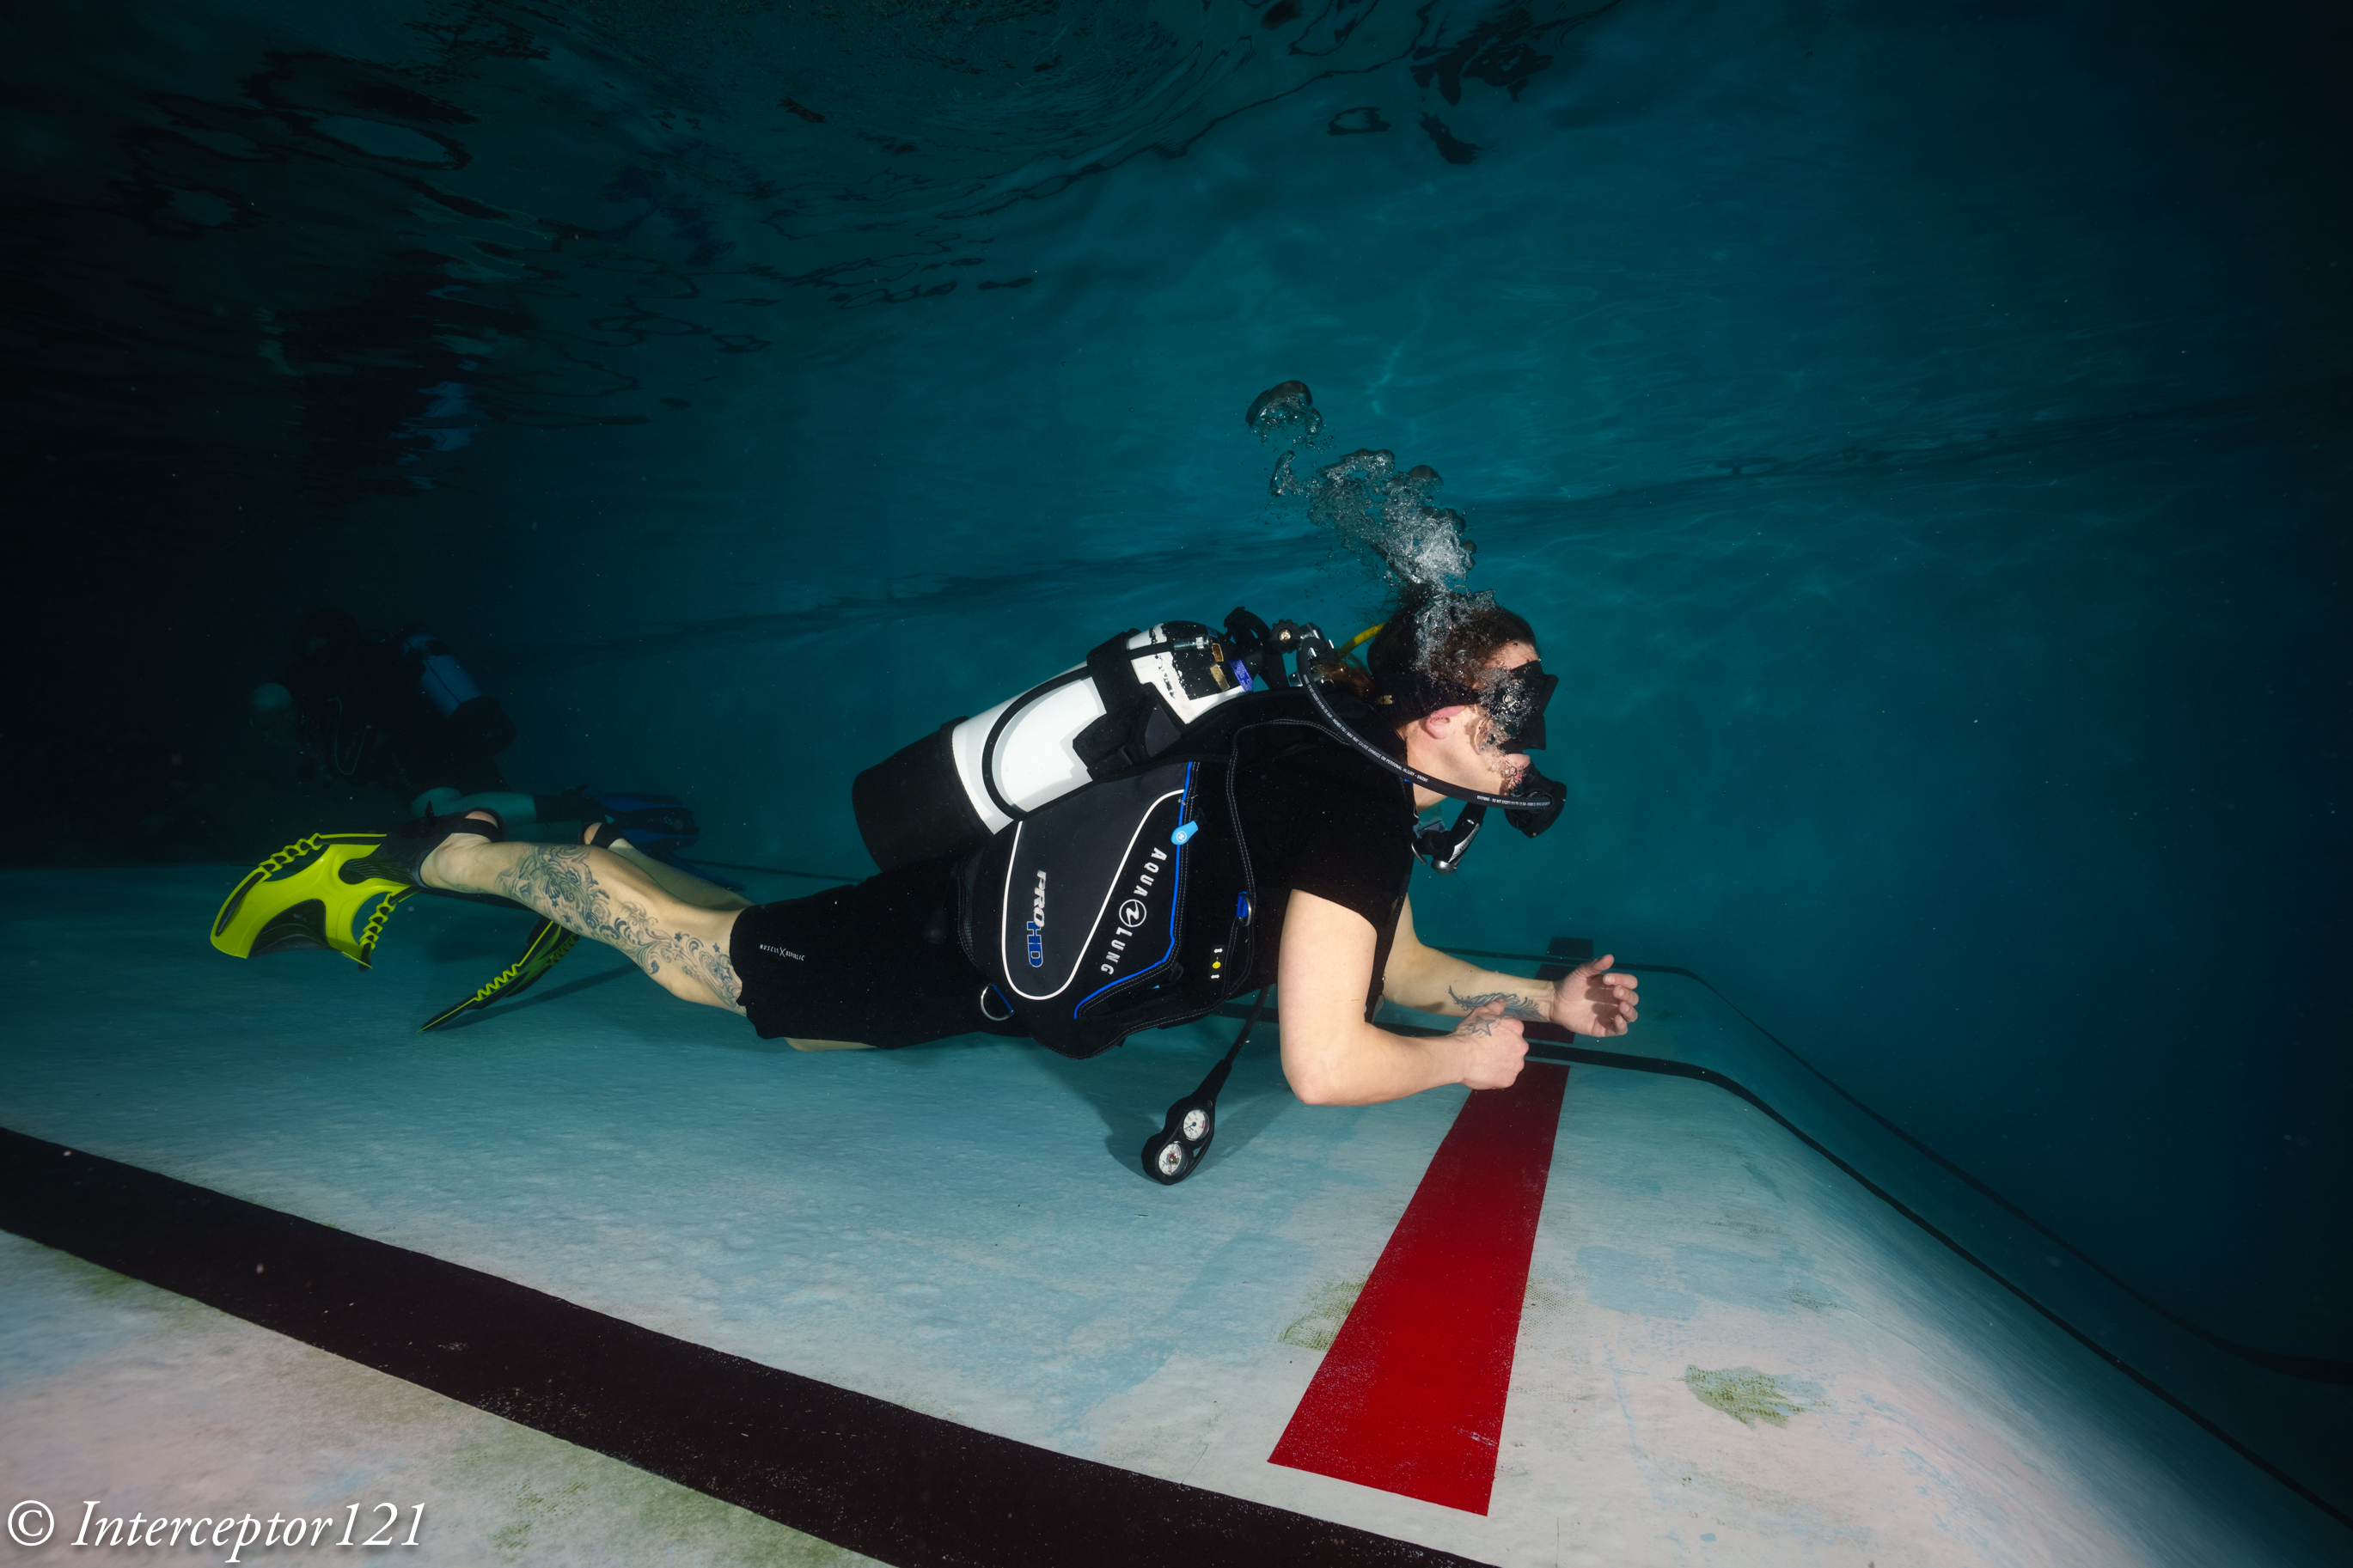
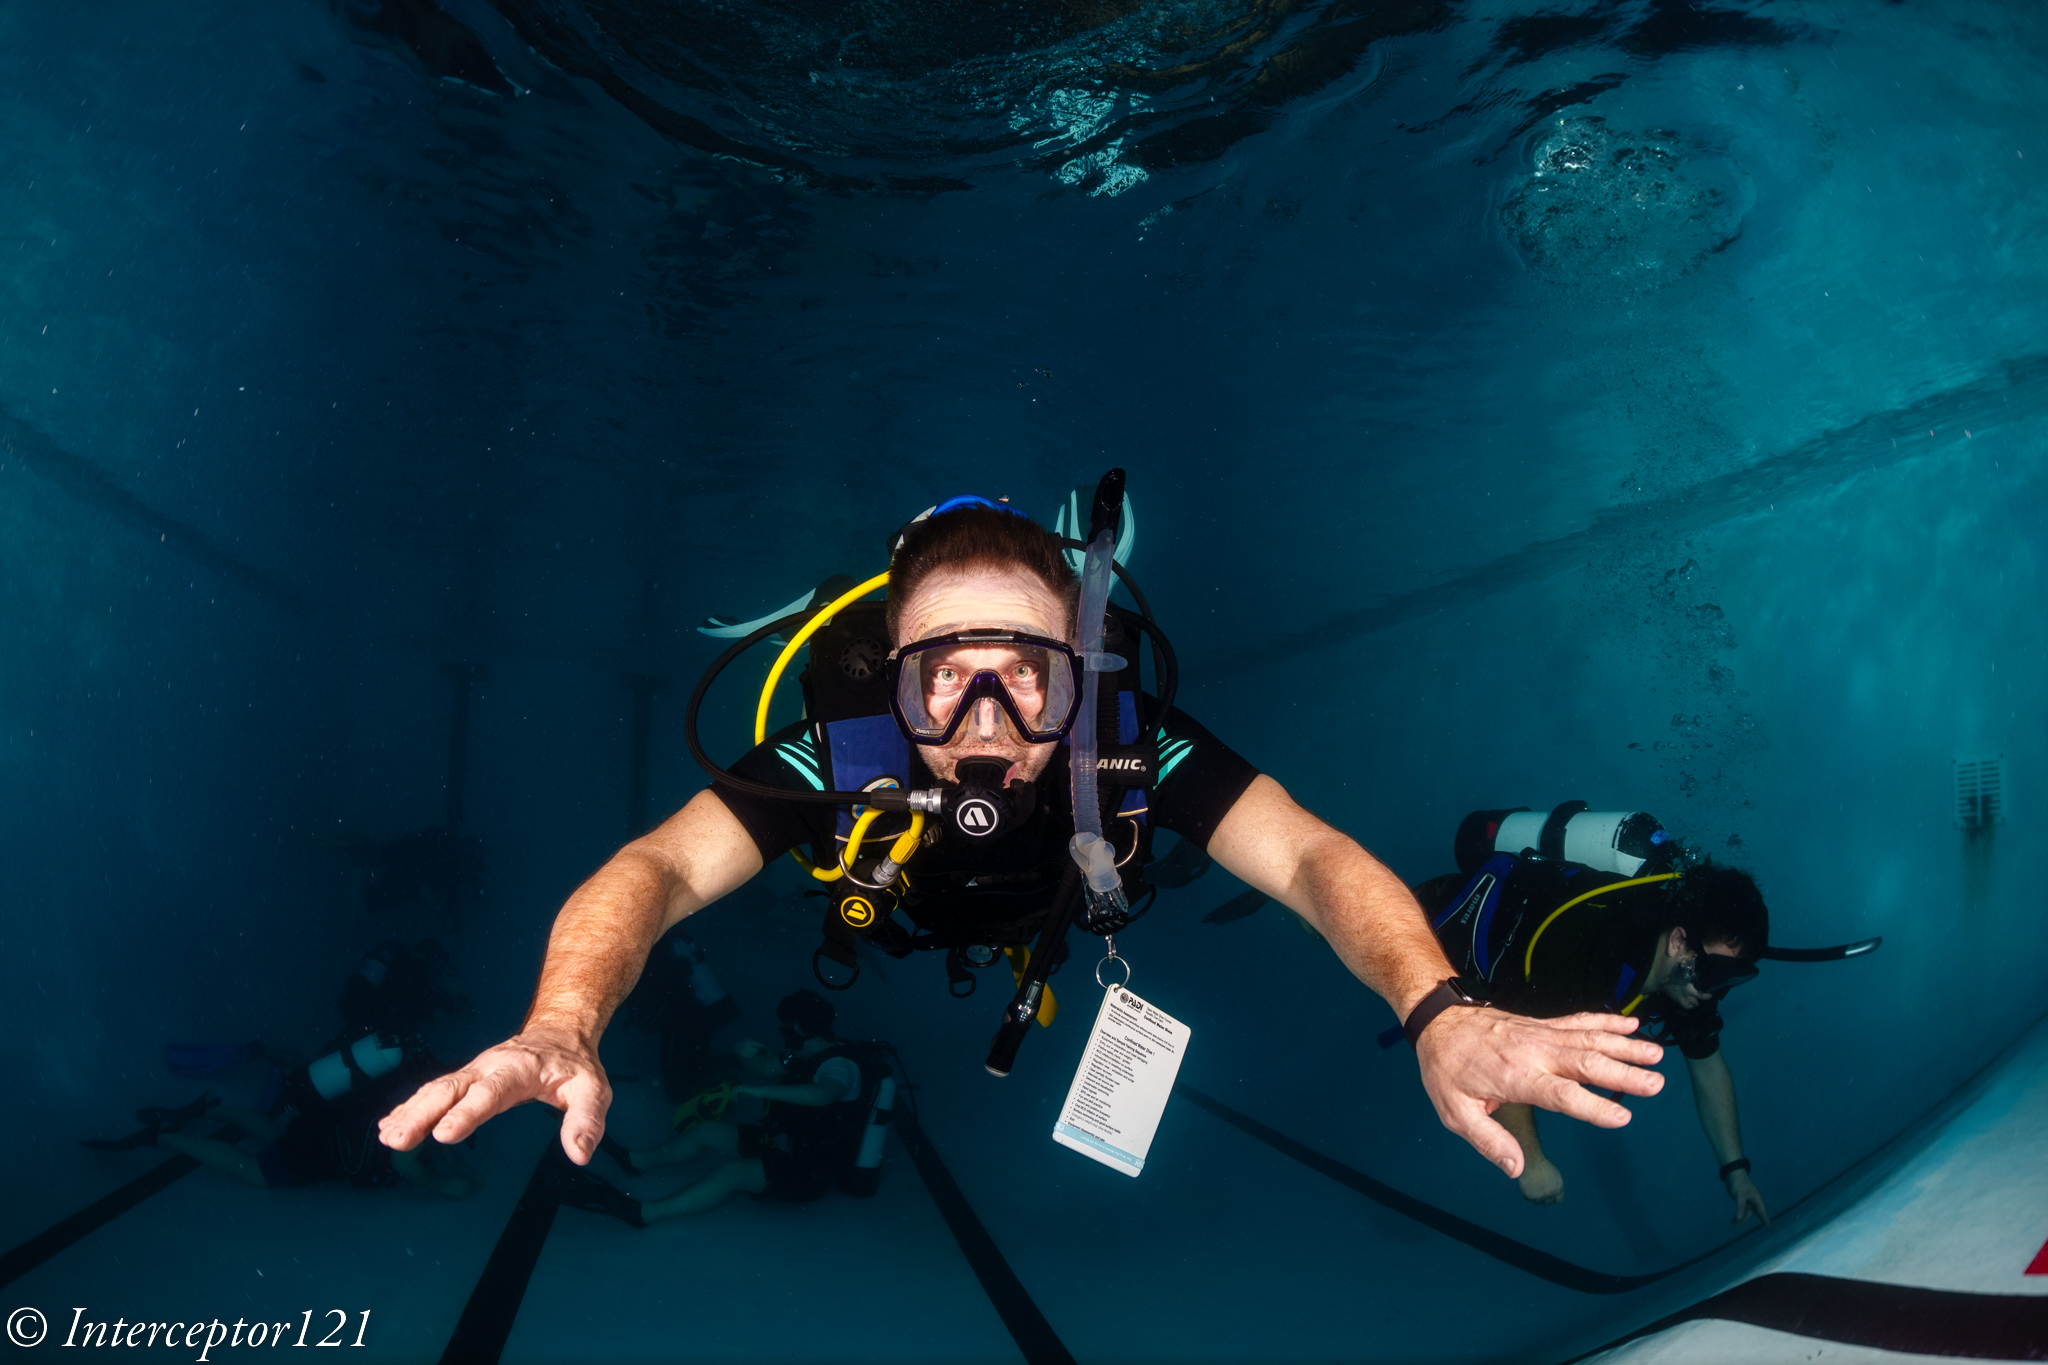
Pool Session
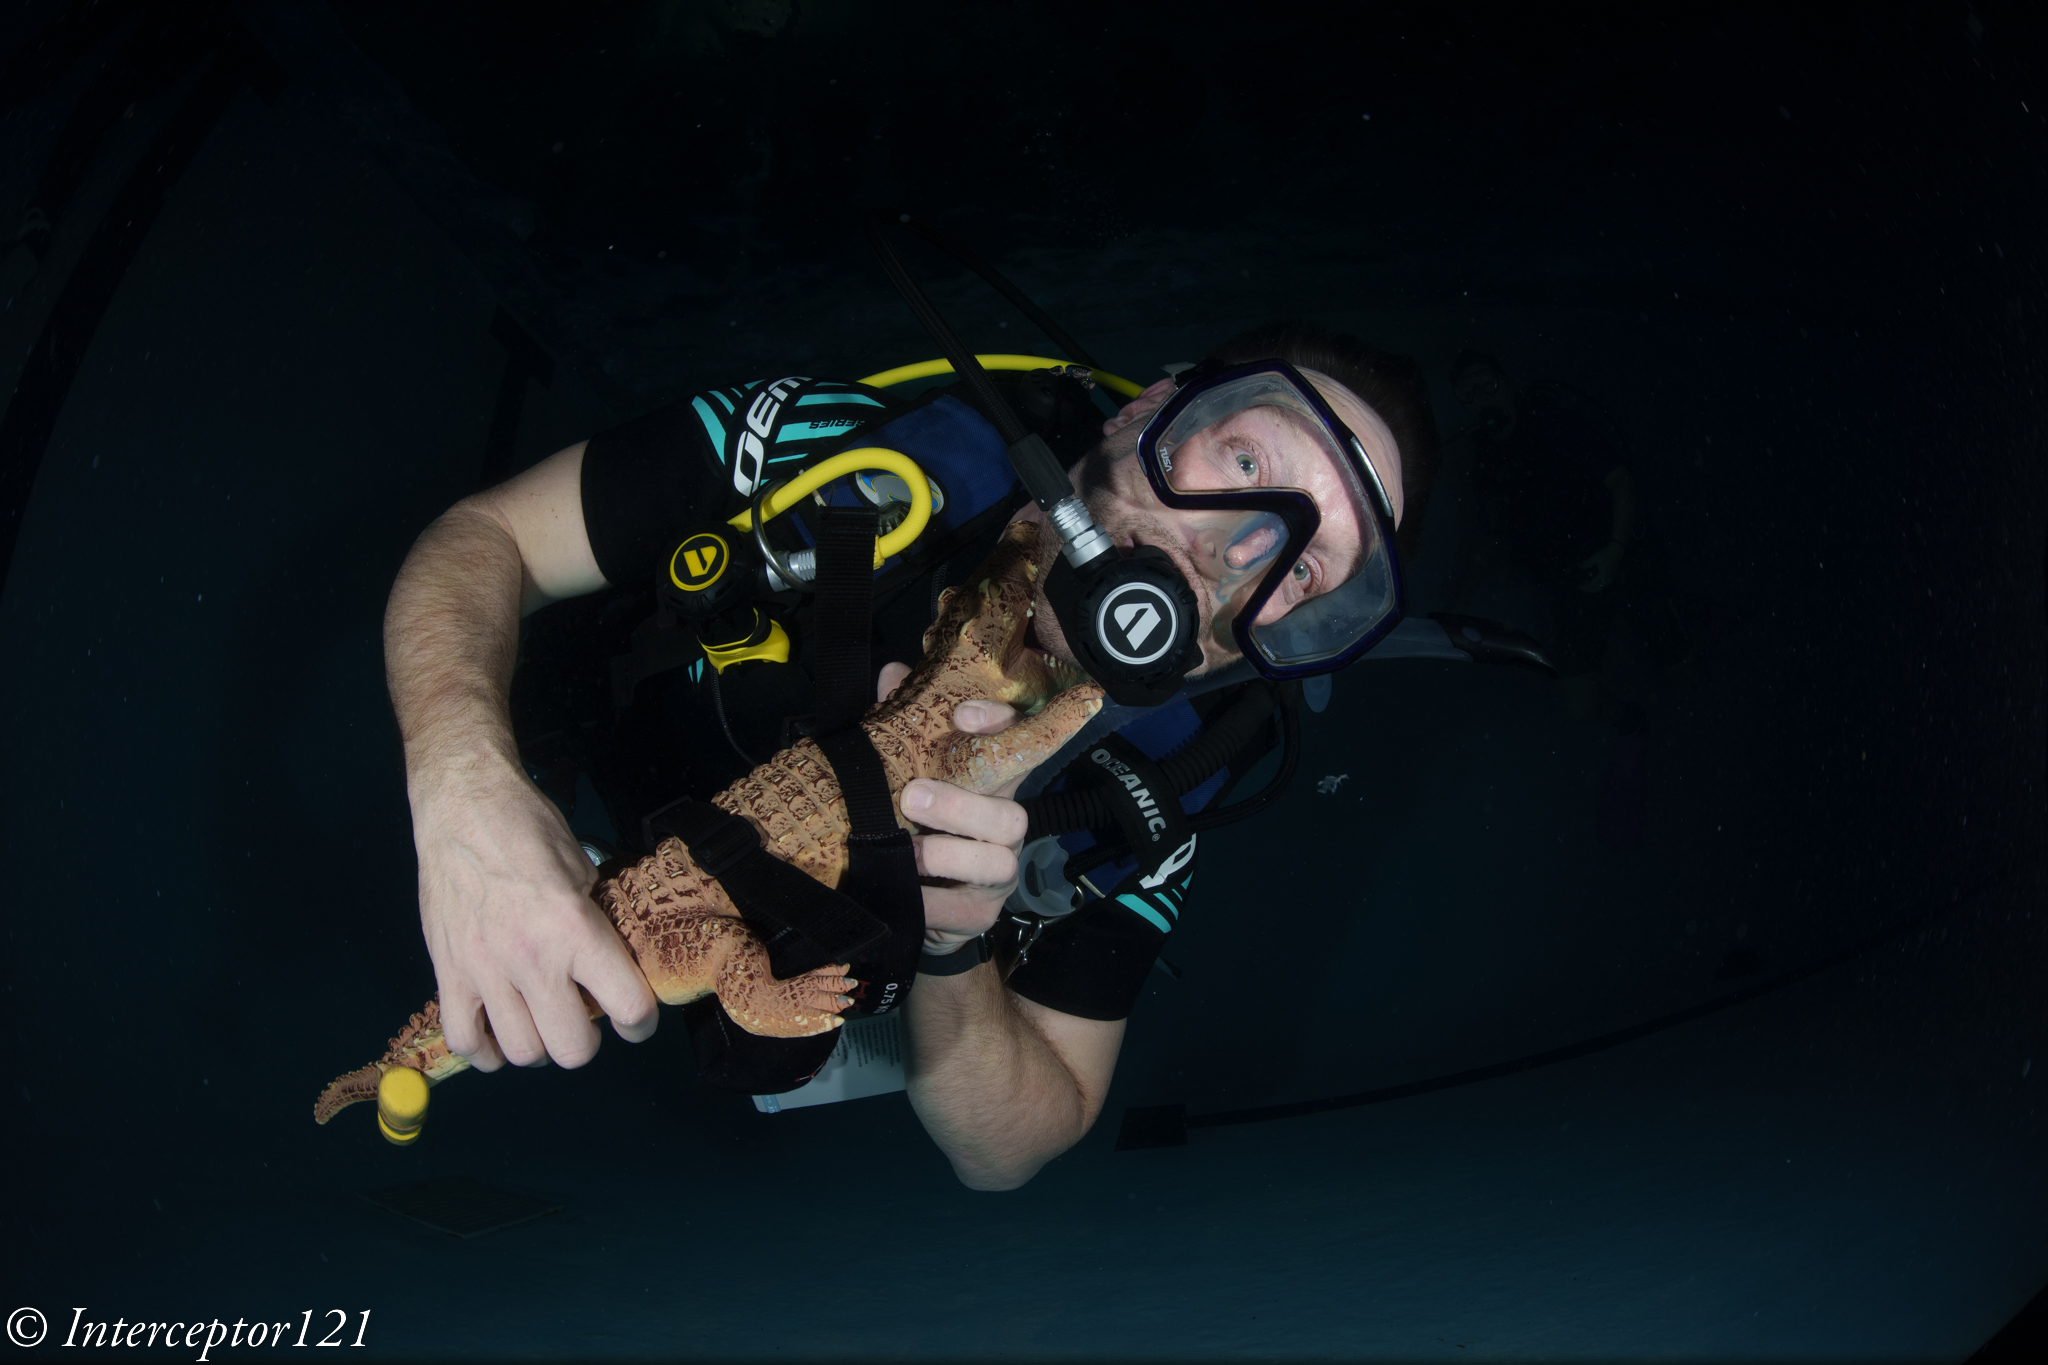
I had already shot the Tamron in the murky waters of my local pool so I went to Luton that has a better filtration system and started with my usual shots.
I took shots from f/2.8 to f/22 obviously f/2.8 and f/4 are purely academic but decent results are obtained from f/5.6.
Tamron 17 2.8 Close
At F/2.8 most of the area outside centre is blurred.
Tamron 17 4.0 Close
By f/4 we have a substantial improvement.
Tamron 17 5.6 Close
At f/5.6 the lens is better than most already considering the very close shooting distance. Unfortunately at this stage I picked up a bit of debris on the dome and did not realise…
Tamron 17 8.0 Close
f/8 is very good and this is your default for shots that are not close when edges are not important.
Tamron 17 11 Close
f/11 is probably the best overall compromise between edges and centre.
Tamron 17 16 Close
By f/16 depth of field keeps everything in focus however the lens has dropped in the centre.
Tamon 17 22 Close
f/22 gives you a consistent frame but with evident resolution loss.
All the shots above have distortion correction deactivated.
I then went and shoot a tile wall to see how straight is the lens here lens correction is applied.
Tamron 17 5.6 Wall
At f/5.6 shooting from 1.8 meters performance is excellent.
Tamron 17 8.0 Wall
f/8 is even better across the frame and is your default if depth if field is not essential.
Tamron 18 11 Wall
f/11 is great
Tamron 17 16 Wall
f/16 and f/22 give consistent sharpness as expected again those apertures are normally not necessary.
Tamron 17 22 Wall
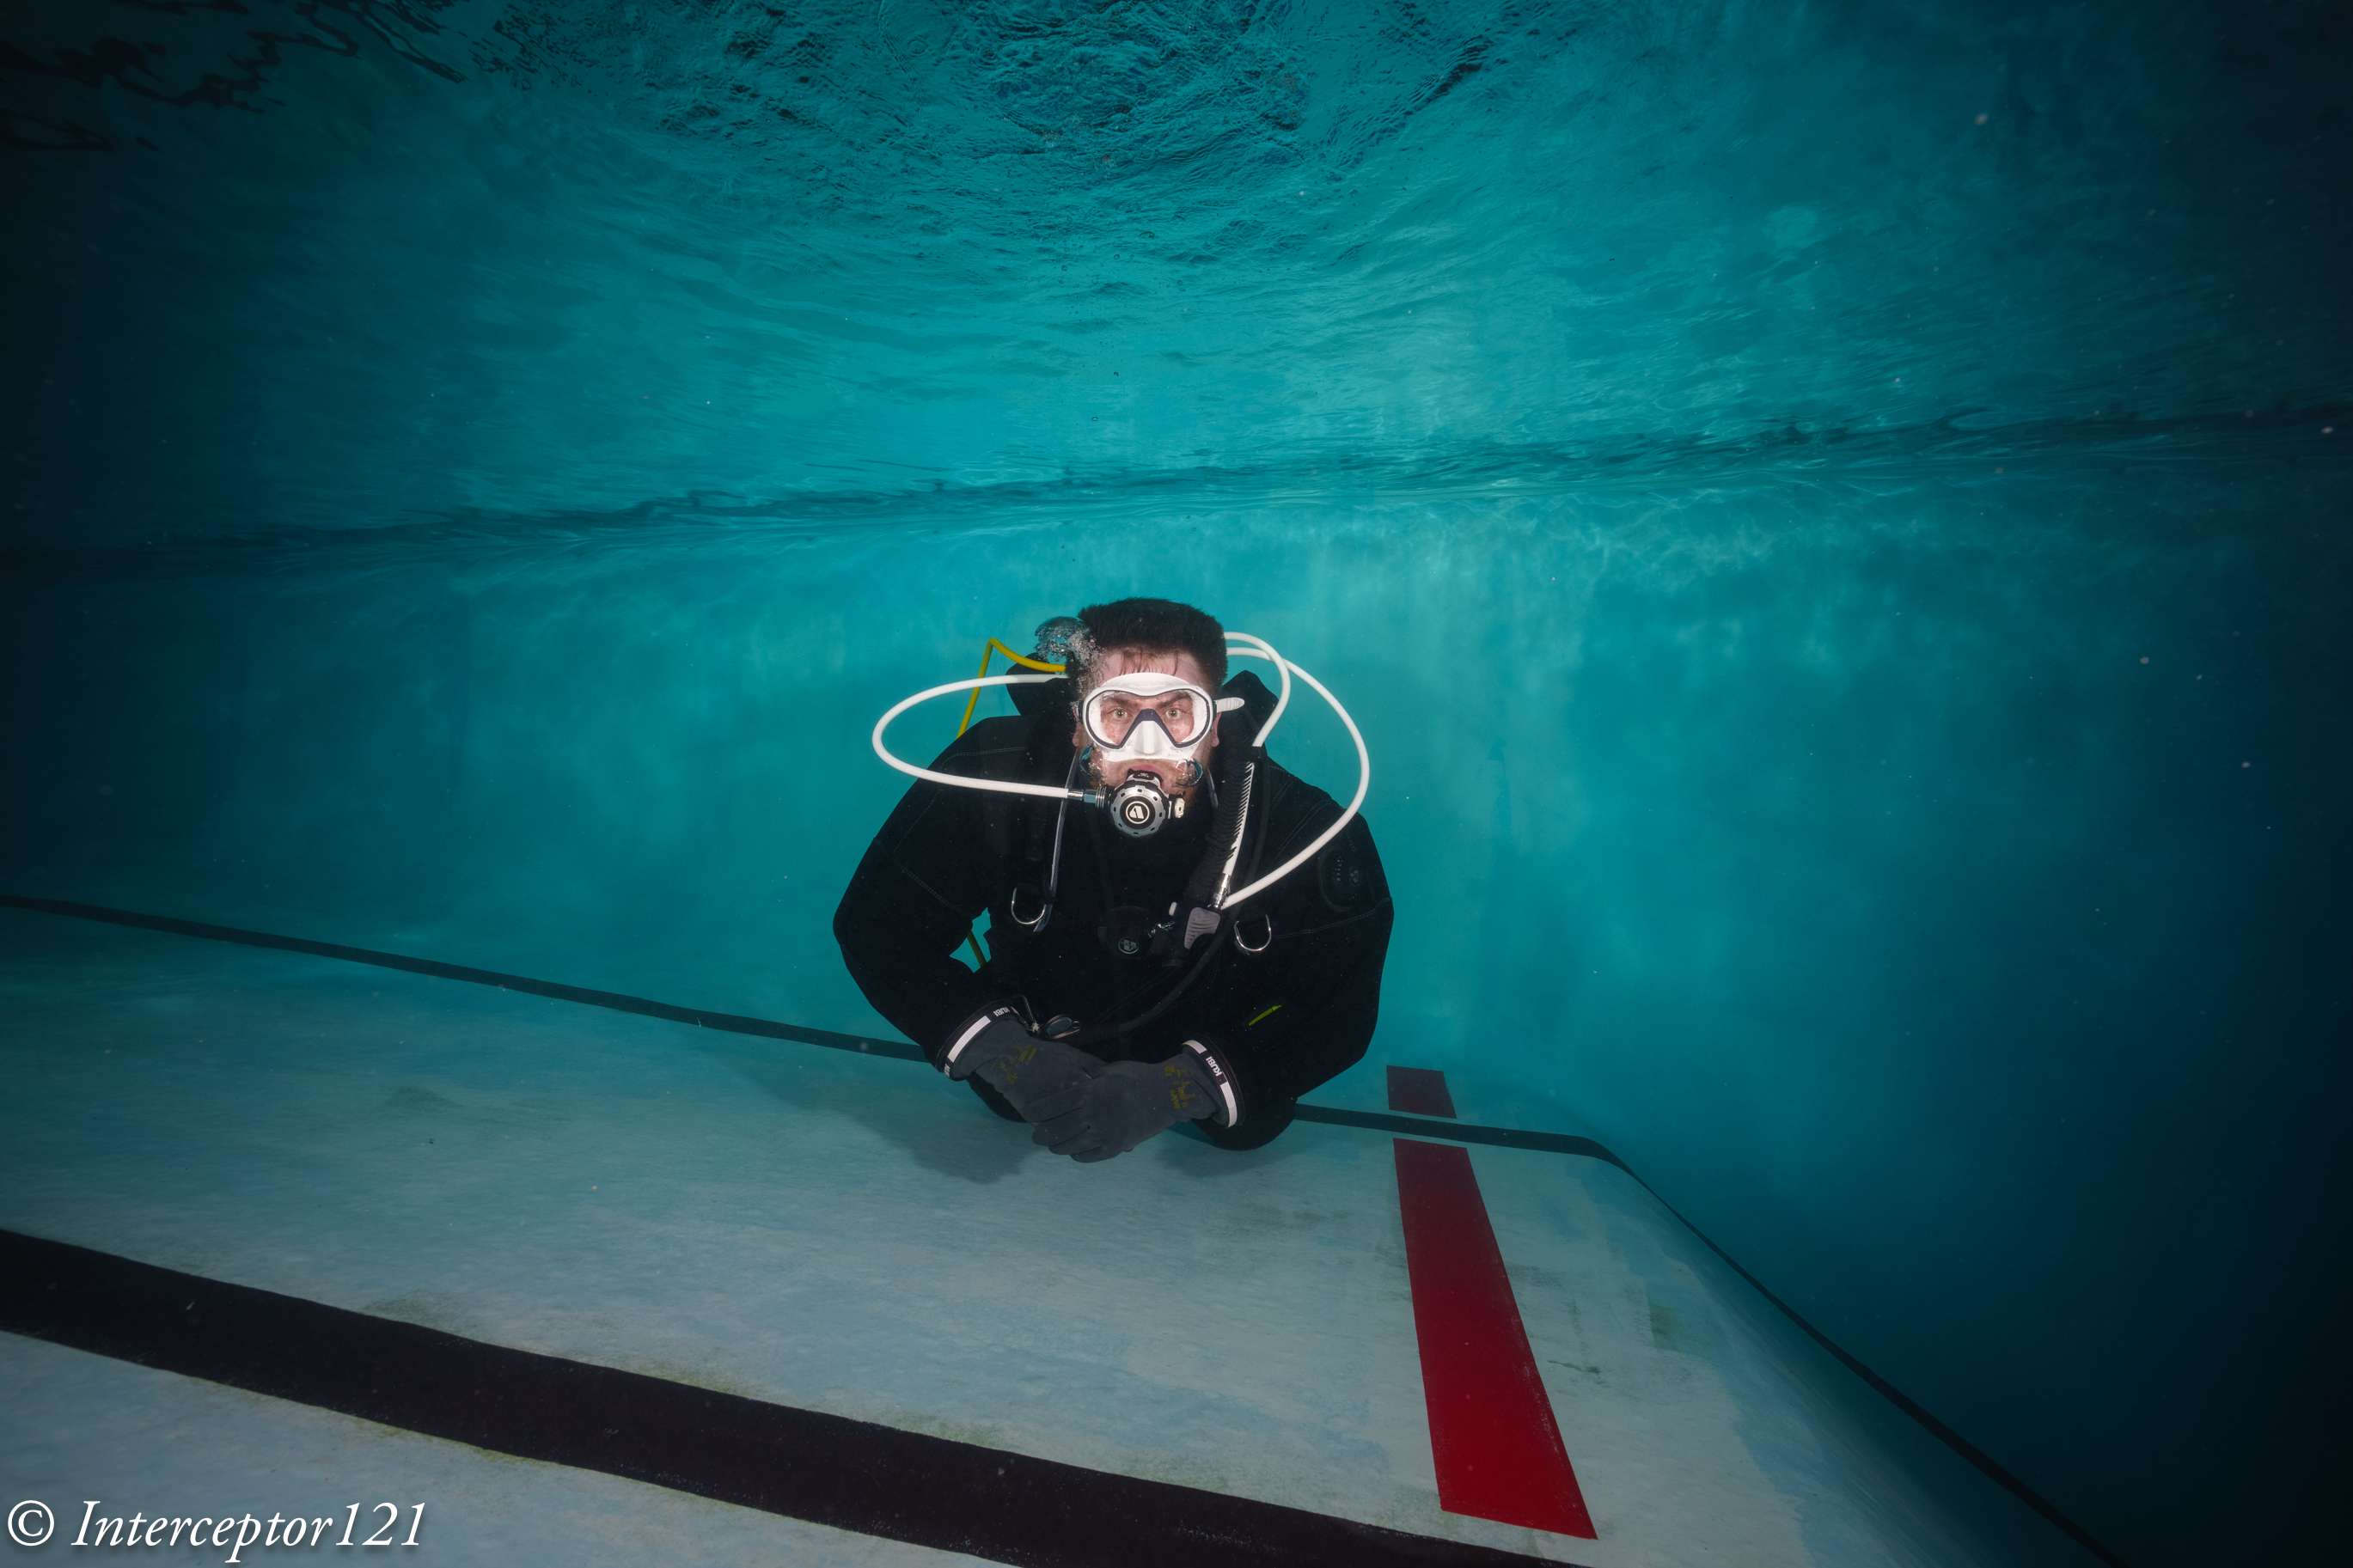
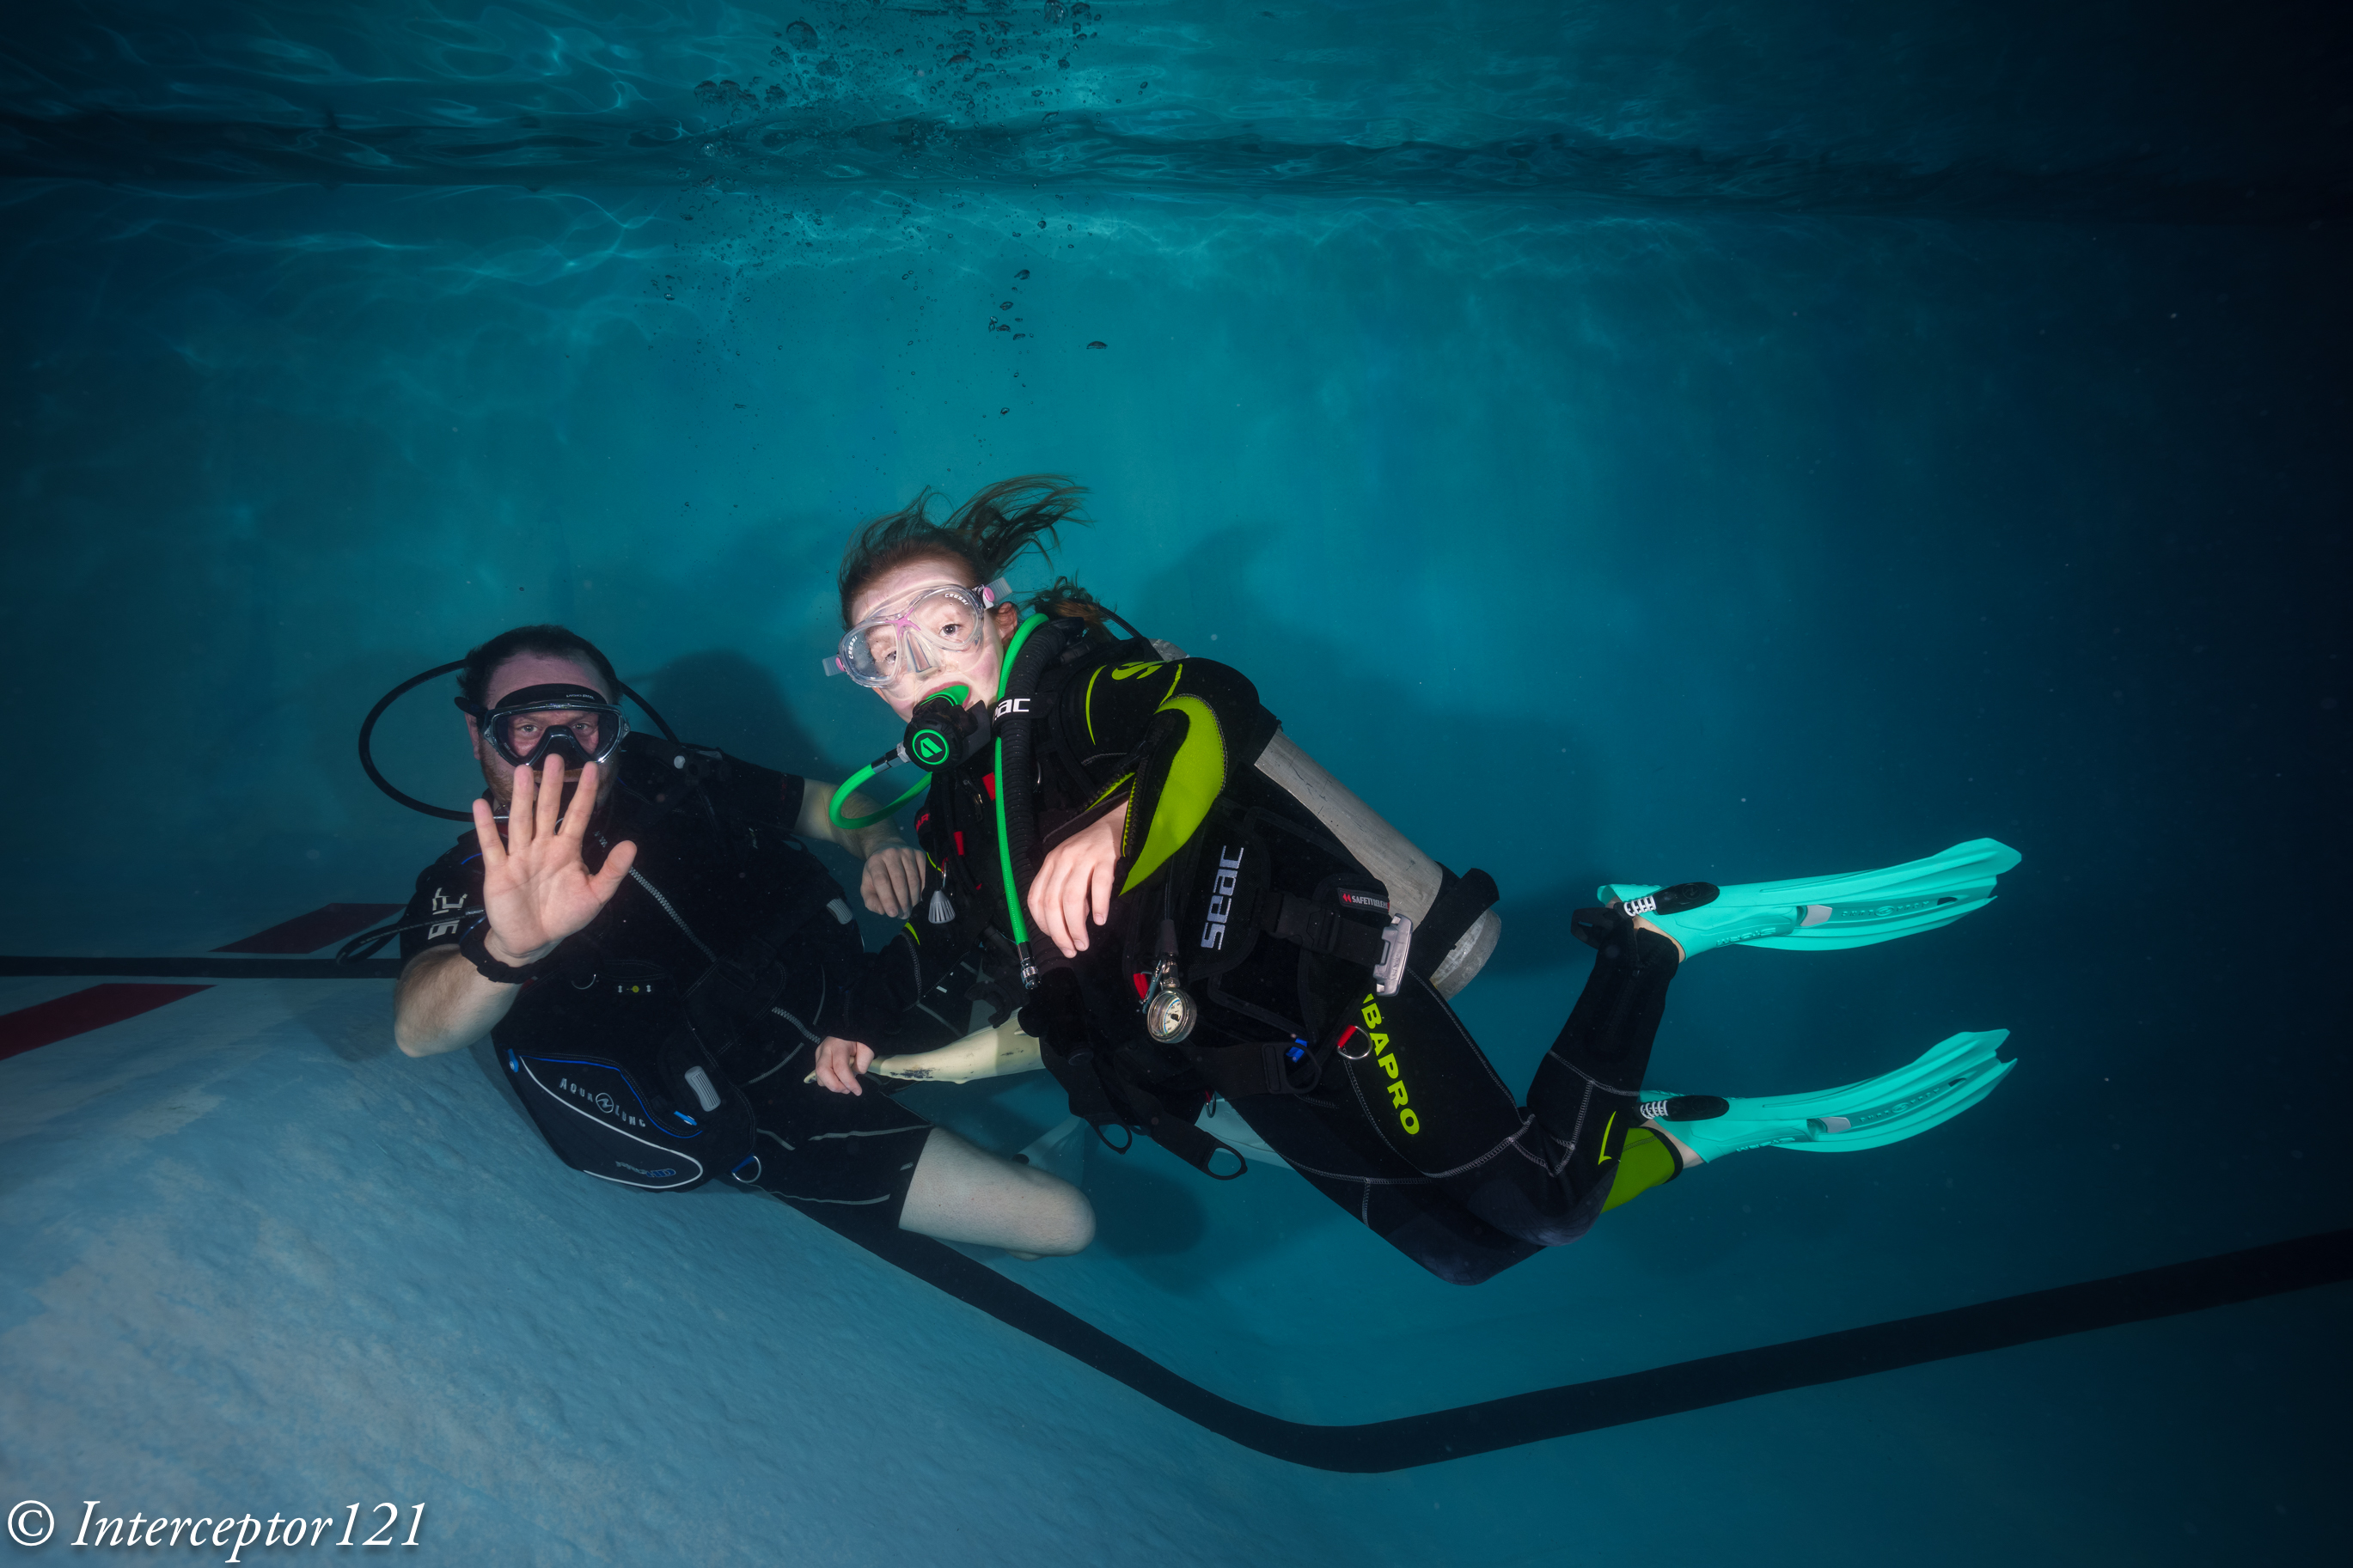
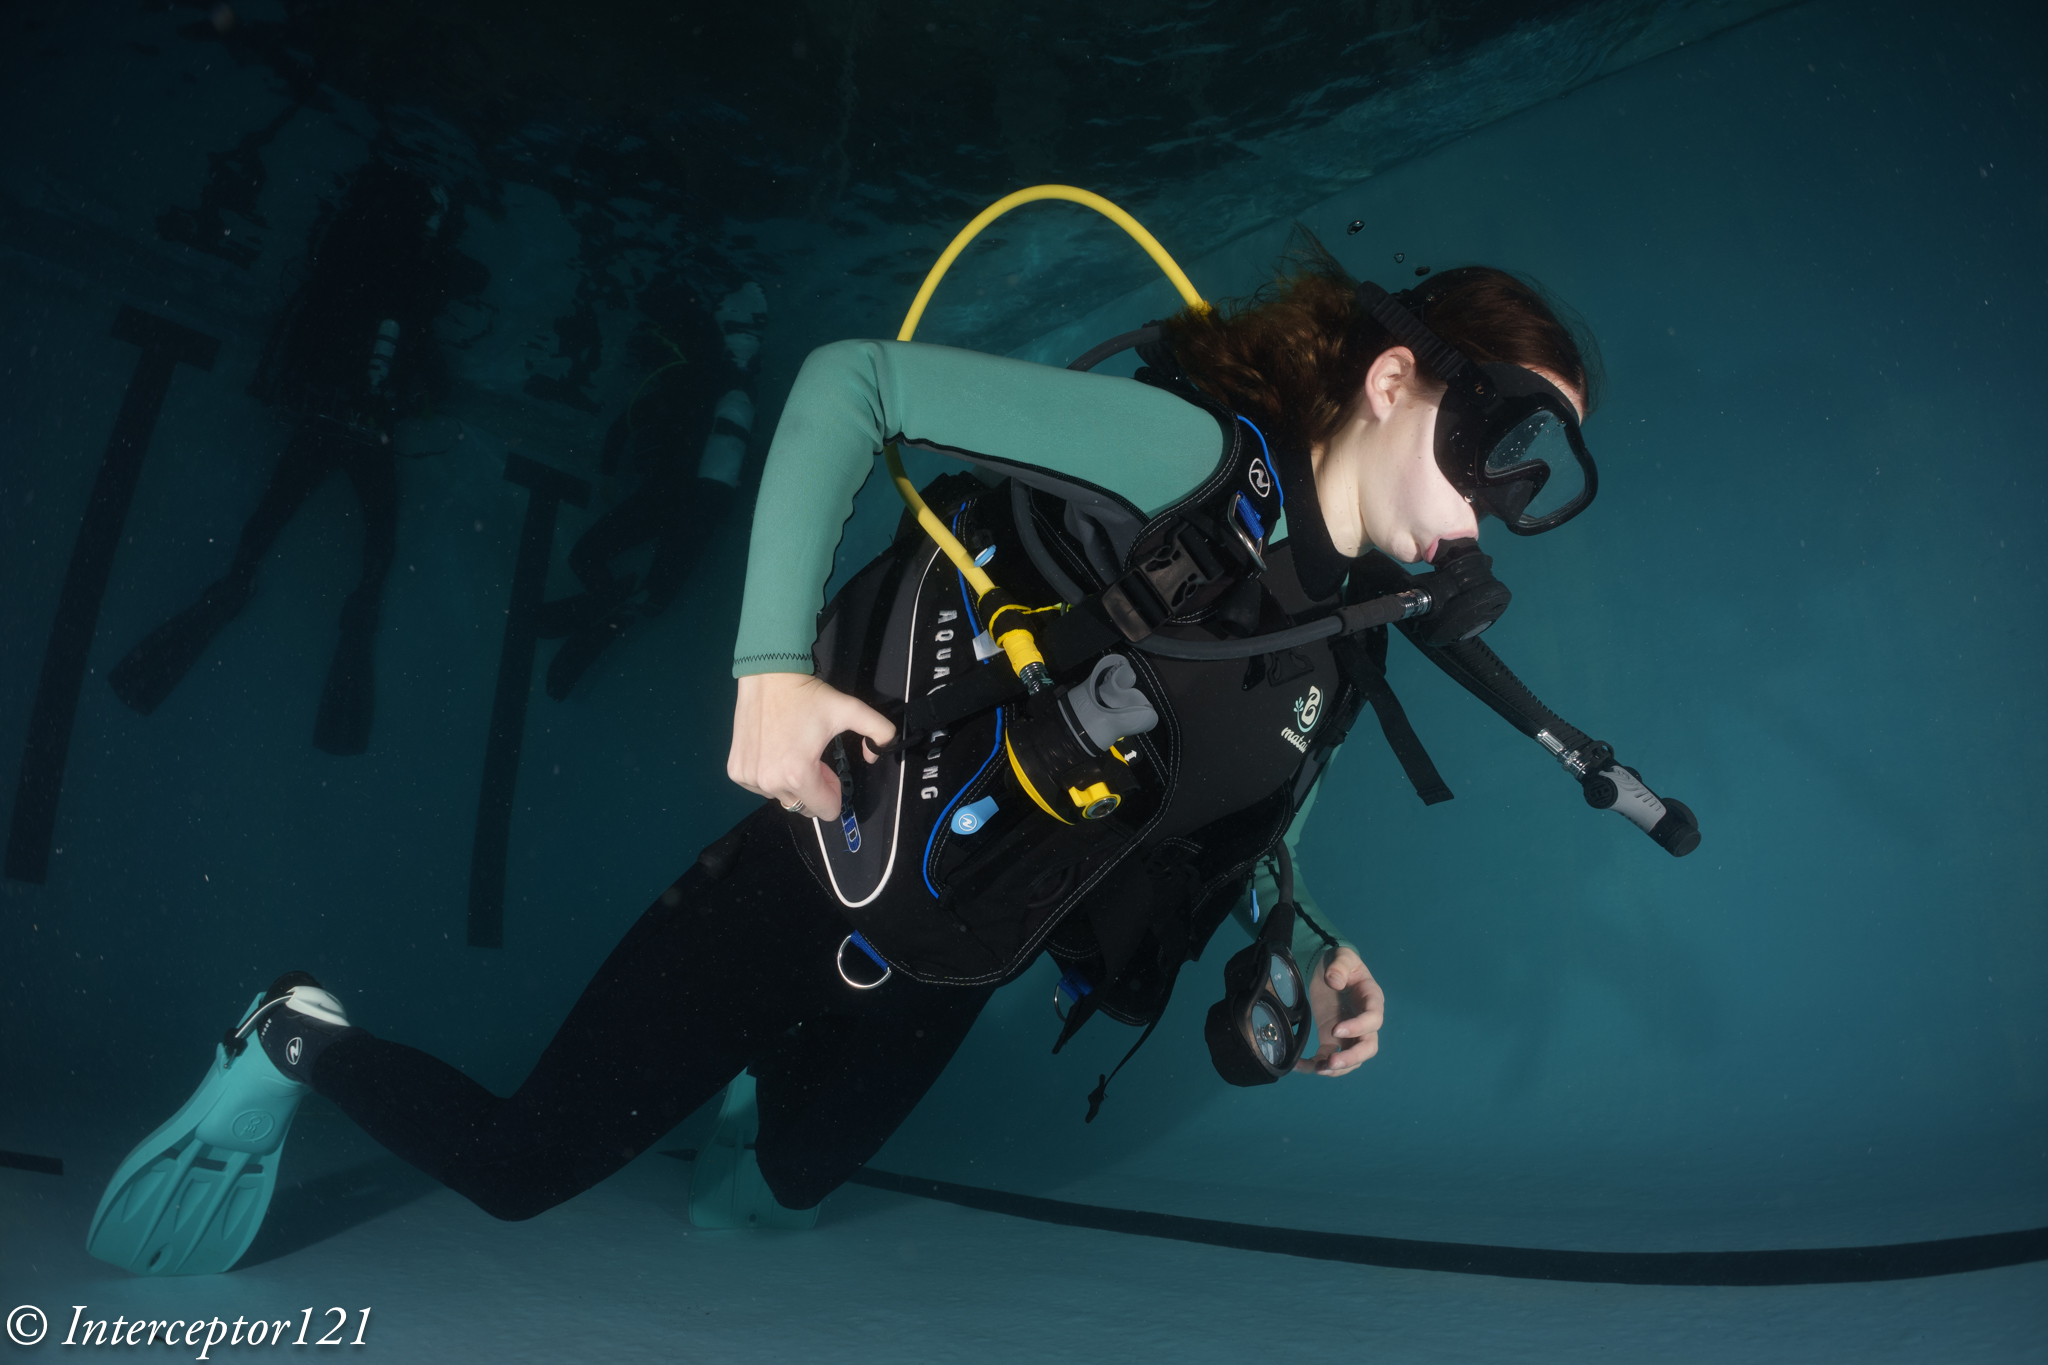
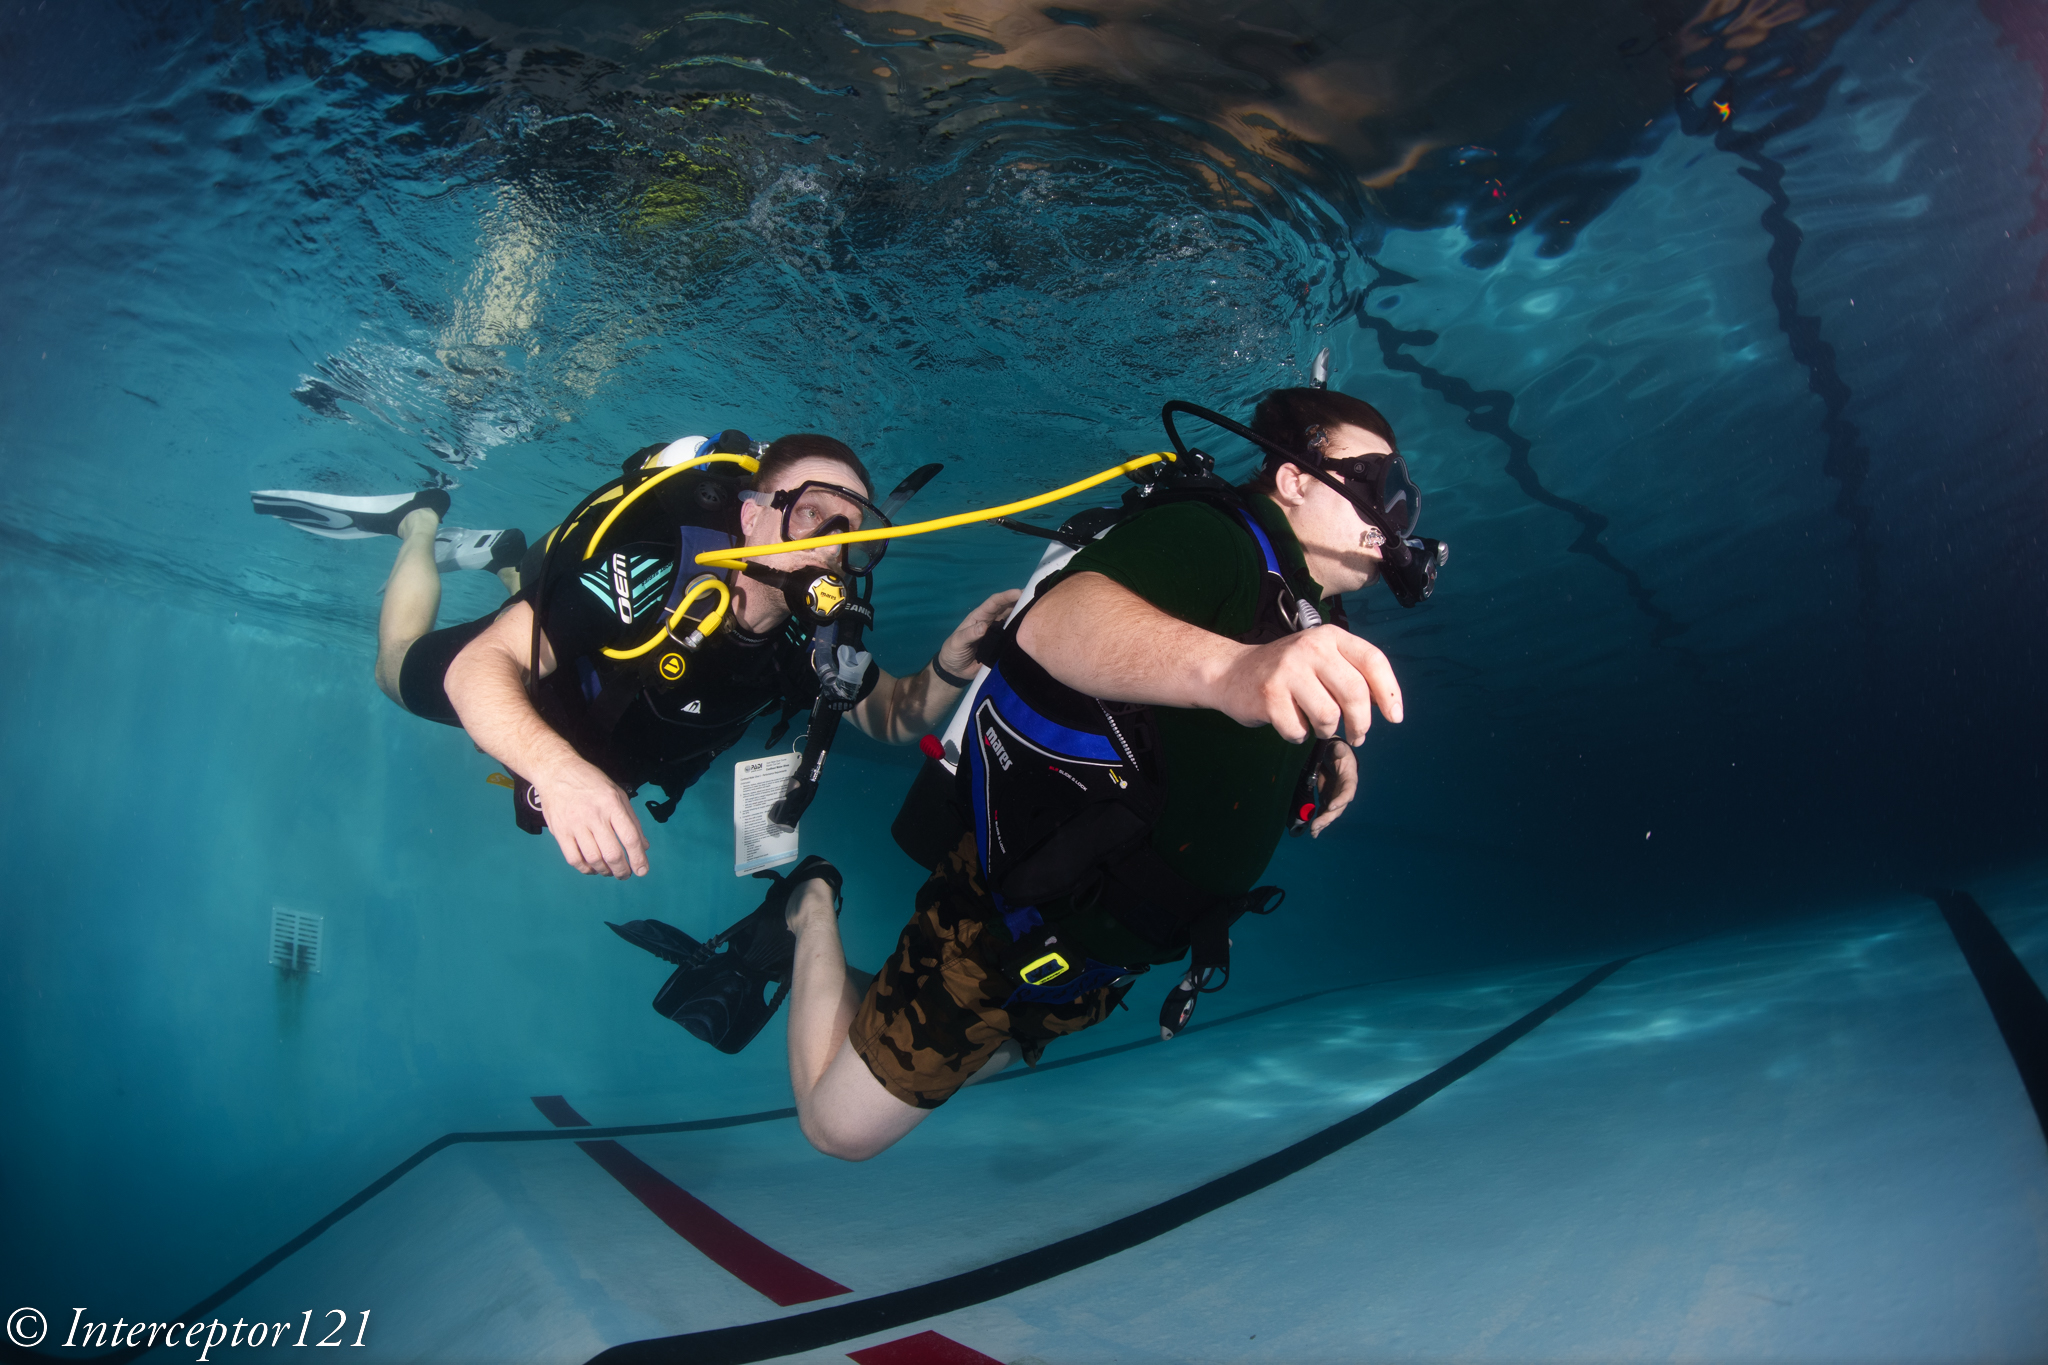
Shooting people with the Tamron
One of the things you do with a rectilinear lens is to shoot straight lines and correct proportion people and wreck interiors for example. The inside of the pool lends itself well to this.
Tamron 17 2 divers 8
With subject not close the lens has a great pop and rendering at f/8
Tamron 17 side 8
Even closer subject with not far background look great.
Tamron 17 diver 8
If you need the background to be sharper you can stop down.
Ascent 11
Again considering that even WWL-1 and WACPs really need f/11 this looks terrific.
Knee down 14
A final example shows that f/14 is enough to give you the depth of field you need when the subject is not too close.
Conclusion
There is no doubt that if you are in the market for a rectilinear wide angle and you are budget conscious this is the lens to get full stop!
The latest addition to the GM family from Sony has been the mark II of the 16-35mm wide zoom lens.
Nauticam has recently released the zoom gear for this lens and has it on the port chart with a 50mm extension for the 180 wide angle port and 60mm for th 230 wide angle port the SKU is 37175.
I have owned this lens since September and has become a favourite for topside landscape trips. It produces very sharp images across the frame with excellent rendition.
The lens is quite big and takes 82mm filters. An interesting characteristic for underwater use is that the lens is longest at wide and and shortest at tele end. It has also a minimum operating distance of 22cm and is 12 cm long leading to small dome port requirements.
My preliminary tests indicate that this lens will perform best with a 55mm extension ring and after aquiring the zoom gear from Underwater Visions I made my way to Luton Inspire last night.
During my hour in the water I was called to take photos of a scuba dive experience nonethless I managed to run a series of test.
The lens is sharpest at f/5.6 and it drops afterwards a trend of all Sony mirrorless. I took tests shots at f/5.6 f/8 f/11 f/16.
The initial test is the demanding MOD test get as close as possible to a target and shoot a wide scene.
F5.6 MODF8 MODF11 MODF16 MOD
In terms of centre performance best results are at f/5.6 decreasing as you stop down.
I then take the same shot putting the target at the bottom edge.
F5.6 MOD EdgesF8 MOD EdgesF11 MOD EdgesF16 MOD Edges
The situation changes with best edges at f/16 however good results are already found at f/11
The wall test gives similar outcomes this is taken at around 1.5 meters.
F5.6 WallF8 WallF11 WallF16 Wall
With a target that is not near f/8 and f/11 do best suggesting those aperture are those to use for general cases, this is a good result.
Time to show some example shots.
F8 ExampleF11 Example
There is no doubt that the lens is very sharp across the frame. You can zoom into the full rez images to see the detail.
Comparison with Tamron 17-28mm
So far the Tamron 17-28 held the prime spot for the best rectilinear lens on the Sony full frame format. I would say that the Sony 16-35mm GM2 is on par with maybe an edge on the overall resolution at f/11.
Consider though that the Sony is almost 3x the price is it a worthy upgrade to the Tamron? My view is that it is not.
If you bought the lens to take it underwater the Tamron is identical you cannot tell them apart, however if you own or like the 16-35GM2 as topside zoom the focal range is much more useful.
Conclusion
Strong performance from Sony and definitely recommended with the 180 wide angle port. I do not own the 230 port that has 1 cm wider radius but would expect marginally better performance.
In a previous post I described the use of the Canon 8-15mm as a zoom fisheye using the Kenko Teleplus HDpro teleconverted.
I had the opportunity to try this set up in Malpelo although in a situation that was not ideal for it.
I put this lens on expecting some wide angle school shots and instead it ended up being a dive with Galapagos sharks coming fairly close.
With the imminent launch of the Nauticam Fisheye Conversion Port many users will ask if they shoud invest in that or they can get decent quality at more affordable cost spending less then £800 for a teleconverter set up. I assume any Sony full frame E-mount shooters own both the Canon 8-15mm and the Sony 28-60mm.
Edit 9 March 2024
Studio Shots
I found some time to do some tests at f/16 distance 25cm which is typical of wide angle in a dome.
As you can see the kenko 1.4 TC does not loose any quality compared to the bare lens and looks more magnified at same focal lenght in the centre.
Canon 8-15 15mm f/16Canon 8-15 1.4 15mm f16
Why is the quality the same? Probably the Canon 8-15mm is a better lens at 10.7mm that it is at 15mm and therefore even with the teleconverters result match. This corroborates my in water results.
Malpelo Shots Analysis
The dive was early in the morning and topside overcast resulting in a fairly dark dive.
The sharks came fairly close however as soon as the strobe fired they turned on their back. My impression was that this was more due to the noise of the strobe firing then the actual light.
All my shark shots are at f/8 1/30 ISO 500. As the shutter speed is quite low you have situations where the subject is sharp but some of the fish at the edges has some motion blur this is unrelated to the lens.
Profile
If you open the above image on a separate tab and zoom 100% you will see that the shark is pin sharp and so are the small fish on the same focal plane and the one behind. The reef on the left bottom corner is soft.
This has to be expected as the focal point is further back from the shark so the camera is out of depth of field on that corner.
The situation repeats in other shots like this one where the shark is even closer however the edge improves due to the reduced distance gap with the reef.
Checking inTurn back
Again shot after shot the fact I was focussing on the shark that was deeper in the frame resulted in the left edge being soft, this has to be expected and there is nothing wrong with the set up the dome or else.
I took some shots really close on the reef at f/16 to make the point here the muray eel is sticking out of the reef so the edges look much better.
This other shot has an hawkfish in the edge you can still see the coloration and the eyeball of the fish.
Conclusion
In general terms shooting f/8 on full frame is not an example of small aperture in fact this is a setting for distant subjects almost and wide angle scenes. In the environmental situation I was in I could have increased the ISO to achive higher shutter speed and smaller aperture however this would have resulted in more noise and loss of resolution across the whole frame. My view is that for general wide angle where there is no clear subject you can try to focus closer to have the edges sharper however this is not always a possibility with sharks and things moving and furthermore there is rarely anything of interest in the edges.
This was my second time with this combination and I remain of the opinion that the teleconverter does not take anything away in the center of the frame and deteriorates the edges only just slightly and is therefore a worth addition. The nauticam FCP is not yet released and combined with the 28-60mm will for sure produce a more flexible set up because of the increased zoom range compared to the teleconverter however if this produces better image quality on the overlapping range remains to be seen. I expect it will cost considerably more than the £800 required to add the teleconverter to your Canon 8-15mm.
I guess lookig at the title image you may spot two small differences.
Those parts are installed.
Required Parts
You will have noticed that your housing does not have a screw hole to mount a ball to put your monitor or focus light.
What you need to do is to remove one of those from the handle plates.
Allen bolt to be removed
You can then install the M5 ball so that you can use it to put the accessory you need.
M5 Ball installed
I am left eye dominant so I want to have free space in front of my right eye while my left is on the viewfinder so I put my ball on the left however you can do as you see fit.
You can also take the rubber assembly out of the socket and put an M10 ball mount which is more sturdy however you will be screwing metal on metal and I do not recommend that.
The other thing that you have noticed is that my housing has almost equal distance between the handle ball mounts and the centre.
Overview
However the housing as it comes out of the factory has a shorter distance between the left handle and the center than the right handle as consequence of the camera lens mount being on the left.
This is ok for topside but for underwater as soon as you are taking very close images with two strobes you will realise you have lights uneven and more shadow on your side.
Installing a single spacer into the handles give you this.
Spacer installed
Now your strobes or lights are simmetric however the housing fits a bit more snug into the travel case if you use that. You may need to remove it for travel if you pack case in case as I do.
Hopefully this was useful subscribe to my channels on for more tips and/or to this blog to get updates. And feel free to donate using the button on the left hand of the menu.
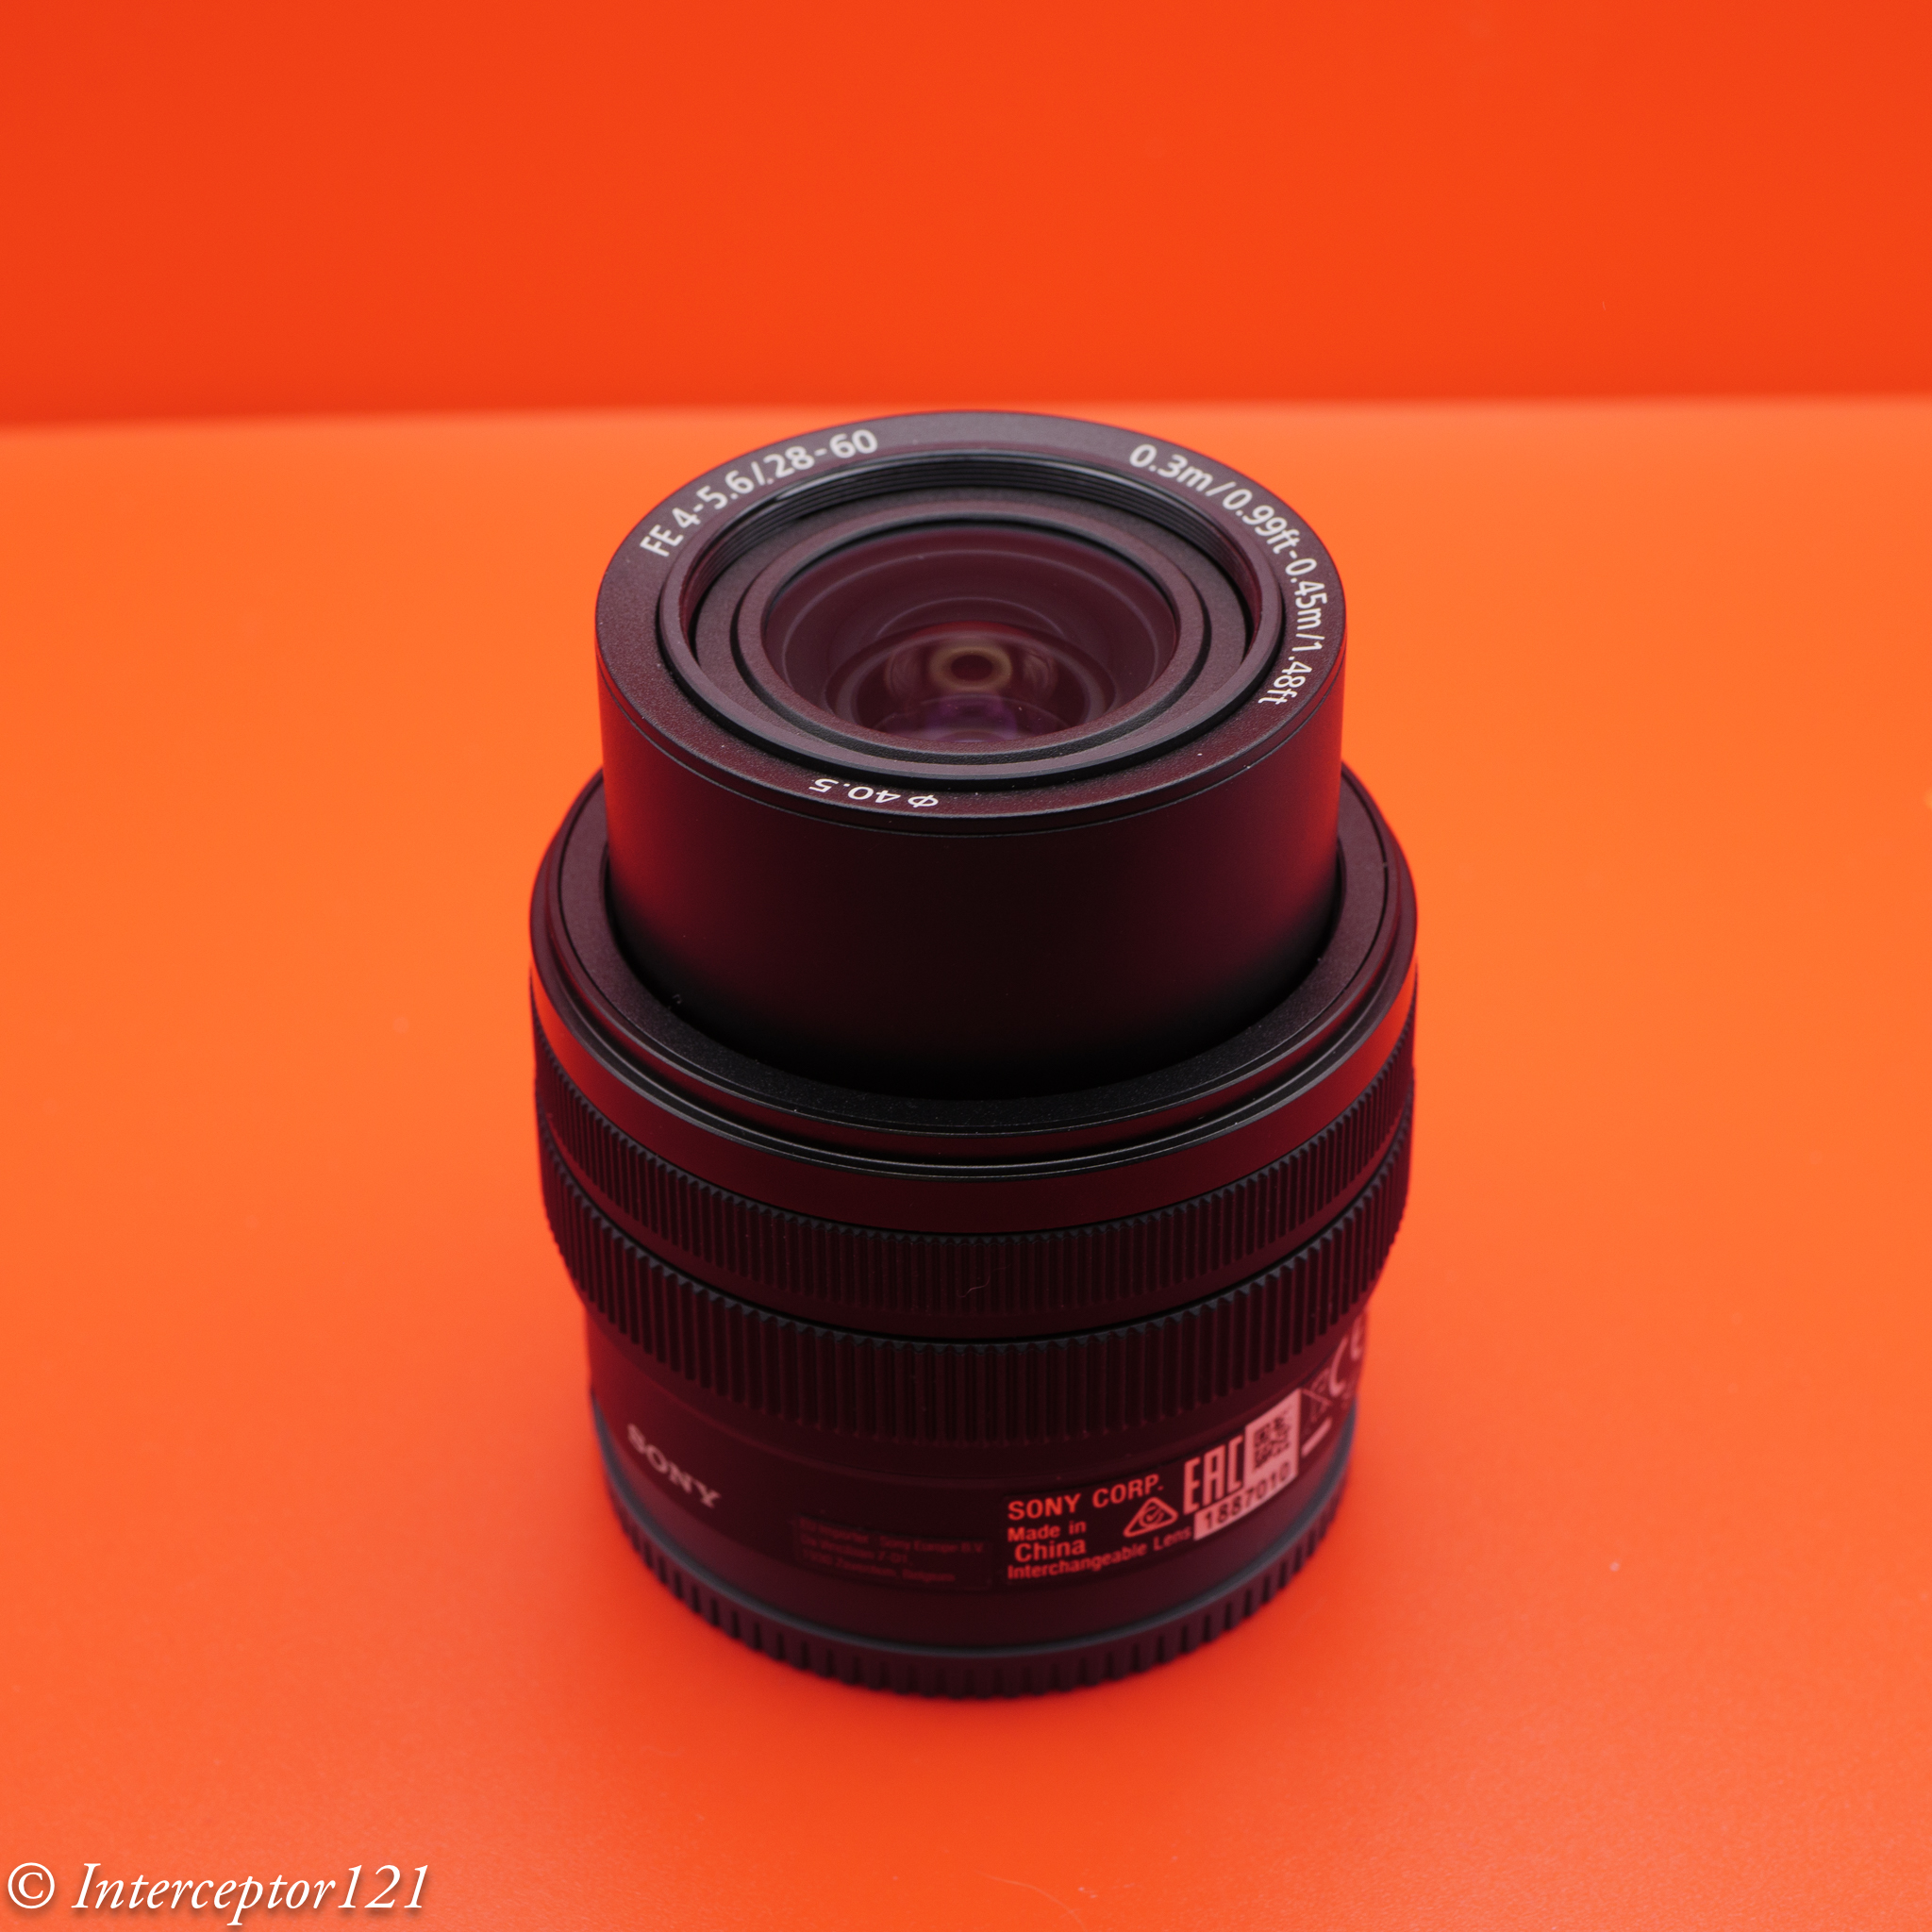
The Sony A7R2 was released in 2015 some time later Nauticam released the WWL-1 and I was told this wet lens would work with a Sony full frame using a 28mm prime.
Years later I own a Sony A1 and I have been considering the 28/2 prime as a complement to the Sony 28-60mm mostly to address sharpness issues at the edges.
There is no doubt that the 28-60mm is a great little travel lens and perfect companion of the A7C however performance at the edges is never quite right no matter how much you close down.
Build Comparison
The 28mm prime is smaller than the 28-60mm when this one is extended but has a wider front element.
SEL2860 vs SEL28F20 Side
The side by side comparison shows that the 28mm is 9mm shorter when the zoom is at 28mm. The 28mm has a 49mm filter thread while the 28-60 has a 40.5. The 28mm is two stops faster than the 28-60mm but has a lot of vignetting.
DxoMark says the 28/2 will resolve 47 megapixels when coupled with the A7RIV 62 megapixel sensor.
The lens has quite a bit of distortion but not as much as the 28-60mm and also strong vignetting.
Sony FE 2/28 Mounted Front
On the A1 the lens looks small and well proportionate to the camera body. Not sure if I will ever use a 28mm prime but I got my copy from Wex photography using a discount code and it was open box.
Sony FE 2/28 Mounted Side
Port Required
The lens will vignette with the Nauticam flat port 45 and it requires the purposely designed flat port 32. This was released after the new generation of Sony housing as replacement of the flat port 37 used on earlier models.
Nauticam N100 Flat Port 32
Not much to say the port is obviously shorter and does not focus a knob.
Flat Port 45 vs 32 PerspectiveFlat Port 45 vs 32 Side
Topside Comparison
Before taking the camera in water I wanted to make sure the lens was sharper than the 28-60mm and it is.
My assessment topside is that the lens is best at f/5.6 and the 28-60 never really matches it. At f/11 the resolution drops and the two lenses become comparable however there is no benefit shooting the 28mm at smaller apertures than f/8.
Sony SEL28F20 topside f/5.6SEL2860 Topside F5/6
You can open the images in a new tab I spare the crop comparisons the 28-60 edges are blurry at f/5.6.
SEL28F20 Topside F8SEL2860 Topside F8
By f/8 there is an improvement at the edges but the centre drops on the 28mm. Likewise on the 28-60mm where the edges become acceptable.
SEL28F20 Topside F11SEL2860 Topside F11
At f/11 the lenses are almost identical. This is an important consideration as underwater this means shooting from f/11 and smaller aperture will not show substantial differences between the two lenses with the WWL-1.
Pool Tests
I set up my camera and went to Inspire Luton for a shooting session.
First I set up the small test reef and took images at various apertures.
I disabled distortion correction so there is a little black bar on the bottom when you are at extreme close range.
SEL28F20 F5.6 Front
The image at f/5.6 shows that on the focus line (the pink coral is the target) everything is good quality as you move to the edges but you can see the depth of field running out as you get closer. Do not confuse this with the lens edge performance as many testers do.
SEL28F20 F5.6 Edge
The focus point is on the line Achieve Neutral Buoyancy. You can see that the WWL-1 deteriorates the image quality especially on the meridional lines compared to topside. However this is overall useable in my opinion compared to the 28-60mm.
SEL28F20 F8 Front
Closing to f/8 achieves overall the best centre performance.
SEL28F20 F8 Edge
Edges are more than adequate I would say f/8 is the sweet spot of this lens for shots that are not too close.
At f/11 the WWL-1 in its best performance at the edges but the lens has lost a bit of punch.
SEL28F20 F11 FrontSEL28F20 F11 Edge
Here is a shot at f/16 just to demonstrate the issue of depth of field is unrelated to the lens aberrations.
SEL28F20 F16 Front
Personally I would not use this lens for close up work but if you have to f/16 is the way to go.
For reference this is the 28-60mm at f/11 which is totally usable, the shots are not as close so less demand on the lens.
SEL2860 F11 FrontSEL2860 F11 Edge
Shooting a target further away demonstrates the ability of the 28mm at wider apertures.
Tile Wall SEL20F20 F5.6
Edges are fine at f/5.6 but this is a flat target.
Tile Wall SEL20F20 F8.0
In conclusion my recommendation for the 28mm is to shoot the lens at f/8 and go to f/5.6 when there is nothing in the edges as necessary to improve centre sharpness. This is an improvement of 1 stop over the 28-60mm. It is not possible to use the lens at f/4 with the WWL-1 the performance is just not there.
Shots at f/5.6 are softer at the extreme edges and depth of field also plays a role.
Knee down SEL28F20 F5.6
Midwater shots do not display significant issues as expected.
SEL28F20 f5.6 Diver Side
Open Water Shots
I used this lens in Sorrento during my last trip shooting it always at f/8 which was a mistake for close up shots where I should have closed down the aperture.
The shots that follow would have been better suited to a fisheye.
Gattuccio EggVedettaIn salita
At close range I did not close down to f/16 so the lack of depth of field is evident. Do not confuse this with edge performance.
SpugneCucu
You can see that as the focus is on the grouper the reef coming outwards is blurred due to lack of depth of field.
This is very apparent on this shot.
Cernia in crociera
I have the impression that those water contact optics work better when focussed closer in the frame not on the target as if the depth of field is mostly behind the focus point.
Wrap Up
The Sony 28/2 costs £339 currently and the flat port another £369 for a total of £708 for the set up.
I have not tested the lens with the WACP-C but I think performance will be worse as the mount has a lot of gap until the back of the lens is reached and this creates other side effect.
I believe that the 28mm prime is not something that you require for a 24 and even 32 megapixel camera. Users of the A1 or A7R series that want the absolute best quality and the ability to shoot one stop more open will look into this lens but the majority of shooters will stay with the 28-60mm as their only lens. For video users I think the 28/2 lens is a non starter and I am not planning to use it at all as in 16:9 the extreme edges are cropped and even the 28-60mm is fine.
I am conscious that a post like this is destined to create some stir, however it reflects over one month of testing of the two Nauticam water contact optics with my A1 and summarizes my conclusion for my own use.
Of course if you are reading this you may agree with what you will read and this will be your conclusion too. Or otherwise you would have bought the WACP-C thinking it was an upgrade for your Sony Alpha and well if it turns out it is not you will think it is anyway.
I was fortunate to be able to borrow the WWL-1 DRY from Alex Mustard. This lens is the prototype of the current Nauticam WACP-C. The lens has remained pretty much the same but it now has an integrated fixed float collar and built in extension. Other than a thickening of the rear lens mount ring it looks identical and therefore I assume optical performance is the same.
Someone will say well but it is not the same, but as we know the construction of the WWL-1, WACP-C and WACP-1 is identical and each model is 1.15 bigger than the previous with the optical design made of 6 lenses in 5 groups for all of them.
I have not had the chance to test the WACP-1, Alex said he would lend me that too however I am not interested in such large lens.
I have also had the opportunity to test the WACP-C with a variety of lenses including some not on the port chart like the Tamron 20-40 F2.8 and 17-28 F2.8 both did very well but nothing amazingly better than that little Sony 28-60 or the Sony 28mm prime and therefore I concluded that path is not worth pursuing.
Sony SEL2860 Lens Options
For the purpose of this article I will focus on the comparison with the Sony SEL2860 F4-5.6 28-60mm which is no doubt not an amazing lens but it happens to be pretty sharp from 35mm onwards. It is rather weak at 28mm at the edges so one of the things I wanted to check was if the larger WACP-C was giving an improvement over the smaller WWL-1.
Sony FE 4-5.6/28-60 Side
The Sony SEL28060 is a small lens that needs to be extended for use. When mounted on the A1 is pretty compact, no surprise as this is the kit lens for the A7C.
Sony SEL2860 Mounted Front
The lens is longest at 60mm but only 1mm shorter at 28mm which makes it ideal for use behind a wet lens.
Sony SEL2860 Mounted Side
To use it on the Sony E-Mount Full frame of new generation with the N100 port system you need the flat port 45 that comes with a rather unuseful knob that I have removed from mine.
Nauticam N100 Flat Port 45Nauticam WWL-1 on Sony A1
The set up with the A1 is very compact and portable the whole housing, wet lens camera, strobes and arms together with camera and lens fit a carry on luggage on every airline of the world.
To use the WWL-DRY aka WACP-C I needed to use my 35.5 N120 to N100 adapter and a 25mm adapter ring. The production version only needs a 30mm N100 extension ring but will be as long as you see here.
WWL-1 DRY with float belt
There is a considerable difference in weight between the two set ups and the production WACP-C is heavier.
I own the original WWL-1 version with non integrated float collar which is lighter than the current WWL-1B.
Nauticam WWL-1
In the post title image you see both lenses without floatation.
Pool Tests
In order to perform a comparison I decided to use a semi scientific method consisting of a fixed scene and shots at very close range. The closest the subject is to the lens more stress is induced on the optics that are designed to focus far away. This means that if a lens is better than another at close range when you point them far way the gap will still be there but will reduce.
WACP-C
The first set of tests was performed with the WWL-1 DRY.
CFWA f/5.6 WACP-C 2860
I started at f/5.6 not f/4 that looked visually a waste of time. First I tried with the target on a line to see the potential effect of field of curvature and other issues.
At f/5.6 the sides are already blurry. The edges are even more fuzzy.
EDGE f/5.6 WACP-C 2860
The images are 6 megapixels feel free to open them in another tab and look for yourself.
Edge WACP-C f/5.6 2860
Moving to f/8 improves the situation but not as much as you would think.
CFWA f/8 WACP-C 2860
The edge remain soft at f/8.
Edge WACP-C f/8 2860EDGE f/8 WACP-C 2860
From f/11 we have good performance across the frame using the SEL2860.
Note that the focus point is on the edge and this means the issue if solely due to the water contact optic is not a problem of depth of field or field of curvature.
I proceeded to shoot at f/11 and f/8 avoiding f/5.6.
Look hereMaddy tells them off
Shooting at f/8 is possible if there is nothing at the edges and the depth of field is sufficient.
Maddy side
WWL-1
The test with the WWL-1 brought practically identical results.
Sides are soft at f5/6 and the slate shows obvious issues of depth of field.
SEL2860 F/5.6 FrontSEL2860 F5.6 Edge
Edges are very similar to the WWL-1 DRY perhaps a bit better.
At f/8 the situation improves as it had happened with the WACP-C.
SEL2860 F/8 FrontSEL2860 F8 Edge
From F/11 image quality is consistent across the frame.
SEL2860 F11 FrontSEL2860 F11 Edge
There is an obvious issue of depth of field so if you are shooting at close range with the 28-60mm you really need to look at f/16 but this was not the point of the tests.
f/11 side shot
David f/8Diver f/10
Wrap Up
As you can see by yourself there is really nothing between the two optics and clearly the difference between the wet and dry version is simply in the ergonomics and of course the price. For me there is no reason to consider the WACP-C unless you have serious issues with a wet mount.
After all those tests I decided not to take the WACP-C to Italy and used the WWL-1 for both photos and video with good results.
Puolo -40
This shot is taken at 40 meters with the 28-60mm at f/11.
I pretty much used f/11 fixed changing other parameters for the exposure and at time using the zoom.
Andrea
This is not the red sea it is much darker and as you can see dry suit were in use.
Bavosa Ravvicinata
The zoom of the 28-60 has some clear benefits.
Conclusion
The WWL-1 needs the bayonet mount and the flat port 45 to operate with the WWL-1. This comes at cost of $2,119.
The WACP-C needs the N100 extension ring 30 to operate. This comes at $3,426.
If you a Sony full frame E-mount user and have issue dealing with the bubble removal of a wet lens when you jump in the water you can spend $1,306 to avoid yourself the inconvenience. However you will not have any benefit in terms of optical quality and you will be carrying more weight.
For video the wet lens is clearly preferred as you can operate the 28060 with a flat port and wet lenses for close up work.
The WWL-1 remains the true Nauticam master piece and a lens that keeps delivering years after the introduction.
Few days ago Alex Mustard popped in to drop his WWL-DRY aka WACP-C prototype so that I could conduct some experiments for the enjoyment of the entire underwater community on Sony E-mount.
This lens is not the same of the current WACP-C but it is very similar. It does not have a float collar, a bit like the original WWL-1 dimensionally appears a few mm different from the WACP-C specs.
The lens seems a bit shorter.
140 mm length instead of 145 mm of current production version
The dome diameter is identical somewhere in the region of 130mm.
Dome port perspective masks the real diameter of 130mm
The lens is very heavy in water so I needed some floatation.
Stix float belt carved to fit a dome
I rented a Tamron 28-75mm G2 from lenspimp only to discover it would not fit any of my extensions. Alex Tattersal has sent me an adapter on loan but it did not make it for my pool session.
I therefore decided to use my Tamron 17-28mm although the extension was 5mm too long I got no vignetting at 26mm.
Ready to dive
I exchanged notes with Alex who told me he tried all sorts of optics with his Nikon only to use a 1990 lens now discotinued as all modern fast lenses would refuse to work properly. I was determined to try anyway confident I would get good results.
Pool Tests
Arrived in Luton for a short one hour session last night I took my usual props. The first set of tests show already some interesting results.
I always start as close I can get to the props to fill the frame.
CFWA f/5.6 T28
At f/5.6 the centre is very sharp however I noted the background and were not particularly crisp while the centre was but not in the background. There is an issue of depth of field so I started stopping down the lens.
CFWA f/8 T28
By f/8 results were already very good considering the shooting distance. Consider that a shot like tha requires f/16 on a fisheye or rectilinear to have sufficient depth of field.
By f/11 we are in a really good place.
CFWA f/11 T28
The depth of field is not quite enough for the plant in the back but the edges are sharp.
To show that this is a genuine depth of field issue look at this shot at 17mm in APSC.
17mm APSC f/5.6
It looks very much identical although this is even wider at 25.5mm equivament.
The second step is to look at edge sharpness the pool provides a nice tiled wall for this purpose. Here am shooting at around 1.5 meters.
You can see immediately that the frame is sharp throughout at f/5.6
wall f/5.6
Moving to f/8 improves edges
wall f/8
f/11 brings better edges but in my opinion not the best centre.
wall f/11
This reflects very much the nature of the master lens which is outstanding in the centre at f/5.6 with so so edges but very good on both accounts at f/8. F/11 starts showing an overall resolution loss.
I then moved to test field of curvature.
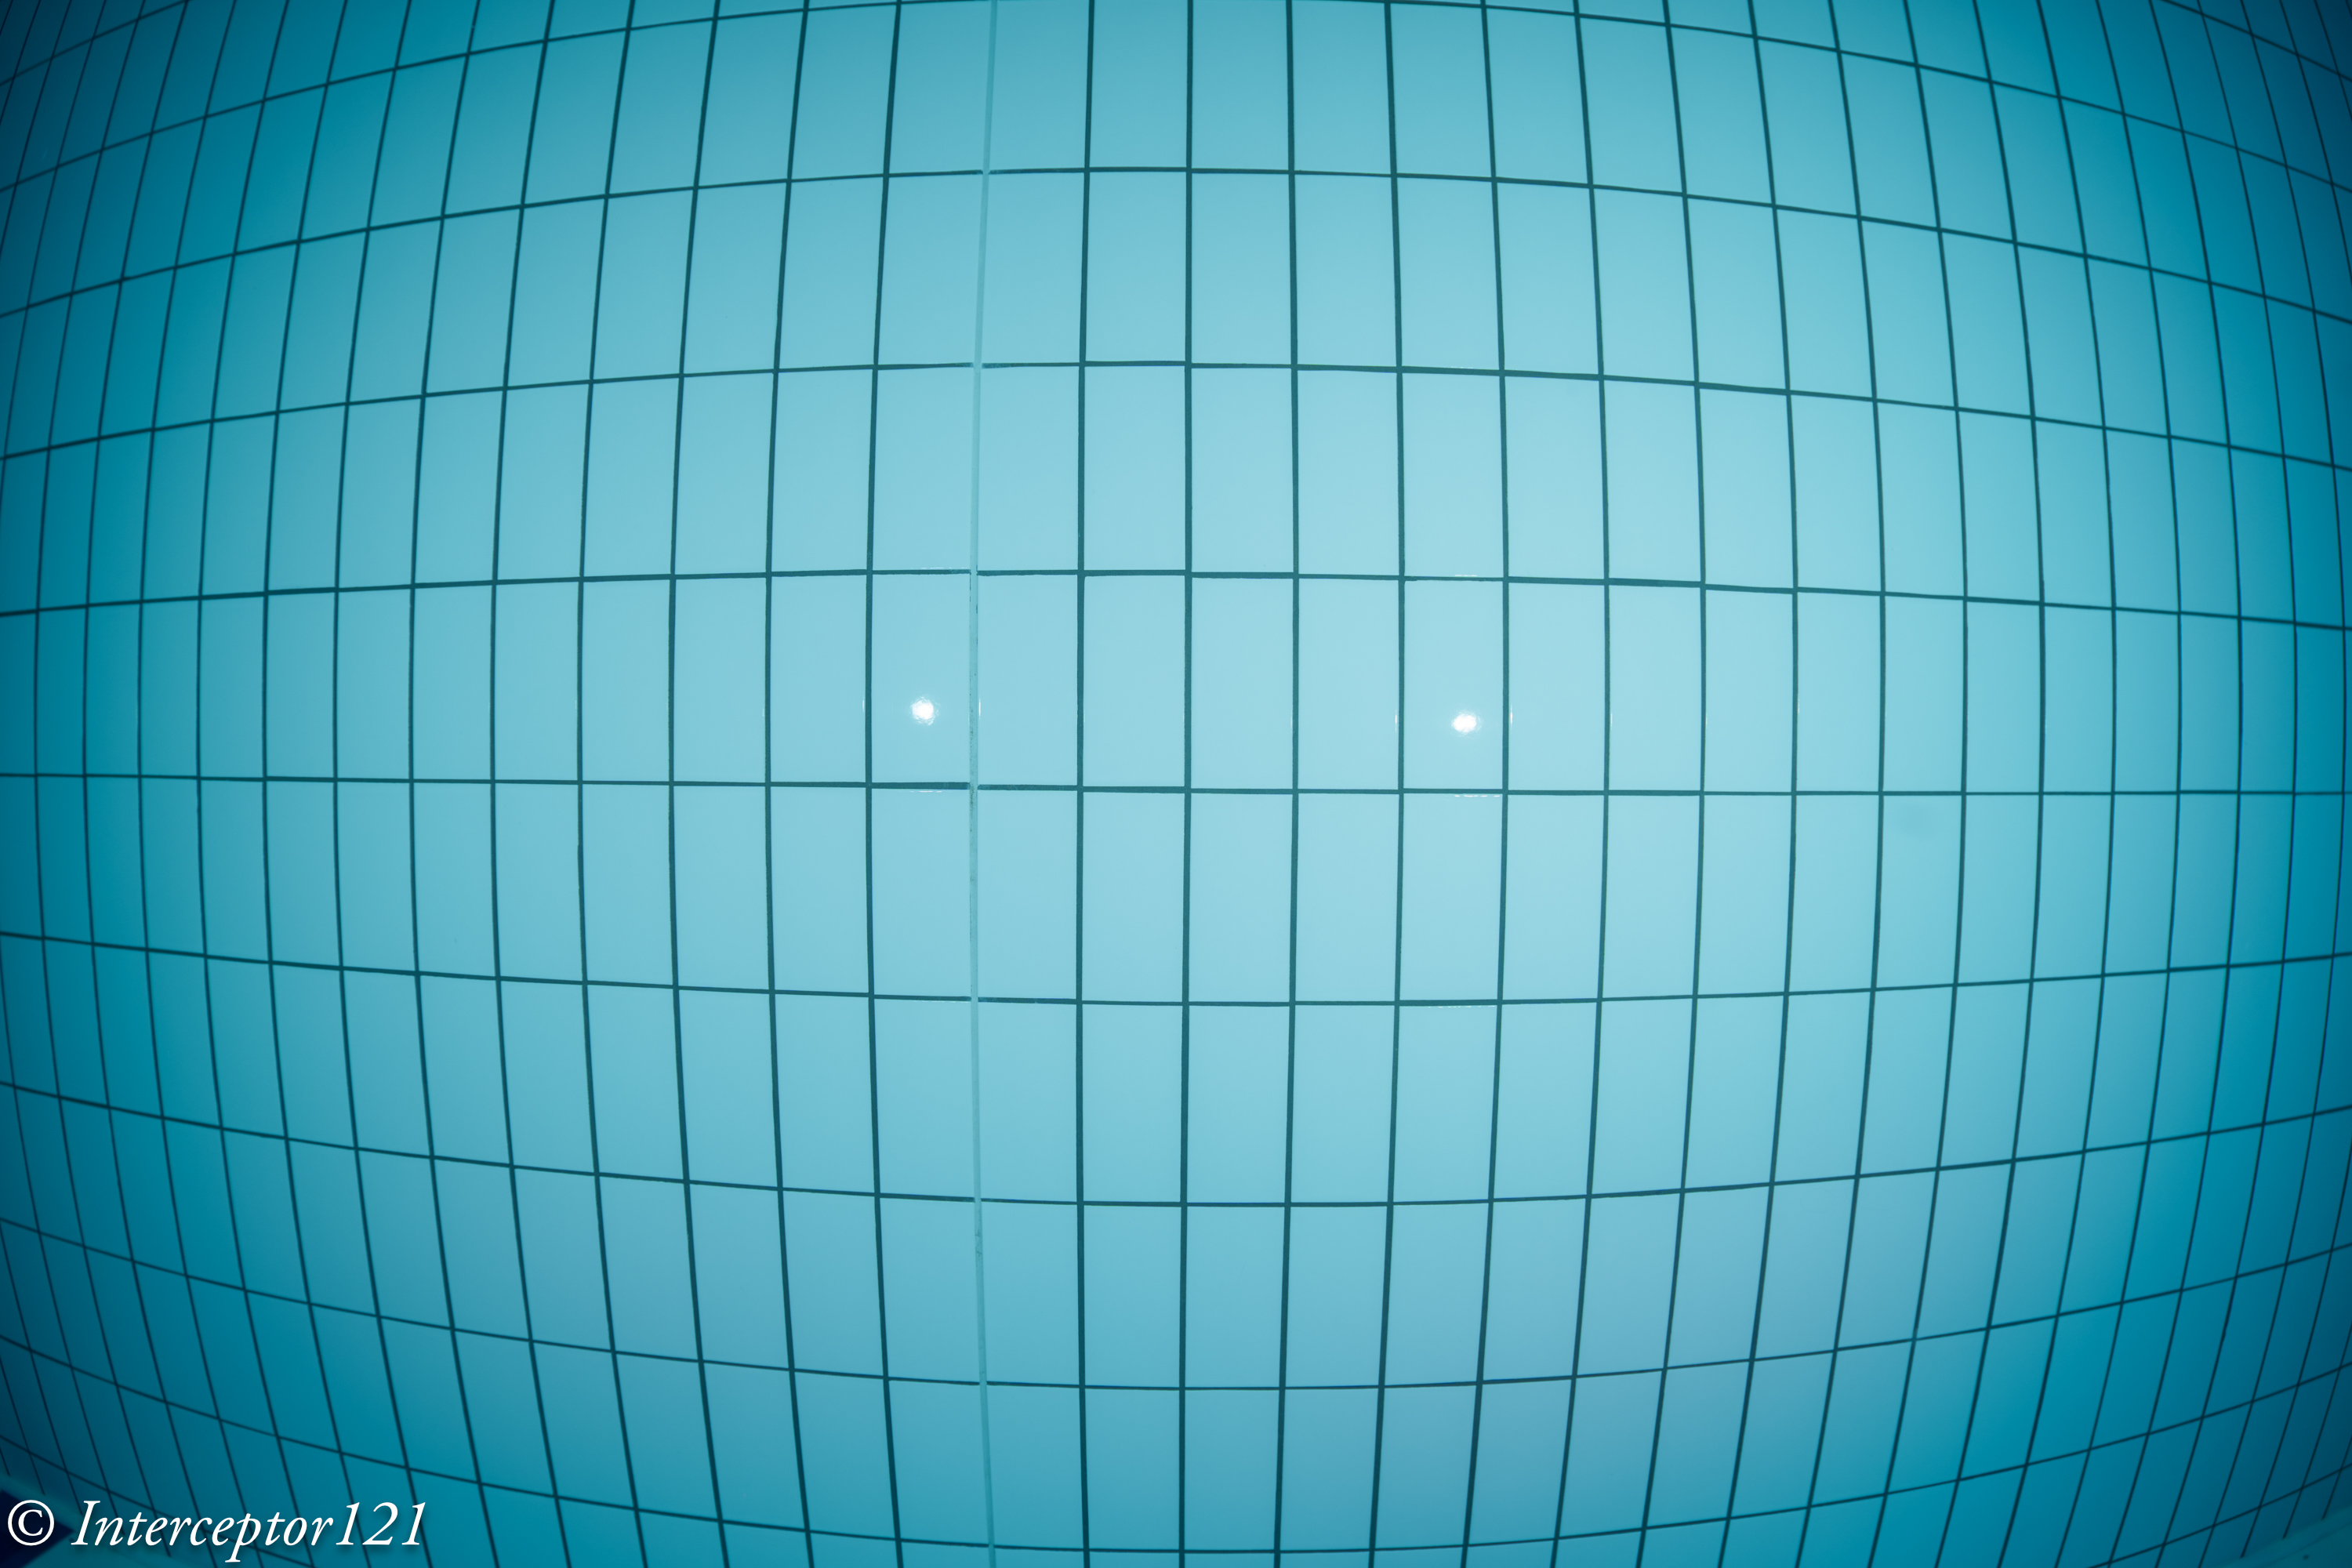
grid f/5.6
The lens has virtually no field of curvature and the edges are good already at f/5.6.
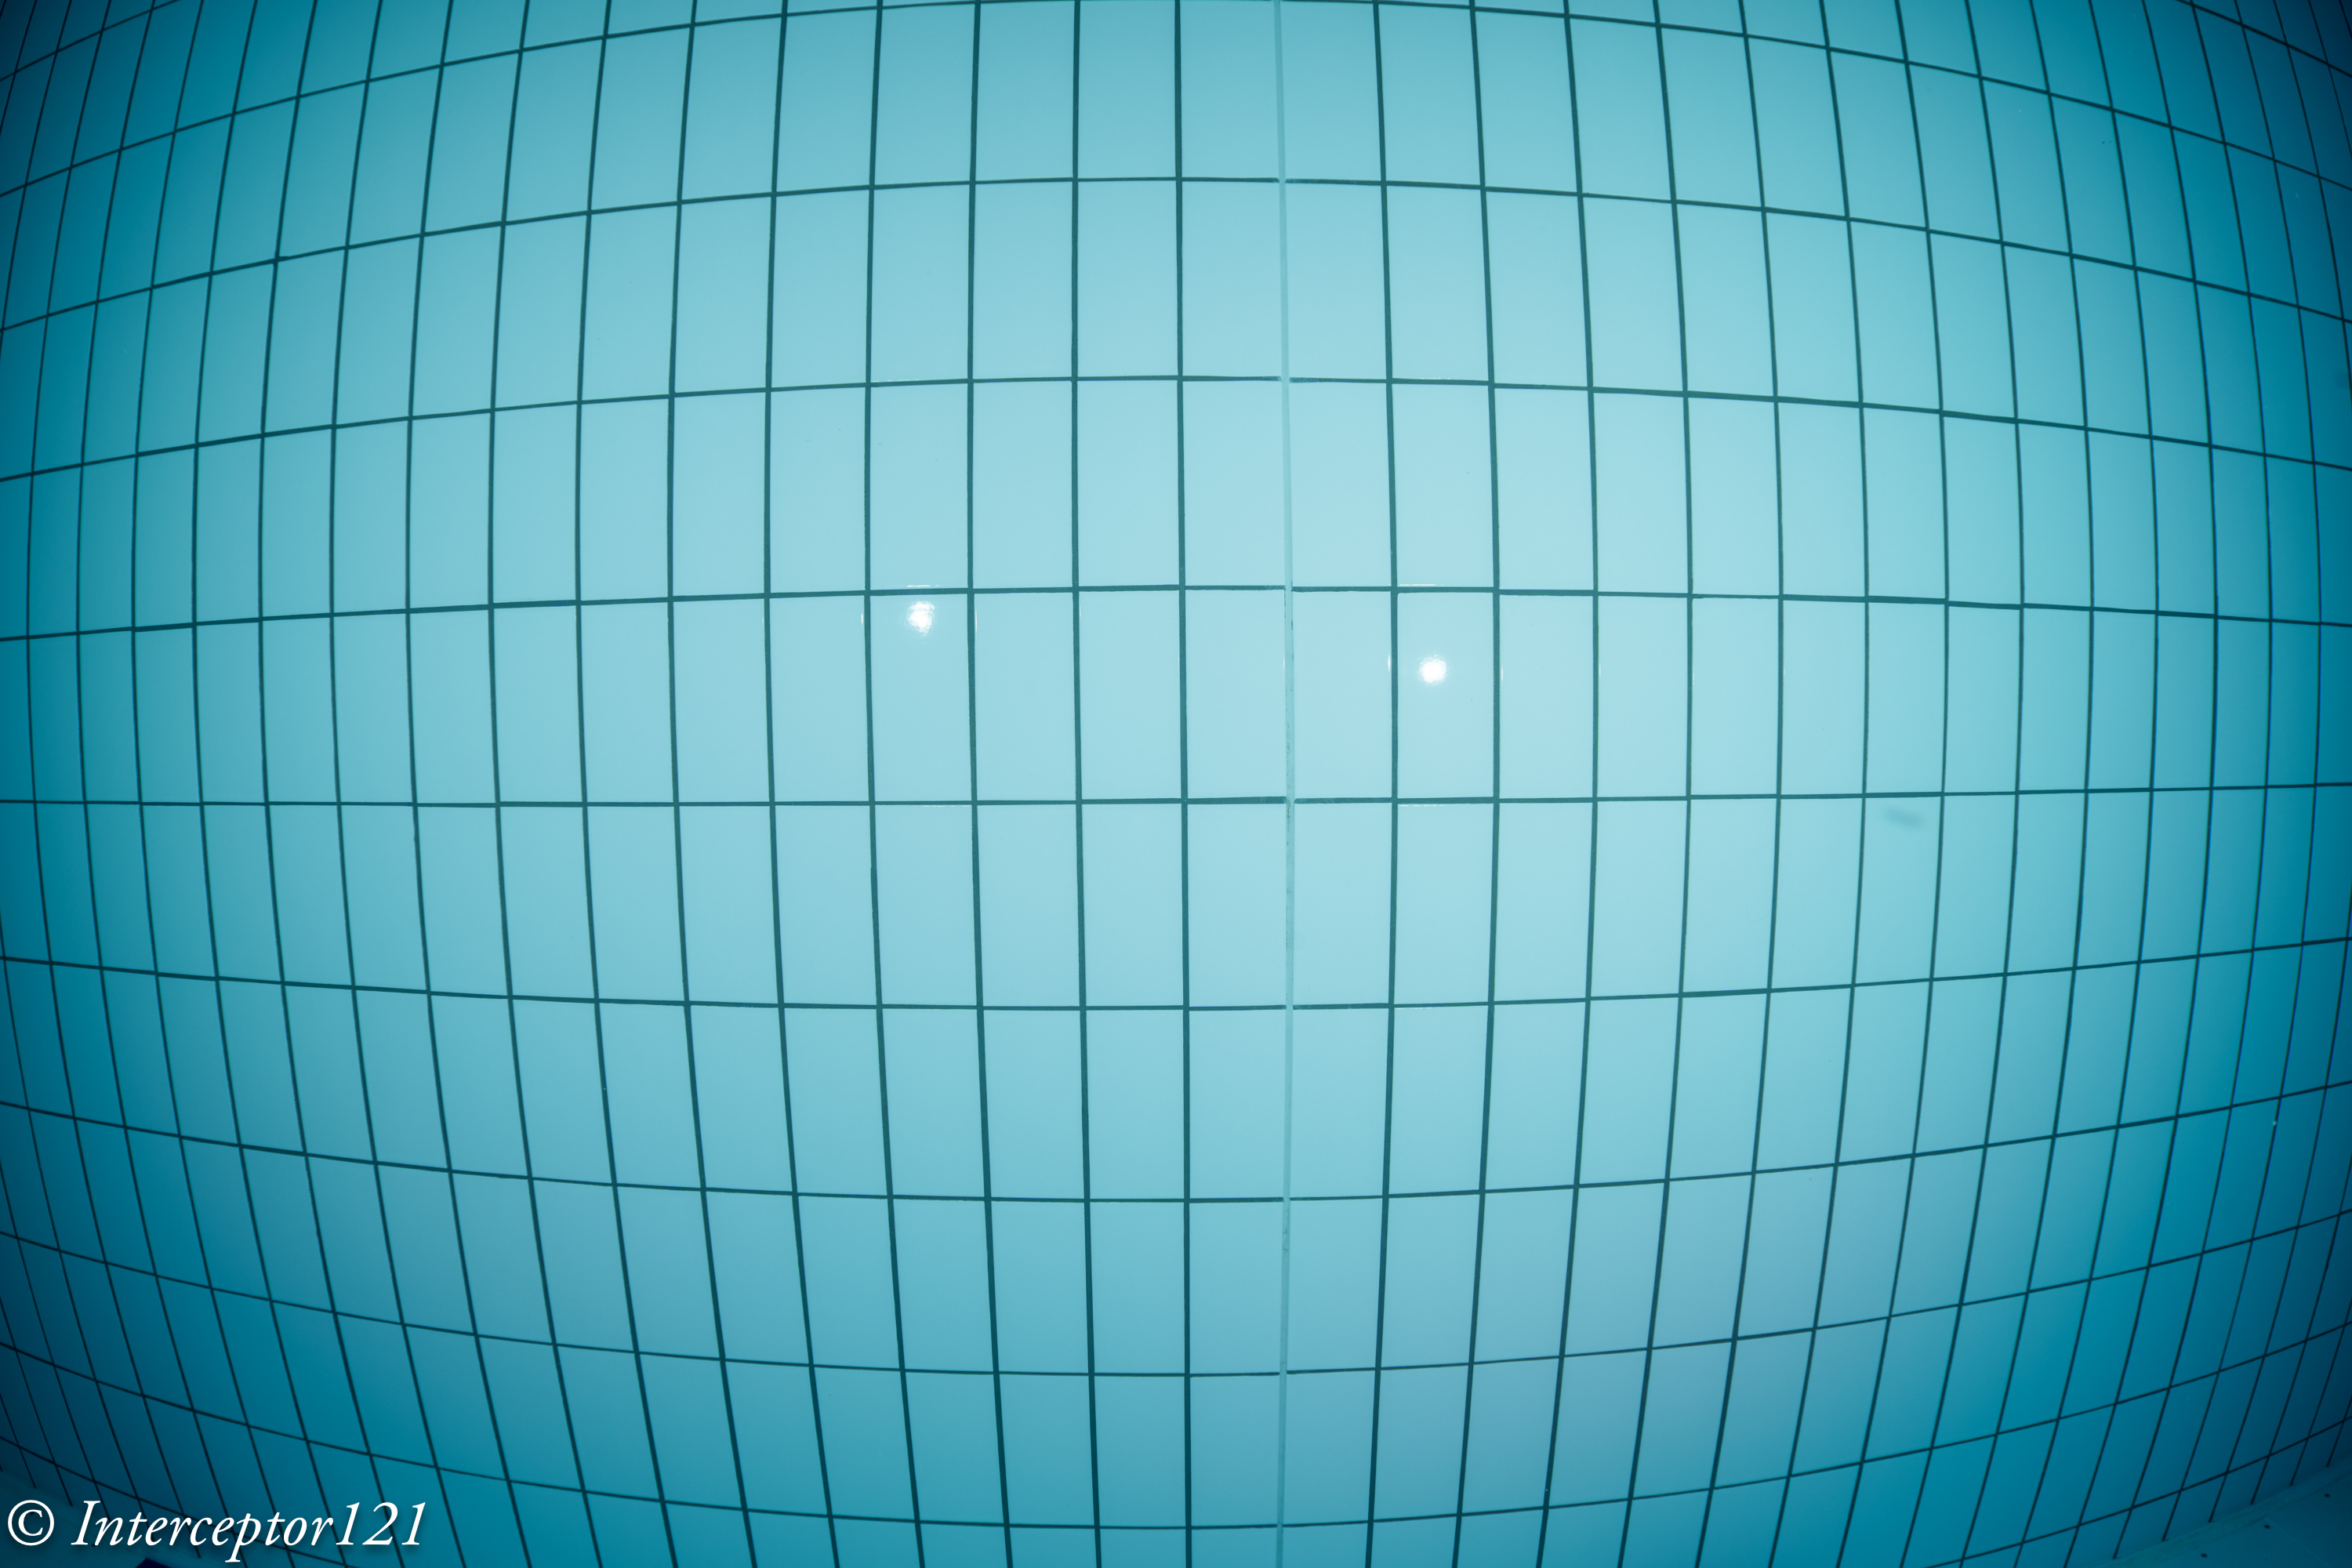
grid f/8
By f/8 the result is excellent.
grid f/11
At f/11 better edges but slightly worse centre.
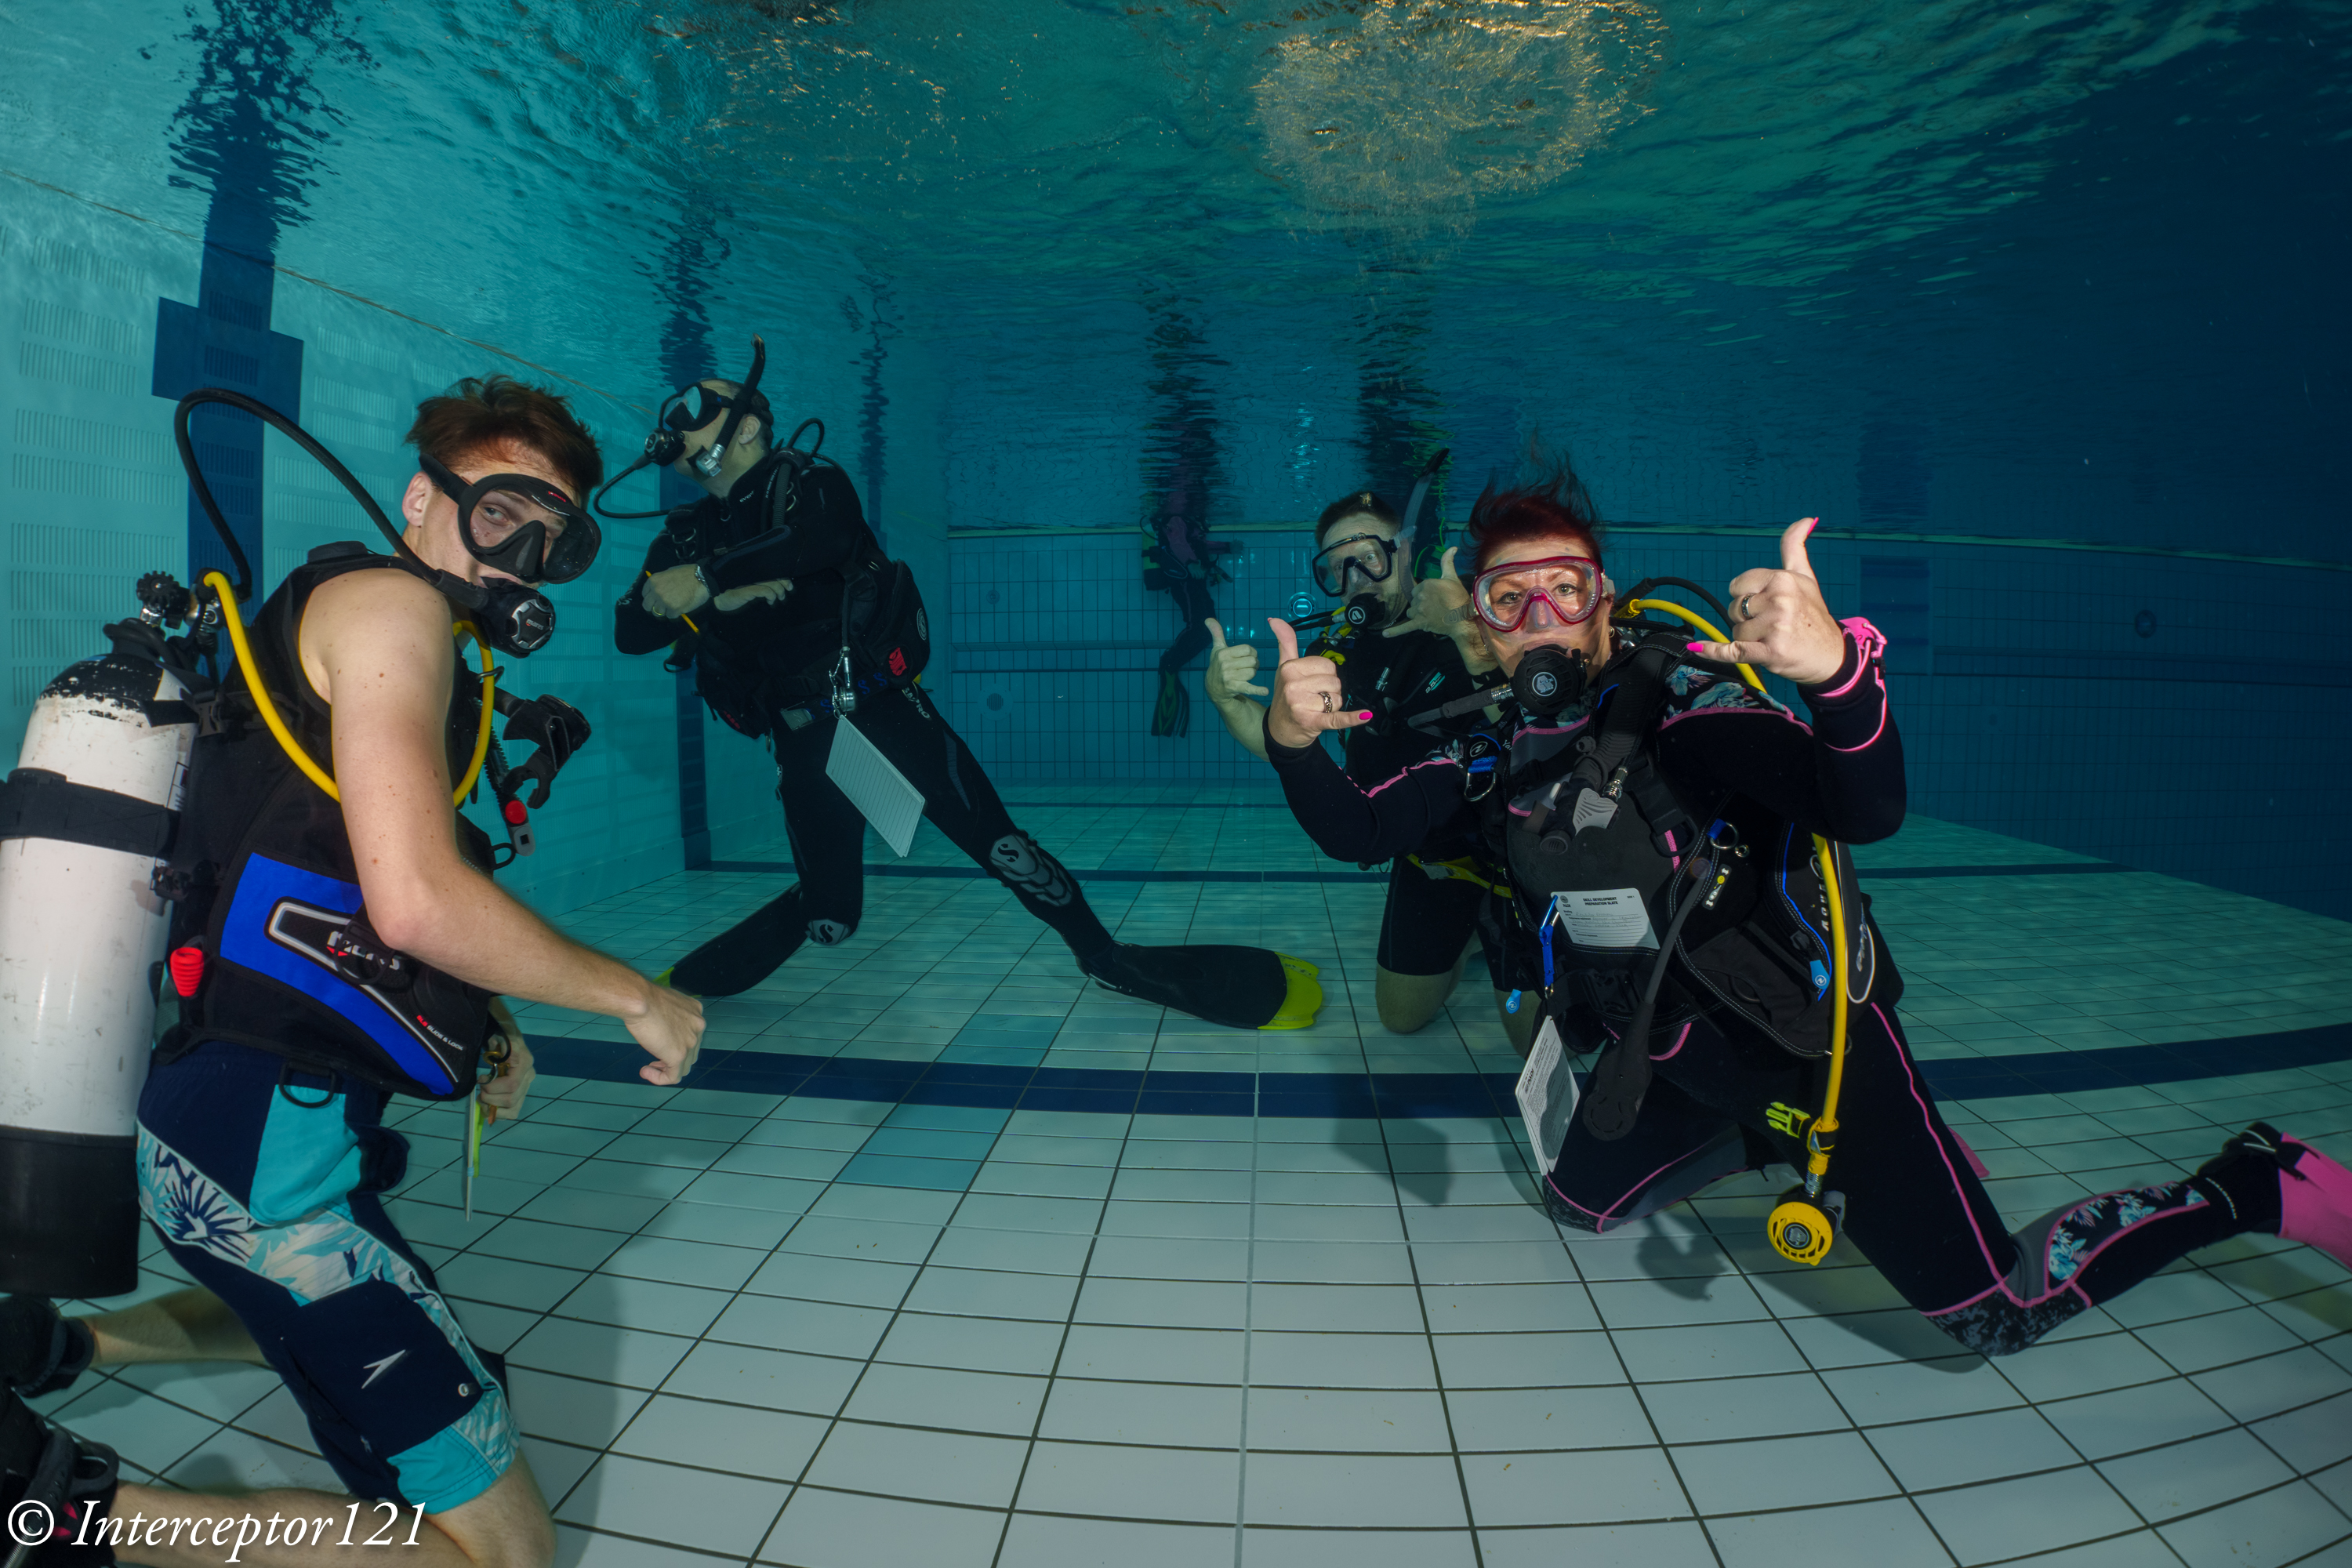
Having completed the lab tests it was time to shoot some divers however I was coming to the end of the hour and they had started surfacing!
group f/5.6
Shots at distance with f/5.6 look great.
surface 3 f/5.6
Consider the shutter speed is low as I was trying to get some ambient light and the subject far so there is some motion blur.
surface f/5.6
f/8 is probably the sweet spot for underwater use.
Wide f/8 T28group f/8
F/11 is really not needed unless you have a close up shot.
Self Potrait f/11 T28
Conclusion
There are some obvious strengths to the Tamron 17-28mm which in my view performs at 28mm way better than the Sony 28-60mm even with a too long extension.
Upon reflection I have decided not to invest on the Tamron 28-75mm as I already have thr Sony 24-70mm GM2 and there is an overlap topside.
Edit 8 April: I received today the adapter ring I needed for the 28-75mm G2 and unfortunately there is vignette at 28mm ruling this lens out entirely for the WACP-C.
If you want to use the Tamron 17-28mm with the WACP-C you need an N120 to N100 25mm adaptor ring, in addition to the zoom gear (not necessarily unless you want to shoot also APSC) and the 35.5mm N100 to N120 port adapter.
The Tamron 17-28mm costs $799 on Amazon.com and it is the best rectilinear wide angle for underwater for the e-mount and we now discovered also compatible with WACP-C.
I will try other lenses in due course but the lesson learnt is that if you do your homework you will find something.
Thanks to Alex for the loan and bear with me a little longer!
I must admit Macro photography is not exactly my favourite genre both underwater and topside however I do enjoy a bit of critter hunting.
I was sure that the A1 would be an absolute beast for topside wildlife and underwater wide angle, however I did not feel comfortable at all with the performance of the Sony 90mm Macro lens.
It has a reputation for hunting and a lot of focus breathing that make it hard to use for topside focus stacking.
I have been playing with the lens topside and I did see examples of both so I was somewhat skeptical taking it underwater.
Camera Settings
I was perhaps over worried so I set up the camera for the worst case scenarios:
Focus limiter set to 0.3 – 0.5 meter
CAF priority set to Focus
Aperture drive – Focus priority
I went in with autofocus set to tracking flexible spot.
Port and Focus Gear
I have always mixed feelings for focus gears and mostly I use it to make sure I am hitting the minimum working distance and therefore maximu magnification.
Nauticam 37147 SE90-F focus gear for Sony 90m f/2.8
The focus gear for this lens is a large item and does not allow to operate the focus clutch. The operation is quite easy as the focus ring does not have an excessive long run.
I already own the 45 Flat Port that I use for the Sony 28-60mm and also have the 35.5 N120 to N120 port adapter so I thought how do I make this 105mm long?
Nauticam 21325 N120 to N100 25mm port adaptor
Nauticam makes convenient adaptor rings of various length to go from N120 to N100 port size. I got the 25mm that resulted in a saving of £441-260=£181 which I used to buy another part.
The rig as assembled looks like this. In effect even the 110 port starts wider and gets narrower.
Sony A1 Nauticam Macro Rig
Before going to the pool I realised the housing does not have an M10 mounting point but you can adapt one of the points that go to the bars connecting the angle. Will be done at some point. So I went in without focus light in a very very very dark pool.
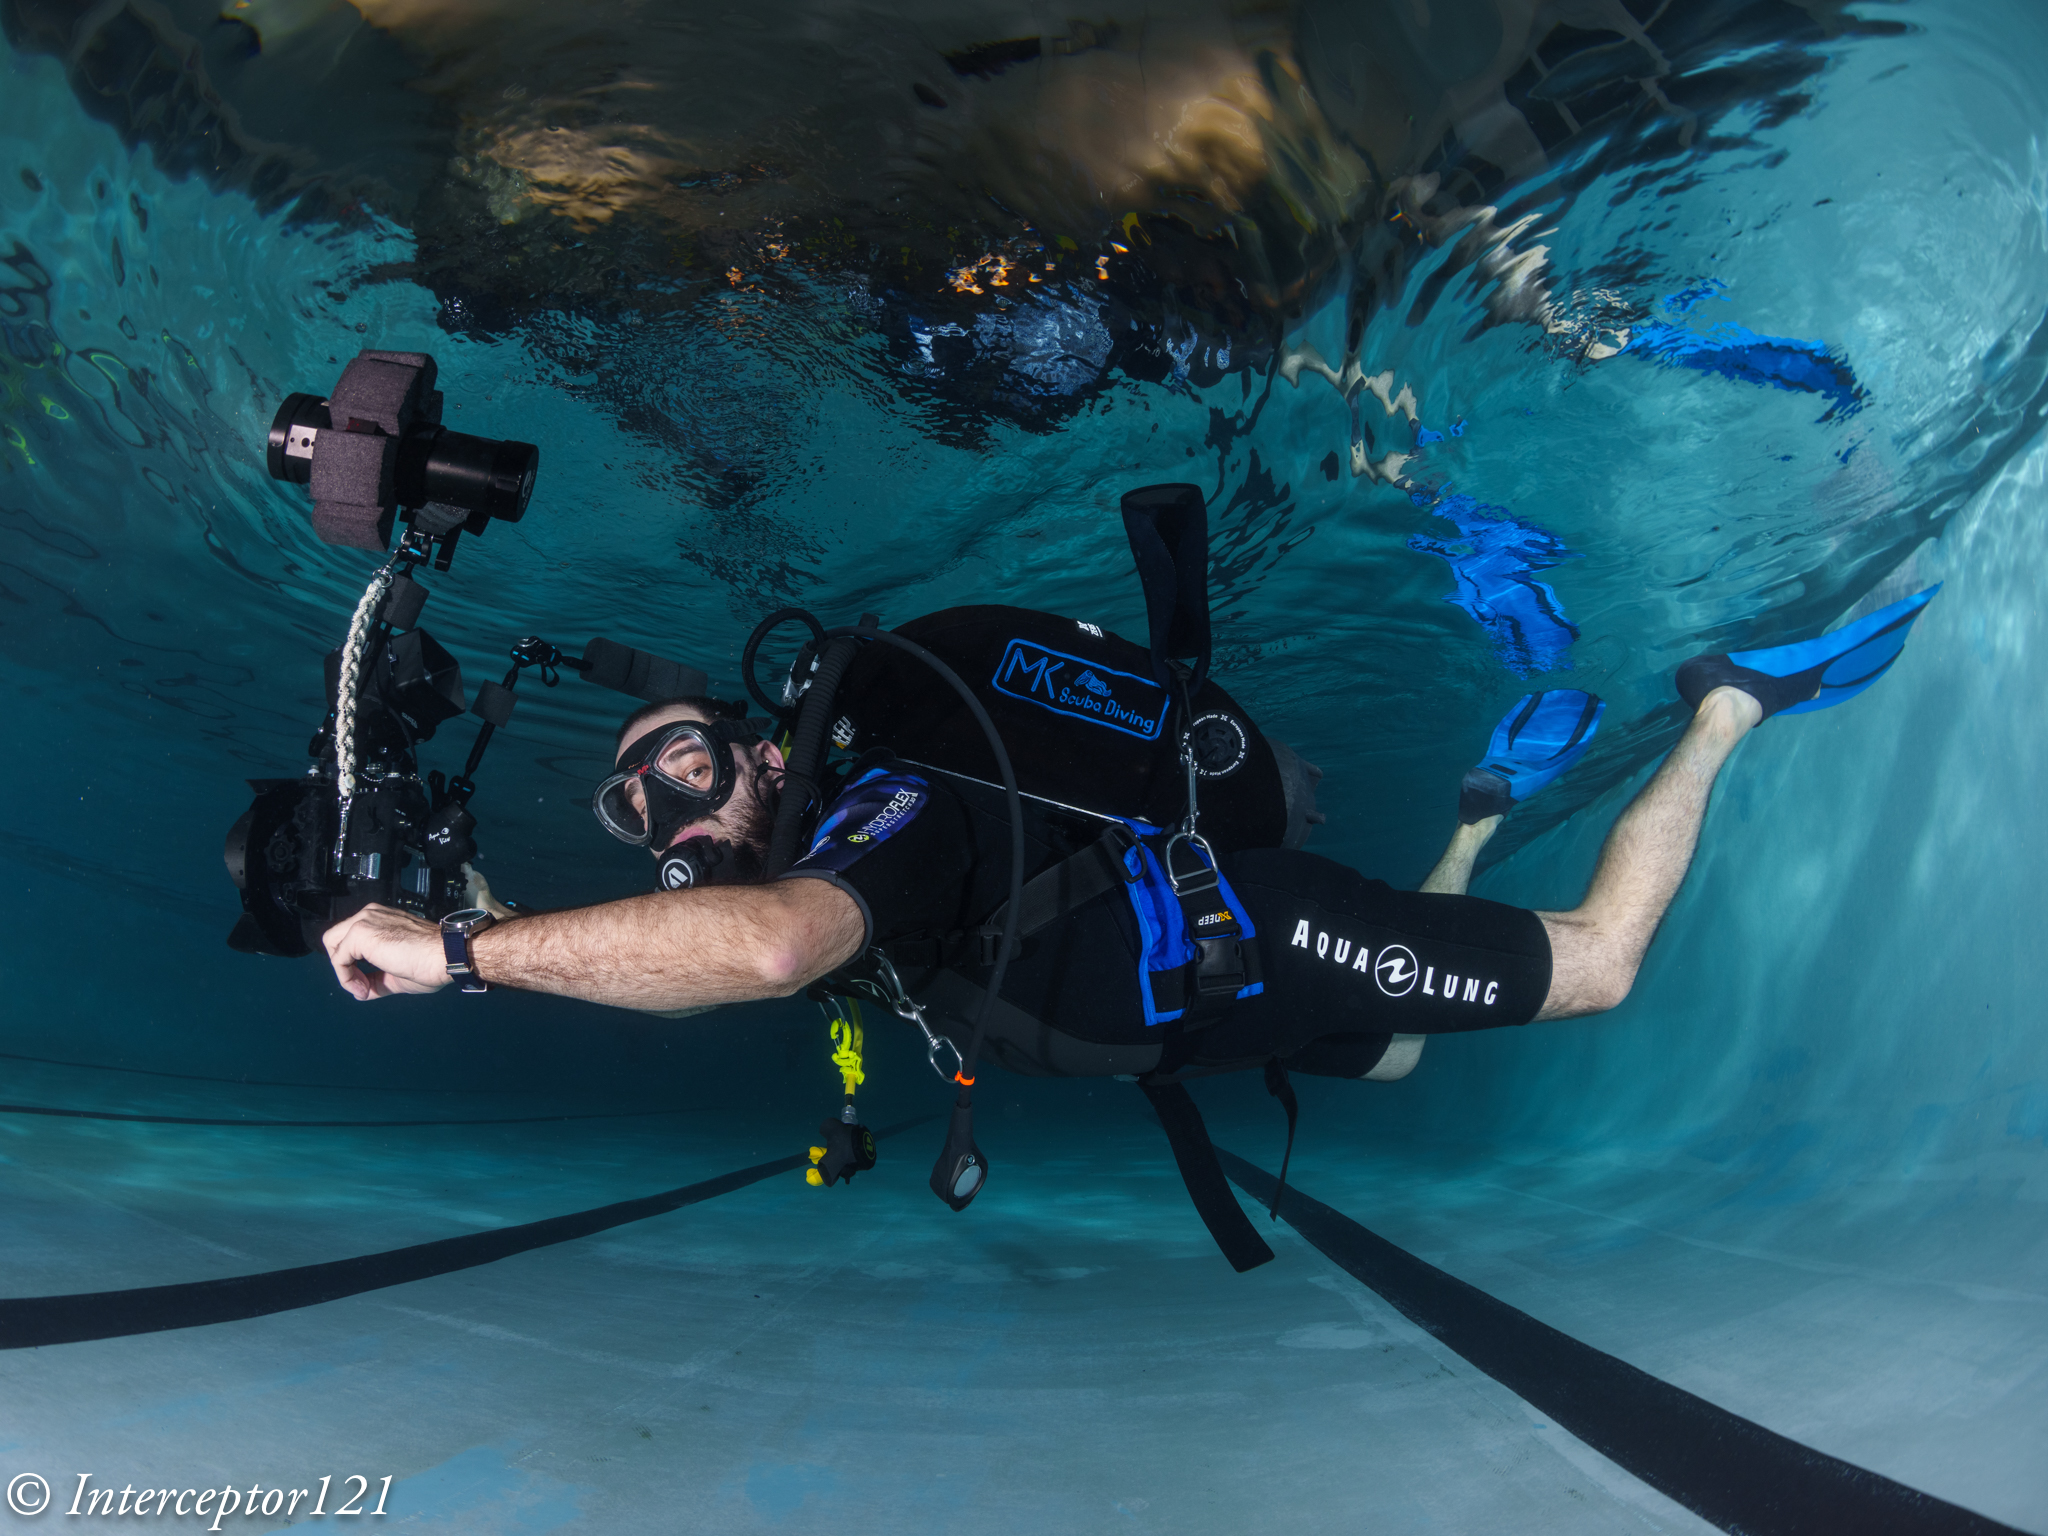
Pool Session
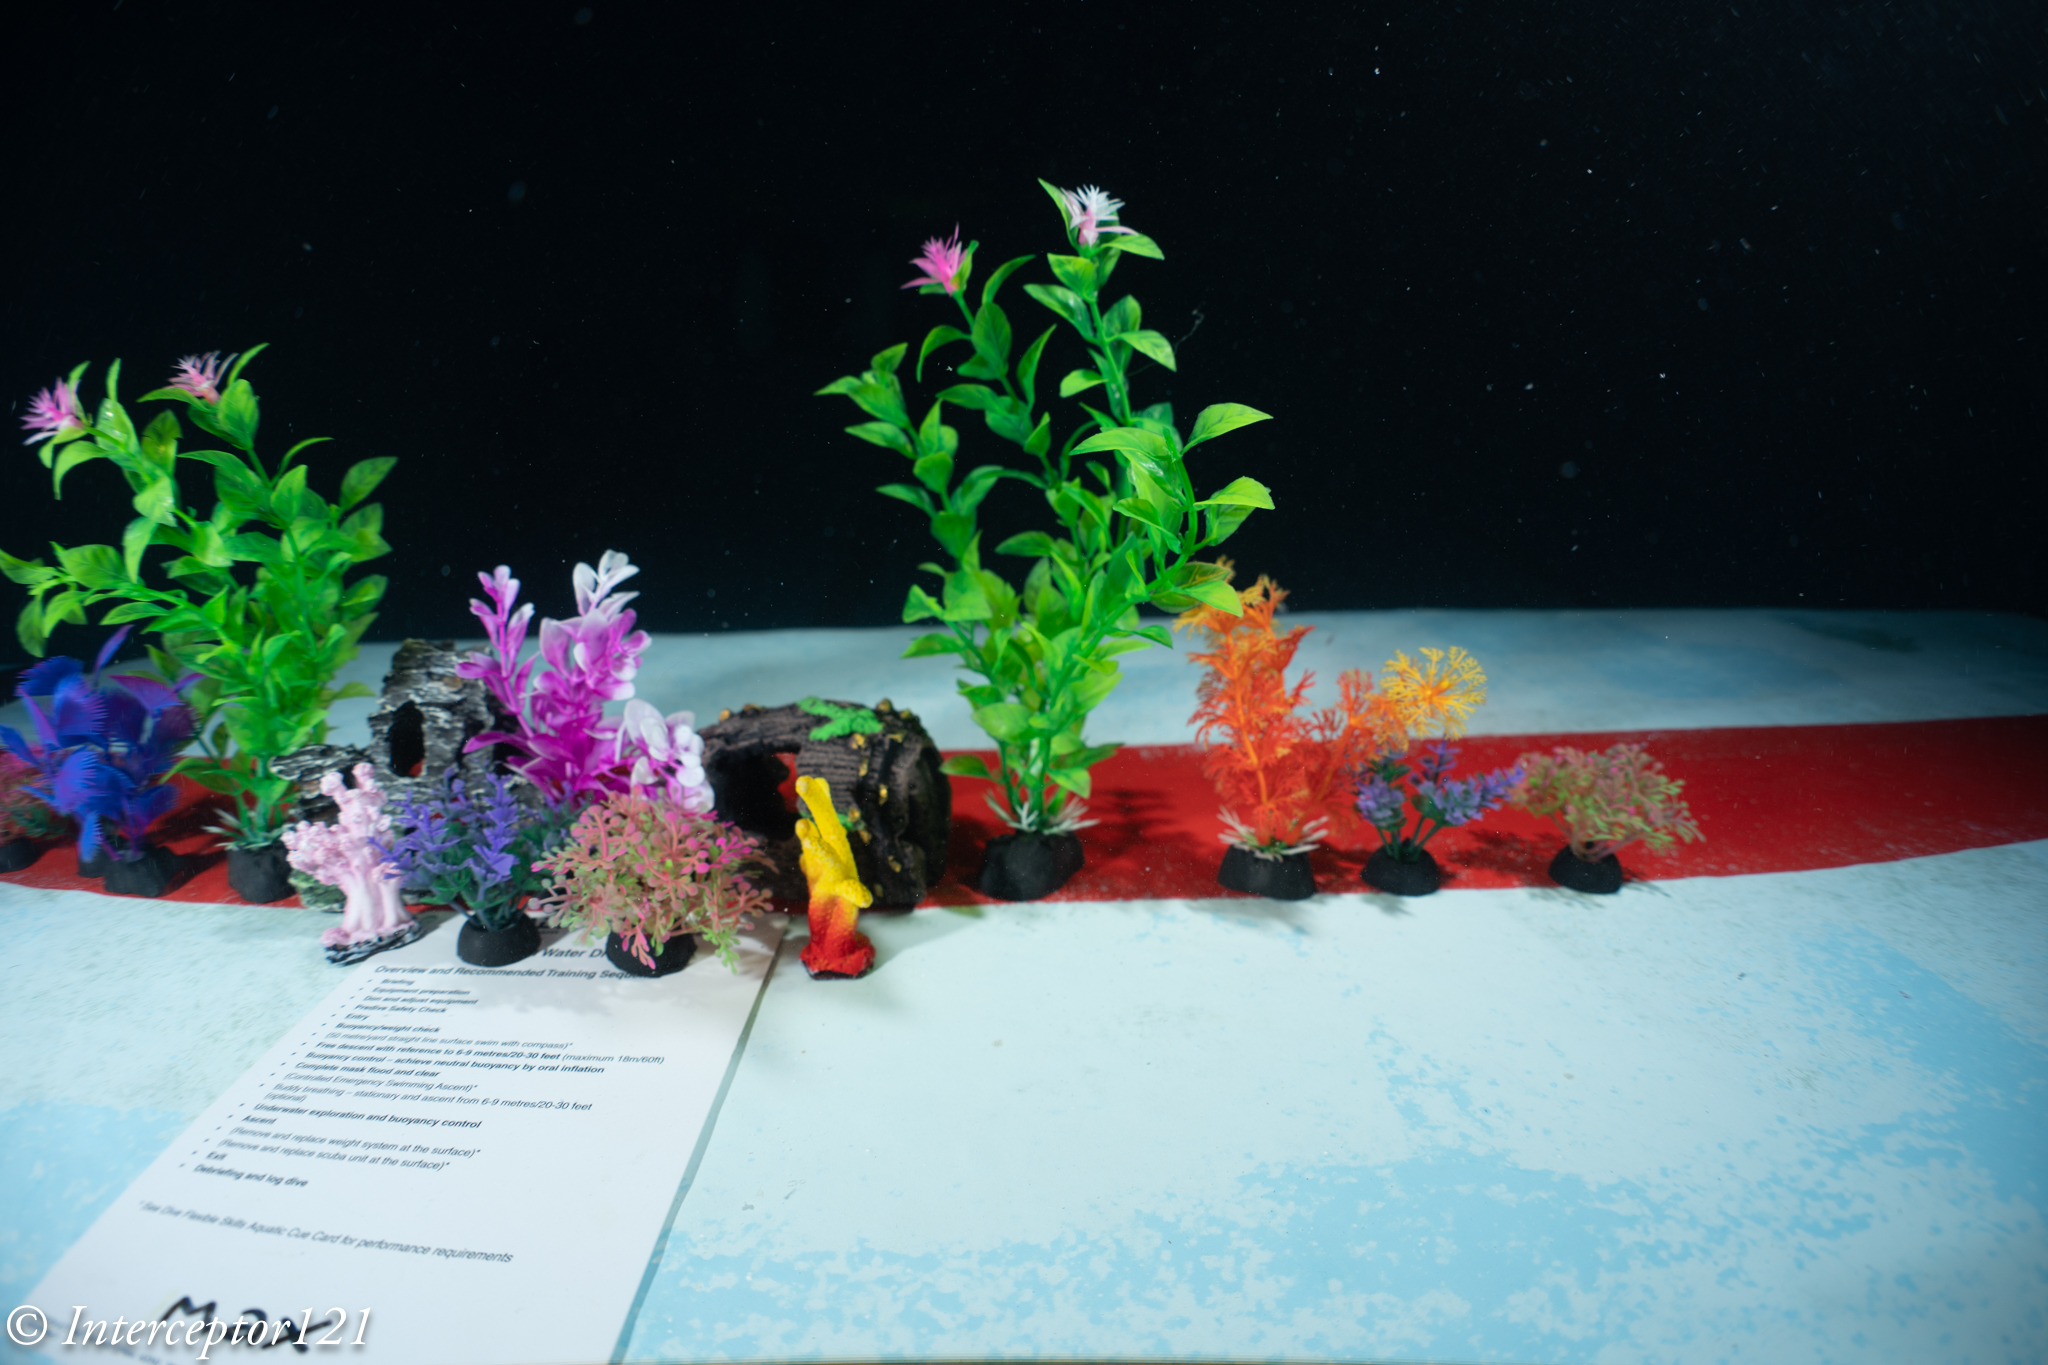
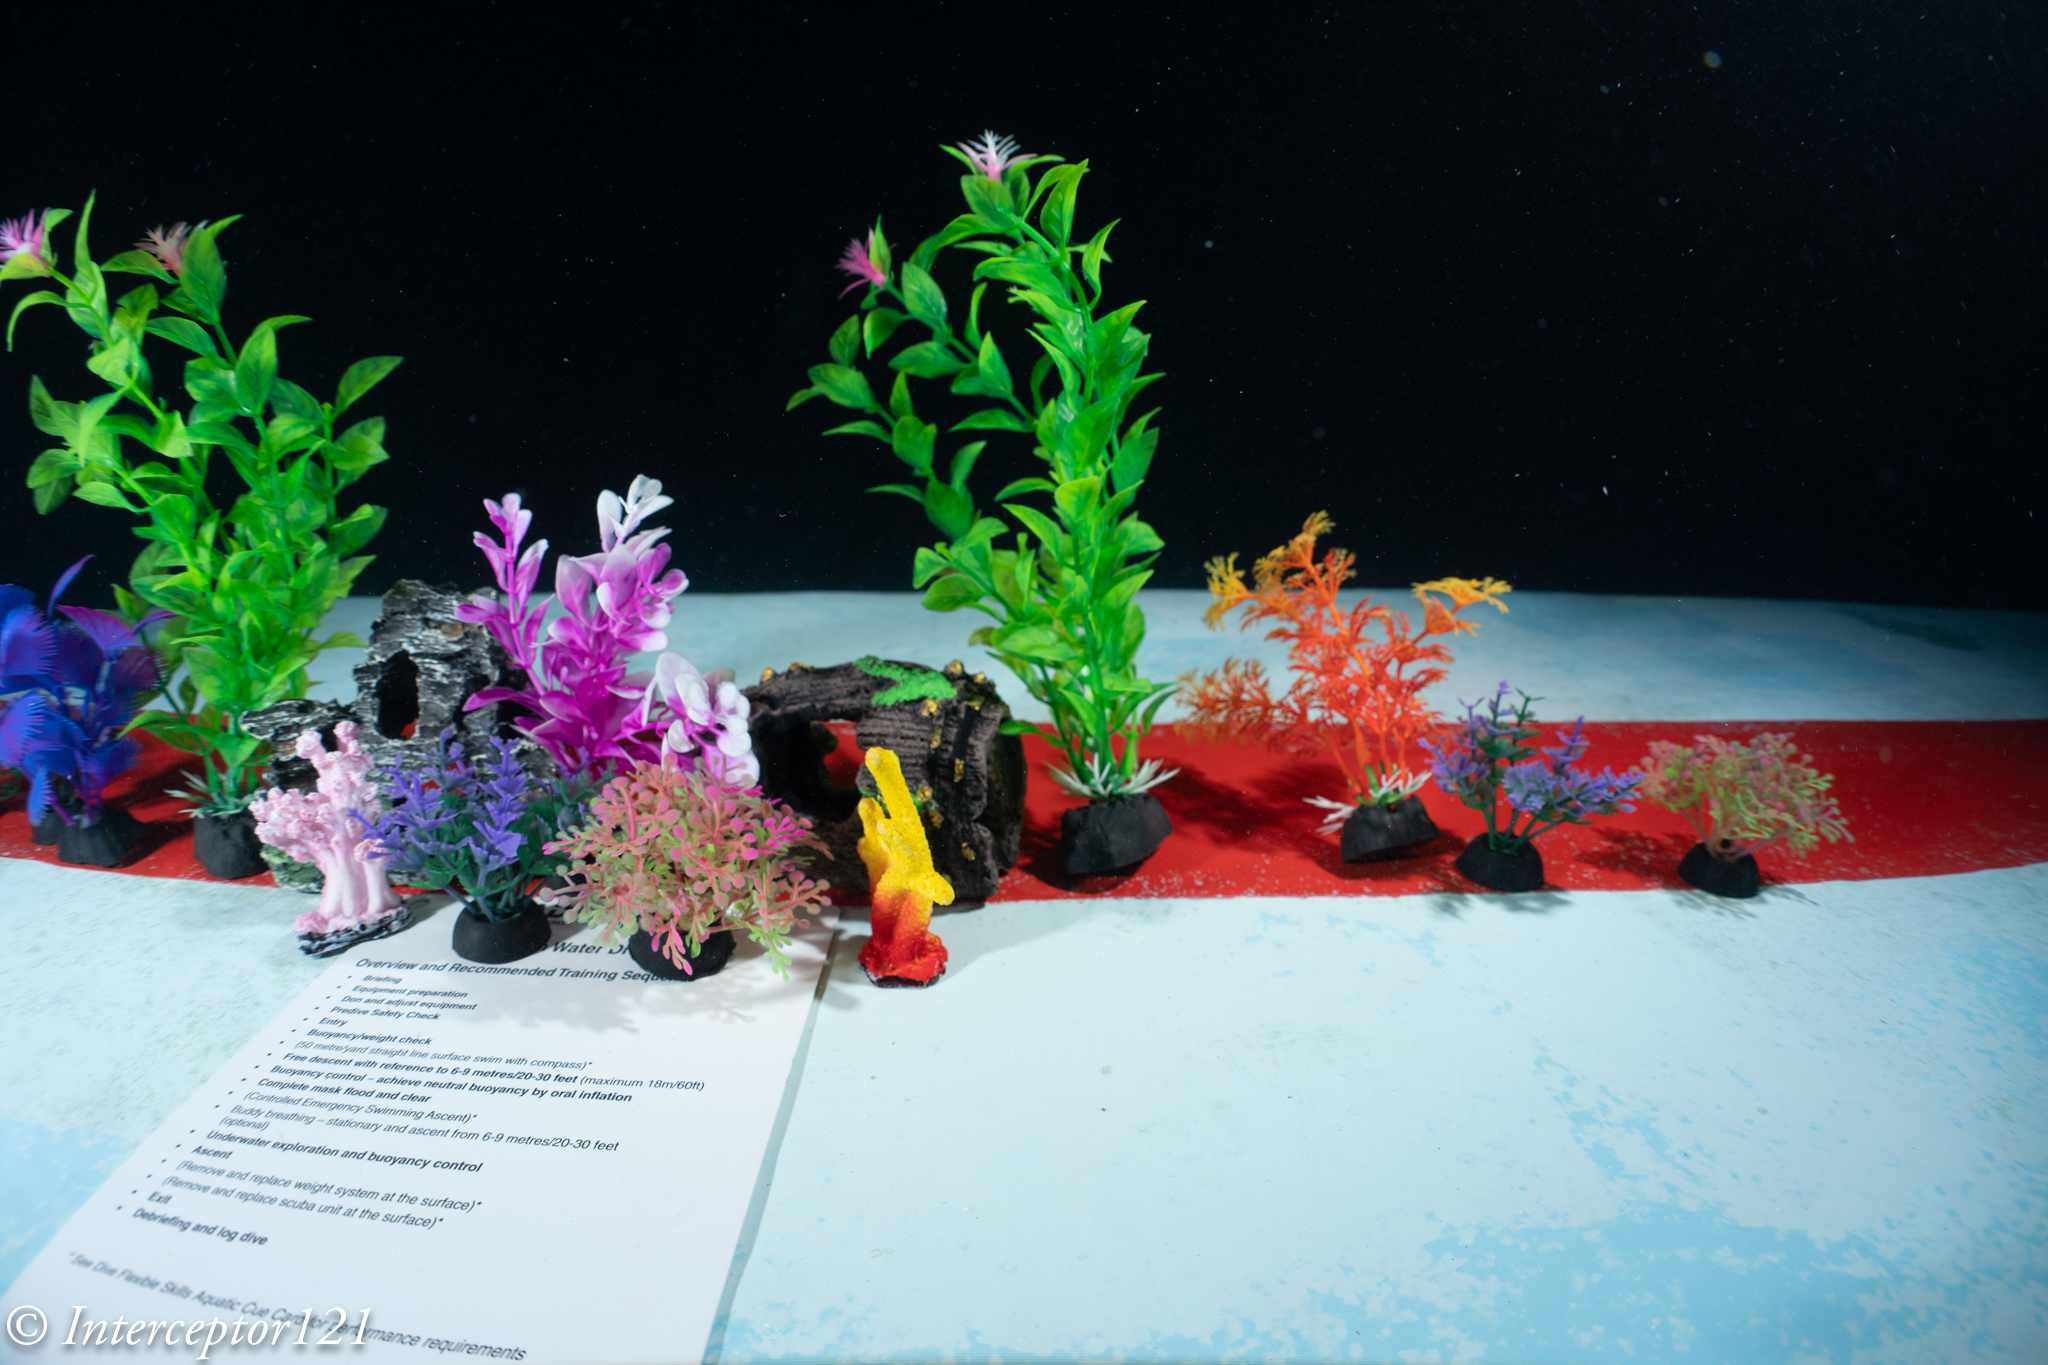
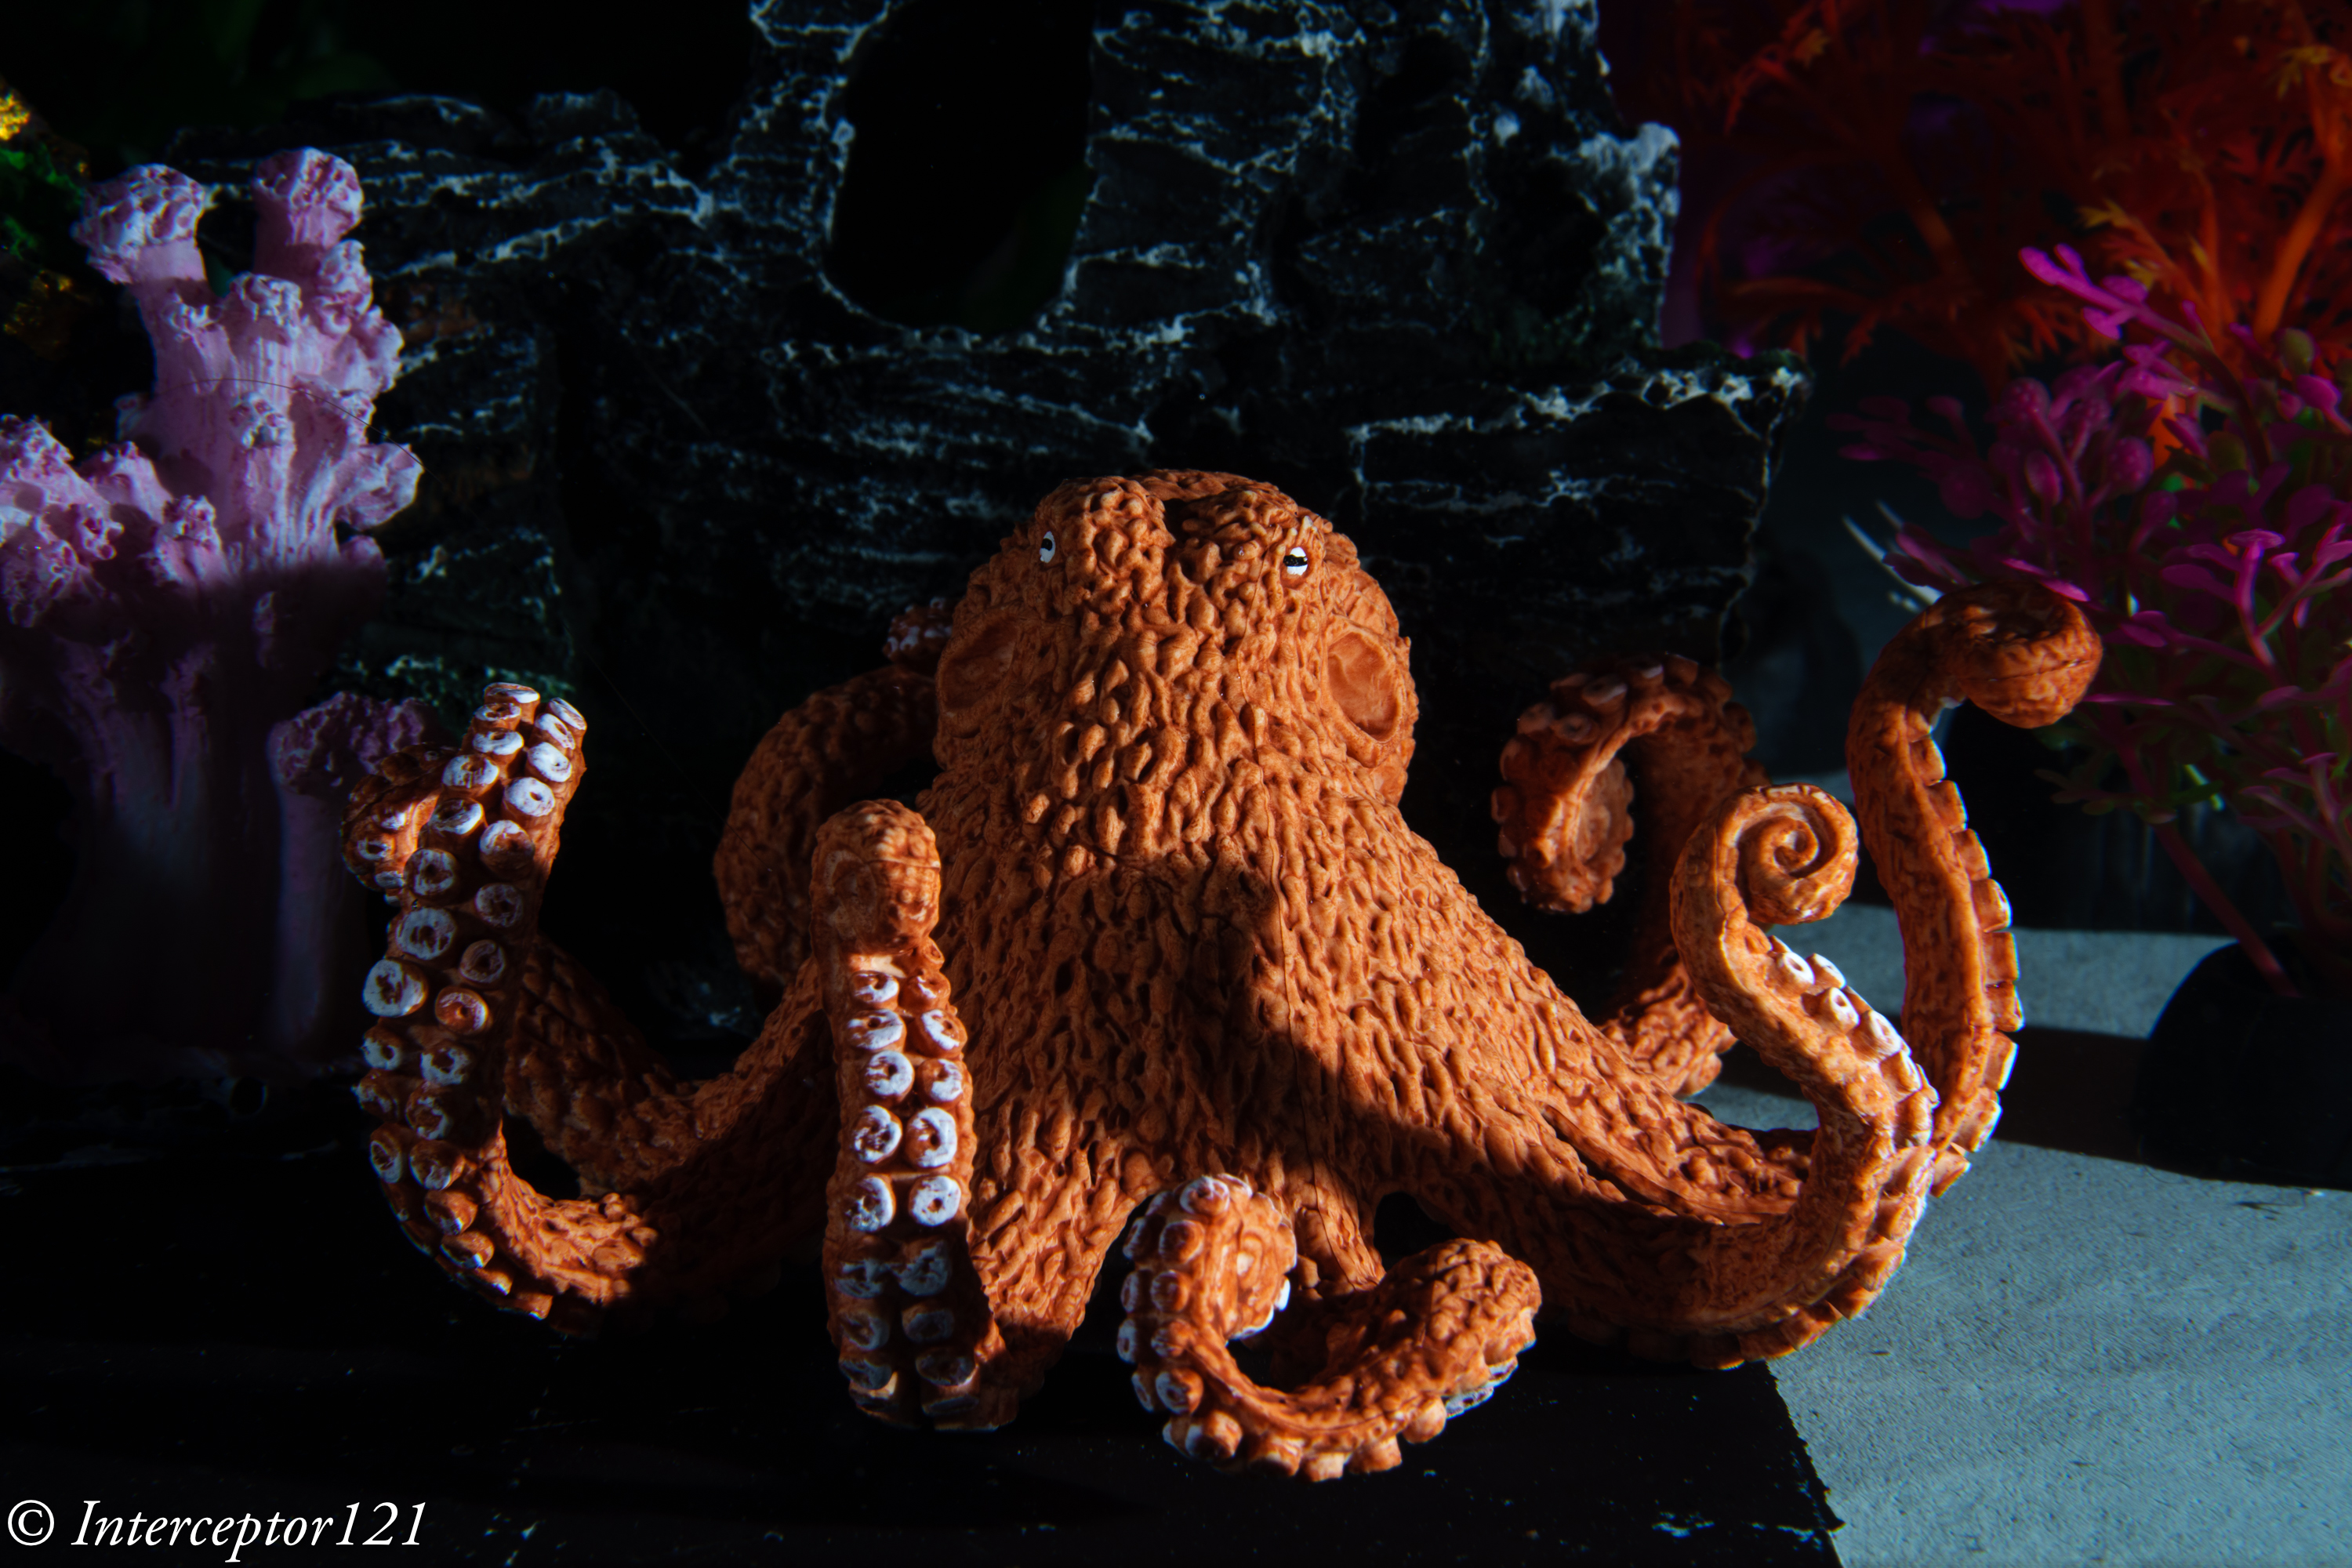
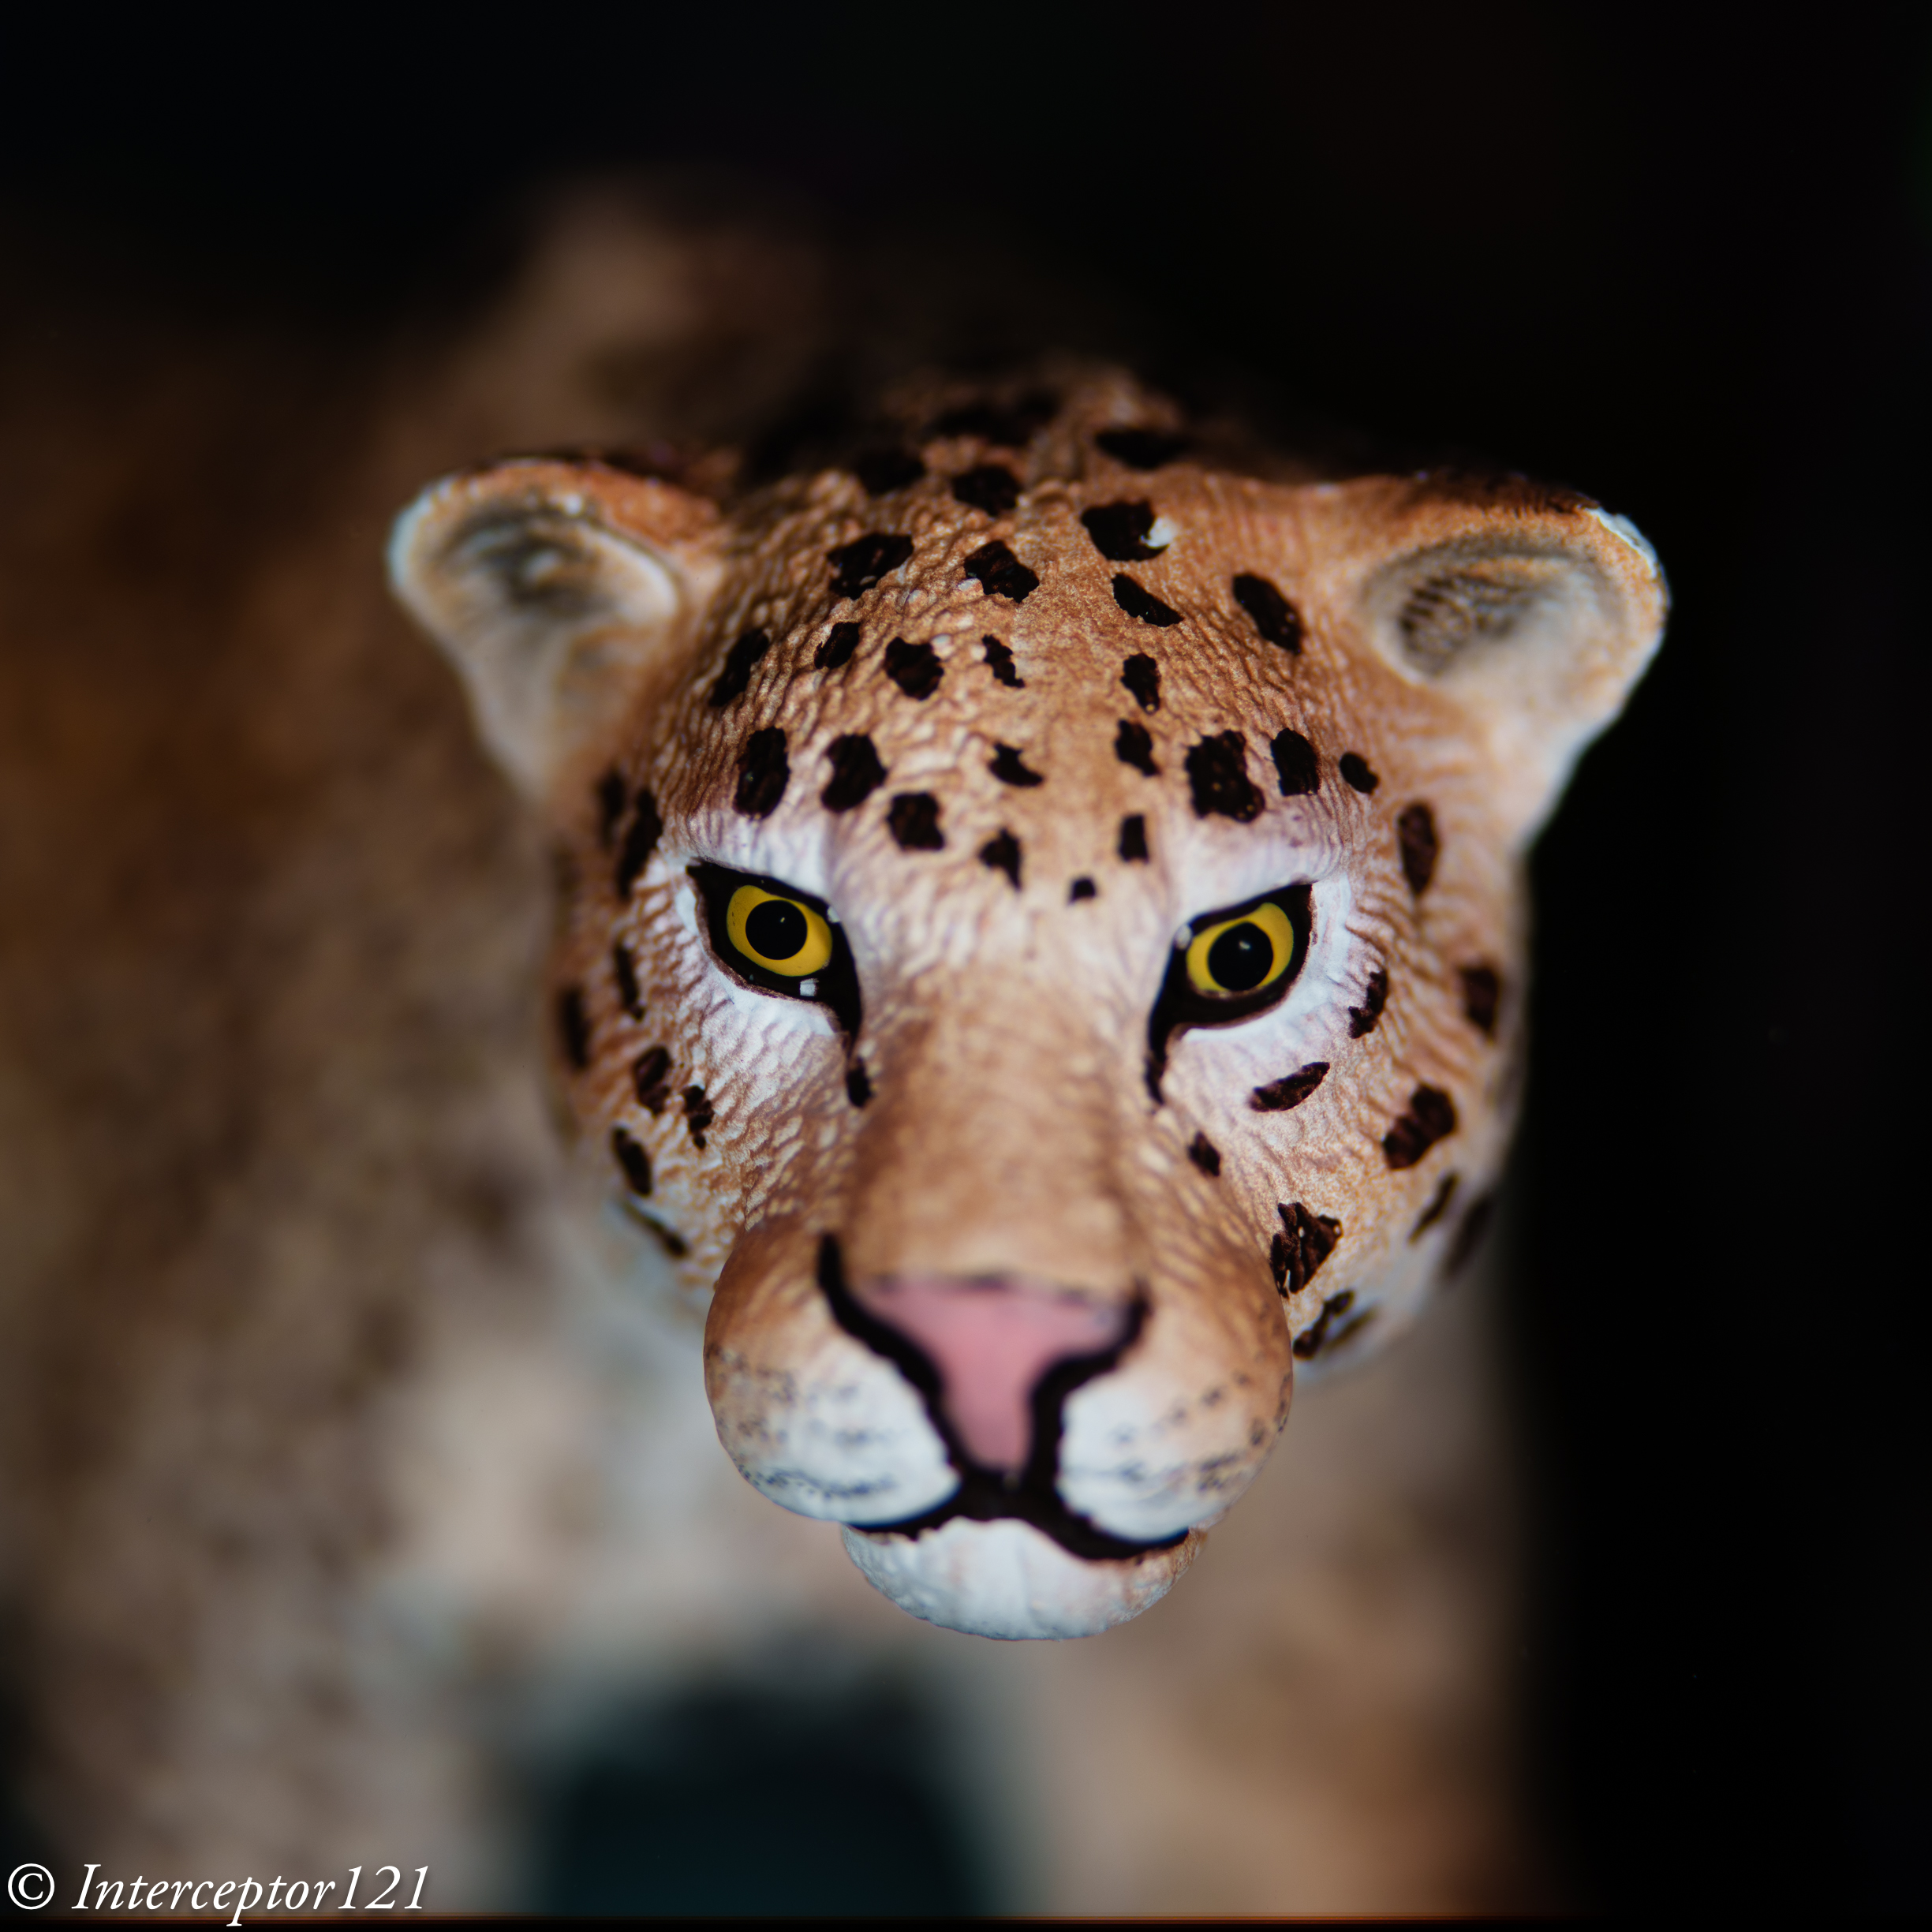
As I packed my props I realised I did not really have any good macro target however a friend came to the rescue. An instructor of a diving center that uses the same pool brought a small leopard and octopus that sank and were perfect targets.
As you probably know I am obsessed by obtaining the absolute maximum performance from each lens. And this for a macro lens means shooting at the best aperture, for this lens f/4-5.6 and stacking. However this is not available underwater. You need to pull your shot from a single image and this means the lens won’t be at the best performance.
I started at f/11 which gives a respectable MTF50 and to be honest I am impressed!
Octopus f/11 angleTiger coming f/11
I then pushed the lens to f/16 I could see resolution dropping as depth of field was going up.
Octopus front f/16Tiger side f/16
In order to get depth of field of an overall scene with the octopus I had to go all the way to f/22 diffraction zone.
Tiger f/22 sideOctopus wide f/22
Yes with the high resolution of the sensor those images are still ok or at least so they seem to me.
Tiger Bokeh f/2.8
I think this lens wide open makes an amazing bokeh that will probably be still there at f/4 so something to check.
Field Impression and Ergonomics
First of all I did not regret setting the lens to close range using the focus limiter. This will give you a frame 19 cm wide if you feel that is too small and you are just trying to get some fish portraits perhaps leaving this to full is a better idea. Likewise if your targets are bigger.
I did not get any hunting despite the dark conditions and I am not sure if this was due to this setting or if this helped.
CAF worked in all situations the A1 can practically see in the dark however in order to get focs tracking and eye detection working (it detected the eye of the leopard) I needed to switch on the focus light of the strobes.
I believe tracking and detection requires a level of scene brightness higher as the camera is effectively in video mode. When you half press the aperture drive meant it would focus thought it had not tracked anything. I got 2 shots not focussed on the subject because I moved.
The focus gear I believe is not required unless you want to do super macro or to make sure you are as close as you can get but I do not regret having it as the run is pretty short with the focus limiter is on.
Conclusion
Alex Mustard tried the 90mm with the A1 for blackwater and said it was better than the Nikon D850 with the 60mm which is a well known blackwater combination. My tests confirm this combination is very very powerful even in the dark and with a little bit of light it will focus on anything. If the lens goes back and forth is because you are close or over 1:1 reproduction ratio.
Overall my concerns apperad not justified and this combination is a solid performer. Probably next steps are getting an SMC magnifier to push this even further.
The subject of rectilinear wide angle lenses and underwater optical performance has been beaten to death.
Most recently some photographers and videographers have done without rectilinear lenses altogether citing the horrible performance at the edge of the frame as the primary reason to shoot lenses with barrel distortion being those fisheye or standard lenses with an added water contact optic.
Is it all justified? Should you stay away from rectilinear lenses altogether?
Of course not. Rectilinear lenses have a place in underwater imaging that is there to stay but…
There are many many buts so let’s dive into some demistification and general considerations.
Topside Performance of Wide angle lenses 17mm use case
The vast majority of underwater shooters do not perform any type of topside imaging being that photo or video and use their set up only underwater with the exception of the odd event or those that like to shoot macro above and below this is where we stand in most cases.
In order to ascertain if the performance of the wide angle lens in water deteriorates it is appropriate to determine the performance of said lens topside. This is something that not many people are in fact able to ascertain. You can read equipment review but it is never the same thing.
I have recently invested in a Sony A1 and underwater housing and I decided to purchase a rectilinear wide angle lens. I always try to buy lenses that are good topside and underwater and my choice has fallen on the Tamron 17-28mm F/2.8 Di III RXD.
Several reasons for buying this lens I will list the most important are:
Close minimum focus distance (19 cm wide – 26 cm tele)
Lens does not extend when zooming
Reasonably compact (99 mm and 420 grams)
Not too wide
Items 1,2 above are important underwater and 3,4 are also important topside when you use the lens on a gimbal or when you shoot interiors or close up and you do not want apparent perspective distortion.
I have been shooting the Tamron topside on trips and I have been very pleased with it. Before taking it underwater I wanted to understand what to expect.
I built my scene using my underwater props on a table top and started taking a series of shots from f/8 to f/22 to see the results. What follows are a set of images taken on land with the focus on the eye of the chick.
Topside f/8 subject
At f/8 the first row of props is blurry and also the leaves behind are not sharp. The edges are soft.
This is due to lack of depth of field not to the bad performance of the lens.
Topside f/11 subject
At f/11 we have more depth of field however the props at the edges and the nearest part is still soft.
Topside f/16 subject
By f/16 all the props are in focus, the edges of the math are a tad soft but overall this is the right place to be.
Topside f/22 subject
By f/22 pretty much everything is in focus but the image quality has dropped considerably.
In conclusion topside we need to close down to f/16 to have all the props in focus on this scene.
Just so we are clear there is not an issue of edges or else there is simply lack of depth of field as we are shooting a close up.
Underwater Performance of Wide angle lenses 17mm use case
After rigging my camera and lens with the Nauticam 180mm dome it was time to hit the pool and try underwater.
What follows are a series of shots from f/8 to f/16 with focus on the chick as the topside shot.
Tamron 17mm f/8 Focus Mid
The image at f/8 looks very much like topside and lacks depth of field, however interestingly the bush behind the chick is relatively sharper to the topside scene. The dome port is increasing the depth of field behind the subject.
Tamron 17mm f/11 Focus Mid
By f/11 there is a considerable improvement all across the frame the items at the edges are still soft pretty much like the topside image.
Tamron 17mm f/16 FocusMid
By f/16 we are where we should be. Note how the entire set of props is in focus exactly like the topside image and only a slight deterioration on the very left of the frame prop.
Move your focus…
Dome ports increase the depth of field of the lens as infinity becomes nearer however they also shift the depth of field of the lens because the virtual image is closer and most of the depth of field shifts behind.
With that in mind I focussed on the first prop to see what happens.
Tamron 17mm f/8 Focus Near
At f/8 the first line is sharper even the props at the edges are substantially better and I would say acceptable however the leaves behind are out of focus.
Tamron 17mm f/11 Focus Near
At f/11 the edges are good and so are the props behind the chick with the exception of those really further back where we are running out of depth of field.
Tamron 17mm f/16 FocusNear
By f/16 focussing on the near prop we have pretty much everything in focus.
As final example this is a shot at f/11 with focus just behind the fake coral red and yellow on the right.
Tamron 17mm f/8 FocusSide
With the exception of the very very edge of the right frame which is bordering the dome edge the image is sharp throughout.
Why are the images not blurry?!?
You are now starting to ask why some images you see on the web look horrible and mine don’t? This is a legitimate question to which there are at least five answers.
Lens working distance
The Tamron 17-18mm has a working distance of 19 cm and is 9.9 cm long. From my calculation the entrance pupil is around 26mm from the front of the lens. This means that a dome radius of 10cm is sufficient to be able to focus right on the port. All other lenses for the Sony E-mount have working distance of 25 to 28 cm and would need extremely large radius to be able to focus on the glass.
Wrong Extension Ring
The Nauticam 18809 wide angle dome port is not a classic dome but has design without a flat base. The port has 11cm radius of curvature and is 83mm deep 180mm wide this means the entrance pupil needs to be 27mm behind the extension.
Nauticam 18809 180mm Wide angle dome port
Nauticam recommended extension is 40mm when combined with the 35.5mm N120 to N120 port adapter. Due to the shape of the lens this cannot be used with the N100 port as the zoom is close to the front of the lens.
Tamron 17-28mm with Nauticam zoom gear
Underwater housing manufactures unfortunately do not apply any science to the selection of domes and extension for a lens but out of pure coincidence the 40mm extension ring is what this lens requires.
Tamron 17-28mm 35.5 adapter and 40mm extension
Nauticam criteria for the 180mm port seems to be the lens needs to be more or less flush with the extension ring. In our case the entrance pupil is 26mm behind and the extension ring is a few mm over so we are more or less spot on. THIS IS ENTIRELY A COINCIDENCE!
With the 40mm extension the glass port will be exactly 11 cm from the entrance pupil and focus right on the surface.
Unfortunately the principles applied by manufacturers which are either to be flush with the ring or the dome mount or to extend until it vignettes generate loss of angle of view and distortion.
One of the worst offender is the Nauticam 230mm glass dome, where the rule of extend until you can generates pincushion distortion (edge pulling) effect.
Software Correction of Distortion
The lens correction has a warping effect on the edges even when the dome is correctly placed.
Exteme edge at f/11 with distortion correction offExtreme edge at f/11 with distortion correction on
If you have a full frame camera or a camera where you can disable the correction make sure this is set that way.
For systems where lens correction is baked in the lens profile (micro four thirds) ensure to use a program that can disable the correction such as DxO Photolab for best results.
Constant Autofocus with subject tracking
As we have seen in most cases it is better not to focus bang on the subject but to focus closer or even at the side of the frame and work out the depth of field.
Many users use subject tracking that may seem a wonderful idea and works very well with a flat port however underwater results in blurred edges due to the depth of field distribution of the dome port unless you close the aperture until you can care less.
If you want to ensure the edges of your rectilinear wide angle shots are sharper use single autofocus and position the focus strategically in the frame the dome compression will do the rest.
Superwide lenses (<16mm)
When your lens is superwide you may have all effects on top of each other: pincushion distortion because your extension is calculated with the ‘go until vignette’ method, distortion correction in software, subject tracking, lens with long working distance and to make it worse perspective distortion and spherical aberration which occur when the lens is very very wide.
Choosing your rectilinear wide angle lens
I have computed all lenses avaialble for my A1 and calculated the ideal radius of a dome in this table. Unfortunately while the 230 port has a wider angle of view it has a radius of 12 cm which is only 1 cm more than the 180mm port. The choice of port is therefore driven by angle of view and not radius as 1 cm does not change much. Most lenses would need 15 or 16 cm radius to be able to focus close to the glass.
Brand
Model
Working Distance
Field of View
Radius Required
Port
Sony
SEL1224GM
280
122
152
230
Sony
SEL1224G
280
122
152
230
Sony
FE14 1.8 GM
250
114
157
230
Sony
SEL1635GM
280
107
169
180
Sony
SEL1635Z
280
107
169
180
Sony
PZ1635G
280
107
169
180
Sigma
1424DGDN
280
114
164
230
Tamron
1728RXDIII
190
104
99
180
Zeiss
18mm
250
100
177
250
Sony e-mount rectilinear lenses and ports
You can easily see that the Tamron 17-28mm has much better design characteristics to go into a dome port and this is the lens to buy.
From my tests there is no need of any field flatteners and correction lenses it works fine out of the box as the lens has minimal field of curvature and zero spherical aberrations.
Pool Session
If you are not happy with the CFWA studio scene here are some images from a recent pool session. Many f/8 and f/11 images no need to close the aperture more if you don’t have anything close and shot in single autofocus.
Skill training 17/8Dave Side 17/8Female Diver Side 17/8Drysuit Diver Front 17/11Maddy Portrait 17/11Rush Diver Side 17/11Manu Side 17/11Dad Daughter 17/8
Quite interesting to see the fins at the edges of the f/8 shots.
If there is one challenge of rectilinear lenses is that you need strobe power. The narrower field of view compared to a fisheye means that you are standing further back that in turn means more strobe power and more particles between you and the subject.
Should I buy a rectilinear wide angle lens for underwater use?
My answer is definitely yes but each system will have the special lens, the one that focuses close, does not require a large radius and is not too wide and not too narrow (16-18 is ideal) however examine carefully images of others and check the lens construction as your suggested extension may be wrong.
But when your lens is fit for purpose using the correct size dome and the proper extension you will get high quality images that match or beat fisheye like lenses and water contact optics.
As example here an image shot with a canon 8-15mm at close range f/11. Does it have much better edges?
VideoDiver
And here a WWL-1 image at f/8
WWL-1 f/8
I cannot see any advantages of the fisheye like lenses at the edges at the same aperture in fact in both cases but judge for yourself.
Unfortunately Phil used the Sea and Sea correction lens an expensive accessory that this lens does not require but as soon as I am in open water I will post images myself.
Since many years Canon and Nikon full frame users are able to use their respective 8-15mm with a teleconverter underwater, however this is not a very popular configuration.
In this article I will look at the Canon 8-15mm with the Kenko Teleconverter 1.4x for Sony full frame cameras.
First and foremost a teleconverter is not cropping the image it has optical elements. Cropping means reducing the resolution at sensor level while a teleconverter induces a deterioration of the image and possible defect but does not affect the sensor resolution. Generally 1.4x TC is much better than 1.4 crop. If you find yourself cropping a lot your fisheye shots or even using the 8-15mm in APSC mode the teleconverter may add some real value to you so read along.
Parts Required
In addition to the set up required to use the Canon 8-15mm you need 3 additional items:
Kenko Teleplus HD Pro 1.4 DGX
Kenko 1.4 Teleconverter
Canon 8-15+TC zoom gear
Extension ring N120 20mm
N120 Extension ring 20Canon 8-15mm with Tc and gear
The benefits of this set up are clear:
Unique field of view
Smaller additional bulk
Relatively low cost
Some readers have emailed asking if the Kenko is compatible with the Sigma MC-11. I do not recommend using the Sigma MC-11 with the Canon 8-15mm because it only supports single AF and it is unclear if the Kenko will work or not and how well. I have tested with the Metabones smart adapter and this is the one I recommend.
Field of view
The 8-15mm lens with teleconverter will give you access to a zoom fisheye 15-21mm with field of view between 175 and 124 degrees. This is a range not available with any other lens of water contact optic that stop normally at 130 or 140 degrees.
Additional Bulk
The additional items add circa 370 grams to the rig without teleconverter and make is 20mm longer due to the additional extension. The additional fresh water weight is circa 110 grams.
Cost
The latest version of the Kenko Teleplus 1.4X HD DGX can be found in UK for £149.
The 20mm extension ring II is £297 and the C815-Z+1.4 Zoom gear is £218. Note this is in addition to the 30mm extension required for the 8-15.
With a total cost of £664 you are able to obtain the entire set up.
The rig looks identical to the fisheye except is a bit longer. You have a choice of 140mm glass dome or 4.33″ acrylic dome see previous article.
Additional extension ring on otherwise identical rig
With the rig assembled I made my way to the pool with the local diving club.
Pool Session
The 8-15mm with teleconverter was my first pool session with the A1 on the 3rd of February I was very much looking forward to this but at the same time I had not practiced with the A1 underwater previously and did not have my new test props. I think the images that follow will give a good idea anyway.
15mm Tests
At 15mm (zoom position somewhere between 10 and 11 mm on the lens) the image is excellent quality in the centre and I find very difficult to tell this apart from the lens without TC except for the color rendering. I believe the Kenko takes a bit away from the Canon original color rendering.
Peter at 15mm f/11Dad and Son 15mm f/8Diver girl f/11
At close range you get the usual depth of field issues depending on where you focus but this is not a teleconverter issue.
CFWA 15mm f/8Peter and croc
For comparison a 15mm image without TC.
VideoDiver
Zooming In
Obviously what is interesting it that you can zoom in here a set of shots at 16, 18, 21 mm.
16mm f/818mm f/821mm f/8
Finishing up with the required selfie.
21mm f/8
Conclusion
I enjoyed the teleconverter with the Canon 8-15mm and in my opinion in the overlapping focal length this set up provides better image quality of the WWL-1. I shot for most at f/8 as I was not very close and this actually shows the TC does not really degrade the image much.
You need to ask yourself when you will need 124 to 175 degrees diagonal and the answer is close up shots of mantas and whalesharks where a fisheye may be too much and 130 degrees may be too little. The set up also works if you want to do close up work and zoom in however I reserve the right to assess more in detail using my new in water props when I have some time.