Water contact optics have existed in various forms since film cameras however in the last 20 years with the advent of digital compact cameras the emphasis has been on wet lenses.
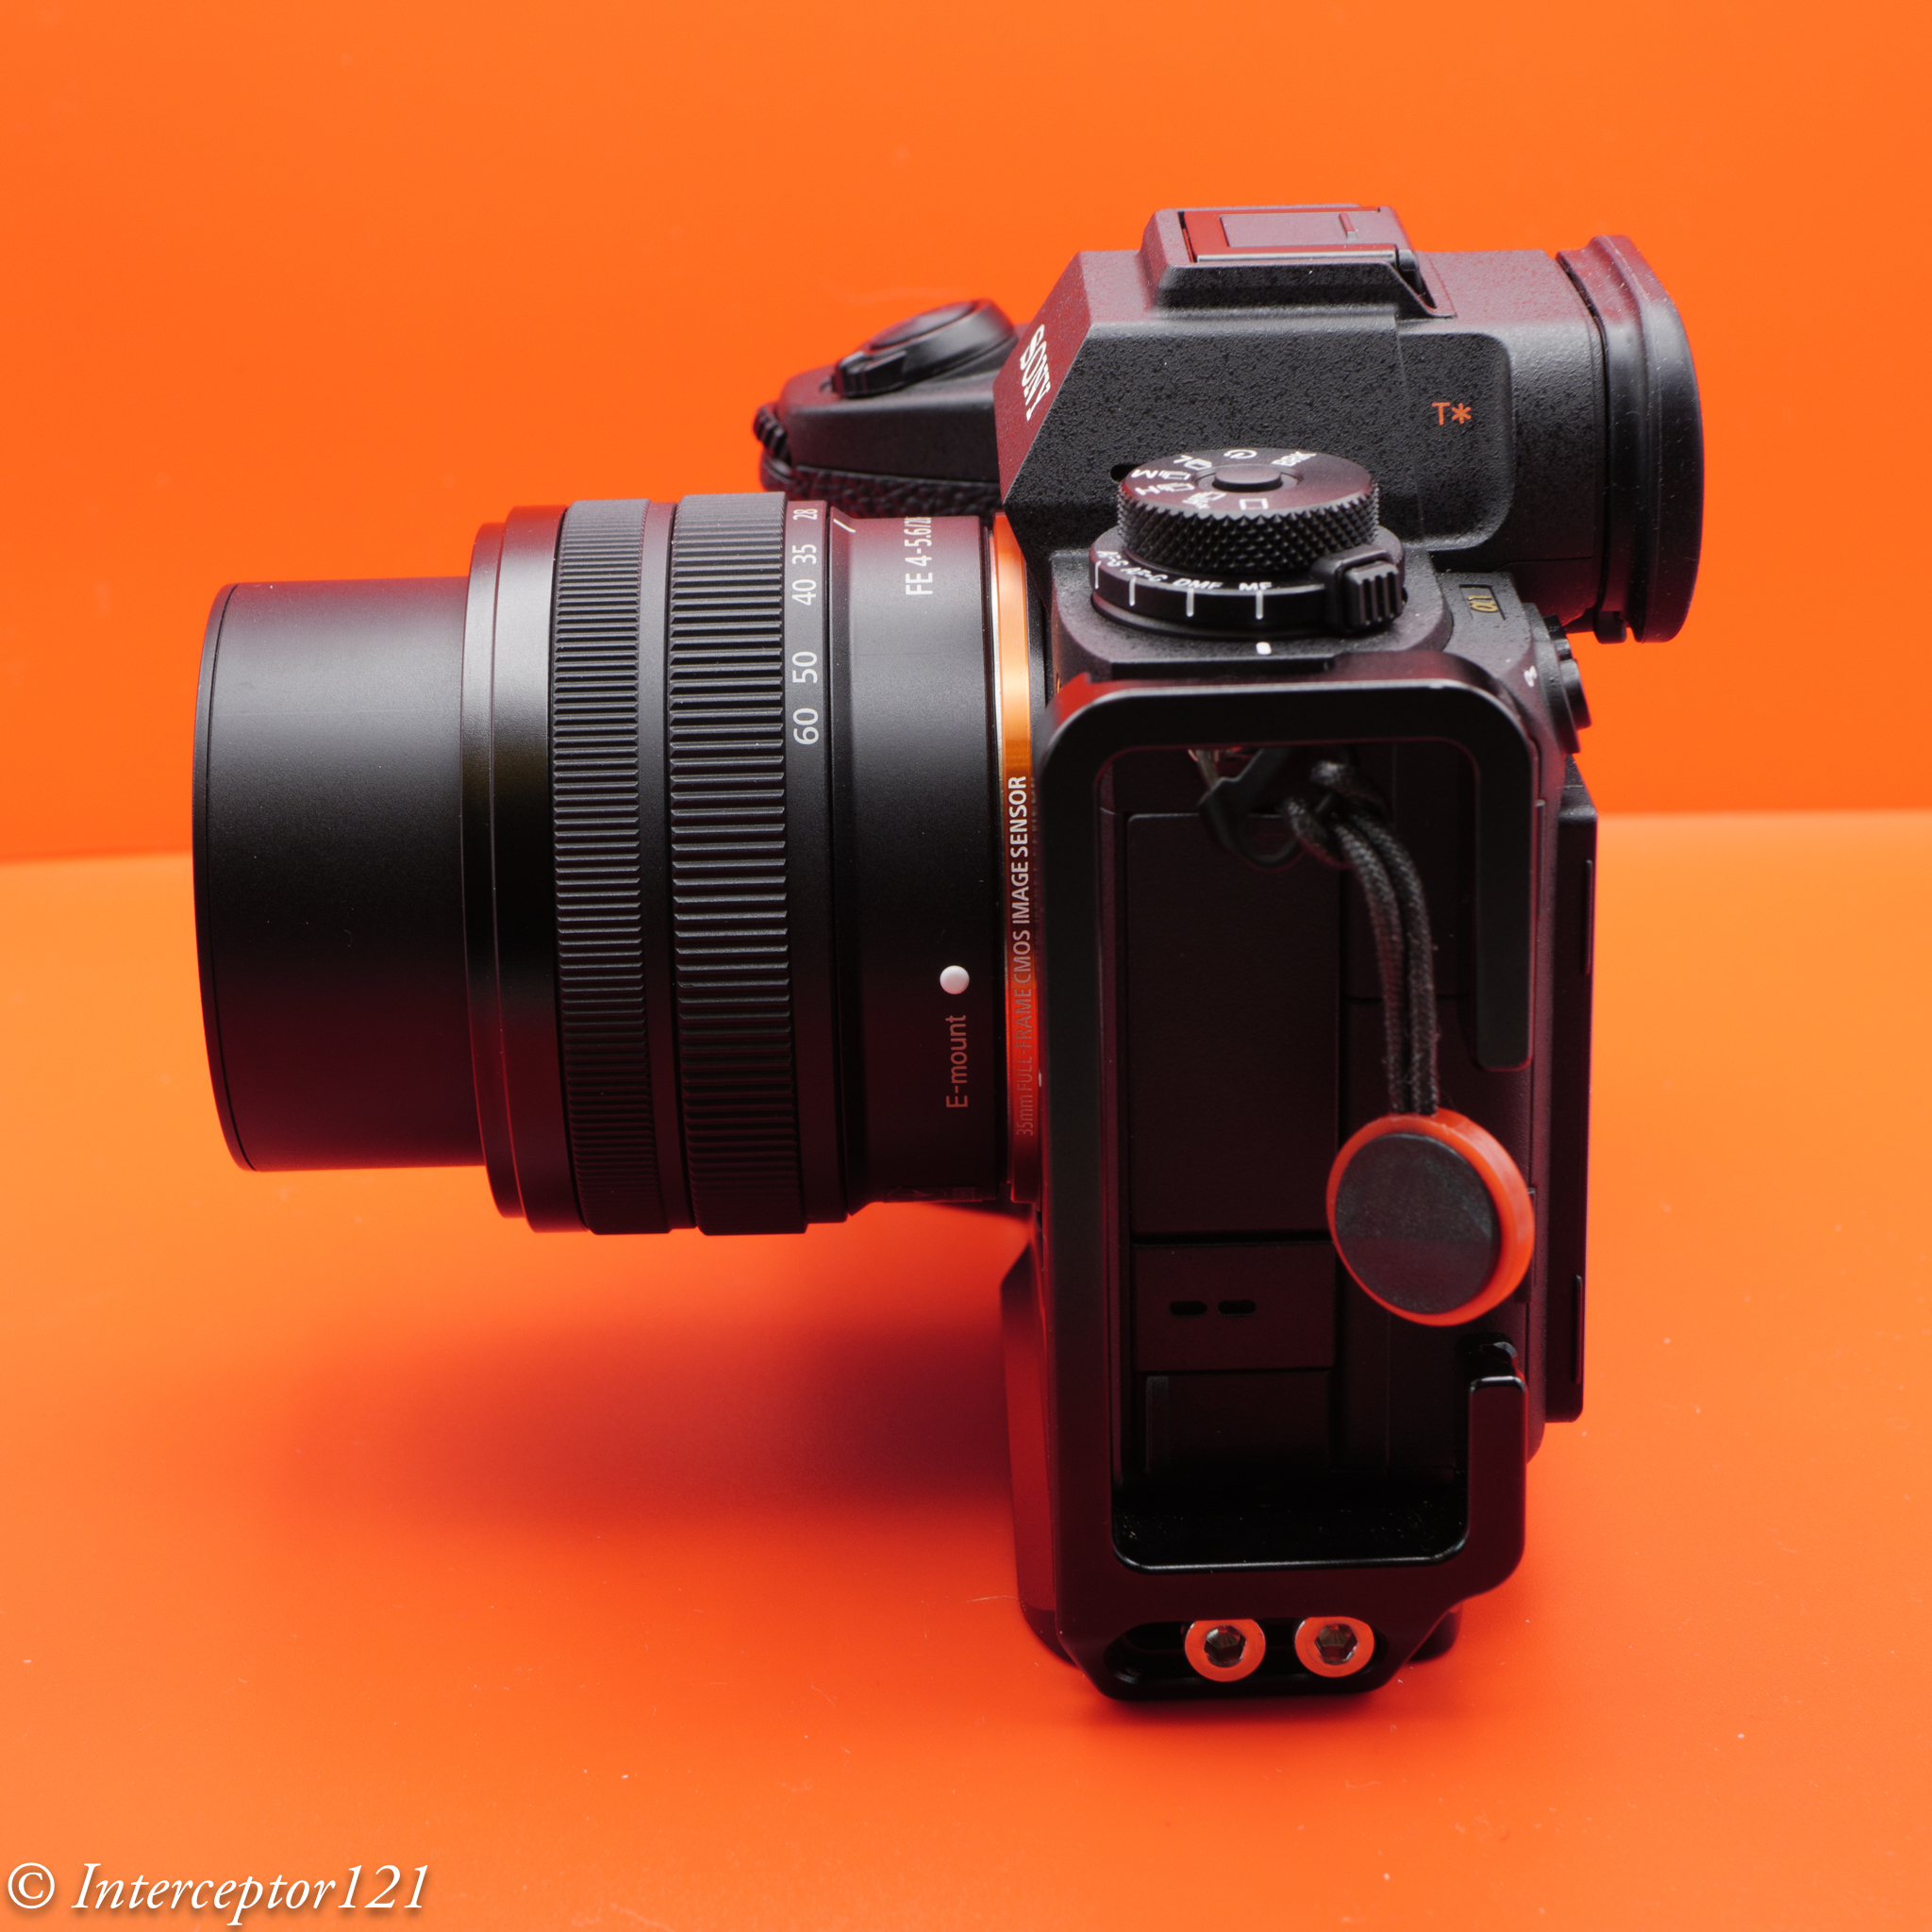
A wet lens would be attached to the housing of the camera and be in contact with water.
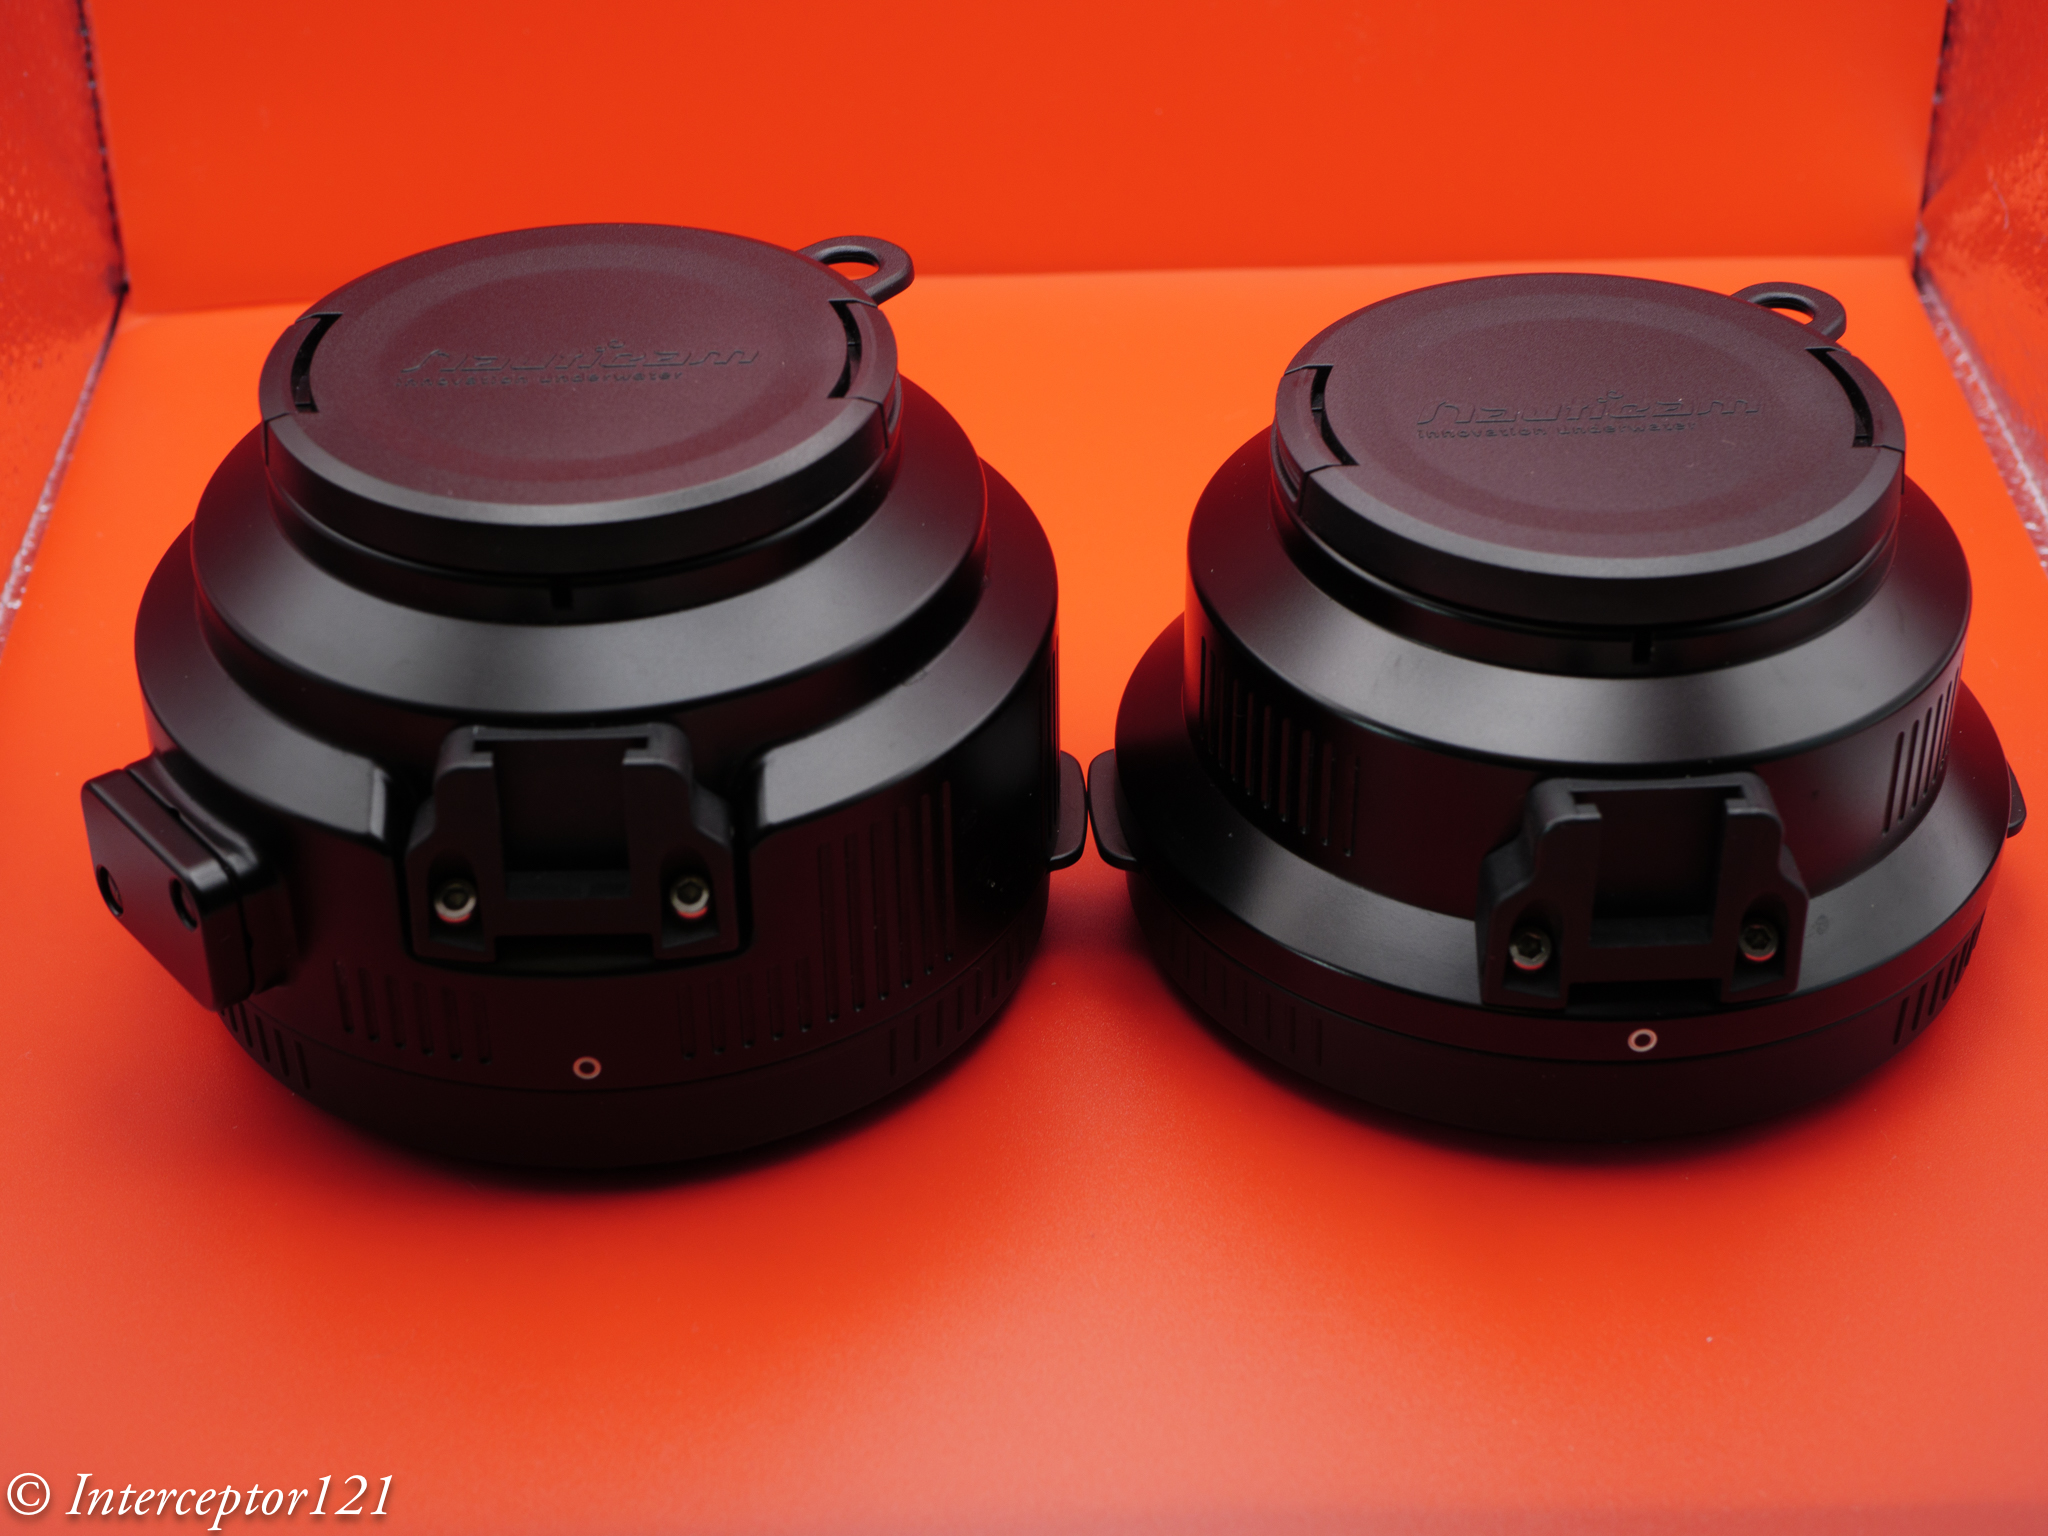
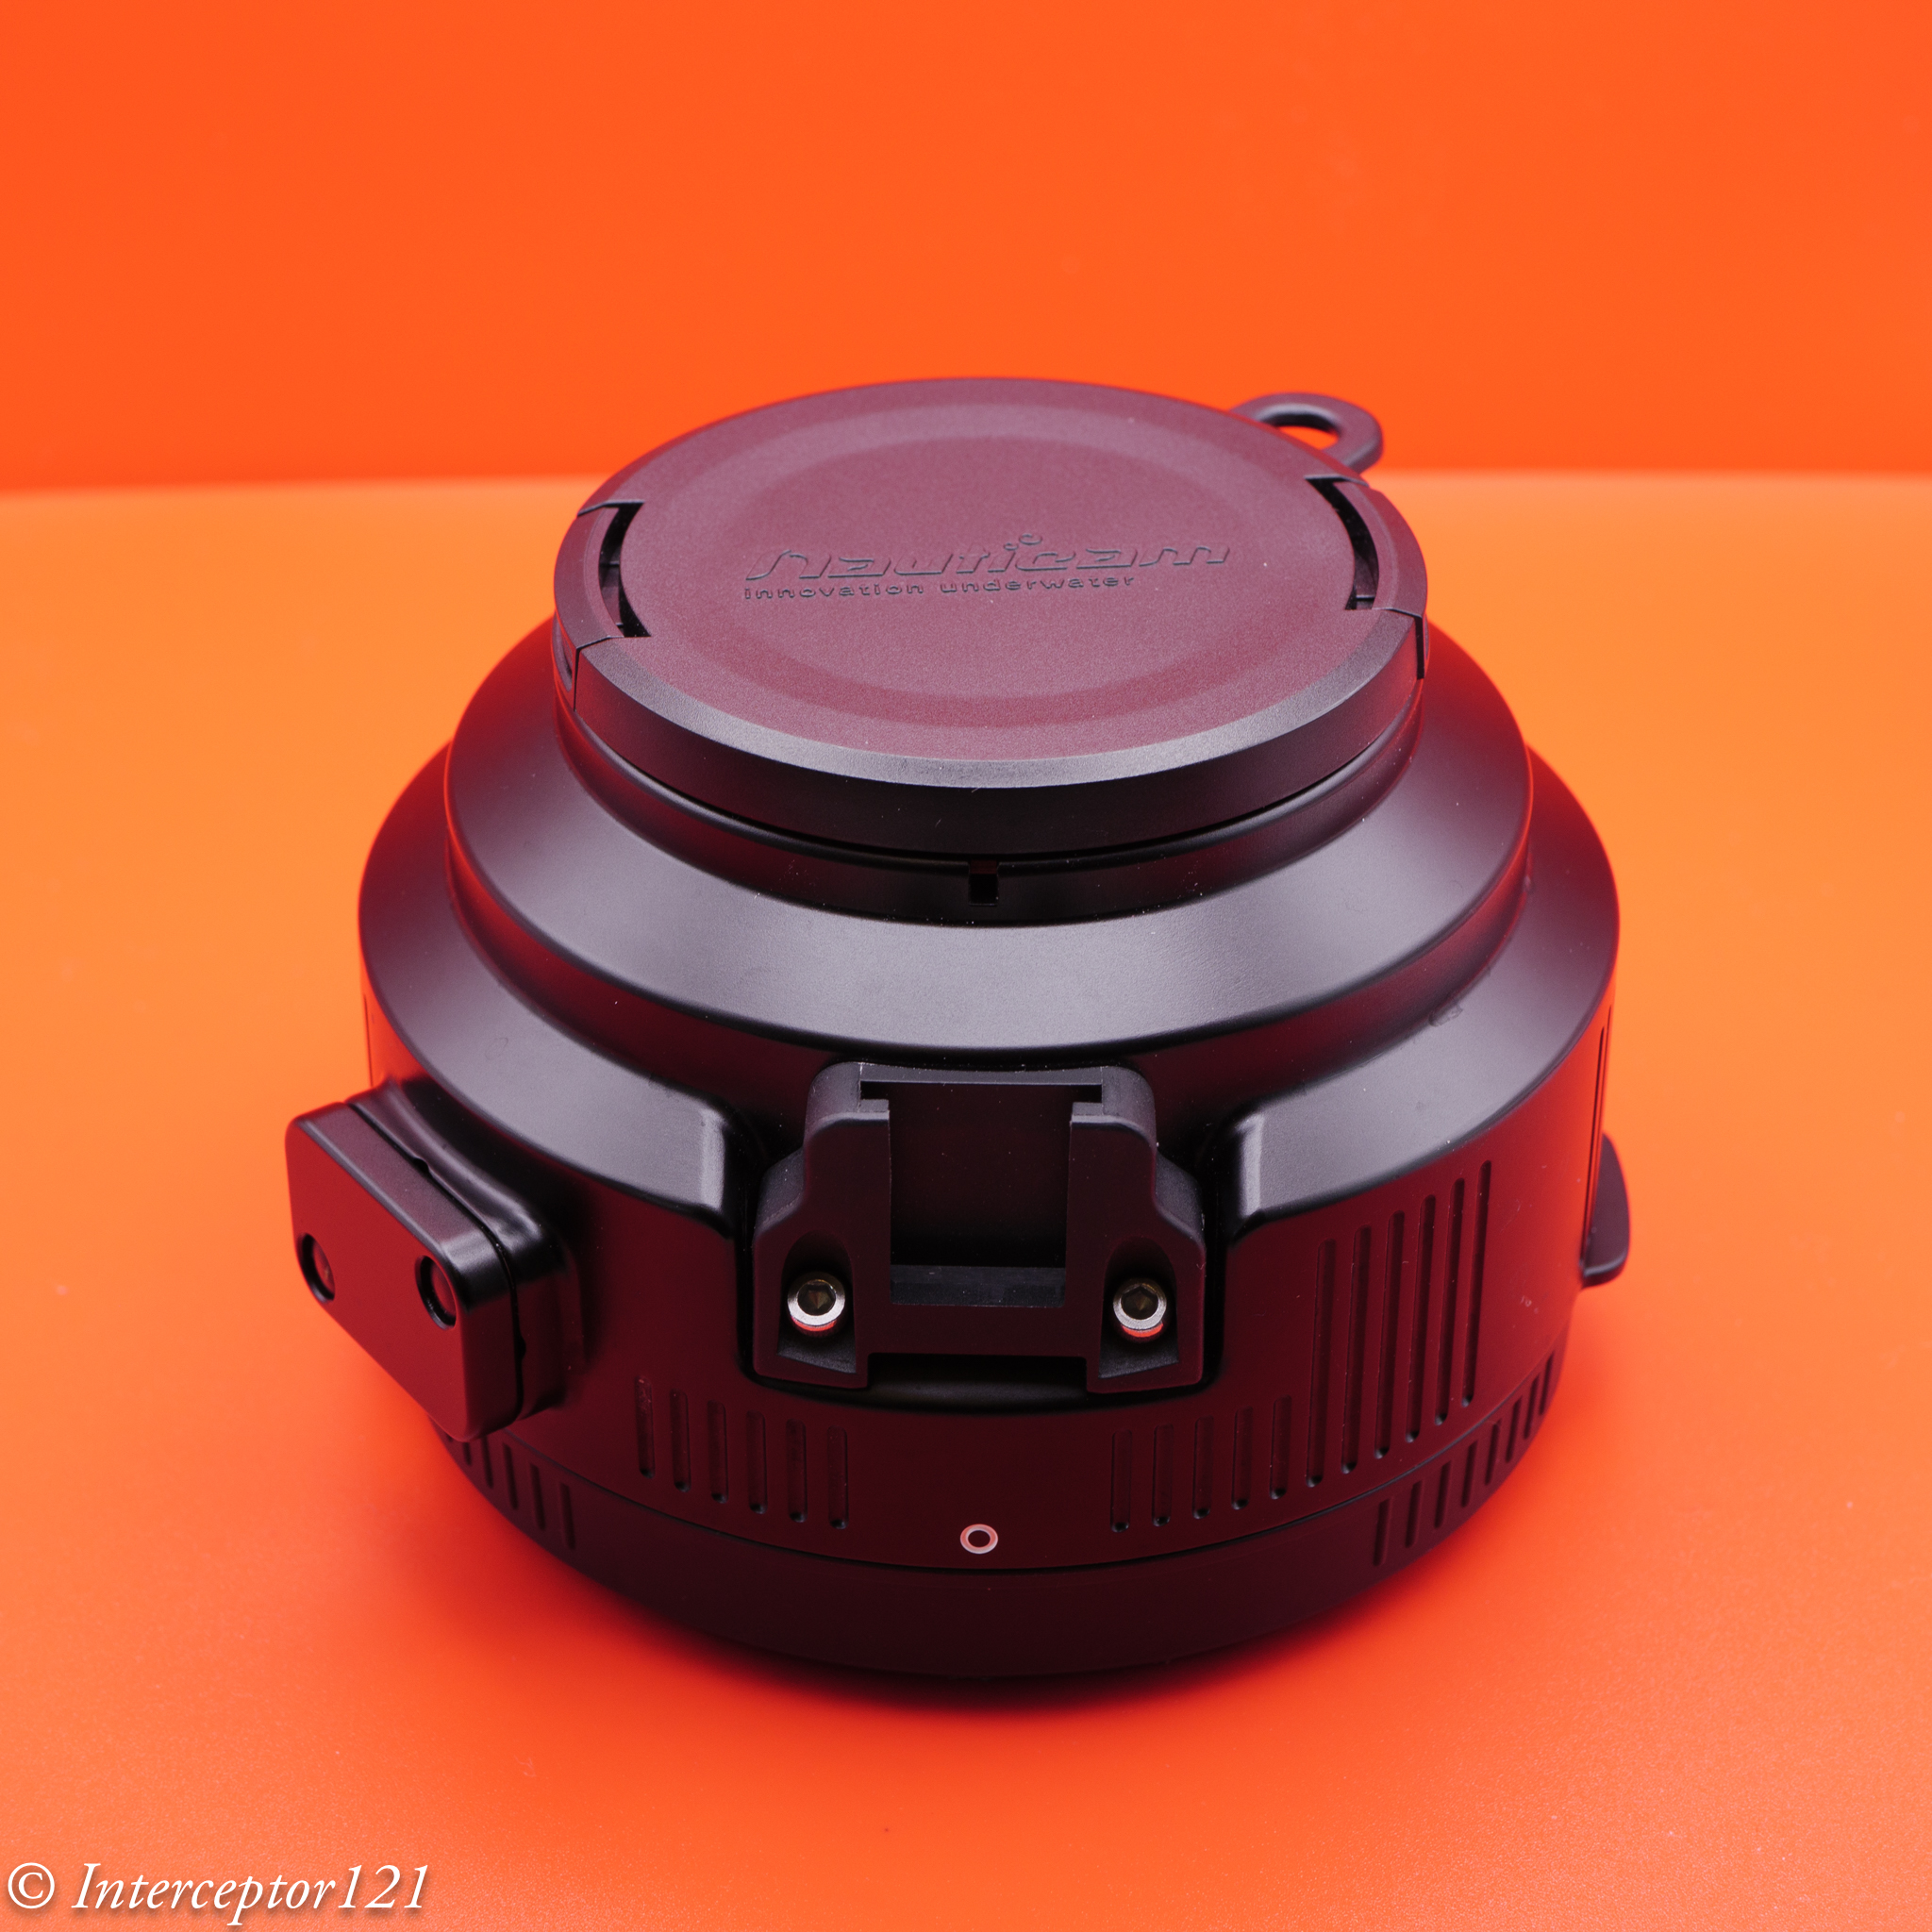
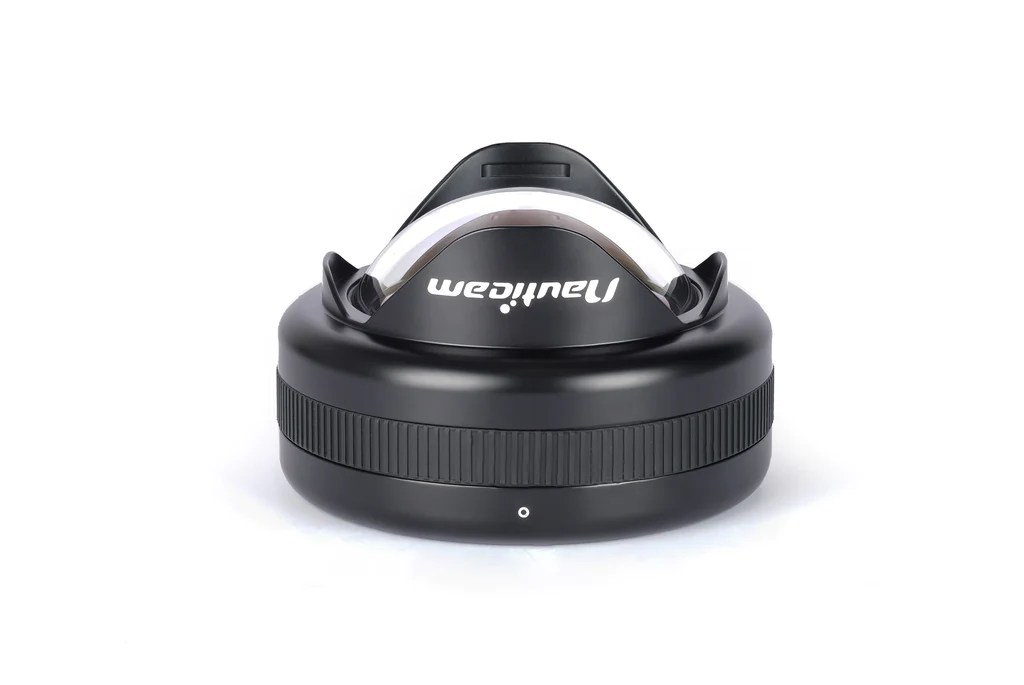
Inon has been for a long time the champion of wet lenses but since 2015 the top performer has been Nauticam since the introduction of the WWL-1 which I reviewed in this article still using a compact camera. Originally wet lenses were only designed for small sensor systems however the WWL-1 was the first wet optic compatible with the Sony full frame E-mount system. The issue with large systems is that as the lens gets bigger the wet lens gets bigger at some point you need to move to a dry mount to avoid vignetting but the optical design remains unchanged.
Dry mount wet lenses existed long before Nauticam efforts; the most notable was the FIX dry mount for the canon G16 series.
How does a wet lens work?
All wet wide angle lenses are built as afocal (focal length equal to infinity) system with magnification smaller than 1 this means things look smaller than they are when you apply a wet lens on top of the camera lens.
This has a significant benefit for all lenses that have a minimum working distance that is not compatible with a dome port, which requires lenses to focus really close.
With an afocal lens designed similar to a laser beam extender: things look further away and therefore the system is able to focus right on the surface of the wet lens.
Historically wet lenses were not corrected for distortion and, as result of having this demagnified effect, they also have barrel distortion which is commonly accepted in underwater photography.
When we look at wet lens specifications, we are given the magnification of the lens alone for example 0.36x or 0.57x. This does not mean that if your lens is 28mm it becomes 28×0.36=10.08mm during the process.
What it means is that if something is at 1 metre from the wet lens this will indeed look as if it was 2.8 metres and therefore the field of view will be larger. This is a significant benefit if you compare to the same 28mm behind a flat port which is the starting point of the compact camera market those optics have been originally designed for.
When you combine the wet lens with your camera lens the demagnification effect may be affected by the distance between the two lenses, the length of the optical path inside the camera lens and body, and inside the wet lens.
As you work at distances that are much longer than the physical size of your system the magnification factor becomes a more accurate approximation, however as you get very very close to the point of touching the class the magnification actually increases and the effect of the wet lenses decreases.

Wet lens operating at very close range the depth of field has dropped far away from the notional 130 degrees diagonal but the image remains very sharp.
And this brings to a fundamental difference and key takeaway: the field of view of a water contact system, composed by a camera system and a wet lens, changes with the subject distance.
Another important point is that due to the design, a system with a wet lens can indeed focus at infinity which is totally different from a dome port system, a system with a wet optic based on focal design does not require the lens to work at close focus but in most case will allow the lens to work within the specified MOD even when subjects are actually closer.
Why a water contact optic may work better than a lens in a dome?
We have read about the marketing that states that water contact optic A has a benefit of N stops in the corners compared to a rectilinear lens of the same field of view.
What does this mean and is it true? First, the majority of rectilinear lenses are unable to offer the same diagonal field or view of a wet lens combined with a longer optic so this comparison is a bit difficult. Second majority of dome ports on the markets are limited to 14mm widest focal length so a comparison to match the field of view is not entirely possible.
If your rectilinear lens has very poor close focus performance, which is what happens in a dome where a lens works in a distance range around max 0.5 metres, and you compare it with a standard lens combined with a water contact optic which helps the lens to focus further away, you will find that on a resolution target the water contact optic may indeed offer much better sharpness as you move from the centre to the edges of the frame.
This is not an absolute truth as there are some modern mirrorless lenses that focus very close and in fact match or even beat an average lens combined with a water contact optic.

The Sony 16-35GMII in the example above offers superb corner sharpness and in fact wider field view at close range than the wet lens despite a smaller nominal field of view. This is due to the fact that the dome optic preserves the field of view at all shooting distances.
The 16-35GMII however costs more than the Sony 28-60mm and WWL-1 combined without accounting for the cost of the dome!
If we consider other solutions like the WACP-1 the dome solution costs become comparable or even lower.
Limitations of Water Contact Optics
Allowing the lens to focus further away than the subject may allow the lens to work in a better performing zone however this also comes with some drawbacks.
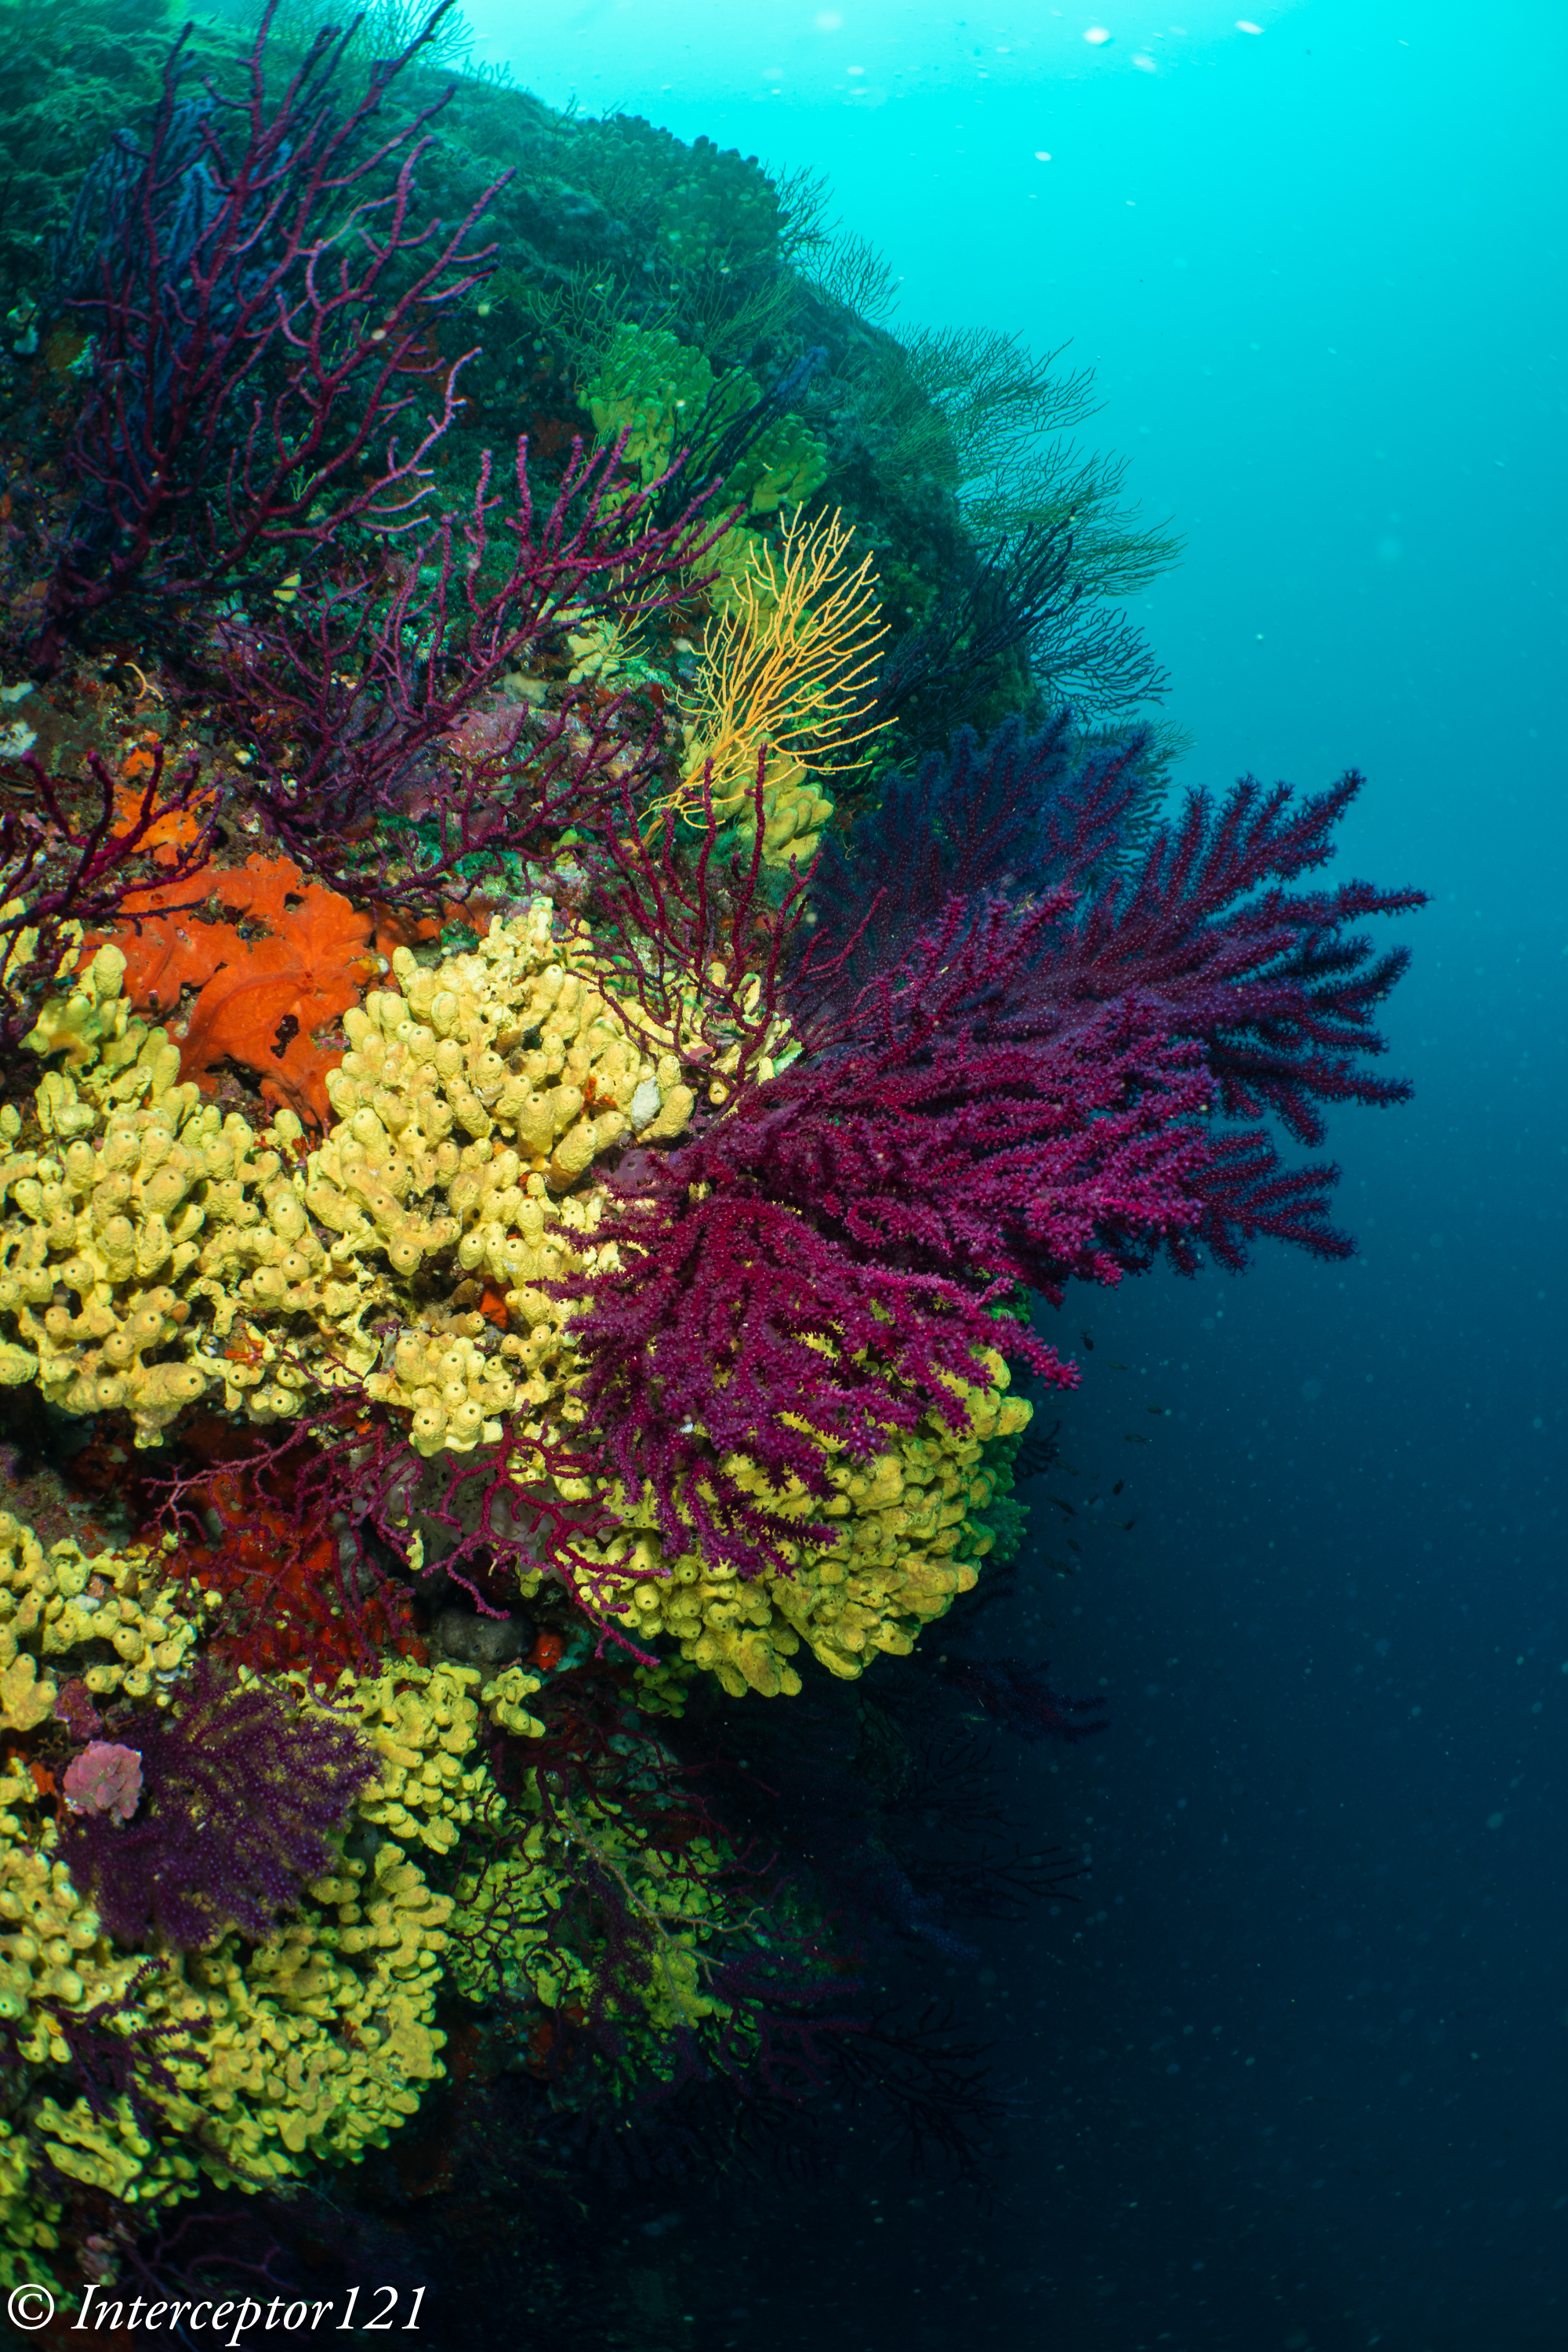
In situations where the subject is flat there are no issues with a water contact afocal system however reality is not made of flat subjects.
In this example we have our target at 1 metre and the reef at 0.5 metres while at 2 metres there is some background of interest. The examples are based on full frame system with a distance to the front of the wet lens of 19cm.
If we model a water contact optic we see that the aperture required to cover the depth of field while focussing on the target is f/8. This is based on the sensor virtual distances on the graphic.
However the f/stop goes to f/13 if our focus is very close or very far.
Take into account that in real like the magnification will be higher than 0.36 and therefore the values computed are best case scenarios.
With this type of adapter both focus position and field of view are based on the virtual image.

This is a classic example that shows the effect.
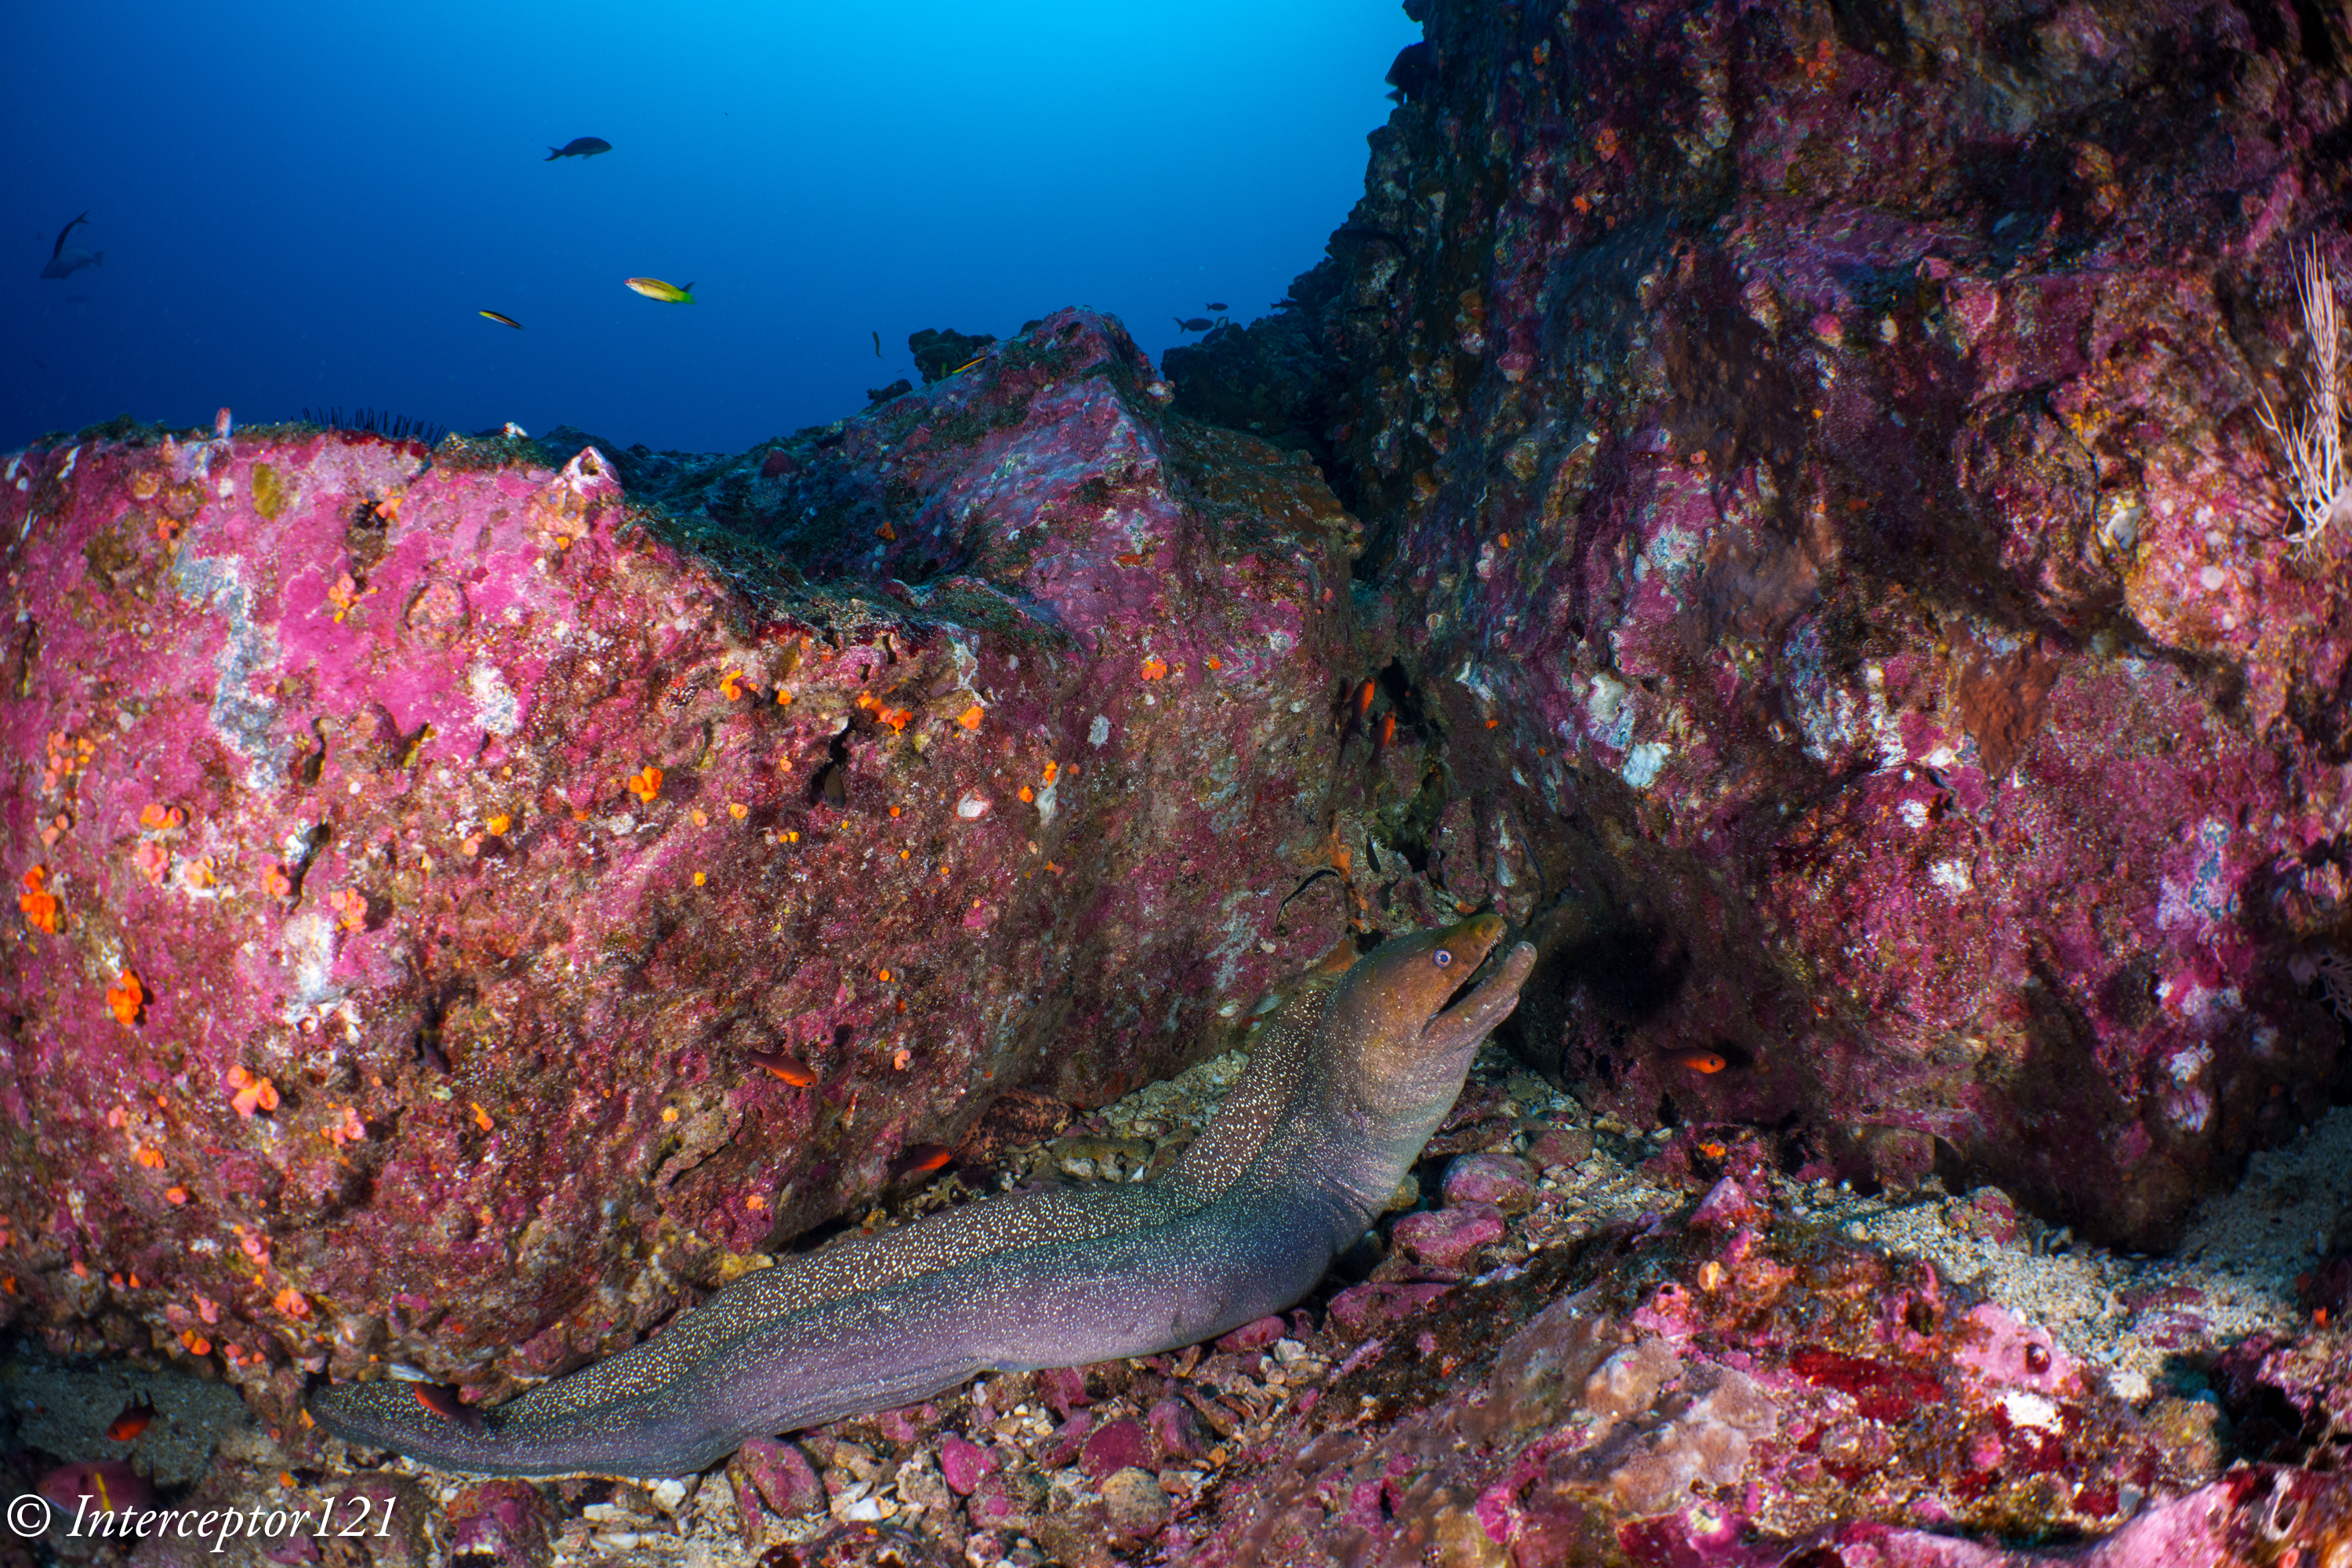
The moray eel is at around 1.5 meters however the camera thinks the target is 5 meters away as result even shooting at f/11 results in soft edges and lack of depth of field in front of the subject.
If we do the same simulation with a lens housed in a 9” dome the results are very different due to dome port compression.
Remember that for a dome virtual image drives the focus position however field of view is based on real distances.

Example shot in a similar situation with a Canon 8-15 and teleconverter at f/11 the entire frame including the parts ahead of the coral block are sharp. The camera focus position is 27cm due to the dome port optic visual image, the dome size used is 69mm radius.

We can see that in terms of depth of field the dome system is much more effective despite the subject distance is very near, although this will be penalised by other aberrations and therefore more likely work at around f/8 still this is a benefit especially when we look at closer targets which don’t require the same small apertures of the wet lens system.
This other example with teleconverter at f/8 focal length 21mm shows decent depth of field even in the near edge. At f/11 this would have been sharp throughtout
Therefore the water contact optic typically requires smaller apertures compared to a shorter lens of comparable field of view on the horizontal axis within a dome solution.
This reef scene shows a classic situation where you need to stop down the lens a lot to have everything in focus here shot at f/16 so that the coral in front of the fish is sharp.
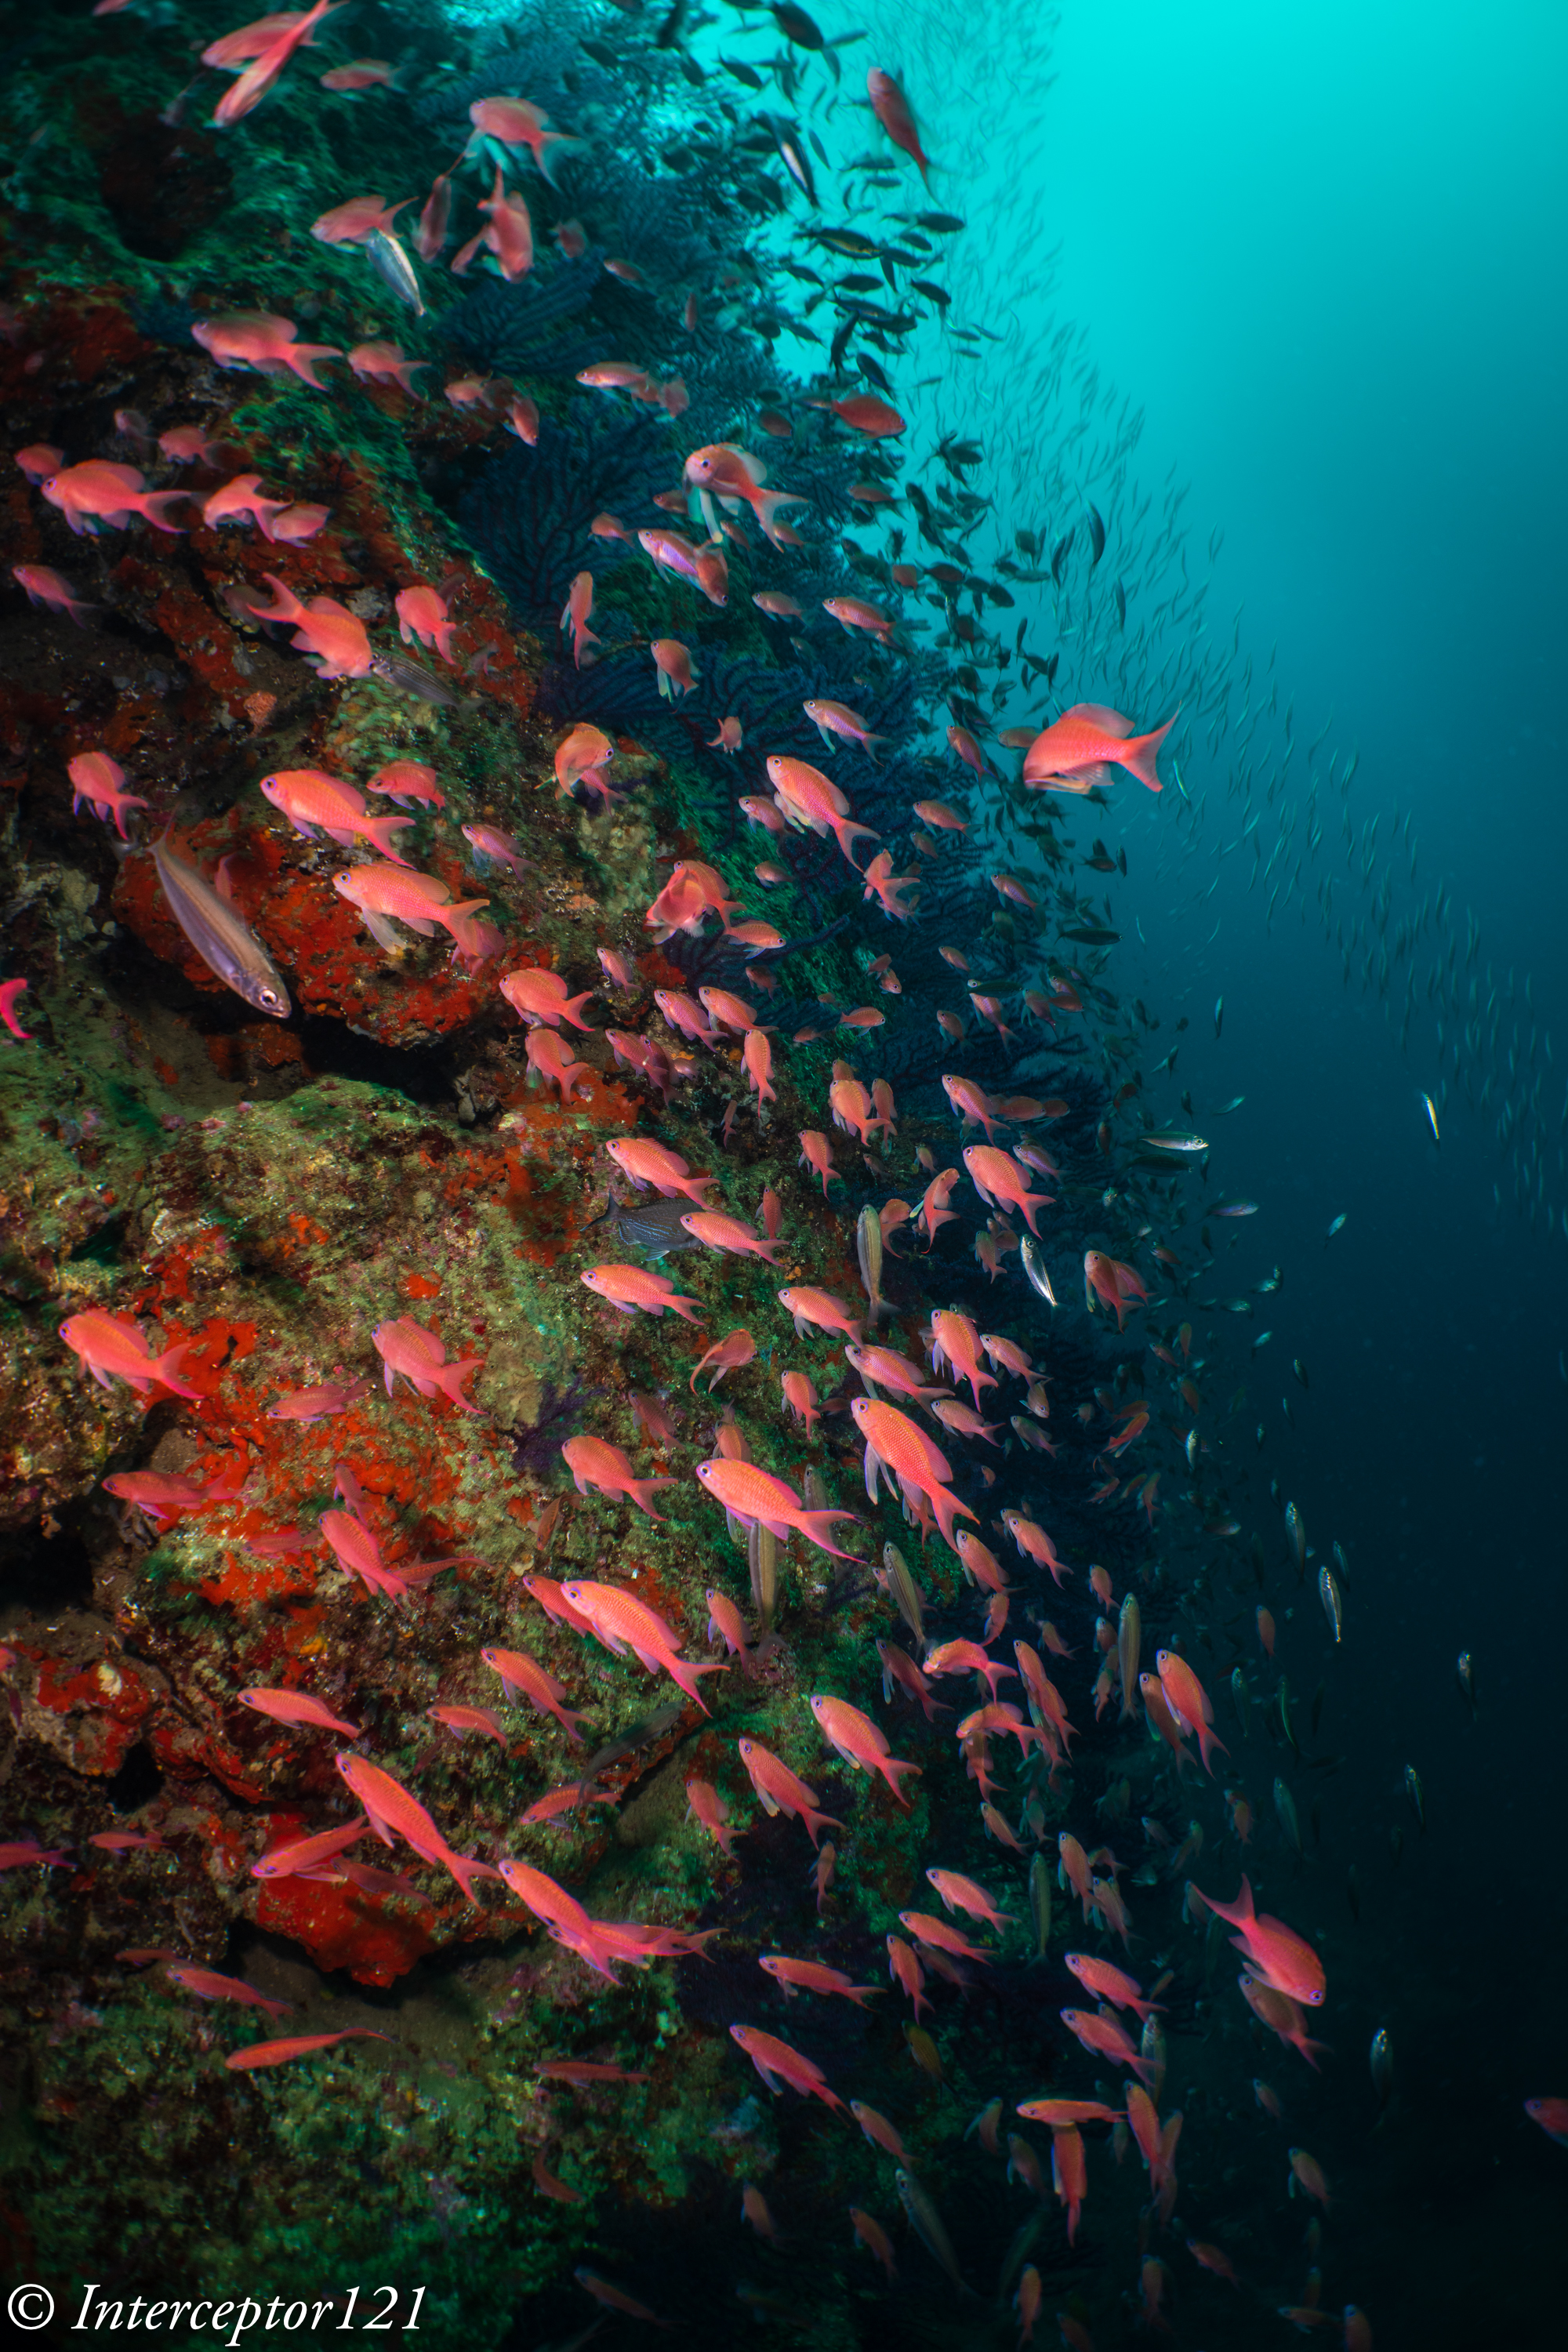
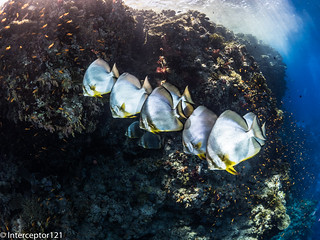
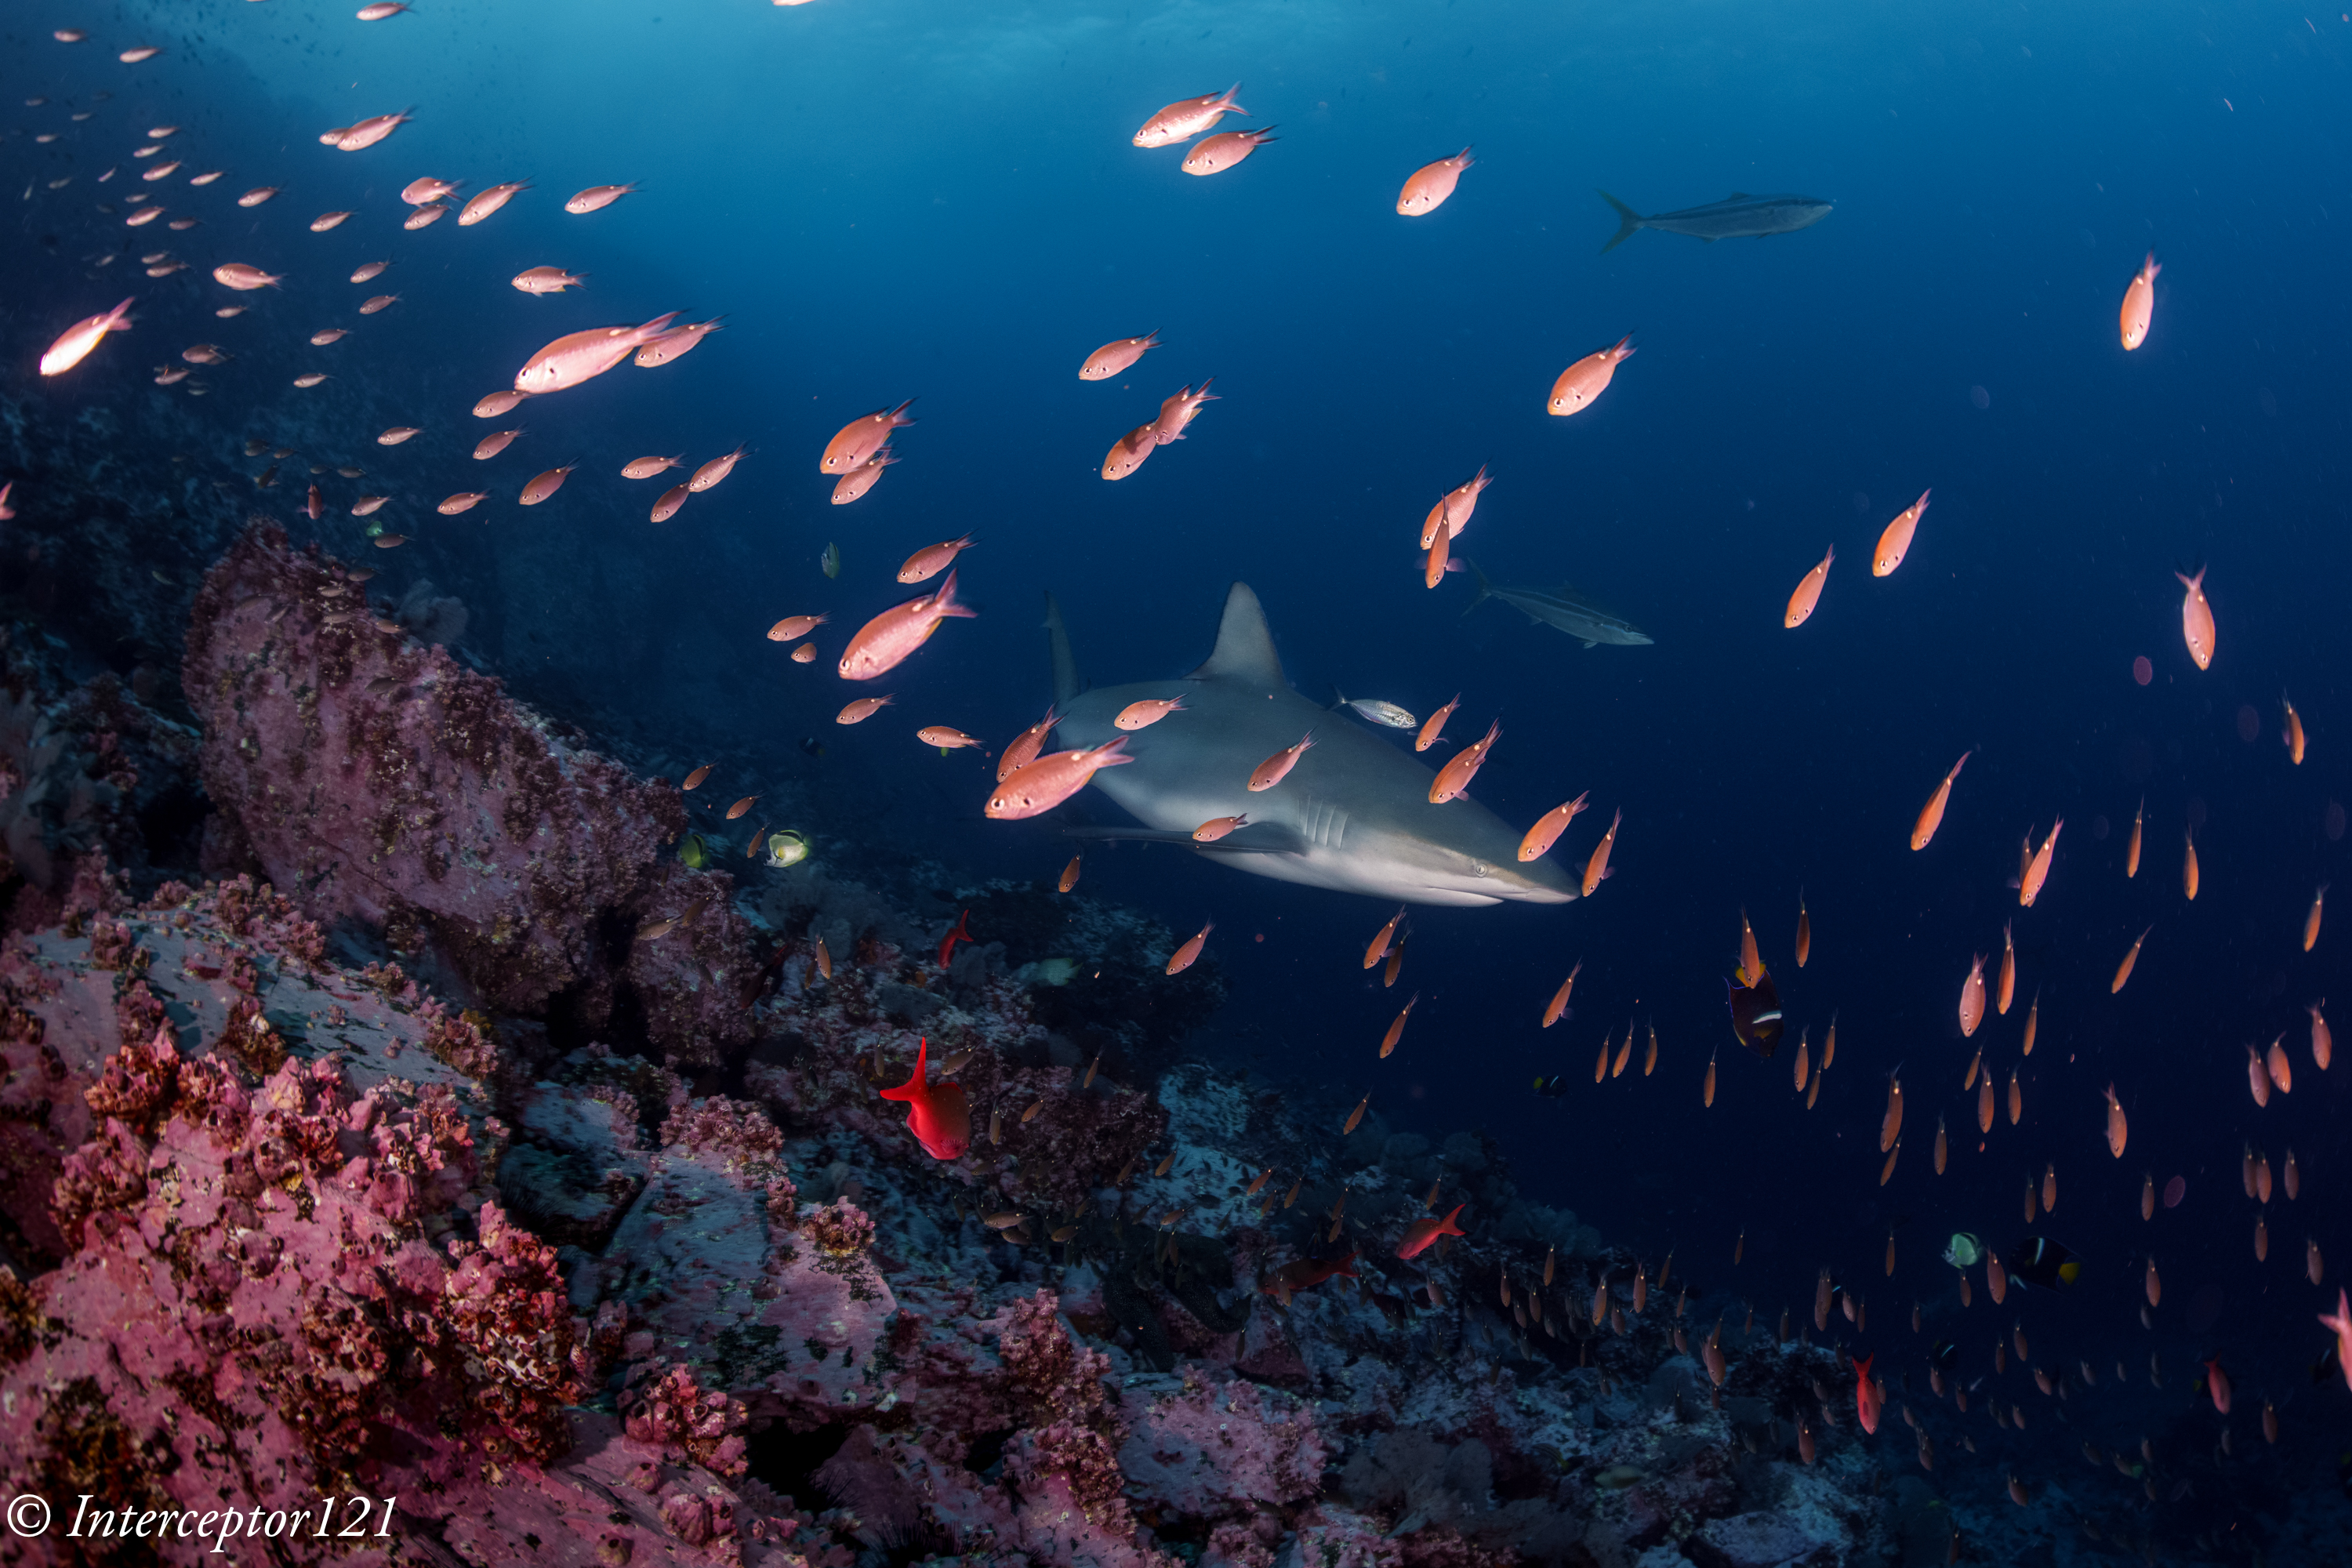
With f numbers going past f/11 there is a sensible drop in resolution of the overall system and therefore the water contact optic appears more suitable to situations where the main subject is ahead of anything else in the frame, for example schooling fish.

A school of snappers in Malpelo makes the perfect target for a wet optic as the reef is behind and everything looks sharp across the frame at f/11.
Reading the exif of this image we see that the camera thinks the target was at 8.05 meters in reality it was less than 3 meter away.

Summary
Water contact optic allow lenses to work in a more comfortable focus range, this is very advantegrous if we compared it to a flat port or to a wide lens that does not work well at close range.
However wet wide angle lenses are not suitable to all scenarios, in particular due to the issues of depth of field and also lower effect at close range are not particularly suited to close focus work without a significant loss of resolution on modern full frame mirrorless cameras.
If your objective is to work at close range and have reef scenes that are not clean with elements before and after the focus target a fisheye with teleconverter may offer a more fitting solution than a 0.36x wet lens with a standard zoom because it does not loose magnification and ends up in comparable aperture numbers to achieve a similar depth of field.
For targets at far distance shorter focal lenght, in our case half (14mm vs 28mm) will offer superior depth of field because of the dome port optics however will need to be stopped down to fix other aberrations yet unlikely to require aperture smaller than f/11 or in some cases even f/8 and therefore providing a potential increase also in light gathering and resolution.
Ultimately on full frame cameras wet optics are not a silver bullet and solution for all shooting scenarios but just another option to be used for example to reduce drag, consider the effort of finning with a small wwl-1 compared to a 9″ dome port in 3 knots current.