Underwater Video Tips: Improving your Polar Pro Red Filter for GoPro

Just before leaving to North Sulawesi and in the process of packing I realised I had not completed the tweak of my GoPro Hero2 Set up.

I do not use the GoPro for video but for time lapse however the modification that I will present here is valid for both video and stills or time lapse.

Some users of the PolarPro filter have noticed that when you point the camera to the sunball or on a very bright day there is quite a bit of flare with this filter in the image corners.

Flare occurs when stray light enters the frame and reduces contrast giving a result a picture with washed out colours.

Flare is more relevant to wide angle and is usually reduced with lens hoods however our GoPro does not have anything like that and due to the large field of view probably it is better to be so otherwise the hood would be visible.

So what can we do to improve our polarpro filter and why does it flare more than others in the first place?

The PolarPro is the lowest price push up filter for the gopro and the reason is that its build is very simple. All other filters will have a dark rubber ring on the edge that has the dual effect to secure the filter to the housing and eliminate the stray light that may enter from the side. The polarpro is one single piece of acrylic and does not have this ring around the lens.

So let’s build one cheaply all you need is genuine gaffer tape, to make it look better I suggest black matt gaffer.

Pull enough length to cover the whole external ring of the polar pro filter and lay it on it to go from the edge of the front side back to the where the lateral panel ends. Once you have measured the approximate length make note of the width and then remove the gaffer. Pull the tape so that it rips at the width required and then tape the exterior making sure the smooth part is on the front side. Then create another strip a bit longer for the inner part. Make sure it is going straight and with no bubble and then once you get to the opening for the button come outside and overlap the exterior ring.

Once finished it should look like this

Modified PolarPro Front

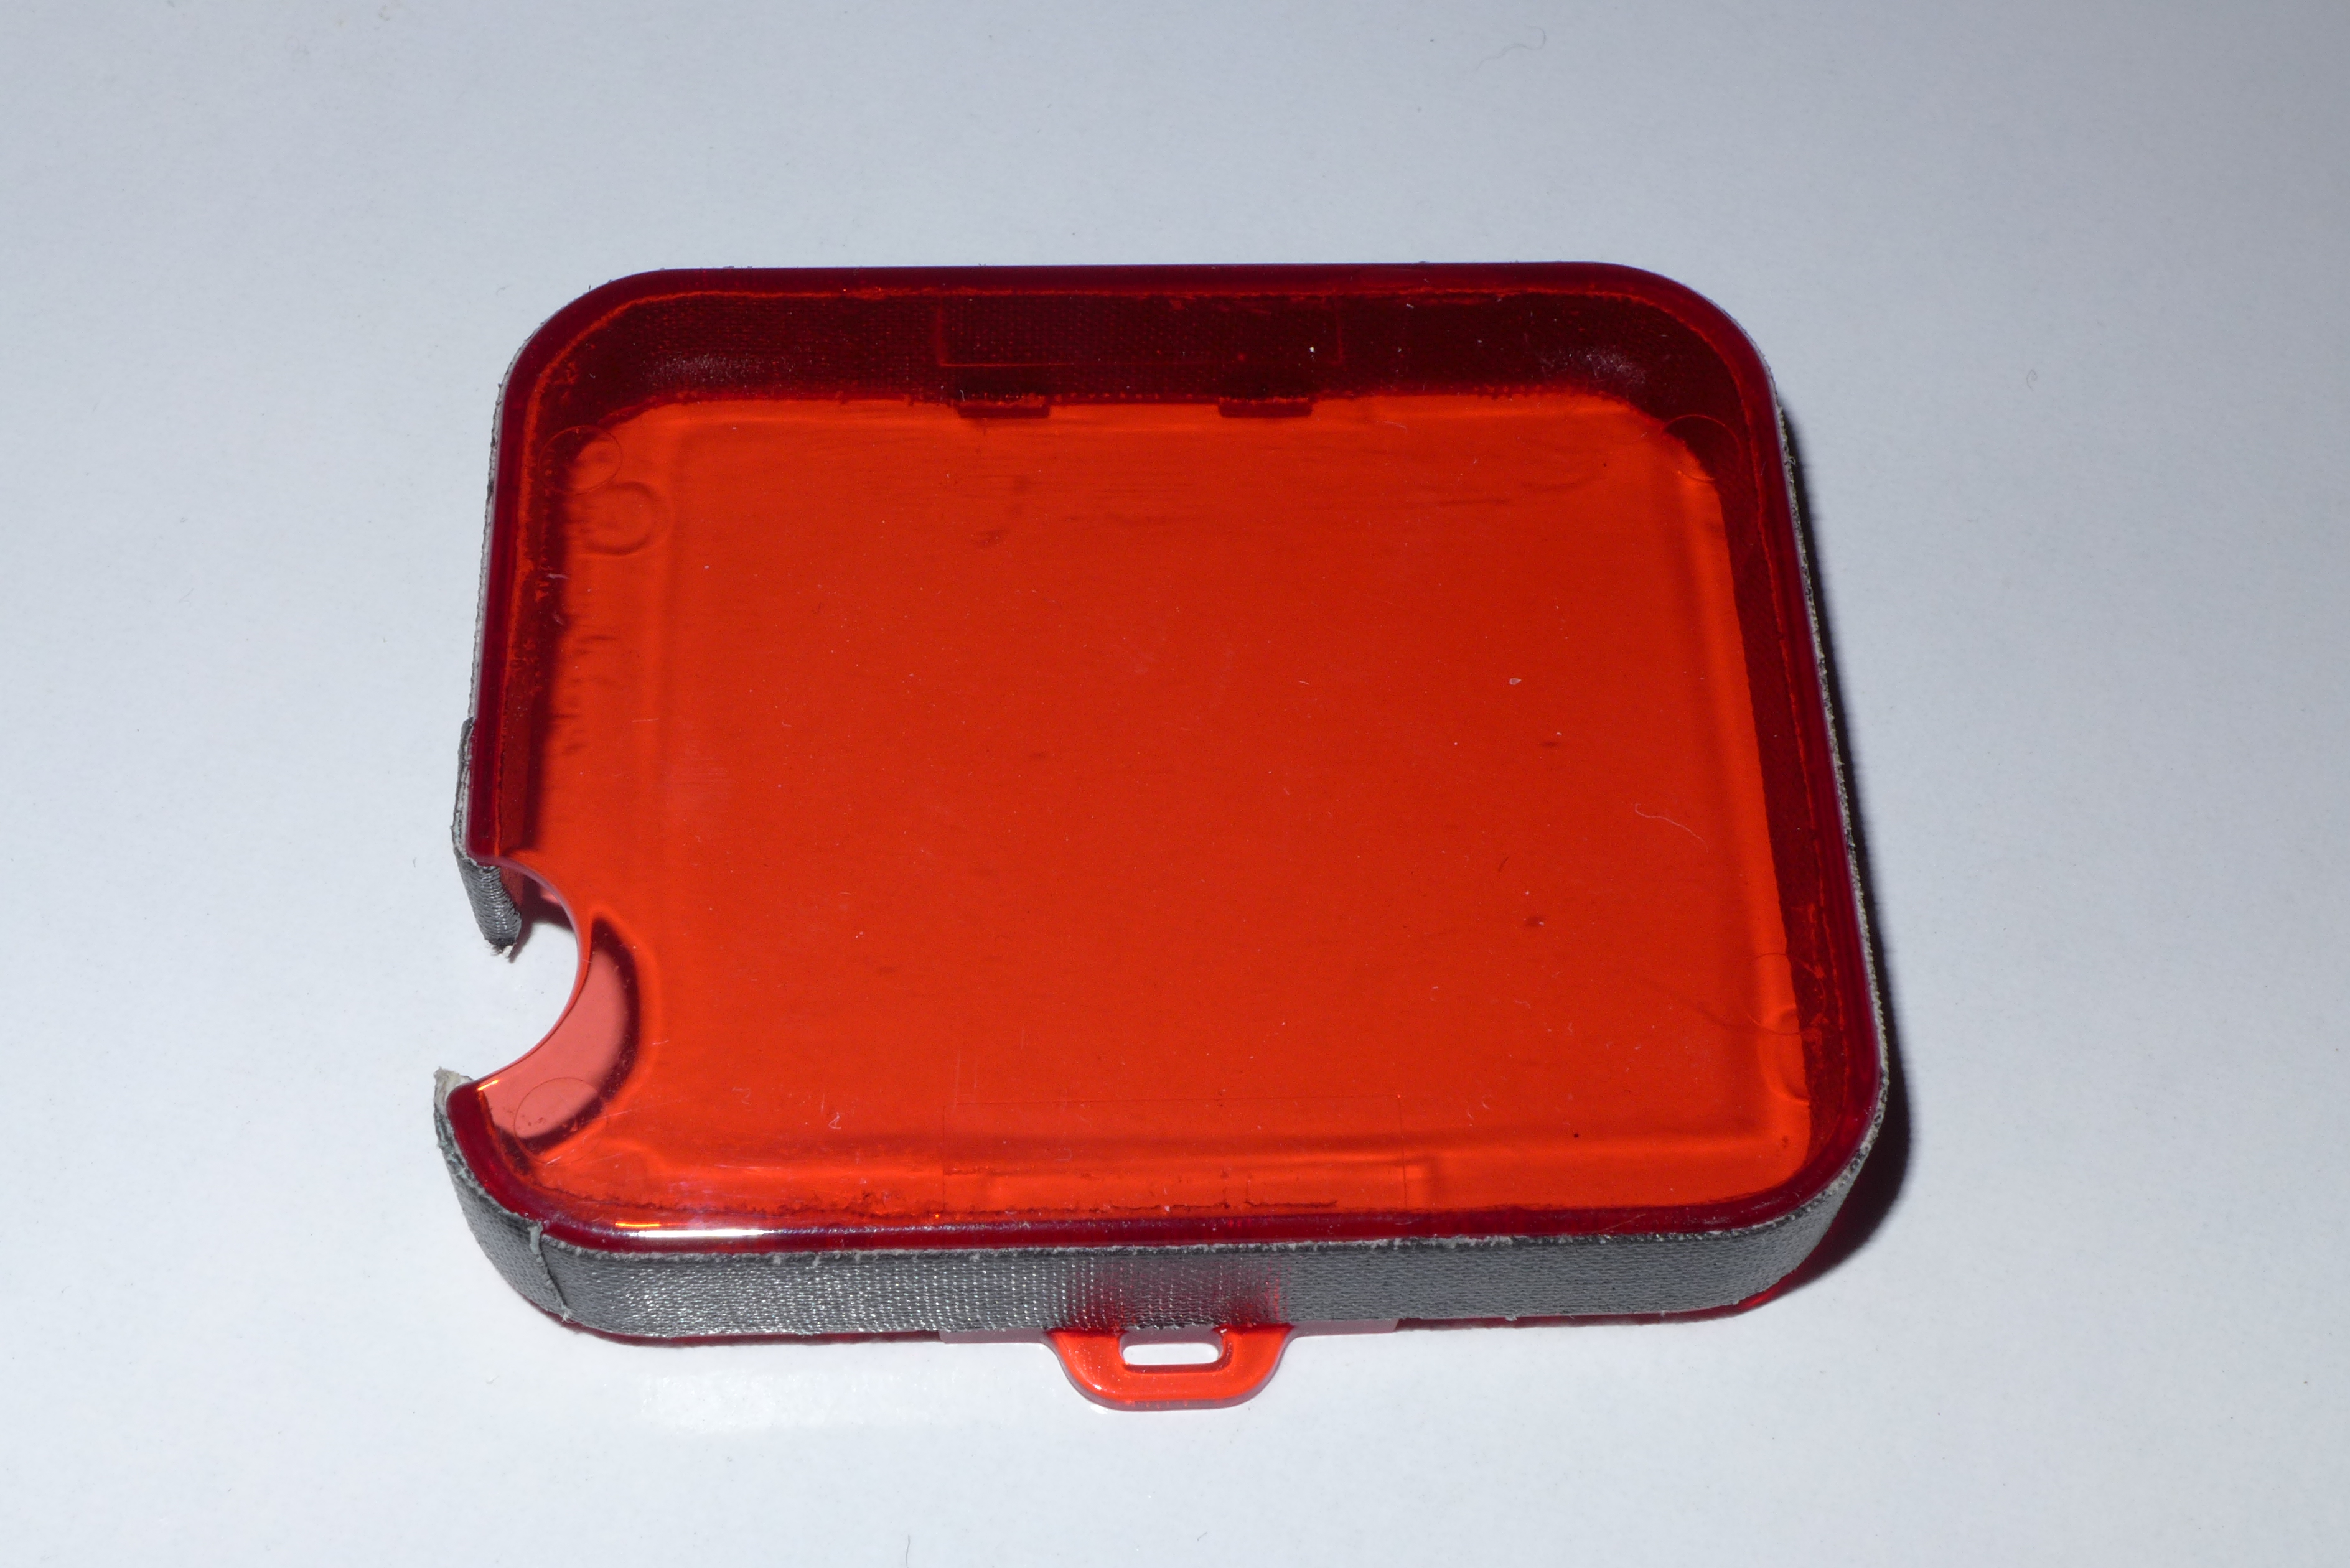
This is the other side you notice the part we ripped of the gaffer is on the outer side

Back
Back


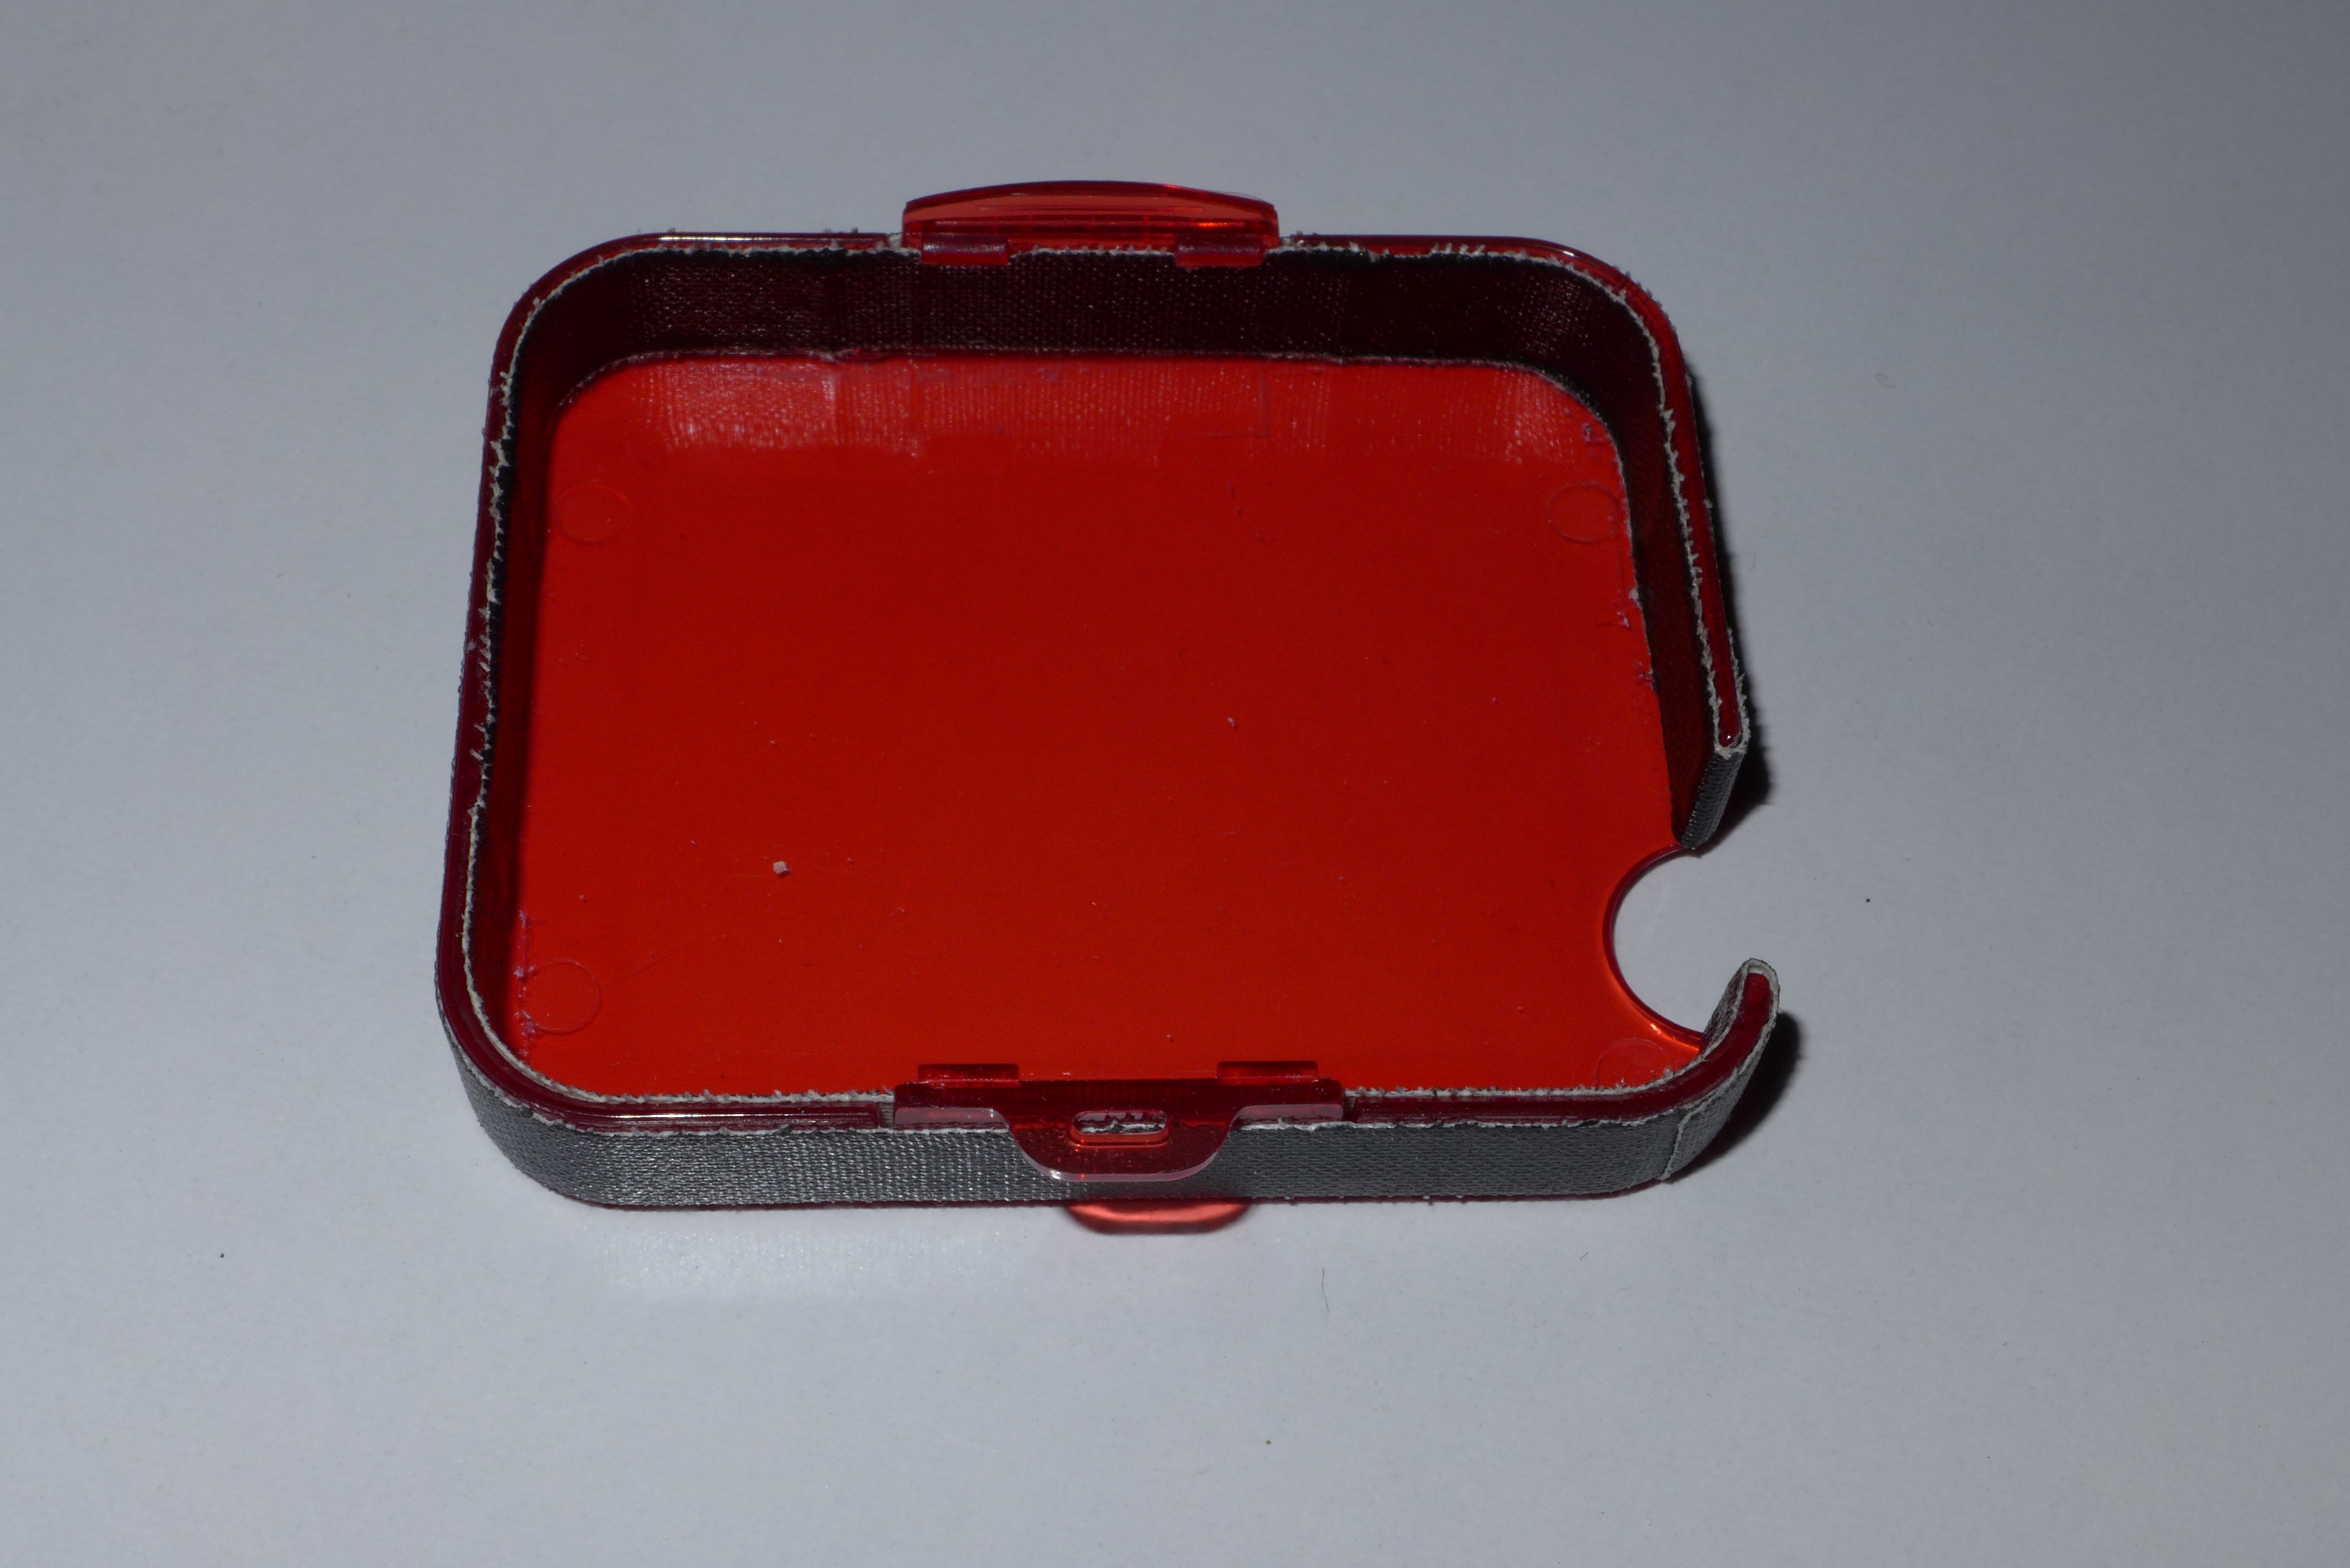
Gaffer type does not mark and will stay there for a good number of dives. I am going to test this and see how long it goes but I expect more than 20 dives before it falls apart.

What you have seen here can be done for the Hero3 filters and it is actually simpler as the filter has no button opening


There has been a new Mako product coming at the low cost end and that one has a rubber ring so I would recommend trying it if you don’t have a filter already

Tips for Underwater Video – Tripods and Monopods

First of all I have to thank Mike on Scubaboard to get this in motion the original post is here

When you shoot macro and operate at high magnification even the smallest movement translates into shake, let’s think about it for one moment.

A macro image will have a frame size of 36×24 mm, this means that a move of half centimeter or 1/5 of an inch is equivalent to 20% vertical movement a considerable annoyance. When you shoot a picture this is not an issue because with a very high shutter speed you can freeze motion and there will be no blur like in this image.

Pygmy Seahorse 1.5 cm

Trying to take a video of a moving subject like this proves challenging, and you need to slow down the footage to avoid sea sickness like here

So how do we get outstanding macro footage? We need to be super stable and avoid any type of shake.

One possibility is a tripod. There are various examples of underwater tripods such those made by Ultralight example here

There are several inconveniences using a tripod first is that those are more suited to a camera than a tray that may have the tripod hole off centre, so if you use a tray for your set up and just want to occasionally put it on a tripod this gets complicated.

So that where Mike came into action and contacted ULCS to build a tripod out of a tray those are my results using the following parts:

Camera set up

  • TR-DM tray
  • TR-DUP Extention
  • 2x TR-DH handles
  • 2x 12 segments 12″ locline arms
  • 2x Sola 1200
  • Panasonic LX7 in Nauticam housing

Tripod set up (approx $310)

  • 3x 1420 ball base adapters
  • BA-FBd plate
  • 3x clamps
  • 3x 5″ arm segments

This gives something like this also called Ultimusmacro

UltimusMacro
UltimusMacro

I tried this set up and the key issue is that you are far away from the floor and end up with working distances of around 10-15 cm or 4-6″ those are suited to a +6 diopter but not more and best with camera with at least 105mm zoom.

This is a bit of an issue with my Panasonic LX7 as the max zoom is 90mm equivalent. So I came up with a mini-monopod that has several advantages:

  • Closer to sea floor
  • Less expensive
  • Lighter
  • More flexible

For the mini-monopod all you need is ($150)

  • 3x 1420 ball adapters (two female and one with screw or bolt) – alternatively 3x 3816 2x female and 1x 1420 with bolt if you use AC-AH handles with 3/8 hole
  • BA-FBd plate
  • 1 clamp
  • 1 8″ arm segment

This is the mini in action also called cyclop

Monopod
Monopod

In this configuration I also have a lens holder on the 8″ this gives even more stability
With a mini-monopod you can easily use +10 diopters as you are on the bottom. In my set up I have floats however the 3 1420 ball heads on the bottom are sufficient to have a stable platform that can be pointing down even more raising the arm segment.

In addition to this the monopod can be used to push the camera in remote places or approach critters in crevices or similar

I will be testing both in North Sulawesi starting next week I hope to come back with some great footage

For more pictures of the set up check the Panasonic LX7 link on the top of the page