Tag Archives: AVCHD

Underwater Video Tips: Best video settings for Panasonic LX7

I thought of doing a debrief of the settings I use as I see few people that have bought this camera and have few niggles to go through and the obvious learning curve of new equipment so here we go.

Which Video Setting

It is always possible to reduce detail if needed so always shoot in the highest mode AVCHD progressive that in the menu is called PSH this records at 28 Mbps.

Which Mode to Use for Video

The LX7 has a one touch video mode that is accessible in still mode. When you press this button, even if the camera is in Aperture or Shutter priority and even in Manual, the movie clip is recorded in Program mode.

It follows that the mode to use to have full control is the creative video mode accessible through the mode dial.

Standard Setting for Creative Video Mode

I use the Shutter priority setting submenu in this mode. This is because the LX7 does not follow the 180 degrees shutter rule in video program mode.

Set your shutter speed to 1/100 for PAL and 1/125 for NTSC so that your shutter speed is double of the frame rate (1/50 for PAL and 1/60 for NTSC).

Exposure Lock Button

I never use the manual or the aperture priority mode as I find the lens fairly sharp even in macro and very small subjects. When I have changing light I point the camera to the exposure I want and the click Exposure Lock. To disable focus lock you need to go into the menu and set the button to AE lock only.

Exposure Control

I personally find the standard exposure of the LX7 underwater far too bright. So using the exposure compensation dial found by pressing the shutter speed wheel I dial down to -2/3. This is personal sometimes I even go down to -1.

ISO and Max ISO

The LX7 has a very bright lens even at telephoto end and this lens produces also a very sharp image. In the worst case of deep water with low light I found that having an underexposed but cleaner picture at ISO400 is better than letting the camera go all the way to high ISO. So in the menu I set ISO MAX to 400 or in some cases I push this down to 800. I set the ISO to Auto as the camera generally keeps it very low anyway.

Autofocus

I leave autofocus for video mode to on and I ensure that the autofocus is set to single area. Be careful as the default setting is face detection and that does not work well underwater! Multi area and tracking are not available in video mode.

Zoom

In video you can extend the 90mm lens to 180 with the iZoom and to 360mm with digital zoom. I set iZoom to on and Digital zoom to off as I have seen that the iZoom is very useful in macro and the picture quality is not visibly affected.

Metering Mode

I use multi metering for landscapes and centred weighted for close ups and macro.

iDynamic

This is a tricky setting; generally I keep it off or on Low as the standard settings clip the highlights. In doubt turn it off.

Photo Style

This setting controls contrast, sharpness, saturation and noise reduction. I use the standard setting that is a little bit oversaturated. If you do a lot of colour corrections in post processing use the Natural setting. The footage will be less saturated and a bit less sharp with less noise reduction.

White Balance

I use two custom settings WB1 and WB2 one for shooting with ambient light and the other one with lights that I only use in special circumstances.

Stabiliser

I leave this on and it does not affect the field of view.

Zoom Resume

Zoom resume has to be left off as this delays the camera ready to shoot time and ends up with missed opportunities.

Menu Resume

It is useful to leave this on.

Custom Menus

I record all my settings for shooting in ambient light in the C1 mode this has all the settings are describes and recalls the Custom White Balance 1.

I then set another menu C2-1 with auto white balance for shooting with lights and menu C2-2 for shooting with lights and WB2.

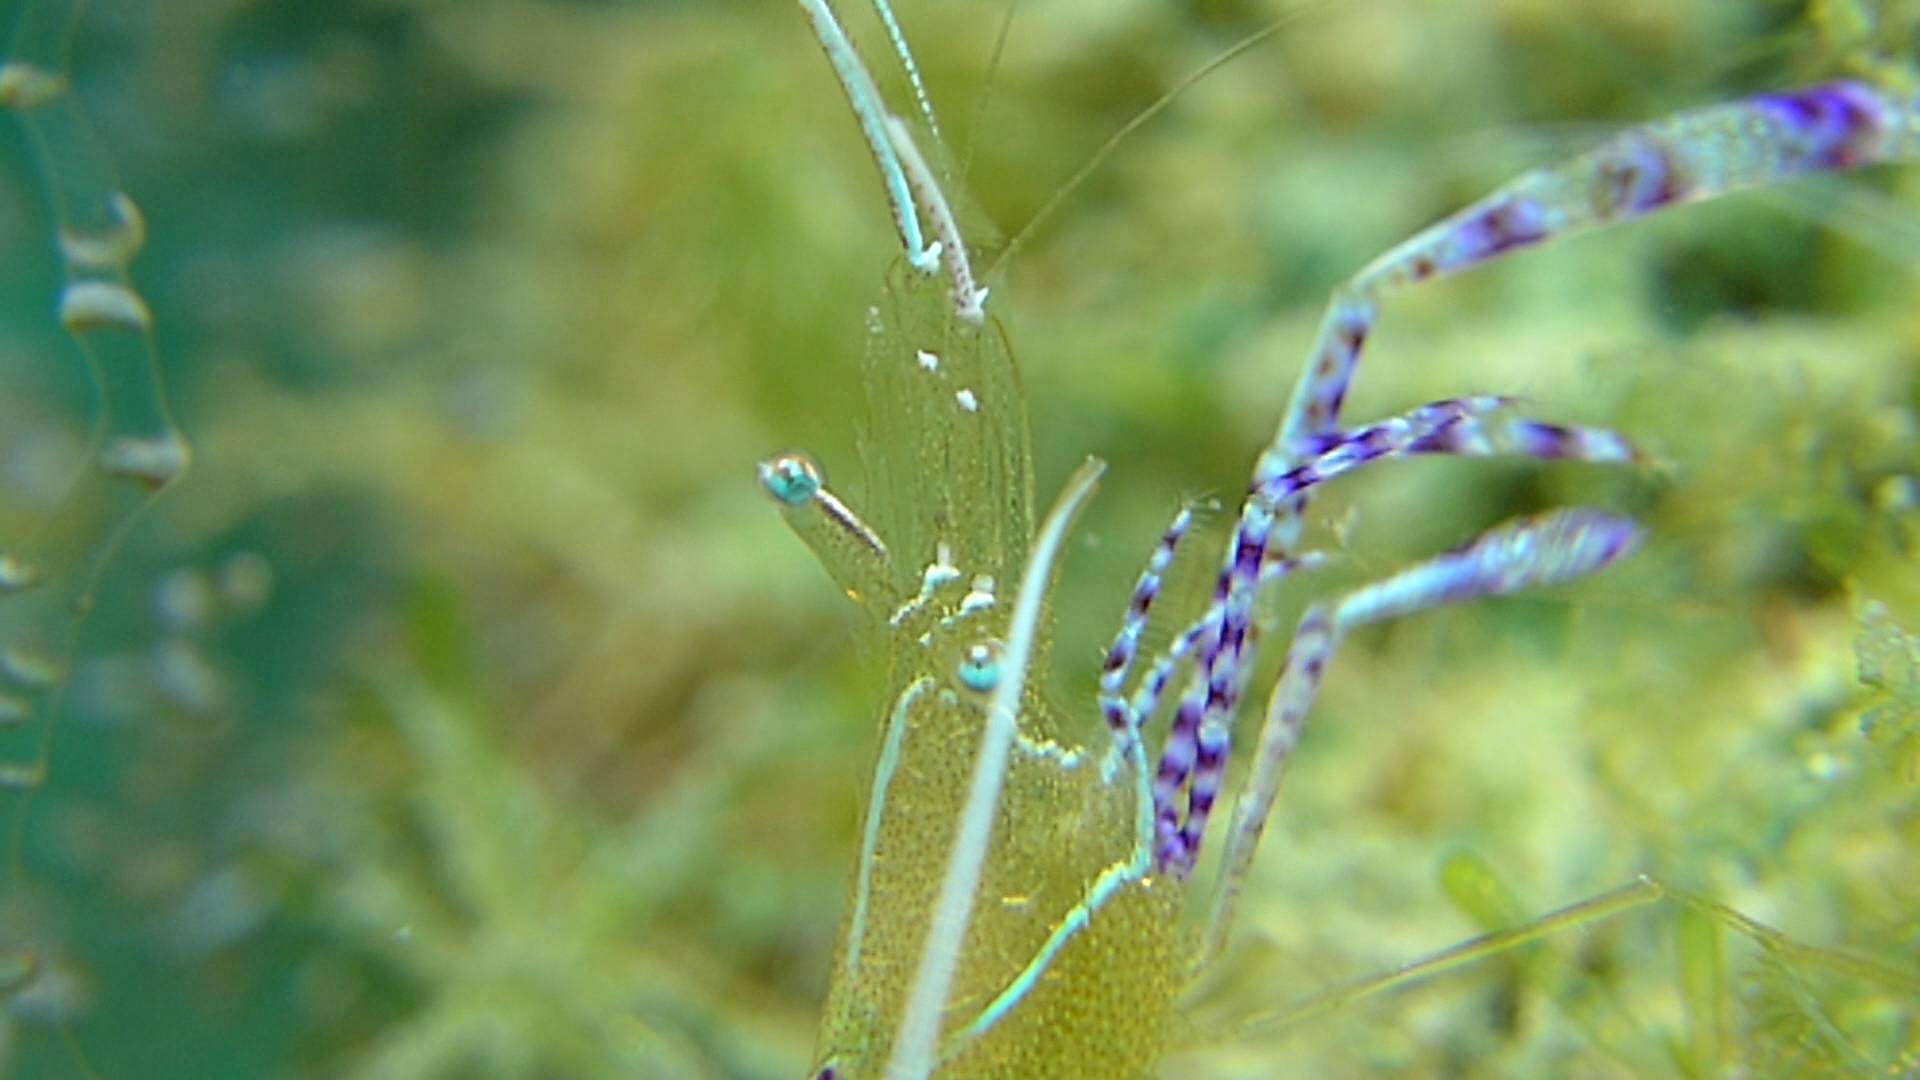
This is an example video shot with those settings and no additional lenses this is with video lights and auto white balance little to no correction in post processing.

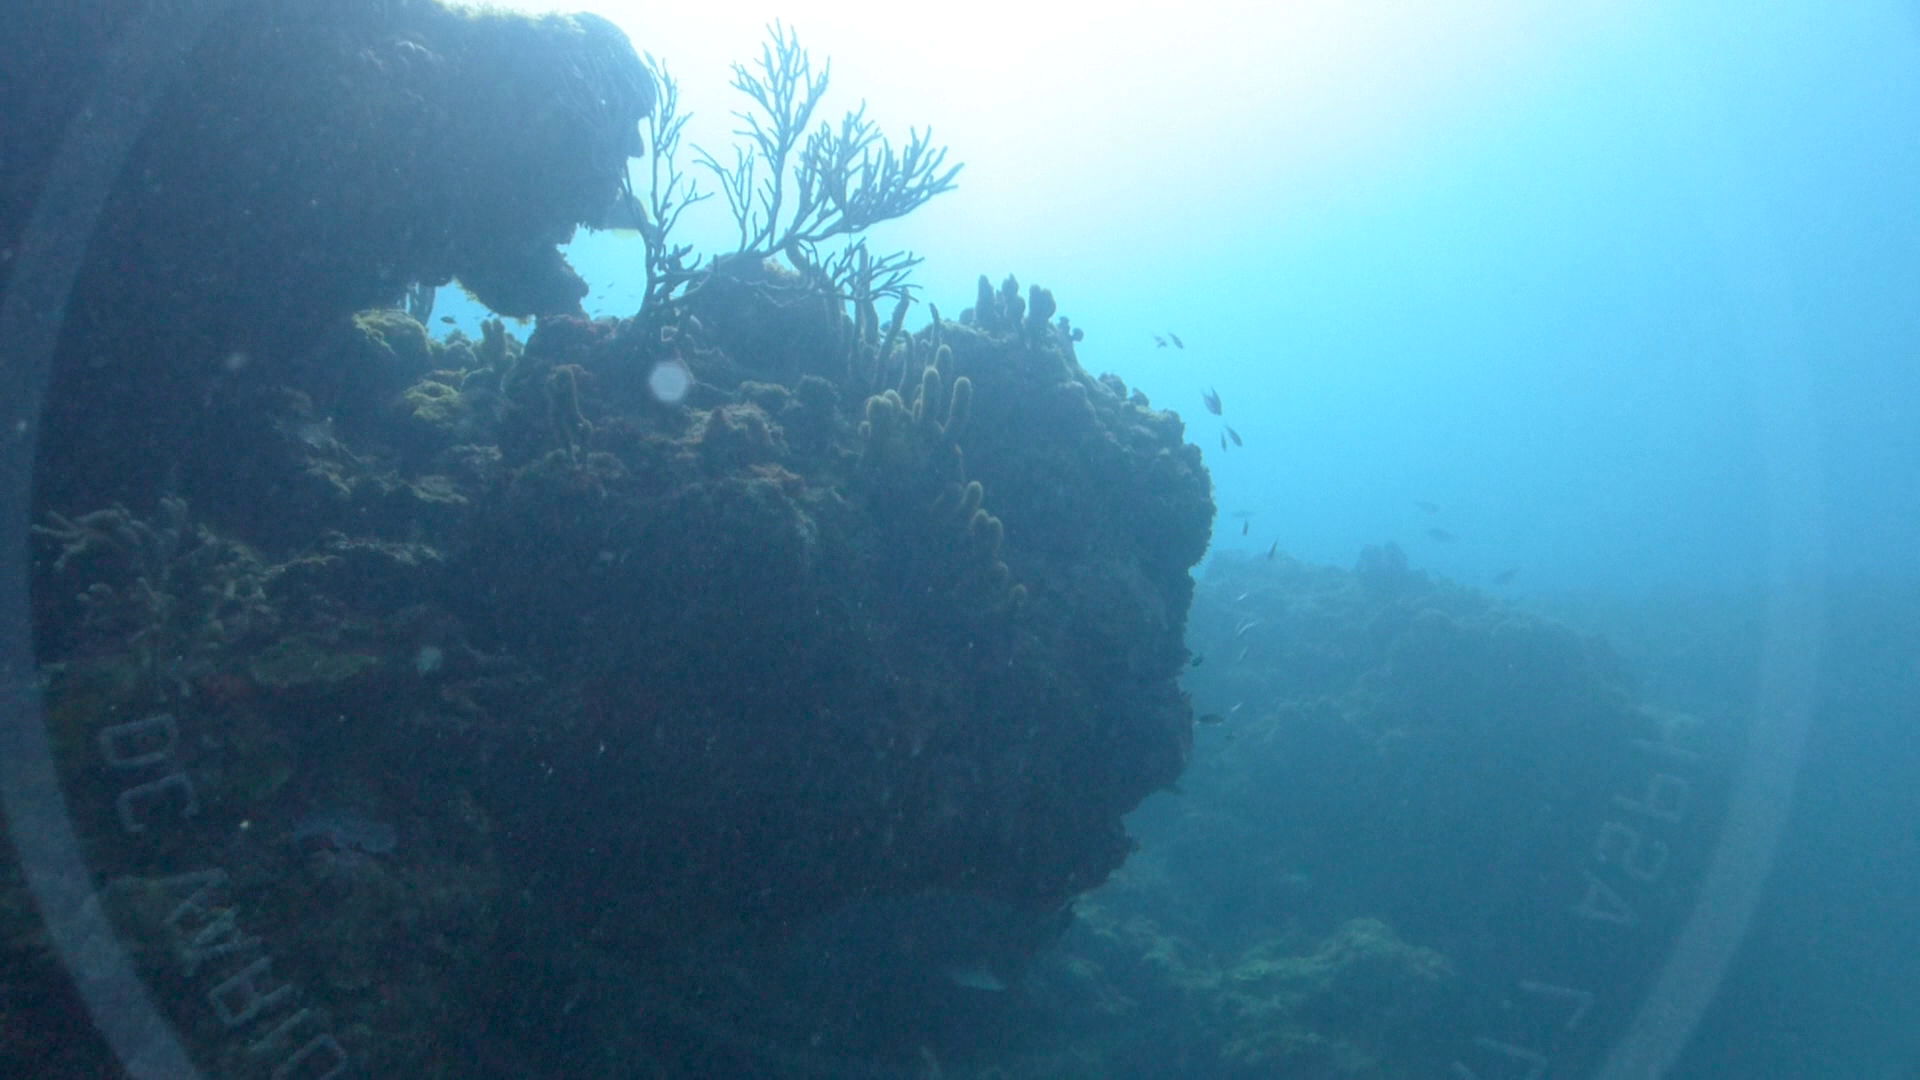
This other video is with some grading applied and ambient light for most

I hope you found this useful and happy shooting!

Grenada Trip First LX7 release

I have just completed the first draft of the clips taken with the LX7 in my trip last week. Links are here:

Youtube may not work in some cases so use vimeo instead

For who wants to know the lens choice for wide angle was as follows

Wet mate: Molinere Sculpture Park, Purple Rain, Veronica L, Shark Reef

Inon UWL-H100: Bianca C (28-40 meters) , Northern Exposures, Southern Comfort, Quarter Wreck, Shake’em (20-32 meters)

You can see in the section of the Veronica L that missing those extra degrees field of view did not allow me to take the full wreck by side even if it was not that big. On couple of reef dives I already had the Inon on the previous wreck dive so I left it you can compare performance of the two lenses in terms of sharpness and flare. Generally I feel the wet mate has less flare and is sharper however it does have an issue of reflections as covered in the previous post.

As always I have used iMovie to edit the AVCHD progressive files that I converted to normal mp4 using the workflow in a previous post. There are no dramatic alterations of colour or exposure and no stabilization has been run in any part of the video (in some parts like the snake eel moving it shows) all was done with custom white balance using the camera functionality, considering how deep were some of the wrecks this is very good I believe.

I would love your comments this was mostly an exploration trip so it is interesting to compare to the RX100 Raja Ampat videos

Panasonic LX7 reference compact for underwater video

So I finally had the opportunity to take the LX7 on a trip after some pool tests.
After my attempts last year with the Sony RX100 I was a bit skeptical that I could actually find something better for video but I think the LX7 beats it.
I put together a sample just to give an idea of equipment used and how it works, please note this is not altered in any way

There is a picture of the rig in this blog on a specific page but let me confirm once again in detail
Panasonic LX7
Nauticam LX7 housing
Ultralight TR-DM tray with extension TR-DUP and two TR-DH handles without ball.
12 segments locline arms on 3/4″ mount base and reducer on the handles
Two sola 1200
Nauticam wet mate
Inon UCL165AD on bespoke M67 adapter
Inon UWL-H100 28M67
Inon M67 double lens holder on custom mount

In a previous post I highlighted that for most the wet mate will be the only lens needed however I had some wreck dives and the 18mm of the Inon wide angle are more appropriate.
I also gave a try to the panasonic intelligent zoom that allows for 2x digital magnification and sharpening that for me works very well and you can see it in the footage. This allows a user with just the wet mate to further zoom without need of a close up lens or a use with a single +6 diopter to achieve super macro.

Pedersen Shrimp with two stacked UCL165AD and intelligent zoom 7.5x The frame height is less than 1cm
Pedersen Shrimp with two stacked UCL165AD and intelligent zoom 7.5x
The frame height is less than 1cm

I found the white balance of the camera excellent on both my hand or sand. I had issues with my padi slate that many times returned a ‘scene too bright’ error. Maybe this is the reason why backscatter failed this camera for video?? Who knows.
You can see that even at 36 meters the colour are as good as they can be.

White Balance on Bianca C 36 meters depth

For macro shots I used the temperature setting at 6500K, I found the white balance tint fine tuning to be excellent to further enhance it.
I shot in shutter priority the whole time with shutter speed of 1/100 or 1/50 depending on conditions and type of shot. The camera autoISO and choice of aperture privilege noise reduction however as the lens of the LX7 is really sharp the relatively wide aperture did not mean soft corners.
I tried the various photo styles and at the end settled for the standard one, I found the natural really to have too little contrast.
I thought of shooting in mp4 for wide and AVCHD progressive for close up but this would have meant two different frame rates to edit, at the end I shot at the highest available setting to avoid confusion.
I had received a new port from nauticam so I had no vignette at 28mm and the full 100 degrees the inon lens can offer.
The ergonomics of the camera that have fixed commands for aperture and shutter proved to be convenient and the built in neutral density filter was very effective at shallow depth or on the surface.
In essence I think that the issues backscatter mention are non existent.
I did have a few problems with the wet lenses though.

Lens Marking reflection on Wet mate dome

The wet mate proved to be a great little tool very sharp and light however none of the sides of the glass have anti reflective coating. In bright scenes or backlit scenes I did not have many issues with flare however I could see the marking on the lens reflected back on the wet mate and in the picture. I suggest putting an inon anti ghost sticker or gaffer tape to hide those shining markers or to colour them with permanent black ink.
Other than this the wet mate performs very well in all reef scenes and close up of critter a few inches big.
The inon diopter did not cause any trouble other than the obvious vignetting until 70mm. One pleasant surprise is the LX7 autofocus. Having struggled with the poor focus of the RX100 at high magnification I was astonished that the LX7 finds focus even with two stacked diopters and keeps it!!! I never had to use manual focus that with the RX100 was the norm at macro range.
I had bought the UCL165 and UCL330 in m67 format but decided to sell them as I will actually switch to bayonet very soon for the wide angle.
The Inon UWL-H100 was probably the most disappointing find of the trip. Image was sharp in normal condition however this lens tends to flare quite a bit and this creates block noise in the water column in video, when I used my hand to shade the lens the flare went away. Inon sells a lens hood for the 28LD version of this lens but not for the M67 as there would be issues to align the hood petals to the frame.

Inon UWL-H100 Flare on top of the frame

Considering that the lens is very heavy in water at 350 grams and that screwing and unscrewing was a concern mid water I have decided to convert the lens into an LD bayonet. Inon sells a replacement service part for the 28LD that can be used to replace the M67 thread of the lens. Other than this part the two lenses M67 and 28LD are identical. I will use a nauticam m67 LD adapter I hope this will not increase the vignette. I will connect my AD mount close up with a AD->LD converter when using the wide angle and then use an AD->M67 converter when I use the wetmate. This saves me buying two different diopters and I can stack the two UCL165AD I already have. They do vignette a lot at medium but who cares when you shoot at full zoom.
I look forward to testing the UWL-H100 with the lens hood I am sure results will be better. On the other hand when the sunlight is behind the shots have incredible sharpness with this lens.
So the LX7 gets 5 stars from my side and I leave you with two recommendations:
1. Apply a form of anti ghost sticker to the LX7 lens
2. If you want to get the Inon UWL-H100 go for the LD mount so that you can put the lens hood on

Underwater Video Tips: Working with AVCHD 2.0 and 1080p60 or 1080p50 files in iMovie

As hardware becomes more and more powerful video format evolve to allow higher quality capture.

AVCHD is a format that still relied on interlaced video and the classic 24p until version 2.0 where higher frame rate 1080p50 and 1080p60 have become standard with a maximum bit-rate of 28 Mbps.

To date many non linear editing programs are not capable to process such files actually most of the low cost programs are not even able to import those files at all, this is quite frustrating after spending a good amount of money on a camera.

I use iMovie for all my edits as after testing programs like Adobe Premiere I did not really find them to add many benefits to justify the price and I also find them quite slow and counter intuitive so when I got my Sony RX100 I had the issue of processing AVCHD 2.0 files 1080p50.

An AVCHD container is made of streams that have a video and an audio track plus another track of text. The video is encoded in H.264 as other formats like mp4 and the audio is AC3 usually two channels. Usually video editor like files with an H.264 video track and a stereo audio track in AAC or MP3.

So if you re-wrap the information in an mp4 or mov format there is a good chance that a program like iMovie or final cut will digest it.

After various attempts I managed to find on the internet the tools I needed, I will list them here:

  1. LAME for Mp3 encoding (mandatory)
  2. FAAC for AAC encoding (optional but I have it in my build)
  3. FFMPEG
  4. Growl
  5. Clearpipe automator Action
  6. Automator FFmpeg action
  7. MTS2MP4 automator agent

For instruction on how to build your own ffmpeg (as the static builds did not work for me) look here:

http://sesam.hu/2012/09/05/installing-ffmpeg-on-os-x-mountain-lion/

Then install growl version 1.2.2 http://growl.googlecode.com/files/Growl-1.2.2.dmg

Get clearpipe, automator ffmpeg action and the mts2mp4 finder service here http://blog.laaz.org/apps/automator/ and install in sequence.

This creates the option to right click on an MTS file and re-wrap it into an Mp4, note that there are also commercial programs that do this like clipwrap and iVi however our finder service is free and quick…

I have created this little video to show how it works in practice, as you can see it swallows entire folders which is great. So here I create an output folder in the iMovie events folder so that iMovie can edit the 1080p50 file later skipping the import, this means no time is wasted and after generating thumbnails you are ready to edit your original video at high frame rate, a feature ‘officially’ not supported…this is how I edit my video natively in iMovie. If you have a GoPro that saves 1080p50 or 1080p60 mp4 files you can start from the manual creation of an event folder.

From there onwards you can import your double frame rate video into iMovie projects, that will anyway be 24,25,30 frames per second by default but can also exported in 50/60p using x264 decoder that you can find here http://www003.upp.so-net.ne.jp/mycometg3/

This means that you can process with iMovie and also final cut pro 50/60p projects with no problems!

Update for those struggling this is the link where all the files including the ffmpeg build are: https://www.dropbox.com/sh/6m4527odhpw3hcc/nHODxg3_DL I have modified the ffmpeg automator action as I was getting a problem with growl