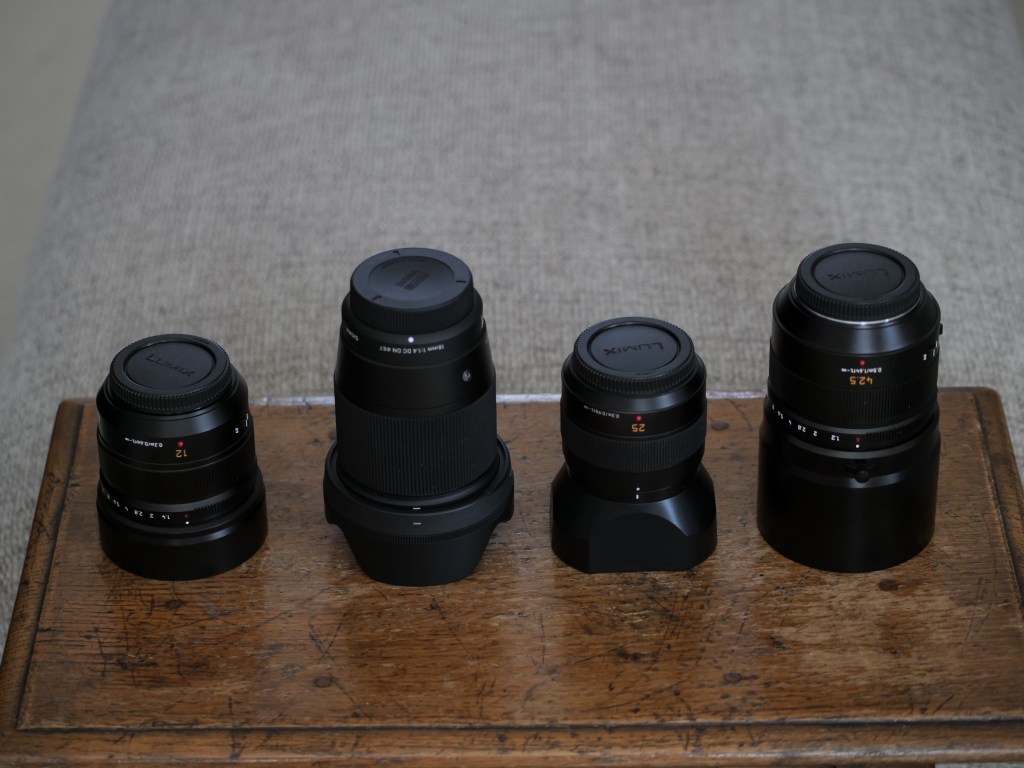
The debate between resolution and depth of field is even more relevant today with the discontinuation of DSLR and the rapid growth of Mirrorless cameras.
I have been a mirrorless user since 10 years now and I am pretty familiar with the benefits and disbenefits of the system.
One of the main disbenefits I have found especially when moving up to the Sony E-Mount full frame system has been lack of depth of field in close up shots.
While the Canon RF and Nikon Z mount still allow apertures of f/32 on their macro lenses, the Sony 90mm Macro only goes up to f/22. This is indeed a serious limitation for macro shooting. The reason is unknown but all Sony E-mount lenses stop at f/22.
It may be that this is related to the loss of resolution due to diffraction.
On full frame sensor the diffraction limit is reached around f/20 however resolution starts to drop much sooner. Also consider that effective aperture of macro lenses is much smaller due to changes of the effective focal lenght, angle of view but this applies across the board and I do not want to make this post more complicated.
This is a resolution chart produced by lenstip for the Sigma FE 105 Macro. You can see that the resolution drops from a stellar value of 80 lp/mm at around 28 lp/mm at f/22, the lens has lost 65% of the peak resolution that was reached at f/4.

Depth of field however does matter in close up photography and has been one of the reason why I have recently invested in a Panasonic Lumix GH7.

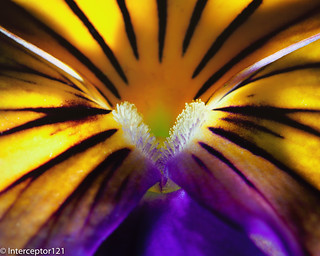
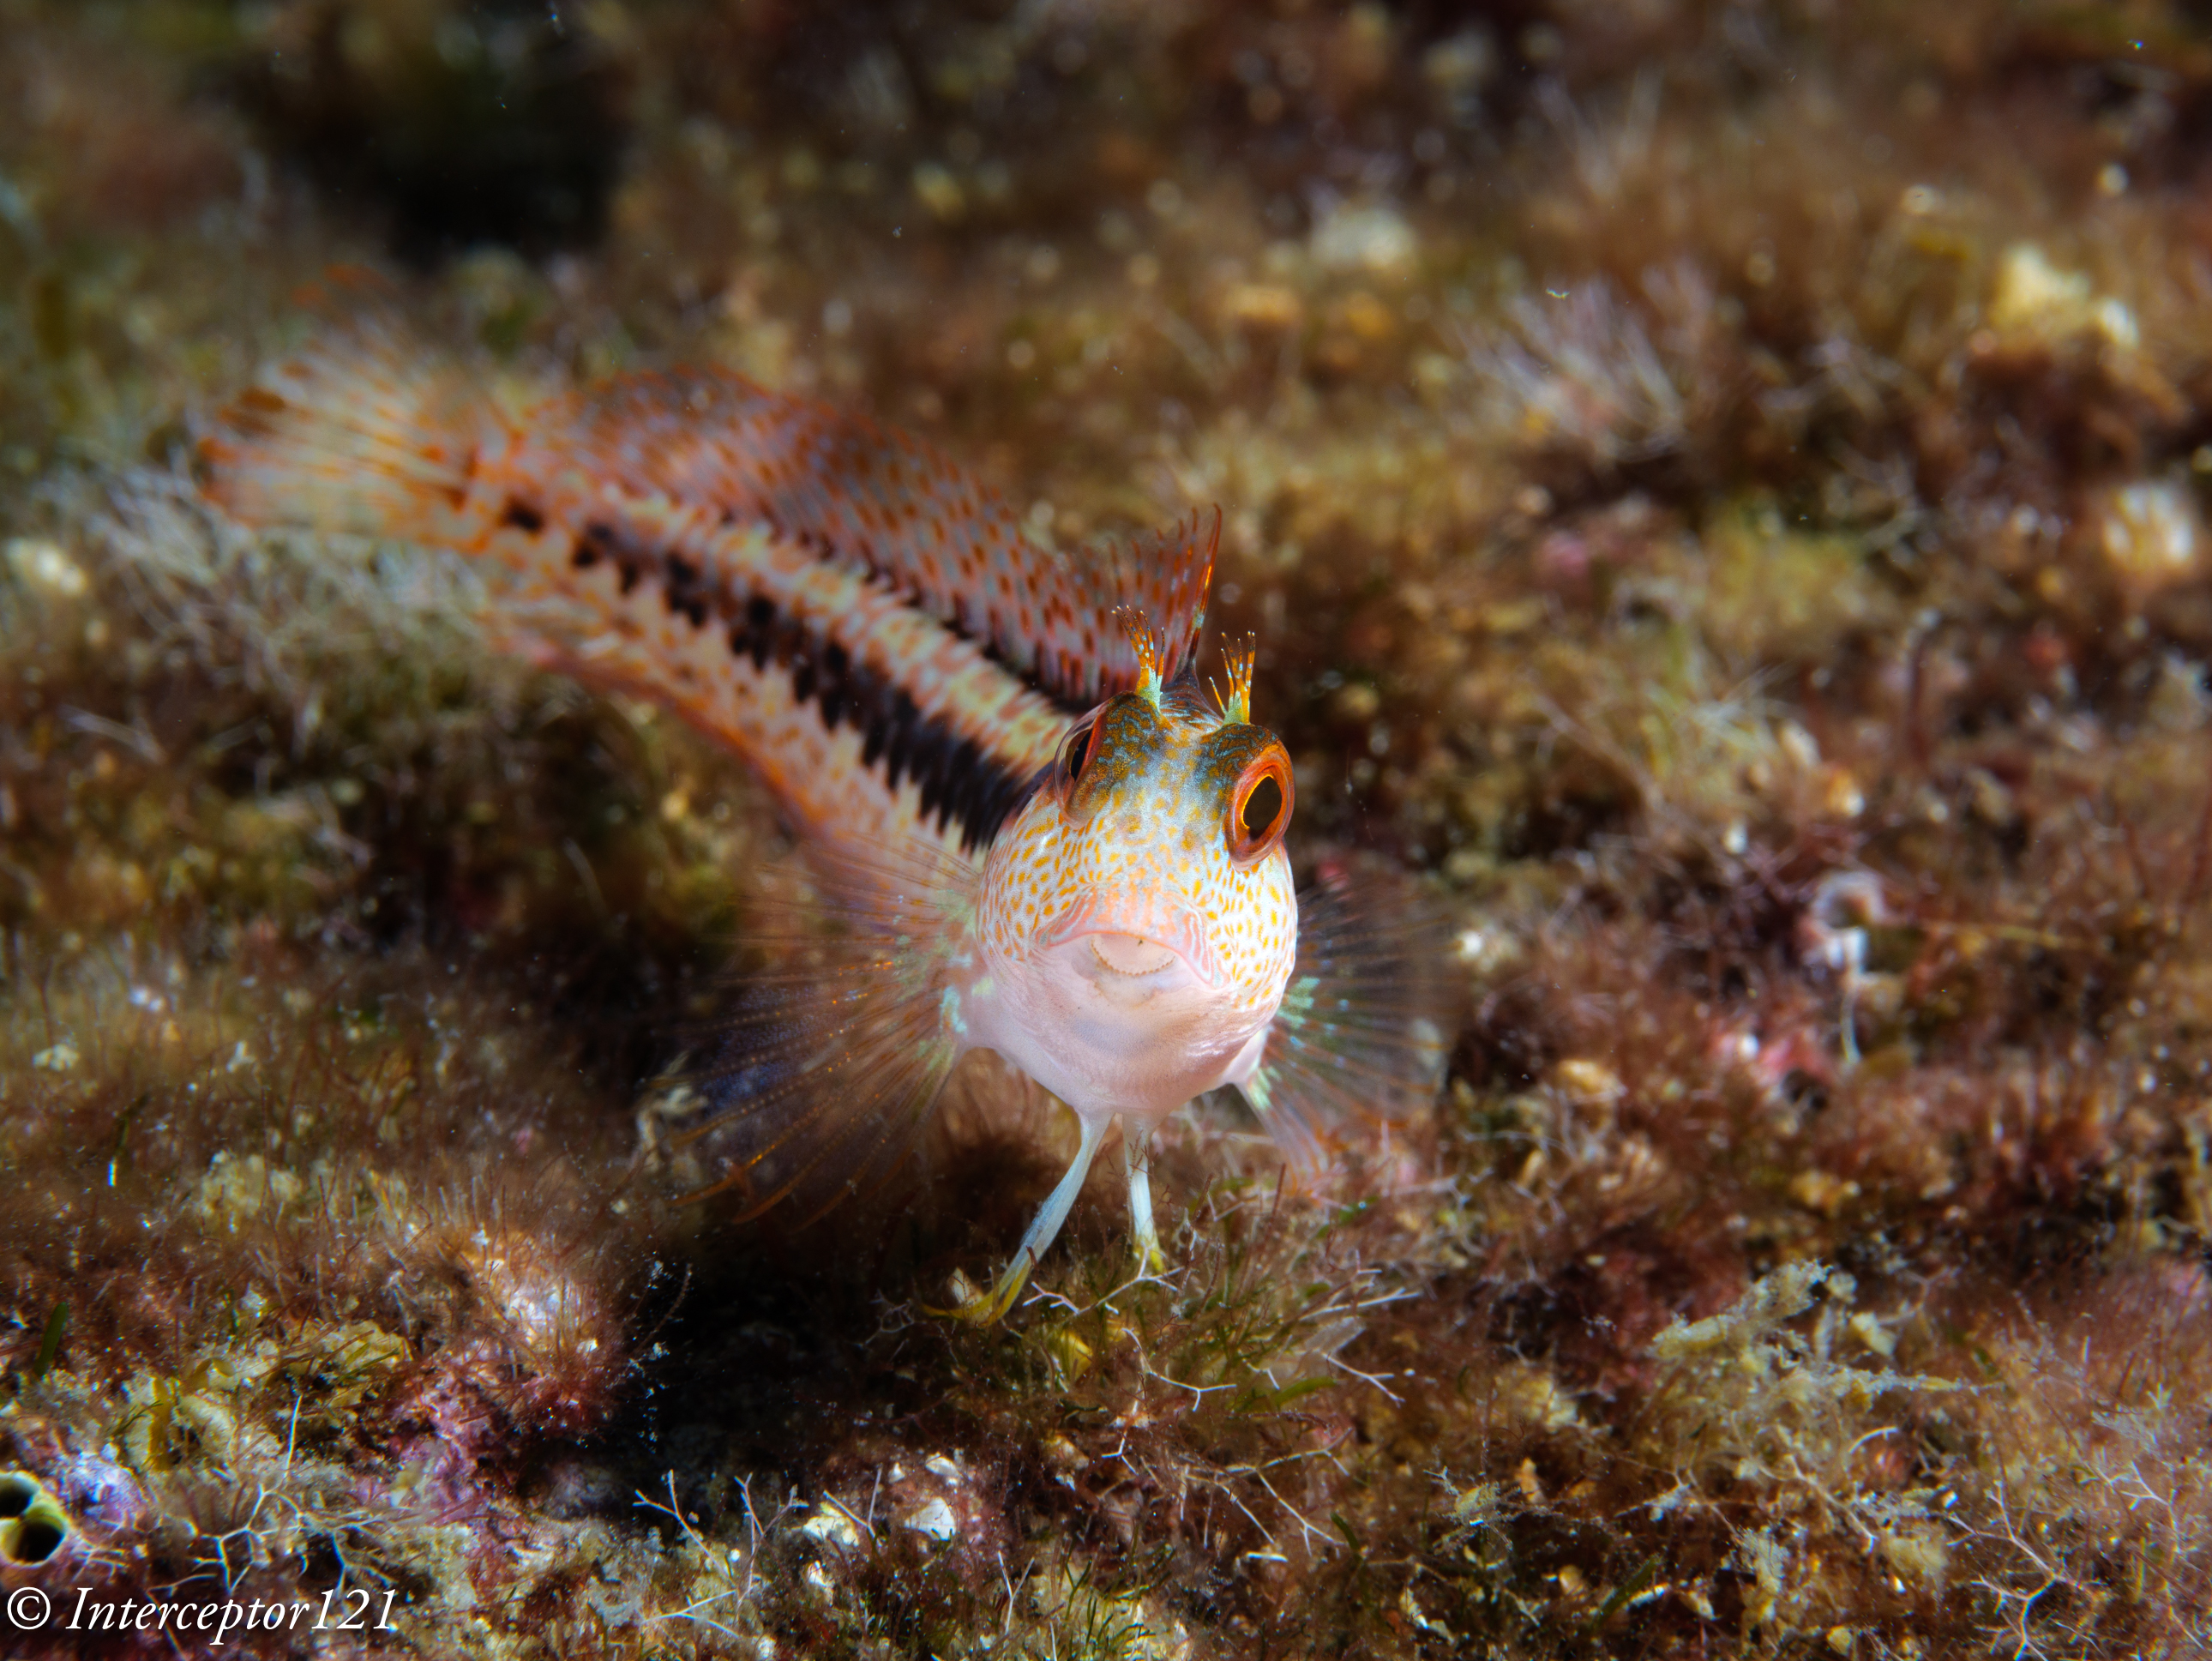
In the title image you see an example of shallow depth of field on a blenny. That image is shot at f/2.8 on the GH7 which is f/5.6 on the sony FE system and the depth of field is extremely thin.
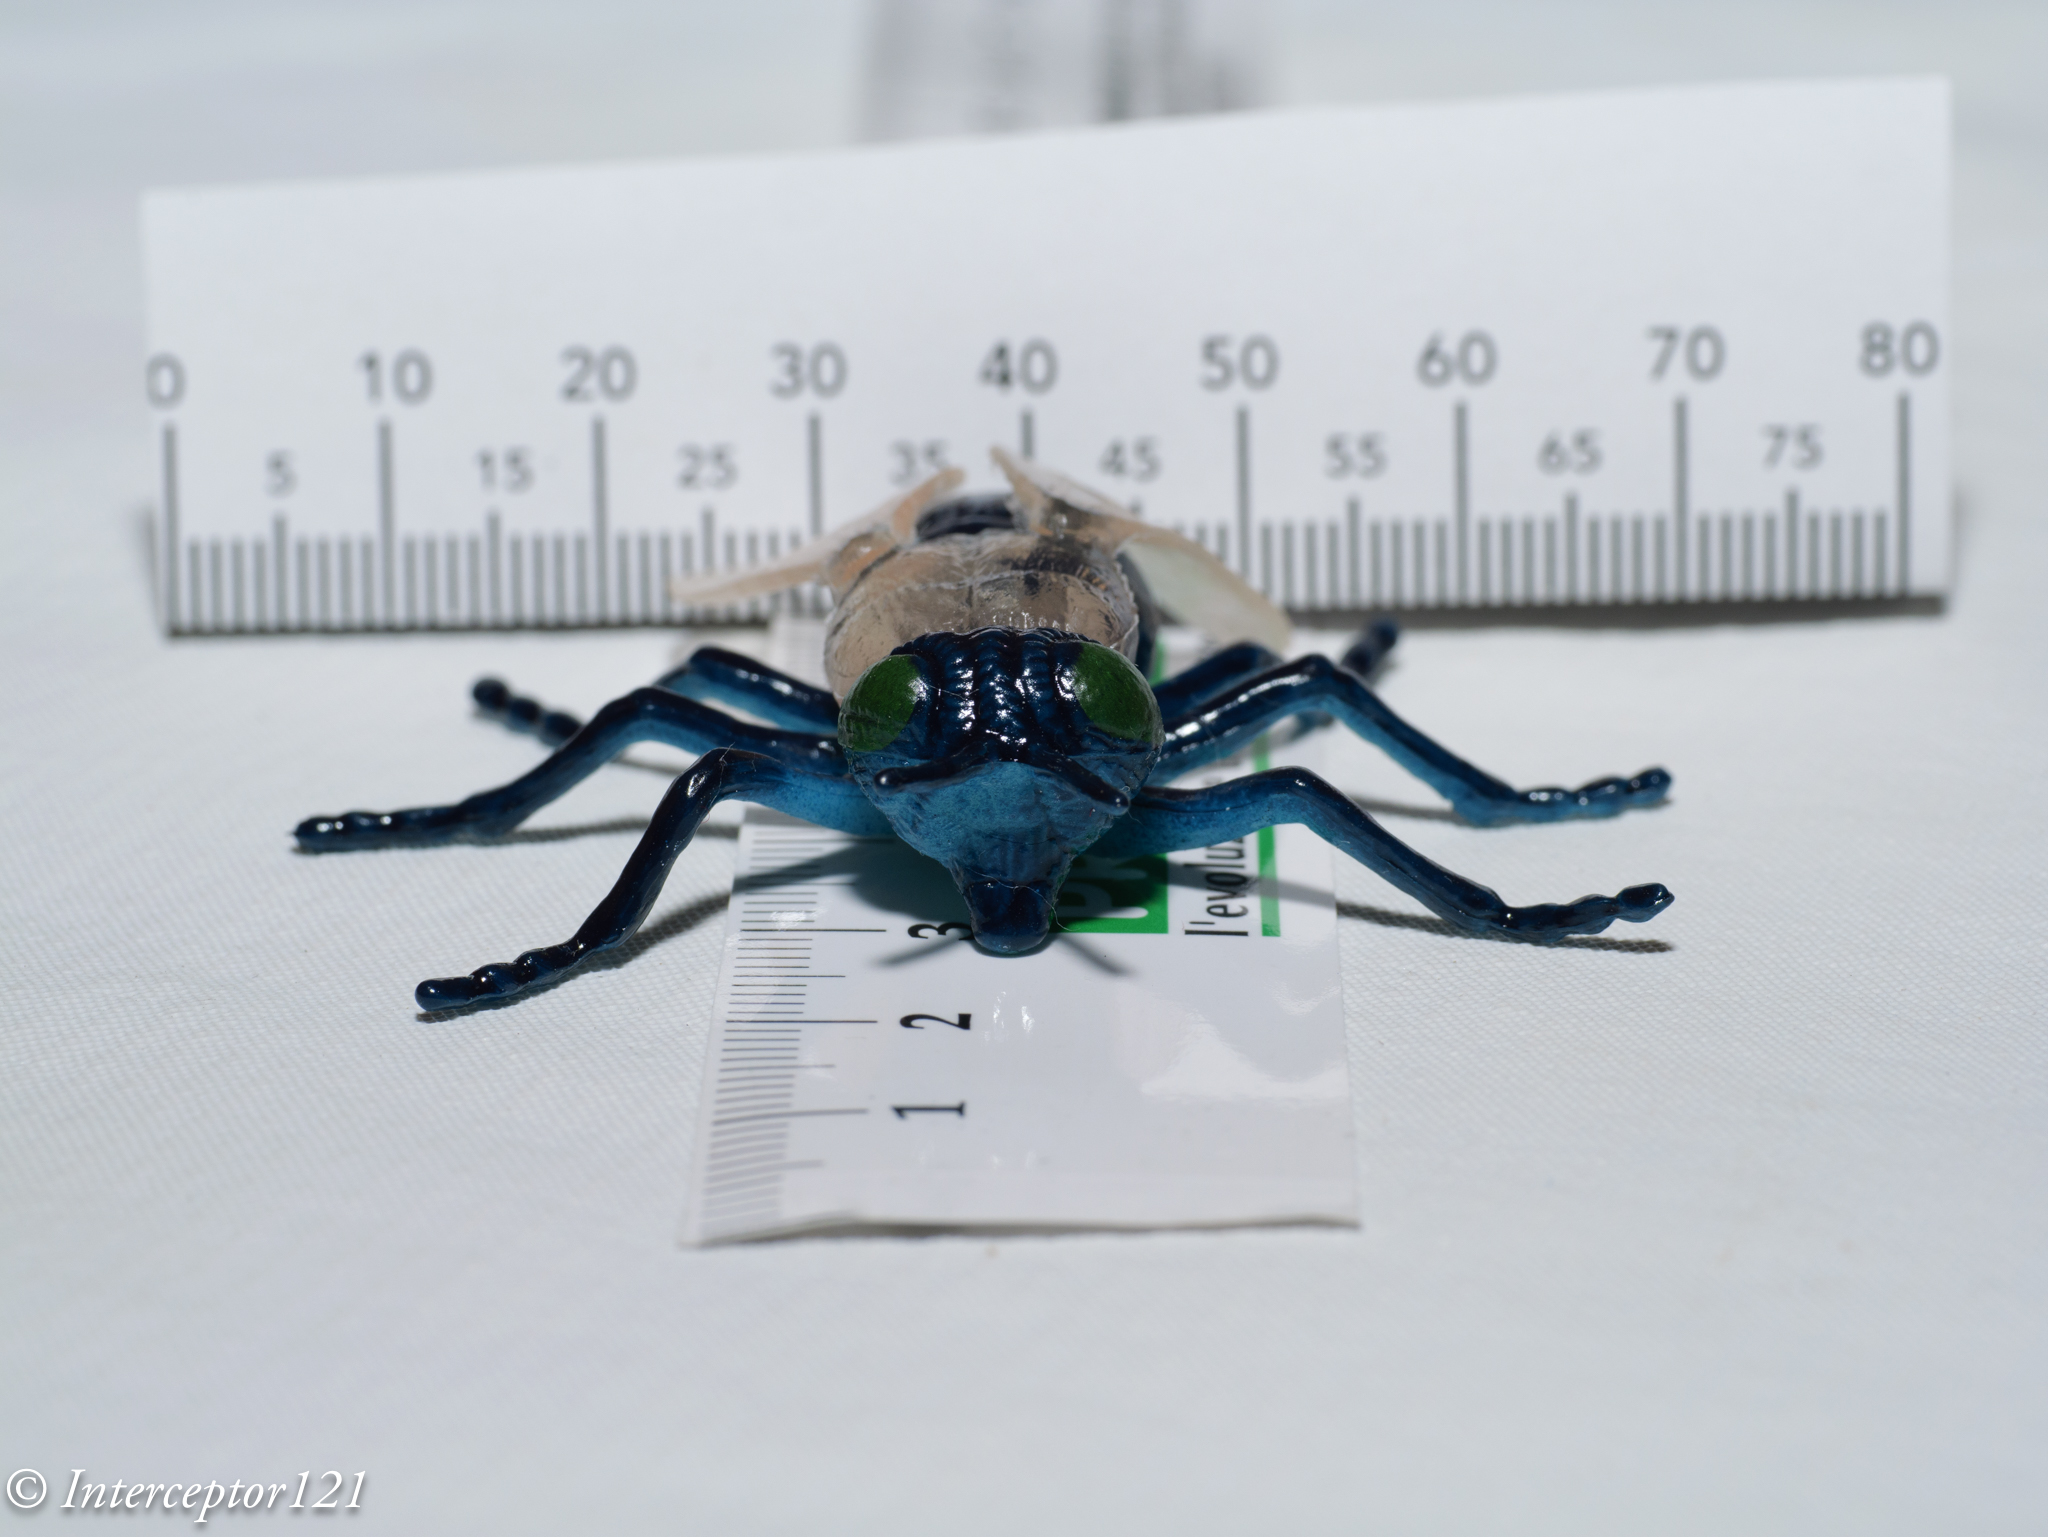
I have taken some test shots using a ruler here the entire series on the GH7 from f/2.8 to f/22.
The fly is 4 cm long starting from f/2.8 and focusing between the eye you can see looking at the ruler that only few mm are in focus despite the frame is around 9cm so no even macro.

At f/4 the lens reaches peak resolution however the depth of field is still very small we can barely read the numbers on the ruler behind the fly.

By f/5.6 we have more depth of field but not enough to focus on the front antennas.

At f/8 we start seeing the back of the fly but it is not all in focus.
By f/11 the whole head antenna included is in focus but not the whole bug. And here if we were on the Emount full frame the story stops.

We continue to f/16 which sees the focus arriving to the wings. This is as far as you could get with the Nikon and Canon mirrorless.
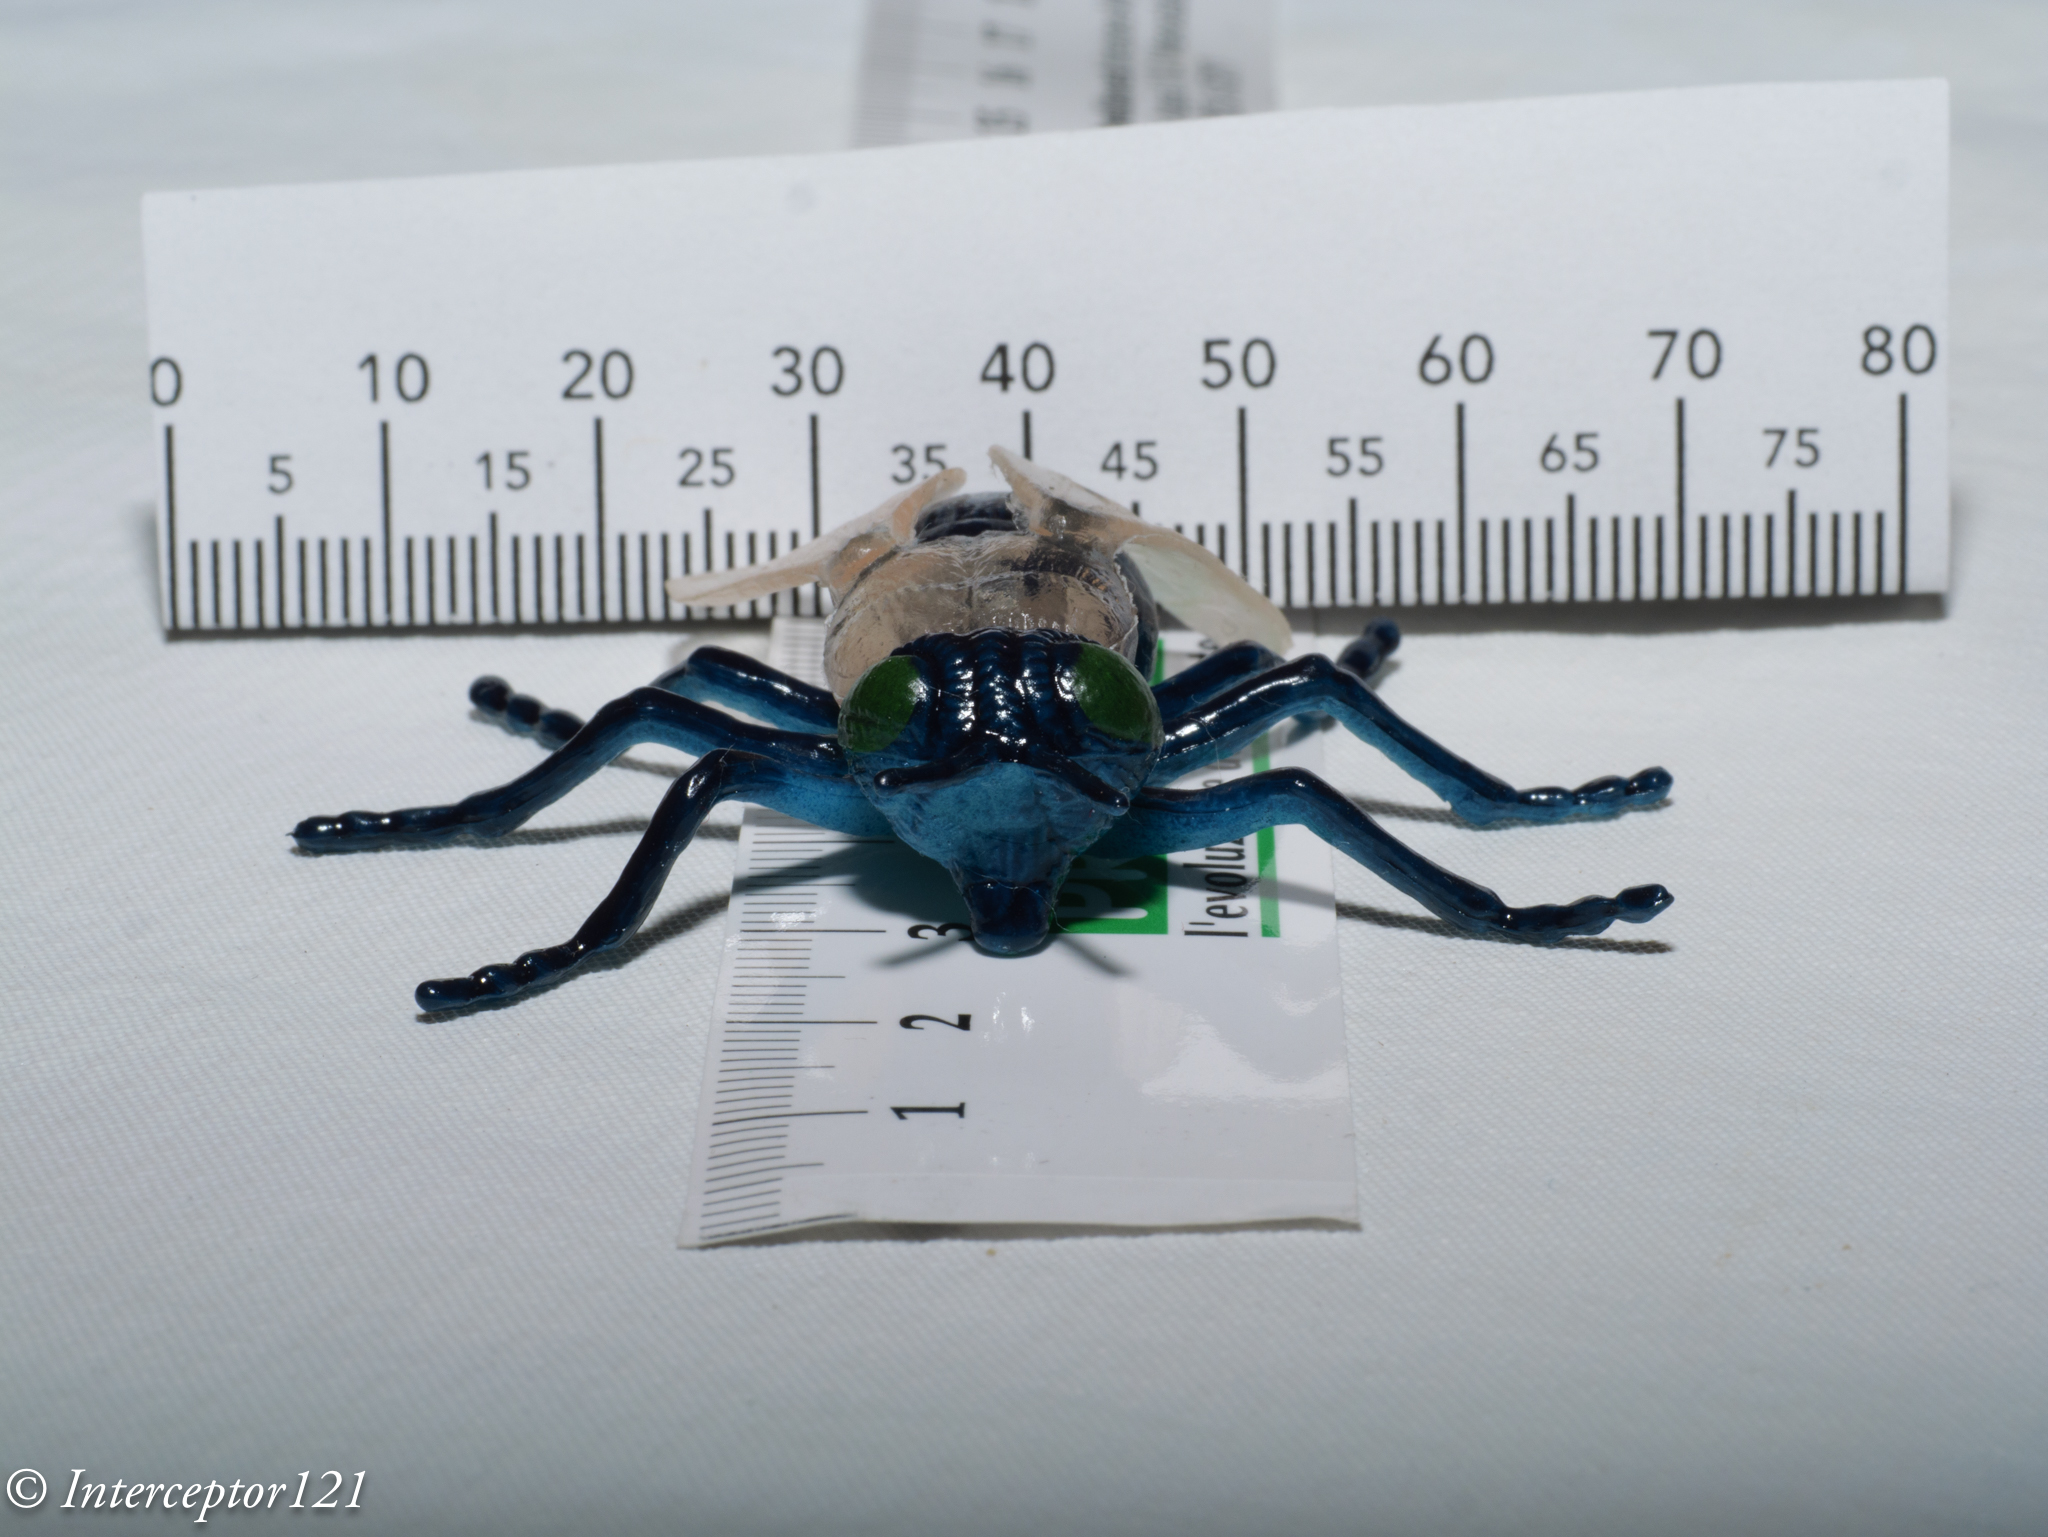
Finally we hit f/22 equivalent to f/44 on full frame and not available on mirrorless the fly is in focus front to back.

What is not apparent in this set of images is how much resolution has been lost stopping down the lens.
To give more precise indication I shot a 10 cents euro coin of the diameter of 1cm.
This image has got more magnification and is almost 1:1 on micro four thirds. At f/2.8 we have practically a bit more than 1mm depth of field.

At f/4 peak sharpness of the lens the detail is great but the depth of field is still very limited perhaps 2.5 mm.

We keep going until we hit f/8 and later f/11
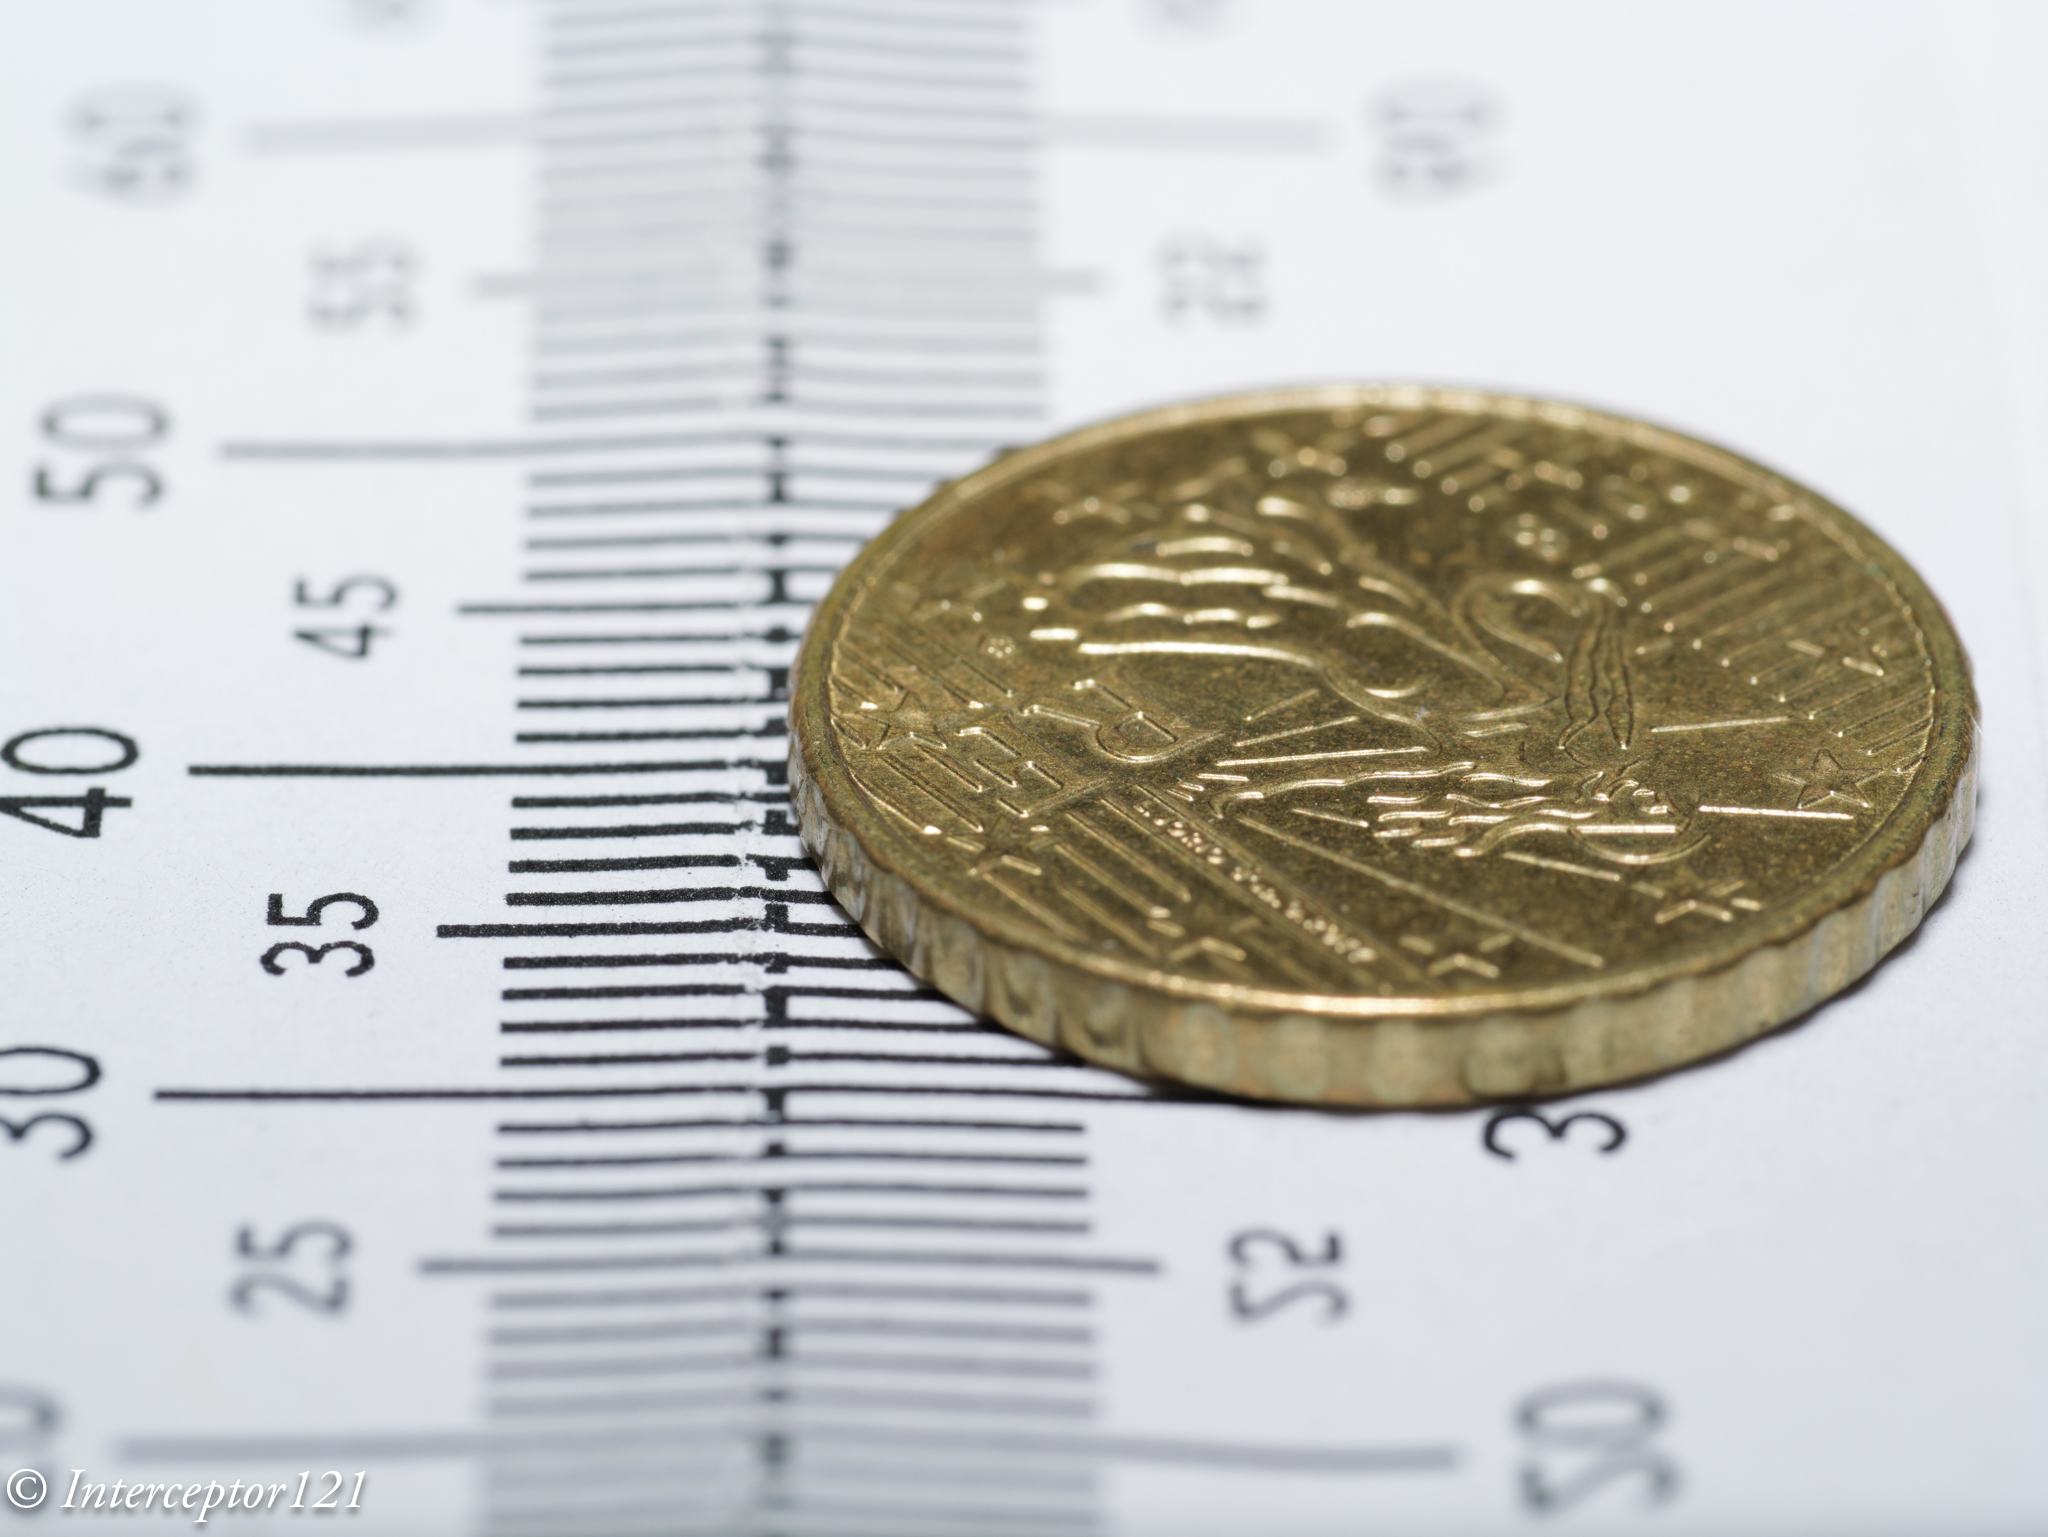

Not even at f/11 we have the whole coin in focus and we start loosing xy resolution due to diffraction.
f/16 is probably the best compromise for such high magnification image.

f/22 has the whole coin in focus however the resolution has dropped.

Yet if we need it we have our high depth of field scenario.
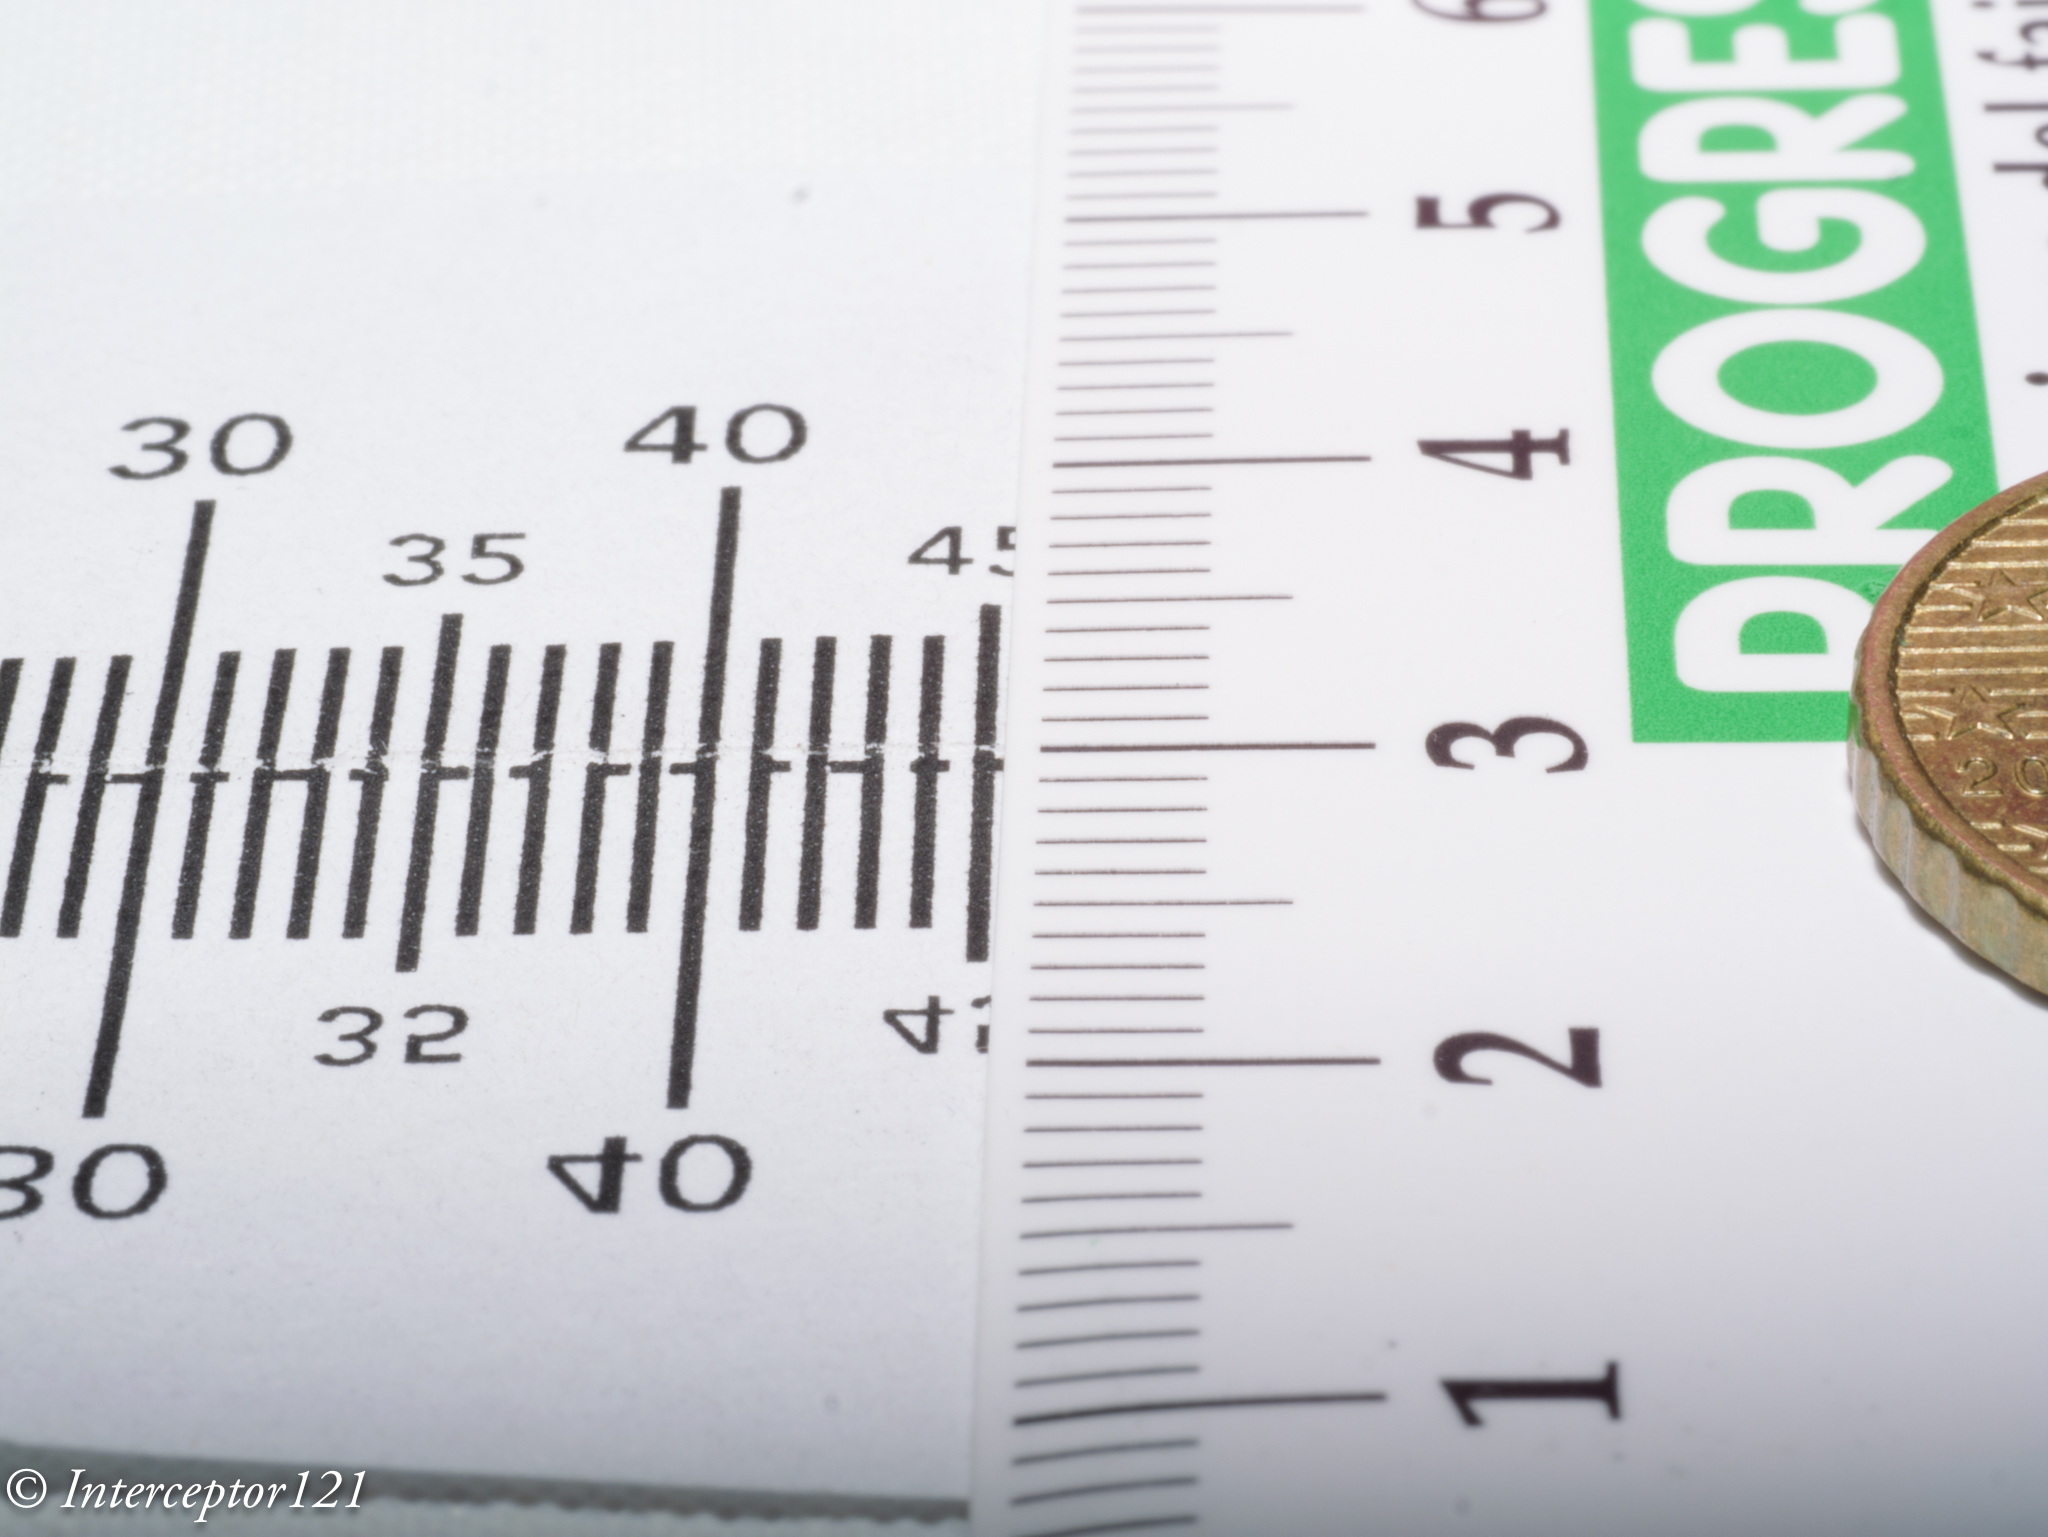
A few other examples at full frame 1:1 with frame width around 36mm.
The f/11 scenario equivalent to Sony 90mm f/22 has depth of field of around 1cm or less

By f/16 we are hitting around 2 cm.

Finally at f/22 we have 3cm depth of field more or less.
I was recently diving in Italy let me show a few examples of what this means.

This flabellina is focussed on the head however as it is turning slightly away from me part of the body is soft. You would argue the head is what matters but lets’ continue.

At f/5.6 the nudibranch is more horizontal the shot is well in focus however you can only see part of the head.

By f/8 we have it sorted consider that this is a small nudibranch not very deep laying almost on the focal plane.

This is instead paradoxically more difficult the nudi is flat on the sea bed however the body parts come into the camera so there is a risk of running out of depth of field here I stop down to f/10.
With the focus point on the back the bottom right under is not sharp!
Here other examples at f/10 where you can see the depth of field is not sufficient to cover the fish.
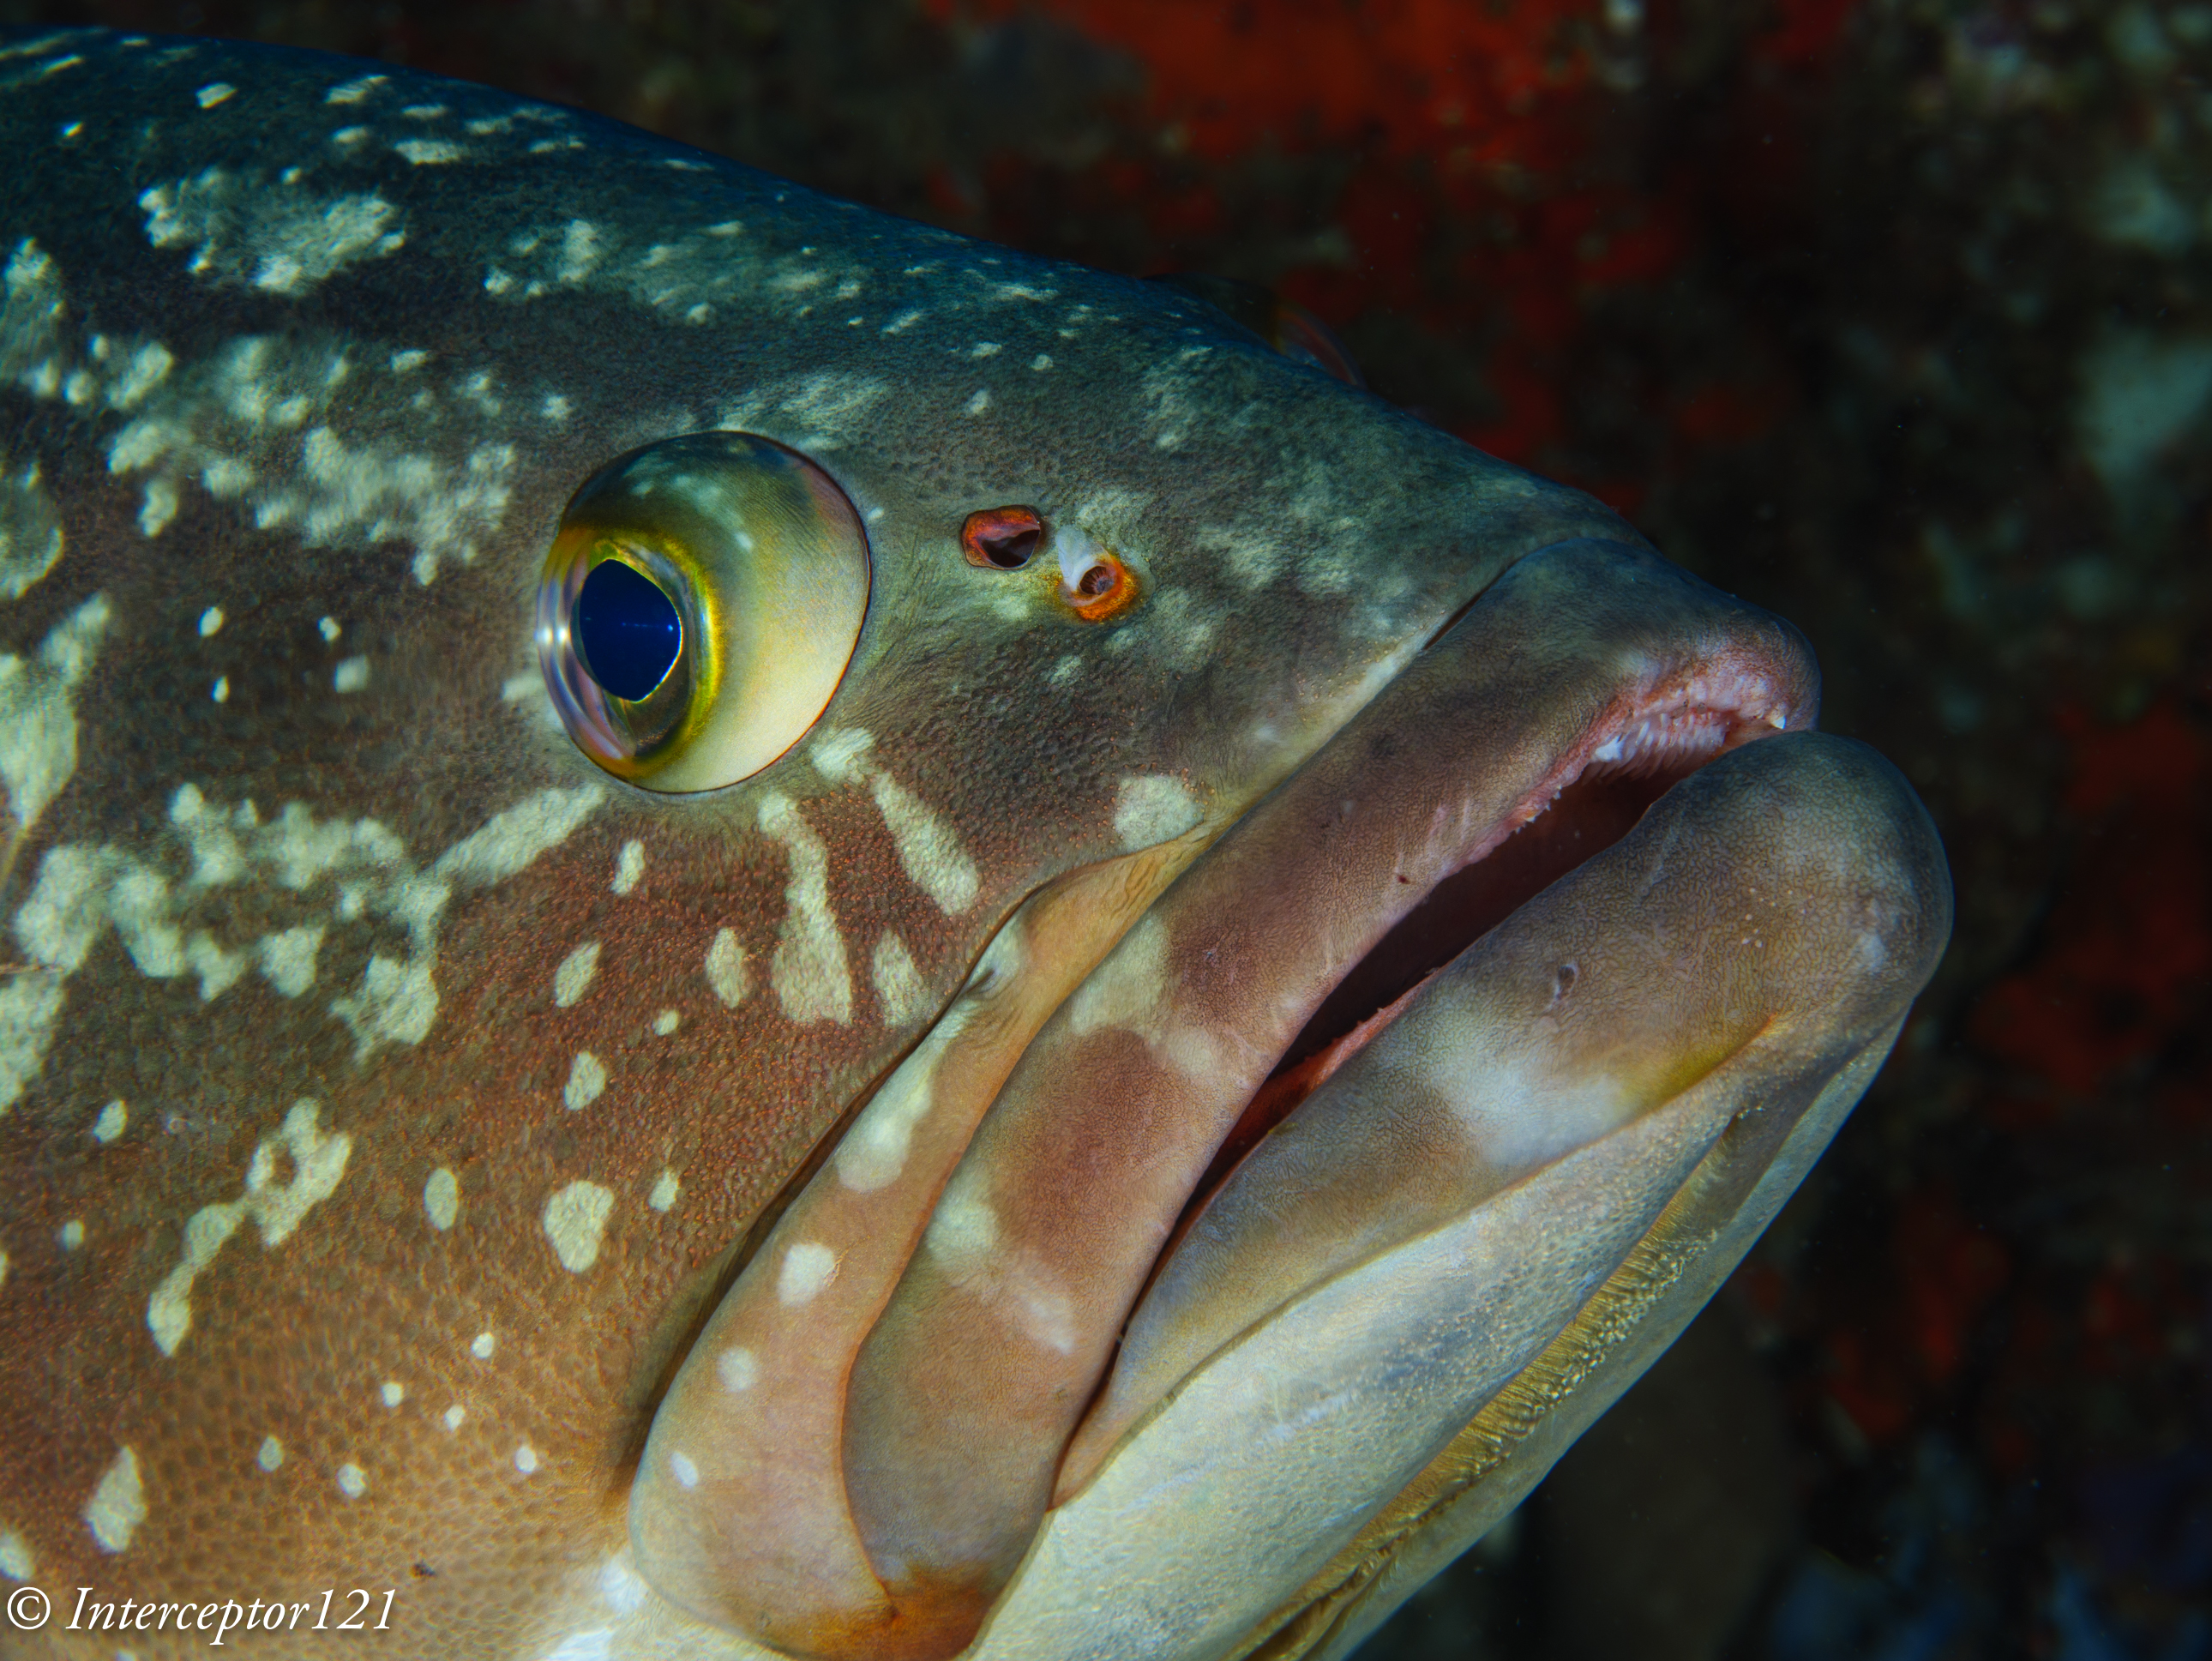
larger fish do not make necessarily things easy as in the example of this grouper.

At f/5.6 the fins are soft similar shot at f/10 improves the fins but does not cover the body.

Now you would ask why did I not go all the way to f/16 or f/22 simply because I wanted to simulate the limit of the Sony FE camera I have.
The other interesting fact is that if we look at this very old resolution chart for the Panasonic 45mm taken with a 12 megapixels Olympus E-PL1 we see that at f/11 equivalent to the f/22 of the sigma the lens hits 55 lp/mm.

This value is likely to be higher wit the GH7 that has double the pixel count indeed exceeding 60 lp/mm.
Comparing the Sigma 28 lp/mm * 24 mm frame height gives 1344 LP/PH while the Panasonic is giving 1560 LP/PH. Which means the smaller sensor seems to resist better to stopping down making it more suitable to high depth of field photography and one of the reasons why I acquired a GH7.
The problem historically with Micro Four Thirds was that autofocus even in the Olympus implementation was far behind and the camera could not track subjects. This is to an extent still true however the GH7 and OM-1 have powerful subject detection. The GH7 in particular can detect fish bodies and eyes.
In my last shots the camera would focus right on the eye on slow moving subjects. Fast moving subjects at high magnification were a few mm off but overall easy to compensate with the extra depth of field.
Conclusion
We are a times, me included, obsessed by resolution charts and pixel count and forget that images have depth. A good image needs to be tridimensional and depth of field is essential to achieve it in some cases even more important than absolute spatial resolution on the focal plane.
Micro Four Thirds cameras were historically lagging on autofocus due to weak tracking and this is to an extent still true, although the camera tracked fine my swaying in the water, however subject detection able to recognise fish means that the gap is essentially closed and overall you can produce a significant amount of good images without risk of blurred shots.
For information the GH7 like the GH5 syncs at 1/400 with the nauticam trigger and for wide angle rear sync is supported which gives another advantage to this micro four thirds camera over other formats, only the Sony A1 syncs that fast