Tag Archives: strobes

CREATIVE strobe filters for wide angle

When people think about creating lighting technique for underwater photography a few things come to mind and usually it is about tools. Snoots for example have become very popular and help the underwater photographer to increase separation of the subject from the background. I have seen some people jumping in the water with a black slate to create an artificial black background, clearly is much easier to do that for macro as everything is at end and typically the subjects are not fast moving or the diver is not fast moving.

Then of course there is strobe positioning, classic, inward, crossed, rabbit ears, backlighting etcetera here goes a long list of options.

At the end however some pictures just seem to “pop” more than others, and this usually has to do with the colours and the contrast and with the blue.

It is not a coincidence that the term Mustard Blue is what has made some shots from Alex Mustard re-known and if you read his underwater photography masterclass there is a whole section ‘The sea is blue’ where Dr. Mustard goes on about the importance of exposure and background blue.

His suggestions are to:

  1. Dial in an underexposure (for the water) around -2/3 to -1 1/3 Ev
  2. Using warm strobes

It is worth stressing out that the primary reason why the camera gets fooled by the conditions underwater is because colours gets absorbed and blue lights gets scattered instead creating that milky glare at times when the water has lots of suspended particles.

If shoot an auto mode with exposure compensation at zero your pictures will for most part come out washed out and lacking contrast underwater and this is one the primary reasons photographer like Dr Mustard do not follow the expose to the right rules.

Underexposure for the water is obtained by keeping the aperture and ISO constant as they are aligned to the strobes and changing the shutter speed accordingly. Obviously if you are shooting video your shutter speed is most likely fixed so you need to find alternative ways to get your blue as you want it but generally you would still underexpose probably not as much.

With regards to warm strobes this is a fairly subtle point linked to the camera auto white balance mechanism.

Most flash strobes have colour temperatures between 5500 and 6500 K and therefore are not at all particularly warm.

Inon Z240 Standard and Warm diffuser

Inon has developed warming diffusers for their Z240 range and I believe also for the most recent Z330 range. They are available in 4600K and 4900K temperature. I definitely recommend the 4600K version over the 4900K as it has a stronger effect.

So how does a warm strobe work in order to get a richer blue?

Table of light sources – Olympus education

When we shoot with strobes the camera is set to auto white balance, and will average for most the subject we hit with our strobes to calculate the average colour temperature and tint.

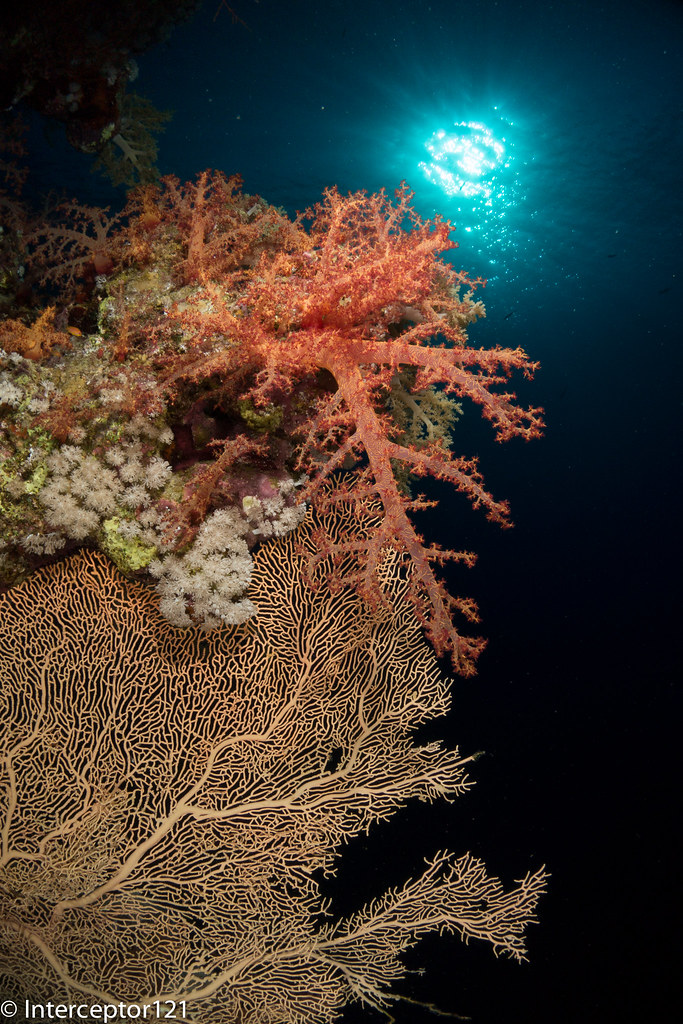
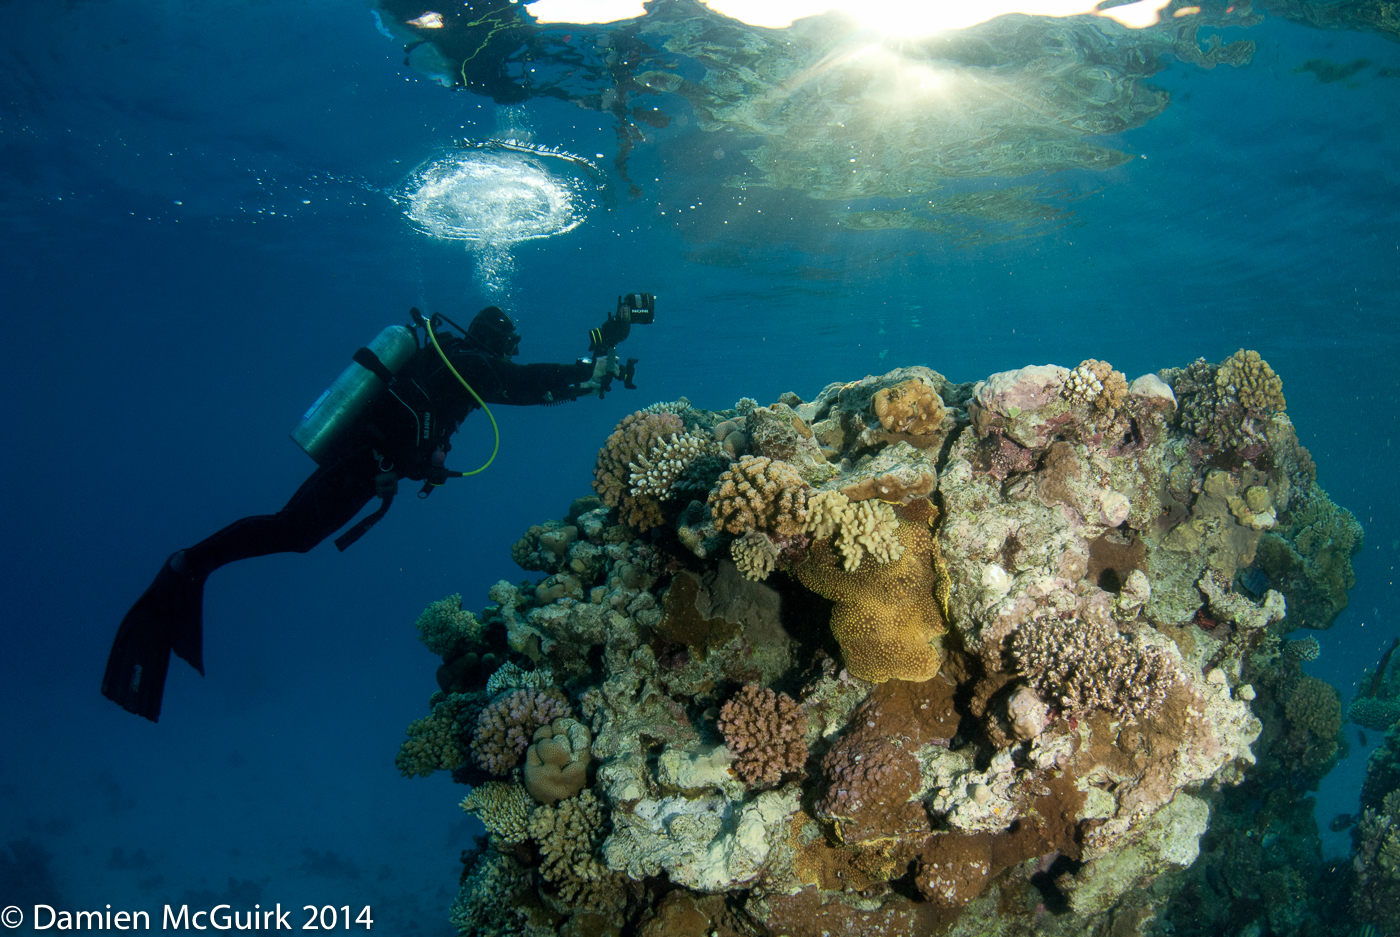
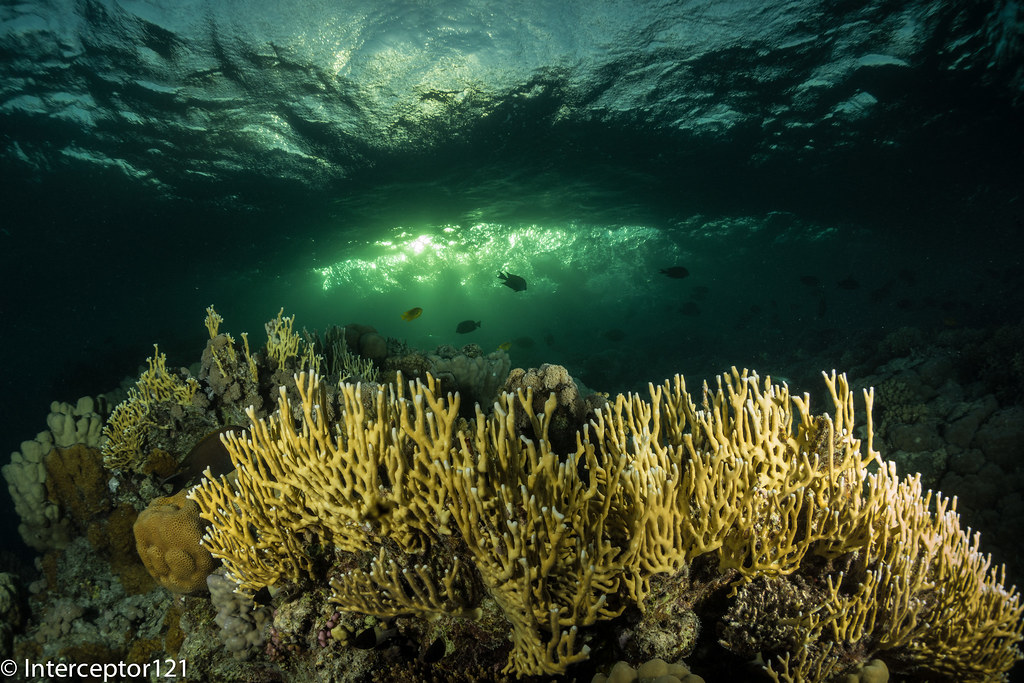
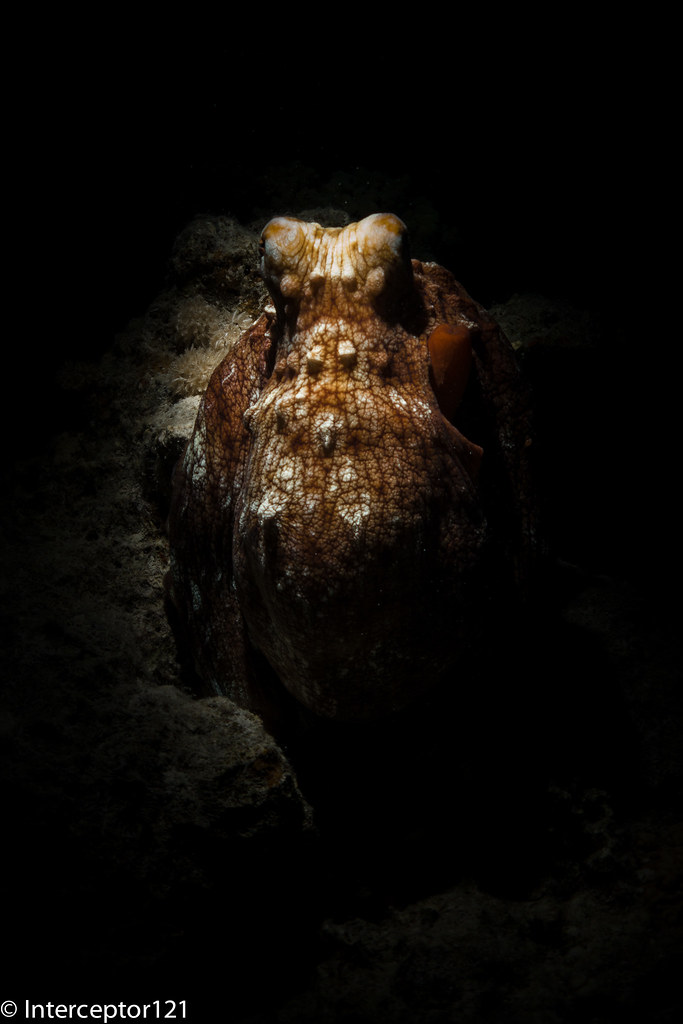
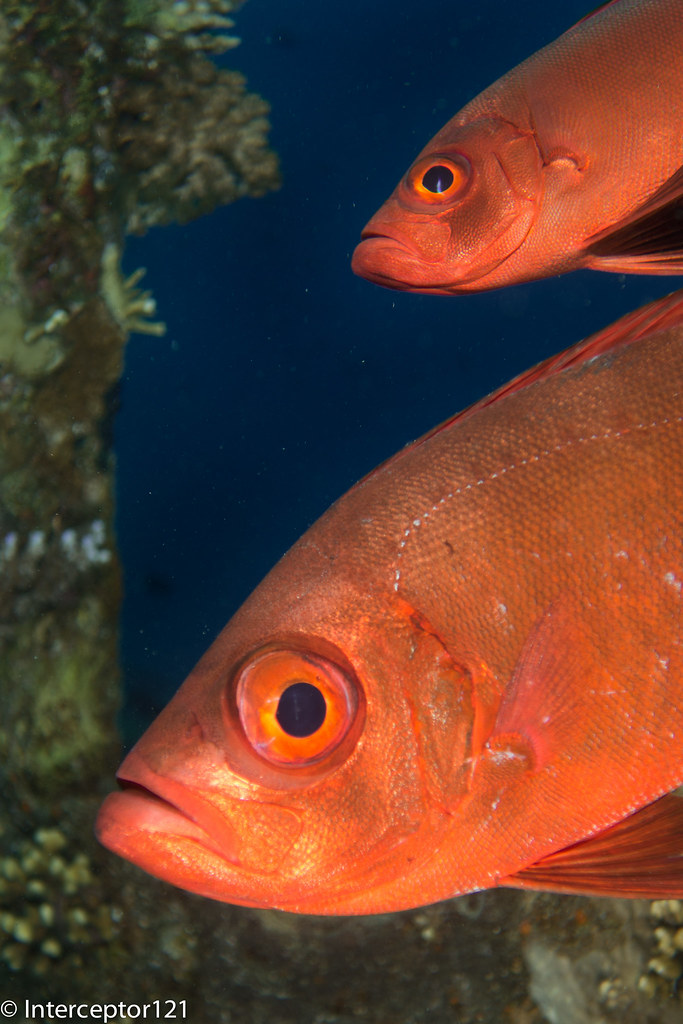
The camera auto white balance operates between 2500K and 7500K typically so a warm strobe is likely to set the colour to 4600K instead of the typical 5500K the ‘extra’ 900K do not really do anything to the subject that will anyway we white balance but give an extra kick to the blue background. Underwater colour temperature is usually higher than 9000K and easily reaches 14000K (purple tone in the water) at depth. So the warm strobes are particularly effective in shallower and clearer water as they push the blue to a darker tint like in this example taken around 12 meters.

f/8 1/125 ISO 125

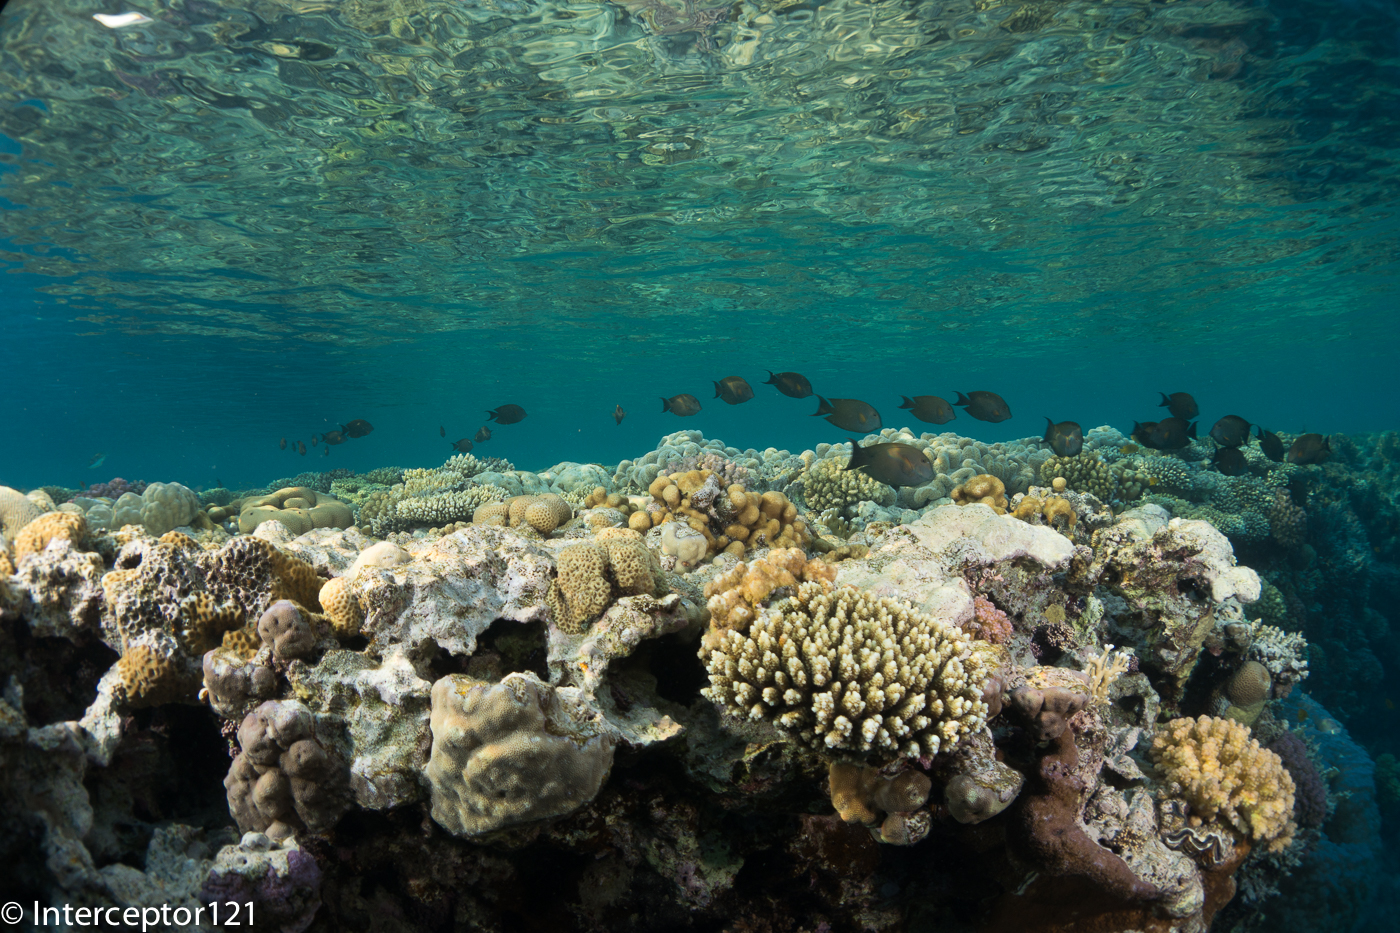
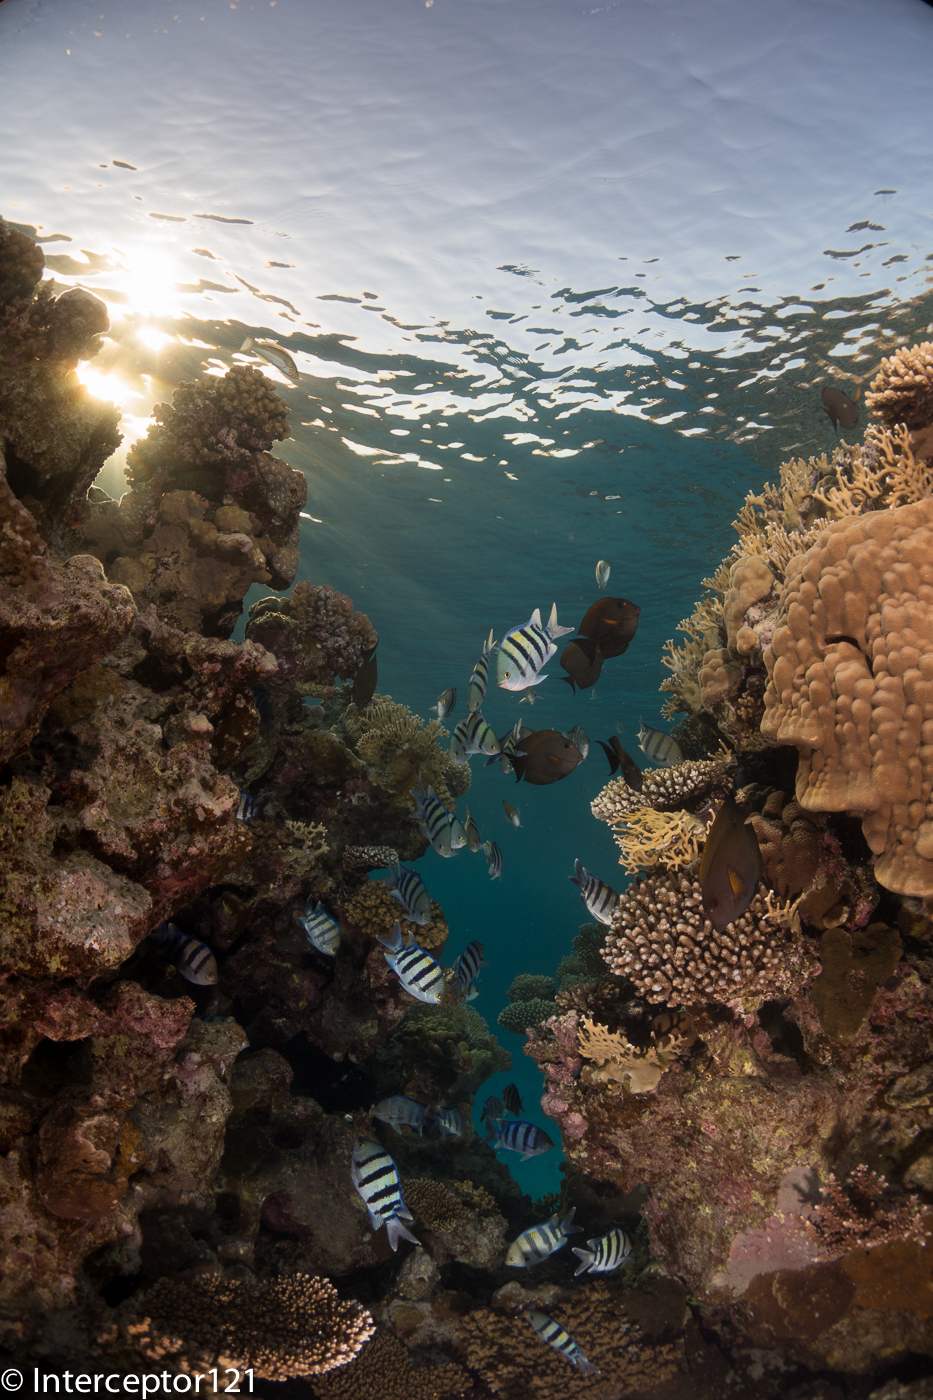
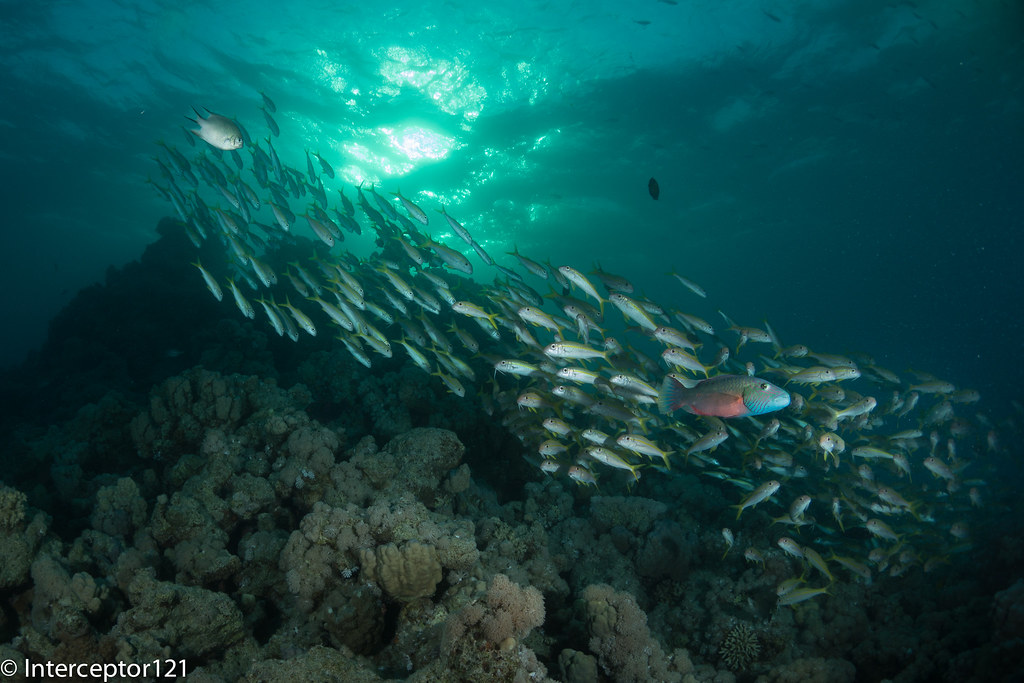
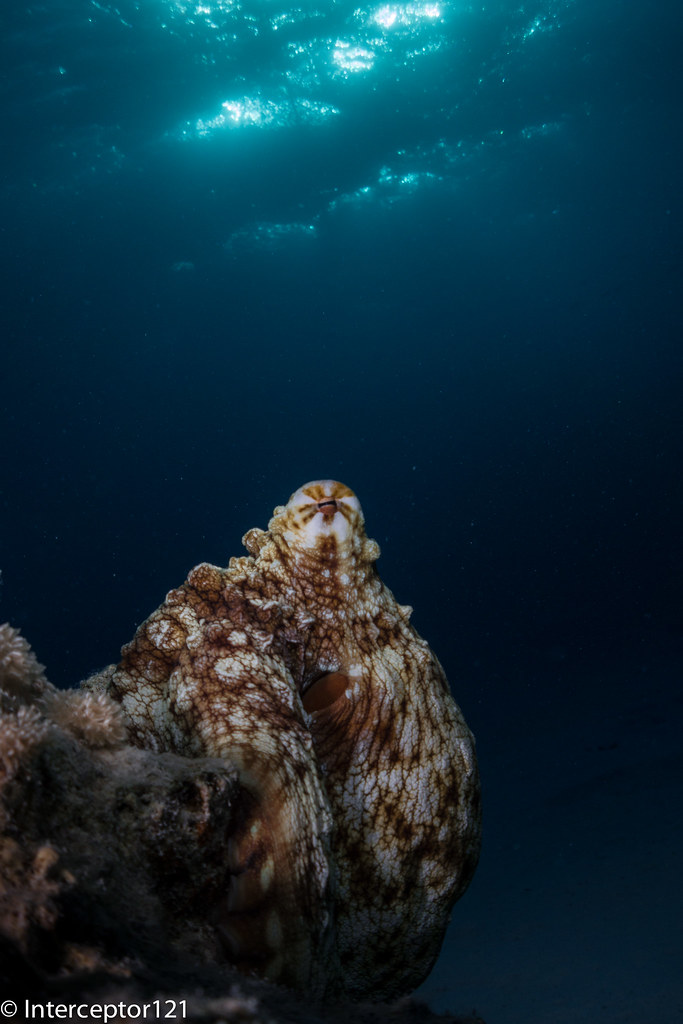
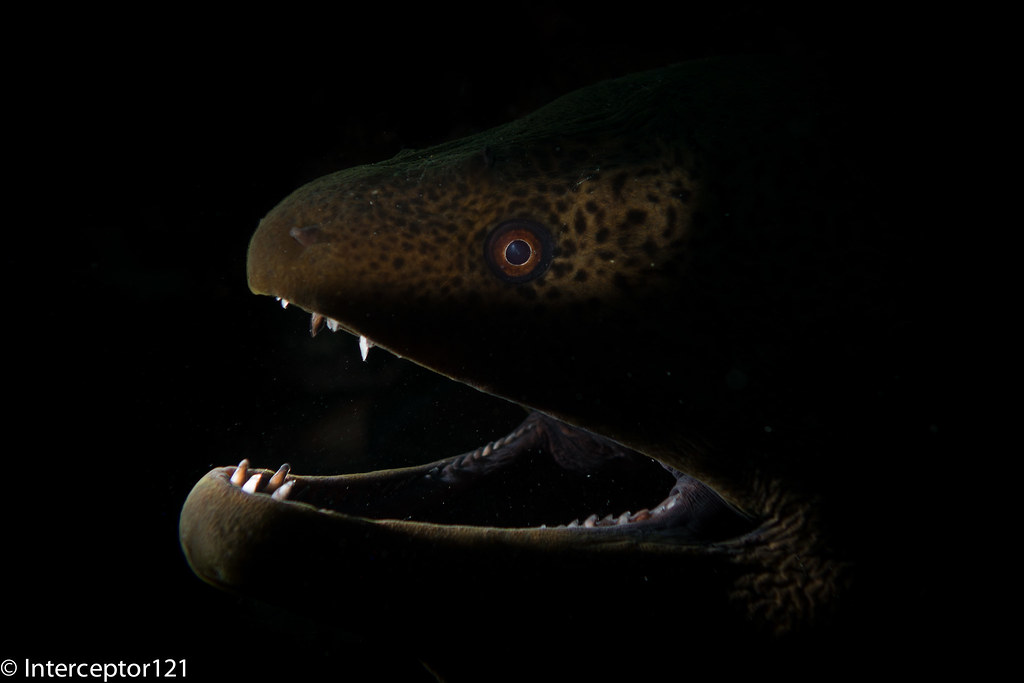
You can see how deep is the blue other example taken on the Barge at less than 10 meters.

Portrait in deep blue…

So what happens if you don’t have a warm strobe or if there aren’t warm diffusers for the strobe you have, or maybe you don’t want to spend the money for them?

Amazon comes to the rescue

If your strobe is around 5250 with diffusers (like Sea and Sea YS-D2 or Inon S2000/Z240/D200) get a 1/8 CTO

Rosco Cinegel sun 1/8 CTO, 20×24″ Color Correction Lighting Filter

You can find this filter also under Lee on colour 231, with a little amount you can get a half sheet that is enough for a few strobes.

This filter has a negligible -0.3 Ev light loss and will bring your strobe down to around 4600K .

If you have a fairly cool strobe you need a 1/4 CTO

Rosco un 1/4 CTO 20X24 Amber – Rosco RS340911

If you have something different you can try a mired shift calculator here

http://www.leefilters.com/lighting/mired-shift-calculator.html

Be careful not to exceed with this technique or subject will turn too warm.

An alternative and perhaps counterintuitive approach is to use cooling filters.

In this case the strobe light will become colder to emulate the water colour and the camera will need to be set to custom white balance.

In almost all cameras except Olympus that reach 14000K colour temperatures are limited to 10000K however they can be further enhanced to reach 11000K if you have an adjustment panel like the Panasonic or Sony cameras. Pushing the adjustment to the A gives extra 1K. This technique with a bare lens has however a limitation as when the custom white balance caps the colours go completely off.

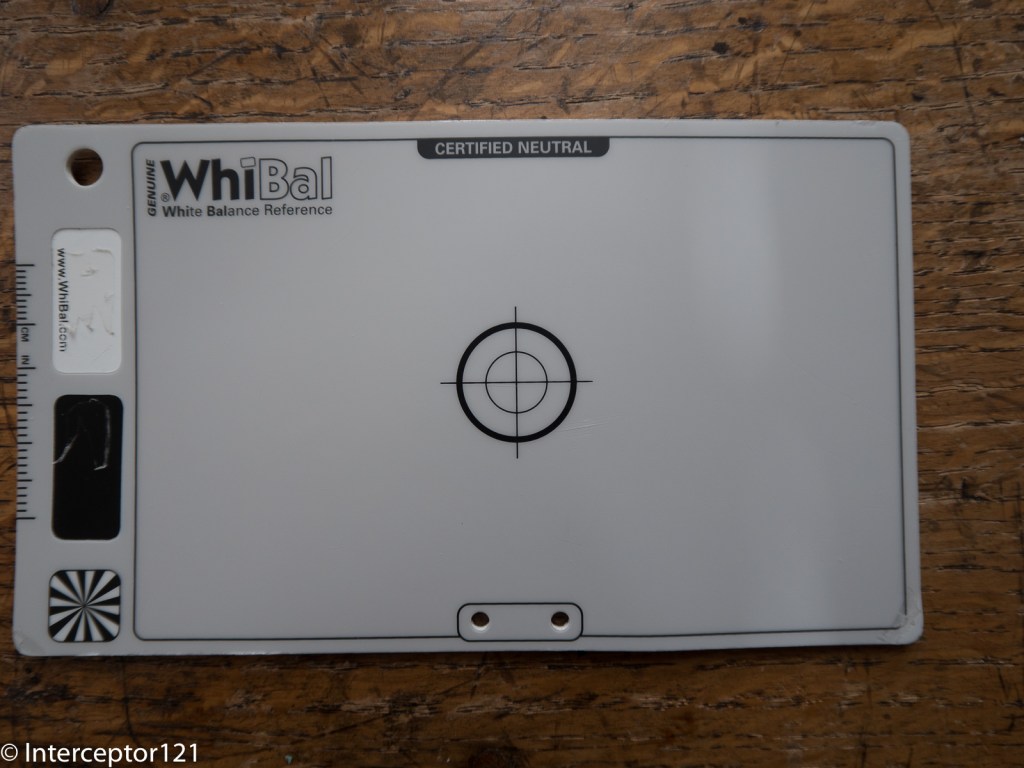
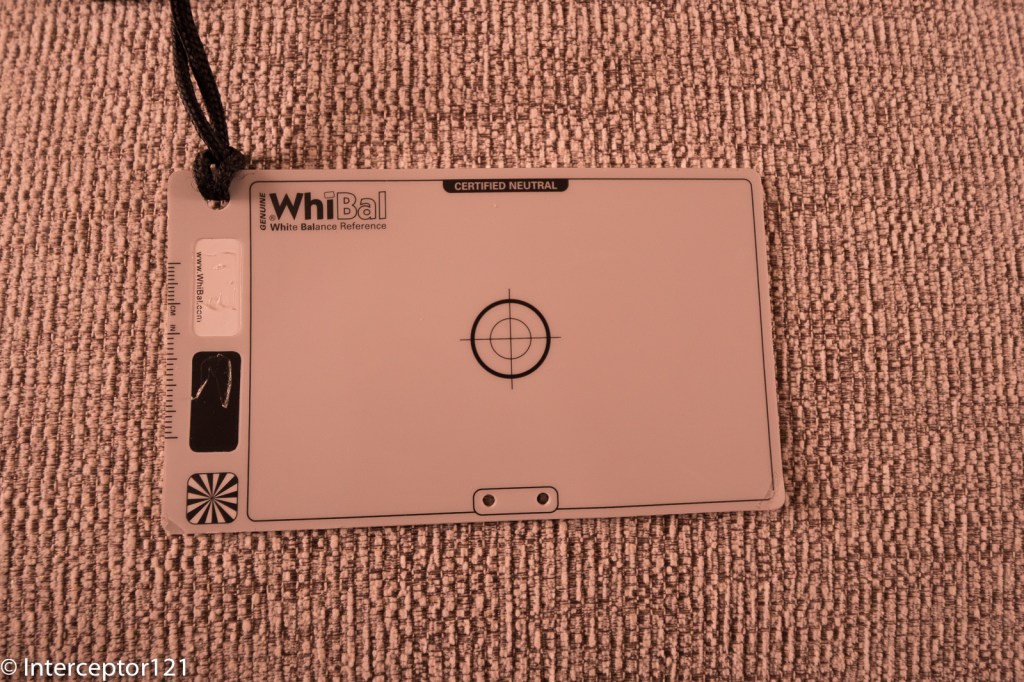
In order to see what can the colour temperature setting do we can compare a normal grey card shot with one where the colour temp is 11000K and magenta is pushed to the max.

Grey card bare lens
Maxed out Custom White balance on Panasonic GH5

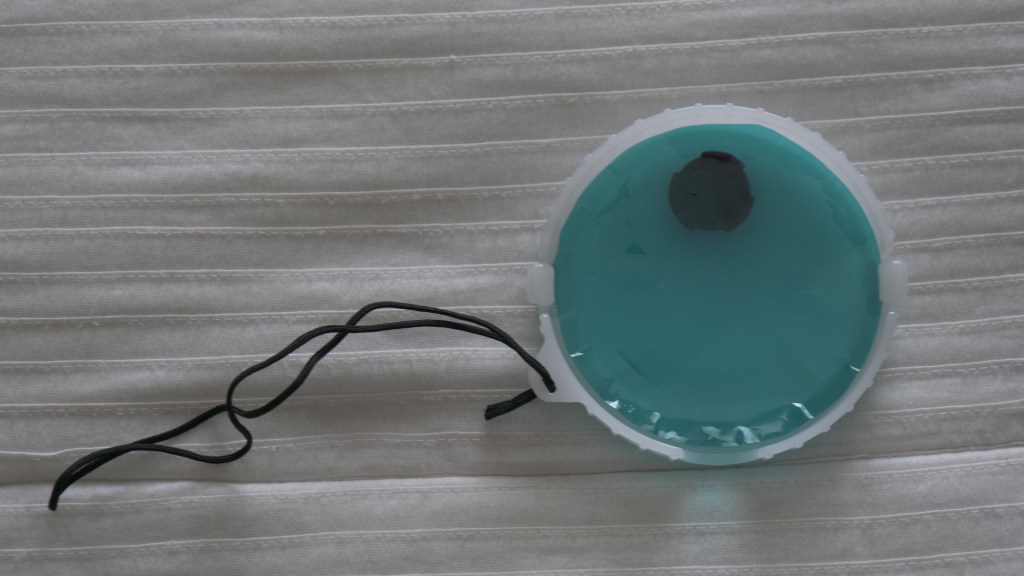
In order to cool down the strobes you need a cyan filter, the custom white balance can correct up to 2 stops Cyan but no more. You can trim a sheet of Rosco 4360 to fit into your diffuser as below. This takes around 1 stop Ev off the strobe.

Sea and Sea diffuser with a Cyan 60 gel

It important to stress that the predominant colour in blue and blue water is cyan not blue and this is what gives the washed out scattering. We want to keep the deep blues and get rid of light blue and green which ultimately is cyan the colour of water.

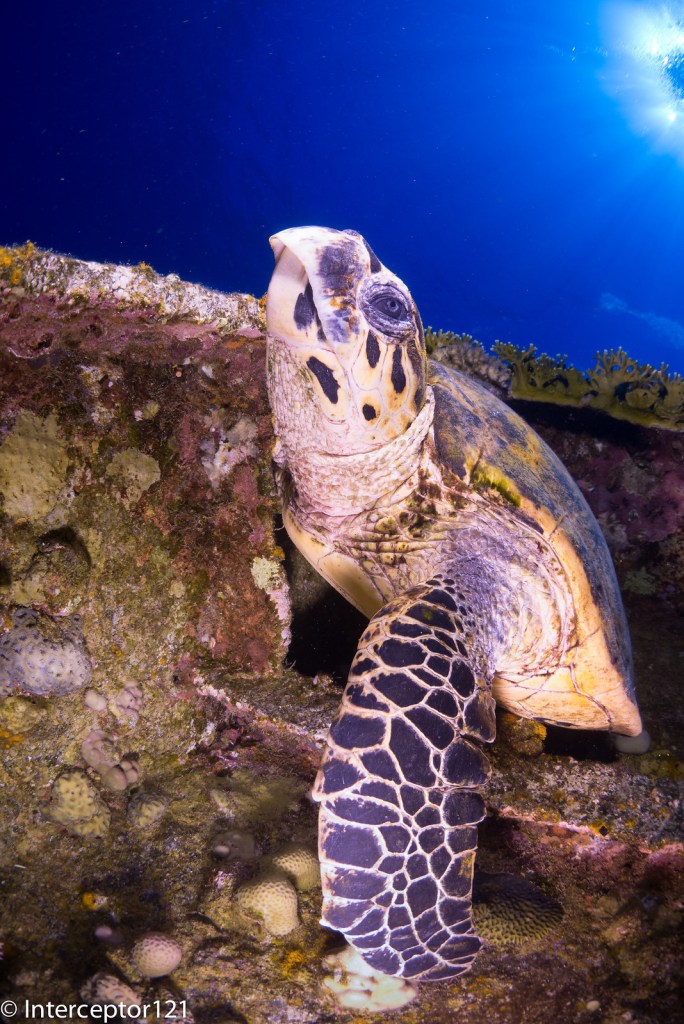
So the strobe will emulate the water and the camera custom white balance will set the colour restoring what was lost and giving us a full correct spectrum. This however only works until the water colour temperature gets to 11000K and this is not as deep as you may think it could be a low as 9-10 meters. A cyan 60 filter is approximately 9500K. You can see the colour in the image below.

Cyan 2 Stop results in Colour Temperature around 9500K

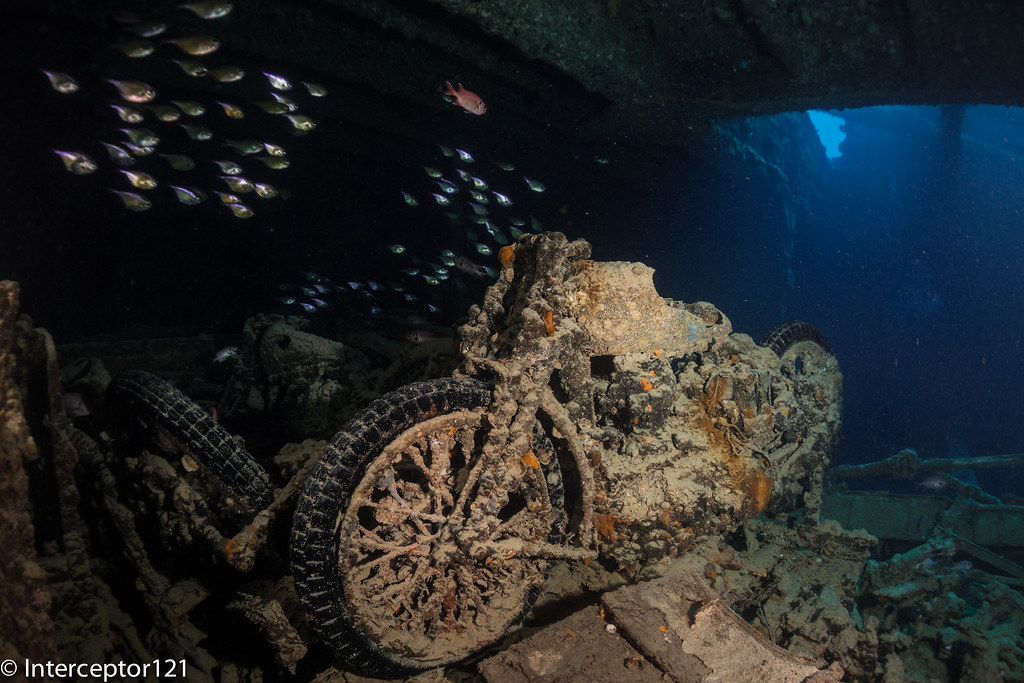
In this technique the strobe is not used to give colour but to eliminate shadows the custom white balance is going to give a deep colour that penetrates the whole frame so any subject in the distance will be colourful as well.

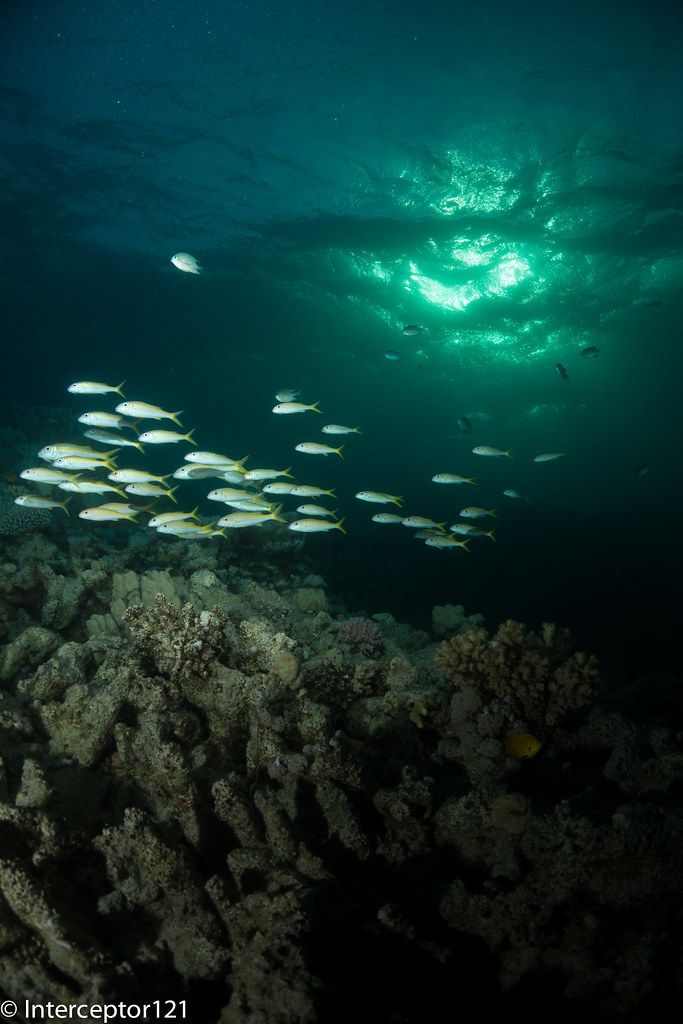
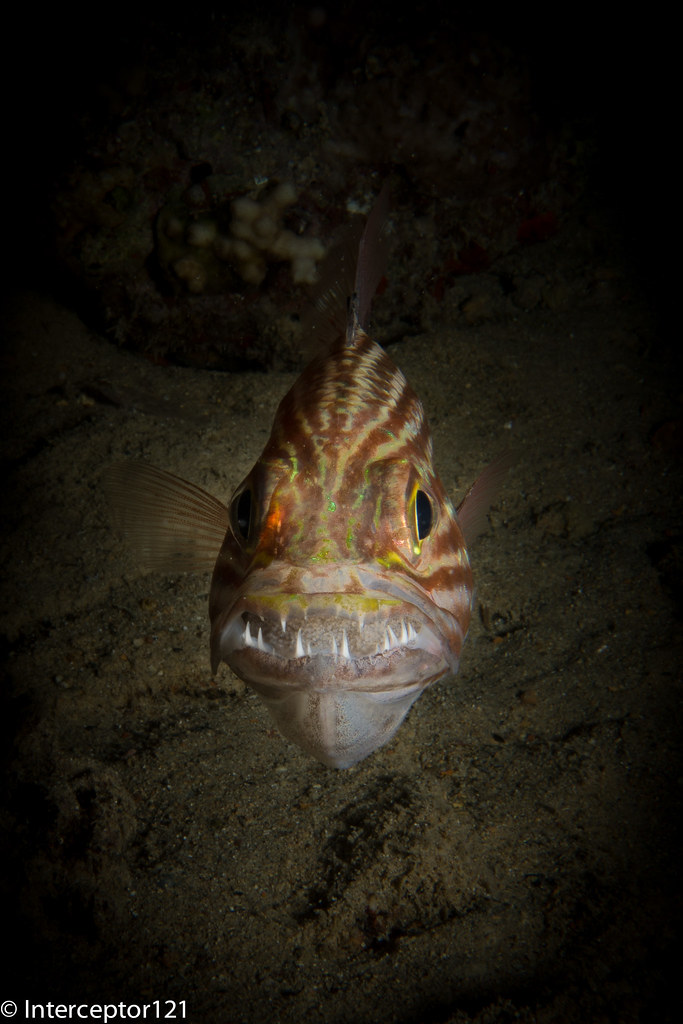
The benefit of this technique is that you may use wider apertures and even slower shutter speeds like in this 1/60 example here.

batfish formation 1/60 f/5.6 ISO 200

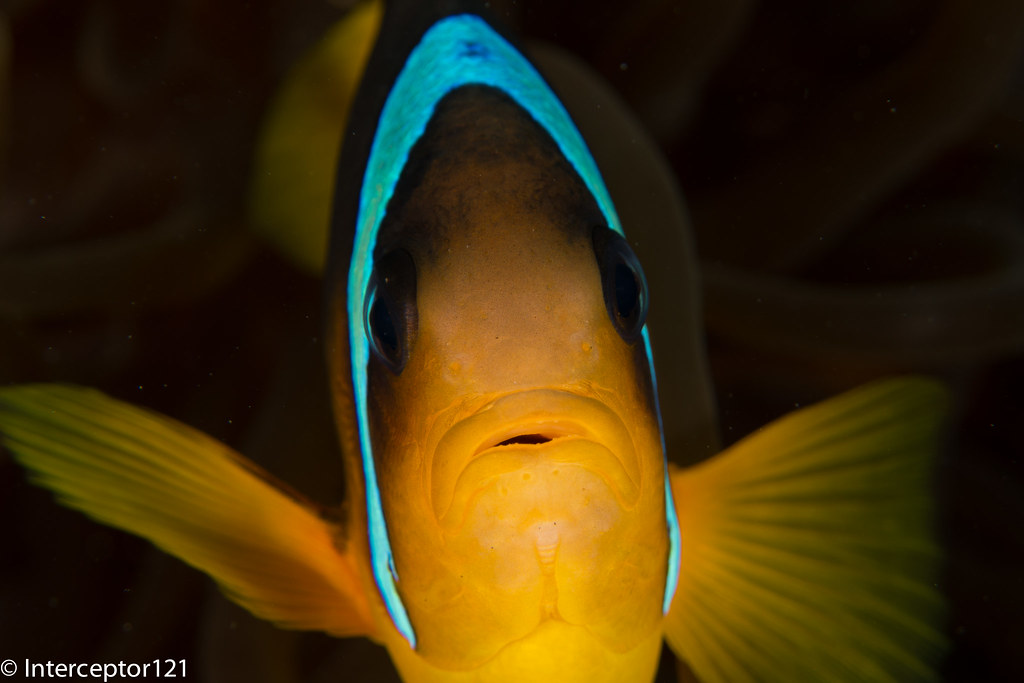
You can clearly see the orange colours of the anthias far behind in the frame.

The ultimate stretch of this technique is to combine a filter like the magic filter this can be used with both a Cyan 2 stops and also a Cyan 3 stops in deeper water. This technique is taxing on exposure as your strobes are half power and your exposure has 1 2/3 stops less however this is easily recovered as you tend to shoot at slower shutter speeds of 1/30 to 1/60 instead of 1/125 to 1/200 because the filter will give you the deeper blues.

Magic filters on WB slate

The magic filter adds around 3000K to you camera custom white balance ability reaching the 14000K where the water starts turning purple blue. To that regards due to the amount of red I do not recommend going to deep with the magic and keep it to a max of 13 meters as recommended on their website.

The magic filter is almost a perfect match for the Cyan 60 filter if you overlap them over the lens you get almost a neutral grey card the temperature is only 150K off while the tint is around 5 notches toward green in Lightroom.

Magic Filter + Cyan 60 results in almost neutral grey card

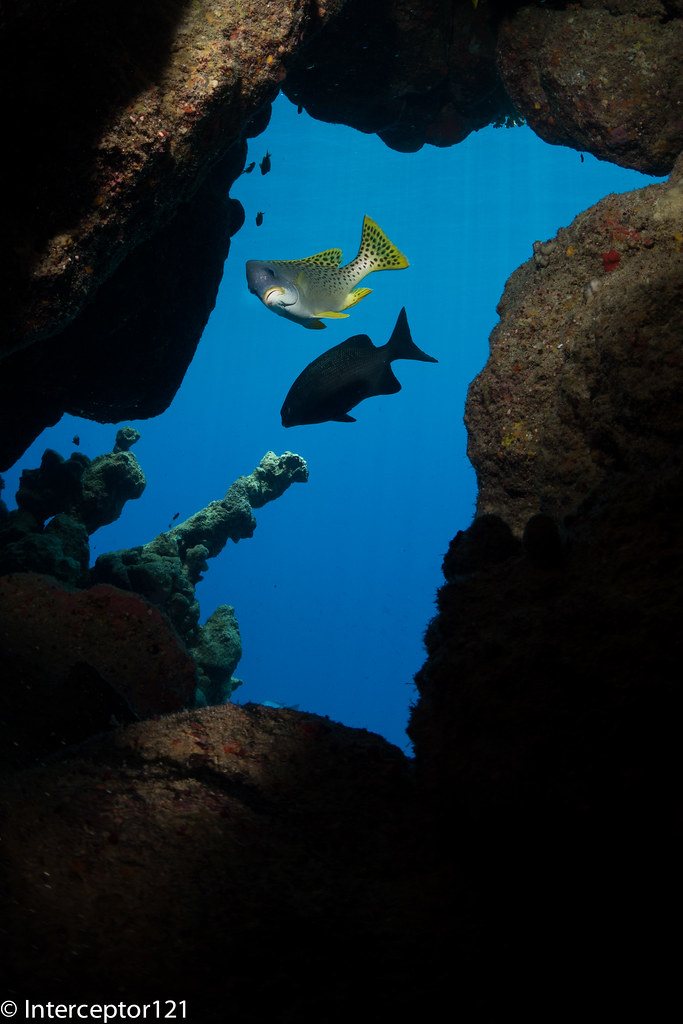
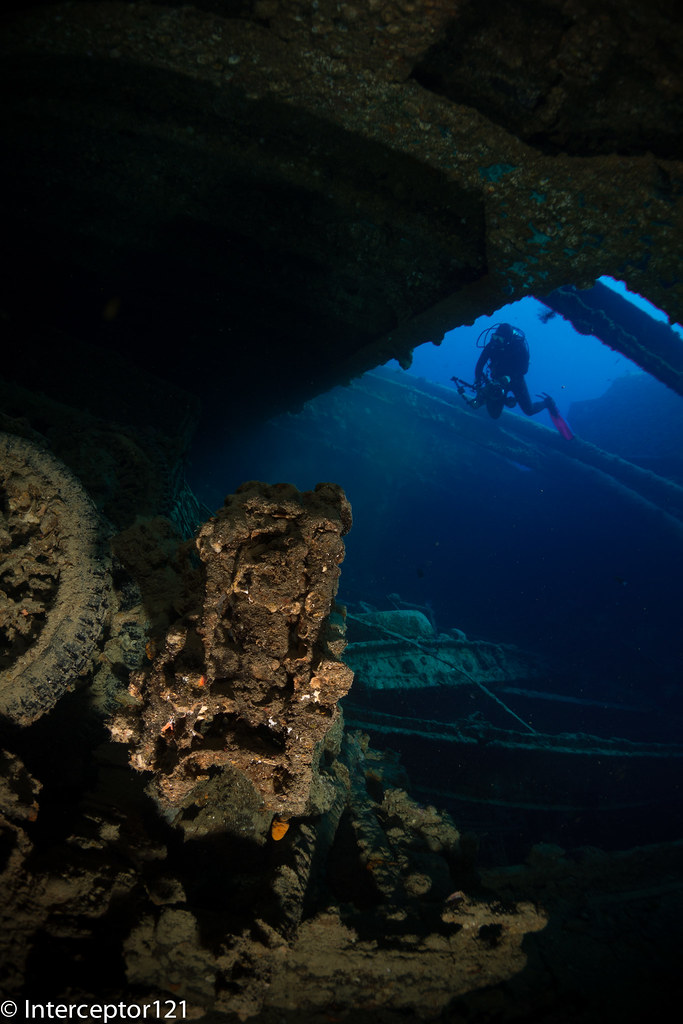
This cave shot I believe gives an idea and is taken with filter on lens and strobes.

Magic filter plus Cyan 60

I have also tried the magic filter with Cyan 90 however there are some side effect to consider. Firstly you get Cyan cast on the image at shallower depths. Second the magic filter has a tendency to turn purple below a certain depth so I recommend to use the magic with the Cyan 60 as you are certain that the foreground subject and the strobe filter will give you a neutral colour. If you are in deeper water and the temperature is above 10000K this will only result in a deeper blue and a warmer light on the subject that once RAW corrected will look just fine.

Conclusion

In this post I have tried to give you some tips on how to use gels to give deeper blue or richer colours to your wide angle. I would recommend to start with warming diffusers and then move to cyan filters and finally to magic filter and cyan filter in combination.

I will be demonstrating extensively this techniques during my 2020 Red Sea Liveaboard

A final word for video shooters. I am not aware of any add on warming diffusers for video lights and generally I have not seen LED warmer than 5000K therefore unless you shoot at 60p 1/125 it will be very hard to get deep blue at shallow depths without a lens filter.

See my other post for video specific tips.

Full size images are available on my flickr pages all images here are reduced to 1600 pixels for storage purposes.

Red Sea Workshop with Alex Mustard – Part III Sunbursts and the Caves

On the early morning of Day 3 we left the Thistlegorm for Ras Mohammed.

Dive number one would have been on Ras Zahatar, this dive site has some great opportunities for sunburst shots in the early morning but generally not a lot of fish as the location is quite sheltered and there is never too much current that I recall.

There are also some very nice gorgonian fans around the 22 meters mark however as soon as we jumped in it was clear it was going to be a competition to have some of it. Besides not having made clear arrangements for modelling with anyone it was going to be a quite technical session.

Since the arrival of digital sunburst shots have proven to be problematic for DSLR and mirrorless users. The issue is with the sunball itself there is an issue of highlights when you try to shoot a coral reef with the sunball in the frame and you are using a shutter speed of 1/250th or 1/320th that are typical DSLR sync speed.

Mirrorless cameras do even worst as usually the base ISO starts at 200 that makes it really difficult to capture this shot.

So the key is to put the sun behind something or have the rays in the frame but not the sunball. Something like this to give an idea

Soft Coral
The sunball just behind the soft coral gives a nice glow so even with a 1/250th shutter and f/8 at ISO 100 is possible to capture a captivating scene.

Few meters away there is a gorgonian with a red soft coral on top that is really exciting to see at naked eye. To me this reminds of a frogfish head profile. It is impossible to capture this scene at 1/250th f/11 ISO 100 it is just too bright you need to reduce at least two stops to get the sun properly however if you did that on a DSLR you would be shooting at f/22 and it is near to impossible to properly illuminate the coral with your strobes at the distance required.

That is where our RX100 compact comes to help as you can sync your strobes at 1/2000th this should give a black background around the coral, the coral properly lit in the foreground as I had the strobes at full power and the sunball in the frame as well without too  many glowing highlights, this is the resulting shot
Sunburst
Note that a model would not be visible in this shot and fish would be colorful only in front of the coral or close by anyway as discussed there was not fish to model for me and this was just technical entertainment. The image is quite strong but the lack of fish makes it less interesting.

I found some cooperating clown fish on this dive however they are those with the dark eyes so despite the eye contact the shot is not as strong as it would be with a better subject
Look Right in
This is taken with a single Inon UCL-165 a luxury of having a compact and being able to wide and macro on the same dive.

Anyway I was happy with the sunburst in the frame so that dive was well worth it.

Dive two was at Jackfish Alley, and proved to be the most entertaining of the day. Who knows this dive sites knows that there are two caves, the first is wide but very dark and at certain times has turtles inside. The second is really narrow but has few cracks the provides a cathedral light effect best experienced in other site of the Southern Red Sea. Anyway we got the briefing and Dr Mustard was going to be marshaling the queue of photographer in cave number 2.

Being familiar with the dive site I knew that cave 2 is quite narrow even for normal diver let alone this big troupe of photographer so I mounted my tripod legs on the tray with a view of working in cave 1 and then move to cave 2 after the chaos was over.

Well it was real chaos as you can see from the feature image divers in the way, bubbles silt, in short it was a mess.

So I spent some time in cave number 1, this cave is really dark and you can’t really shoot handheld. In cave number 2 you can use speeds of 1/25 or 1/30 up your ISO  and put the camera on a rock whilst you take the shot, in cave 1 this results in darkness unless you go to 4 digits ISO.

So my shot on cave 1 is taken at 0.4″ f/4 ISO100.
1st Cave@Jackfish Alley
The shot is taken with the camera on the tripod using self shoot so that there is no shake from the hand pressing the shutter, this means the picture is sharp as it can be and due to low ISO also very noise free. Unfortunately fish did not feature in the shot so this is again a fairly technical shot that is not as strong as it could be.

There were other interesting opportunities in smaller cracks like this one that I like quite a lot though is not a sensational shot.
Window
I like the fact that the two snappers are one silhouette and the other full color.

After the shambles of dive 2 we moved to Shark Reef where the first dive was really more to acclimatise with the site so won’t bore you with the pictures for that dive.

In the evening the sunset dive was at Ras Katy that would have been our regular evening spot from there onwards.

On day one I was playing with dapple light and reflections

Dapple at Ras Katy
Dapple at Ras Katy


This is me taking the shot above

Interceptor Shooting Dapple

As you can see I am nearly at the surface thanks to Damo for this picture.

Near surface can also be interesting like in this case

Test Shots dapple Reflections

Here you can see part of the Snell windows together with the reef and the sunball. This shot can be made much more interesting if you focus on the reflections.

Anyway this was the end of day 3 of diving next post will be about Shark Reef and the schools of fish.

Red Sea Workshop with Alex Mustard – Part II Thistlegorm and Co

After the first day of fish portraits it was time to go and dive the Thistlegorm, this can be an amazing dive site but also very challenging as the wreck is not sheltered by any reef formation.

We got there early in the morning and attached to the wreck using the classic 3 point method: anchor, line on the bow and line on the stern we were all ready to go.

I have to say Dr Mustard prepared this very well and had a wealth of information on the wreck and the specific features.

The first dive was suggested to be a guide tour of the wreck from the outside with a limited penetration, the second would have been a penetration and the third dive a play with remote strobes (that I did not have).

As I had dived the wreck a number of times I decided to change the order so on dive number one went for a penetration of hold 2 and played a bit with the motorbikes.

There were already some others surrounding the bike as I went down so I played a bit with the divers themselves before being able to get in position.

Wreck Diving
It is amazing how much more interesting is a picture once you have a person in it. Eventually I got hold of the Bike in hold 2 also known as Elle’s bike. I looked around and there were some hatchet fish that I thought would have made the picture more interesting compared to the usual single fish in front of the bike.

Motorbike in Hold 2
I love the reflection on the fish that the strobe produced.

On dive 2 it was time to take some ambient light shots and I was expecting some divers to be around the stern that I could capture. Unfortunately the day boats had gone and the Thistlegorm was pretty empty so dive 2 was a bit of a waste as the boat itself says very little without a diver or a school of fish.

Thistlegorm Stern
Thistlegorm Stern

It could be the size of a RIB but you could not tell from here the massive size of the boat. It is quite dark at the 28 meters I took the picture so there is not a lot of color.

On dive 3 people that had them were playing with remote strobe. I fired a few shots when my cabin mate was placing his strobe, funny enough his remote strobe fired and I blackened him in lightroom so he is actually still there!
Trucks

The remote strobe creates the blue in the truck glass that would not be there otherwise.

Next trip I will take my third Z240 and the gorillapod, I have to get a remote trigger but I think this is relatively straightforward.

The briefing from Dr Mustard included map of all the bikes and trucks and suggestion for shots and strobe positioning really impressive detail there.

After 3 dives on the wreck we moved to Beacon Rock where the Dunraven rests not to dive the wreck but to experiment with dapple light.

This was a very productive dive for me I had some of the best shots in relatively poor conditions.
Dapple

The surface was not flat but this made it even more dramatic as the waves were breaking through.

There were also barracuda and goat fish shoals. The barracuda were not really cooperating so I focused on the goat fish

Special Guest

Goats

Meteor

I also had a 26º snoot this time so I played a bit with an octopus
Waiting in the dark

The good thing about the Inon snoot is that you can remove it and take normal shots with two strobes
This is the same octopus as before just to give you an idea

Side Shot

I was very happy with the performance of my RX100 Mark II one of the only two compact on the trip especially comparing to micro 4:3 that did not really look that much better.

Part 3 will be out soon with the first shots from Ras Mohammed


Red Sea Workshop with Alex Mustard – Part I

So finally the time had come to attend the Nauticam Try out with Alex Mustard.

If you have never done any of those workshops I would definitely recommend you one. It is not just the outstanding tuition but the fact that the boat will go to specific dive sites at specific times to take advantage of conditions and light for photography.

If you are keen to see the pictures this is the link to the set with the 30 images I like the most

Giant Moray

I used the RX100 for stills for the whole trip but then on the last dive I shot this short clip just to give an idea of what it was like. Note that I used the auto magic filter on the lens and by then I had ruined it a bit so the image is softer than it should be and not up to my usual standards, the purpose is to illustrate the diving style not the quality of my set up for video.

The trip started with a preliminary explanation on how things were going to work and after a static first evening on the boat we departed for Abu Nuhas the early morning after. Unfortunately the conditions were really rough so we ended up aborting and after a check dive at alternatives we went to the barge.

The objective was to shoot fish portraits, cardinal fish had eggs in their mouth, at least some of them were carrying them, so you could find yourself your fish and try to take some shots. It was apparent that due to the level of comfort of the fish I could not get close enough with my diopters to take a shot to fill the frame so I needed to crop quite a bit as in this shot.
Eggs

Hopefully the eggs are still visible. Anyway the rest of the gang had for 90% DSLR and were happily shooting portraits with their 100mm macro lens I was struggling getting anything decent so I decided to try something alternative as it was clear that if I was shooting fish mid water I would have been too far away to fill the frame.

This shot from Alex Tattersall gives you an idea of what should have come out with the right level of magnification that I could not achieve.

cardinalwitheggs

In some cases I did find more cooperative fish like those two.
BigEyes

So I put on the snoot and started looking for different things like in this shot taken with the Inon at 20º.
Grey Moray
Those little gray moray are endemic of the red sea and look quite cute. I then found a giant moray and took a series of shots this one being my favorite.
Giant Moray

The Inon snoot is a great piece of kit especially because you can go from 20º to 100º depending on the parts you combine. There are fiber optics snoot on the market that are sensational for macro but do no wide angle, the Inon snoot can do wide angle with 86º 53º 46º coverage and narrower beams of 26º and 20º for smaller things or special effects.

This is a picture of the snoot set that I would recommend to all Inon strobe users.

Wide angle Snoot
Wide angle Snoot

20 degree snoot
20 degree snoot

Inon snoot kit
Inon snoot kit

Obviously I could only capture semi static subjects with the snoot and the issue of fish portraits remains. The RX100 at 100mm equivalent requires 50cm focus distance that becomes 66cm in water. At this distance the capture area is rather large and unsuitable for smaller fish like the cardinals in the example so a solution would be to use an Inon UCL330 diopter to reduce distance to around 25-30 cm and therefore have a 2x magnification but I don’t have this lens anymore so can’t confirm. I will buy it again and do some more tests in a future trip.

I will post part II in the next days with some shots from the Thistlegorm so stay tuned