Tag Archives: strobe

Underwater Photography Workshops – My Tips

I thought the Red Sea workshop with Alex Mustard was brilliant to I thought of writing down my notes and sharing them with you.

This final post is a general one and has my lesson learned from attending the workshop, those that follow are generic tips that I think would be beneficial to anyone wanting to attend a similar experience.

Before the Workshop

The experience actually starts before you even attend the sessions key points for me include:

  • Ask questions about the workshop and how it works
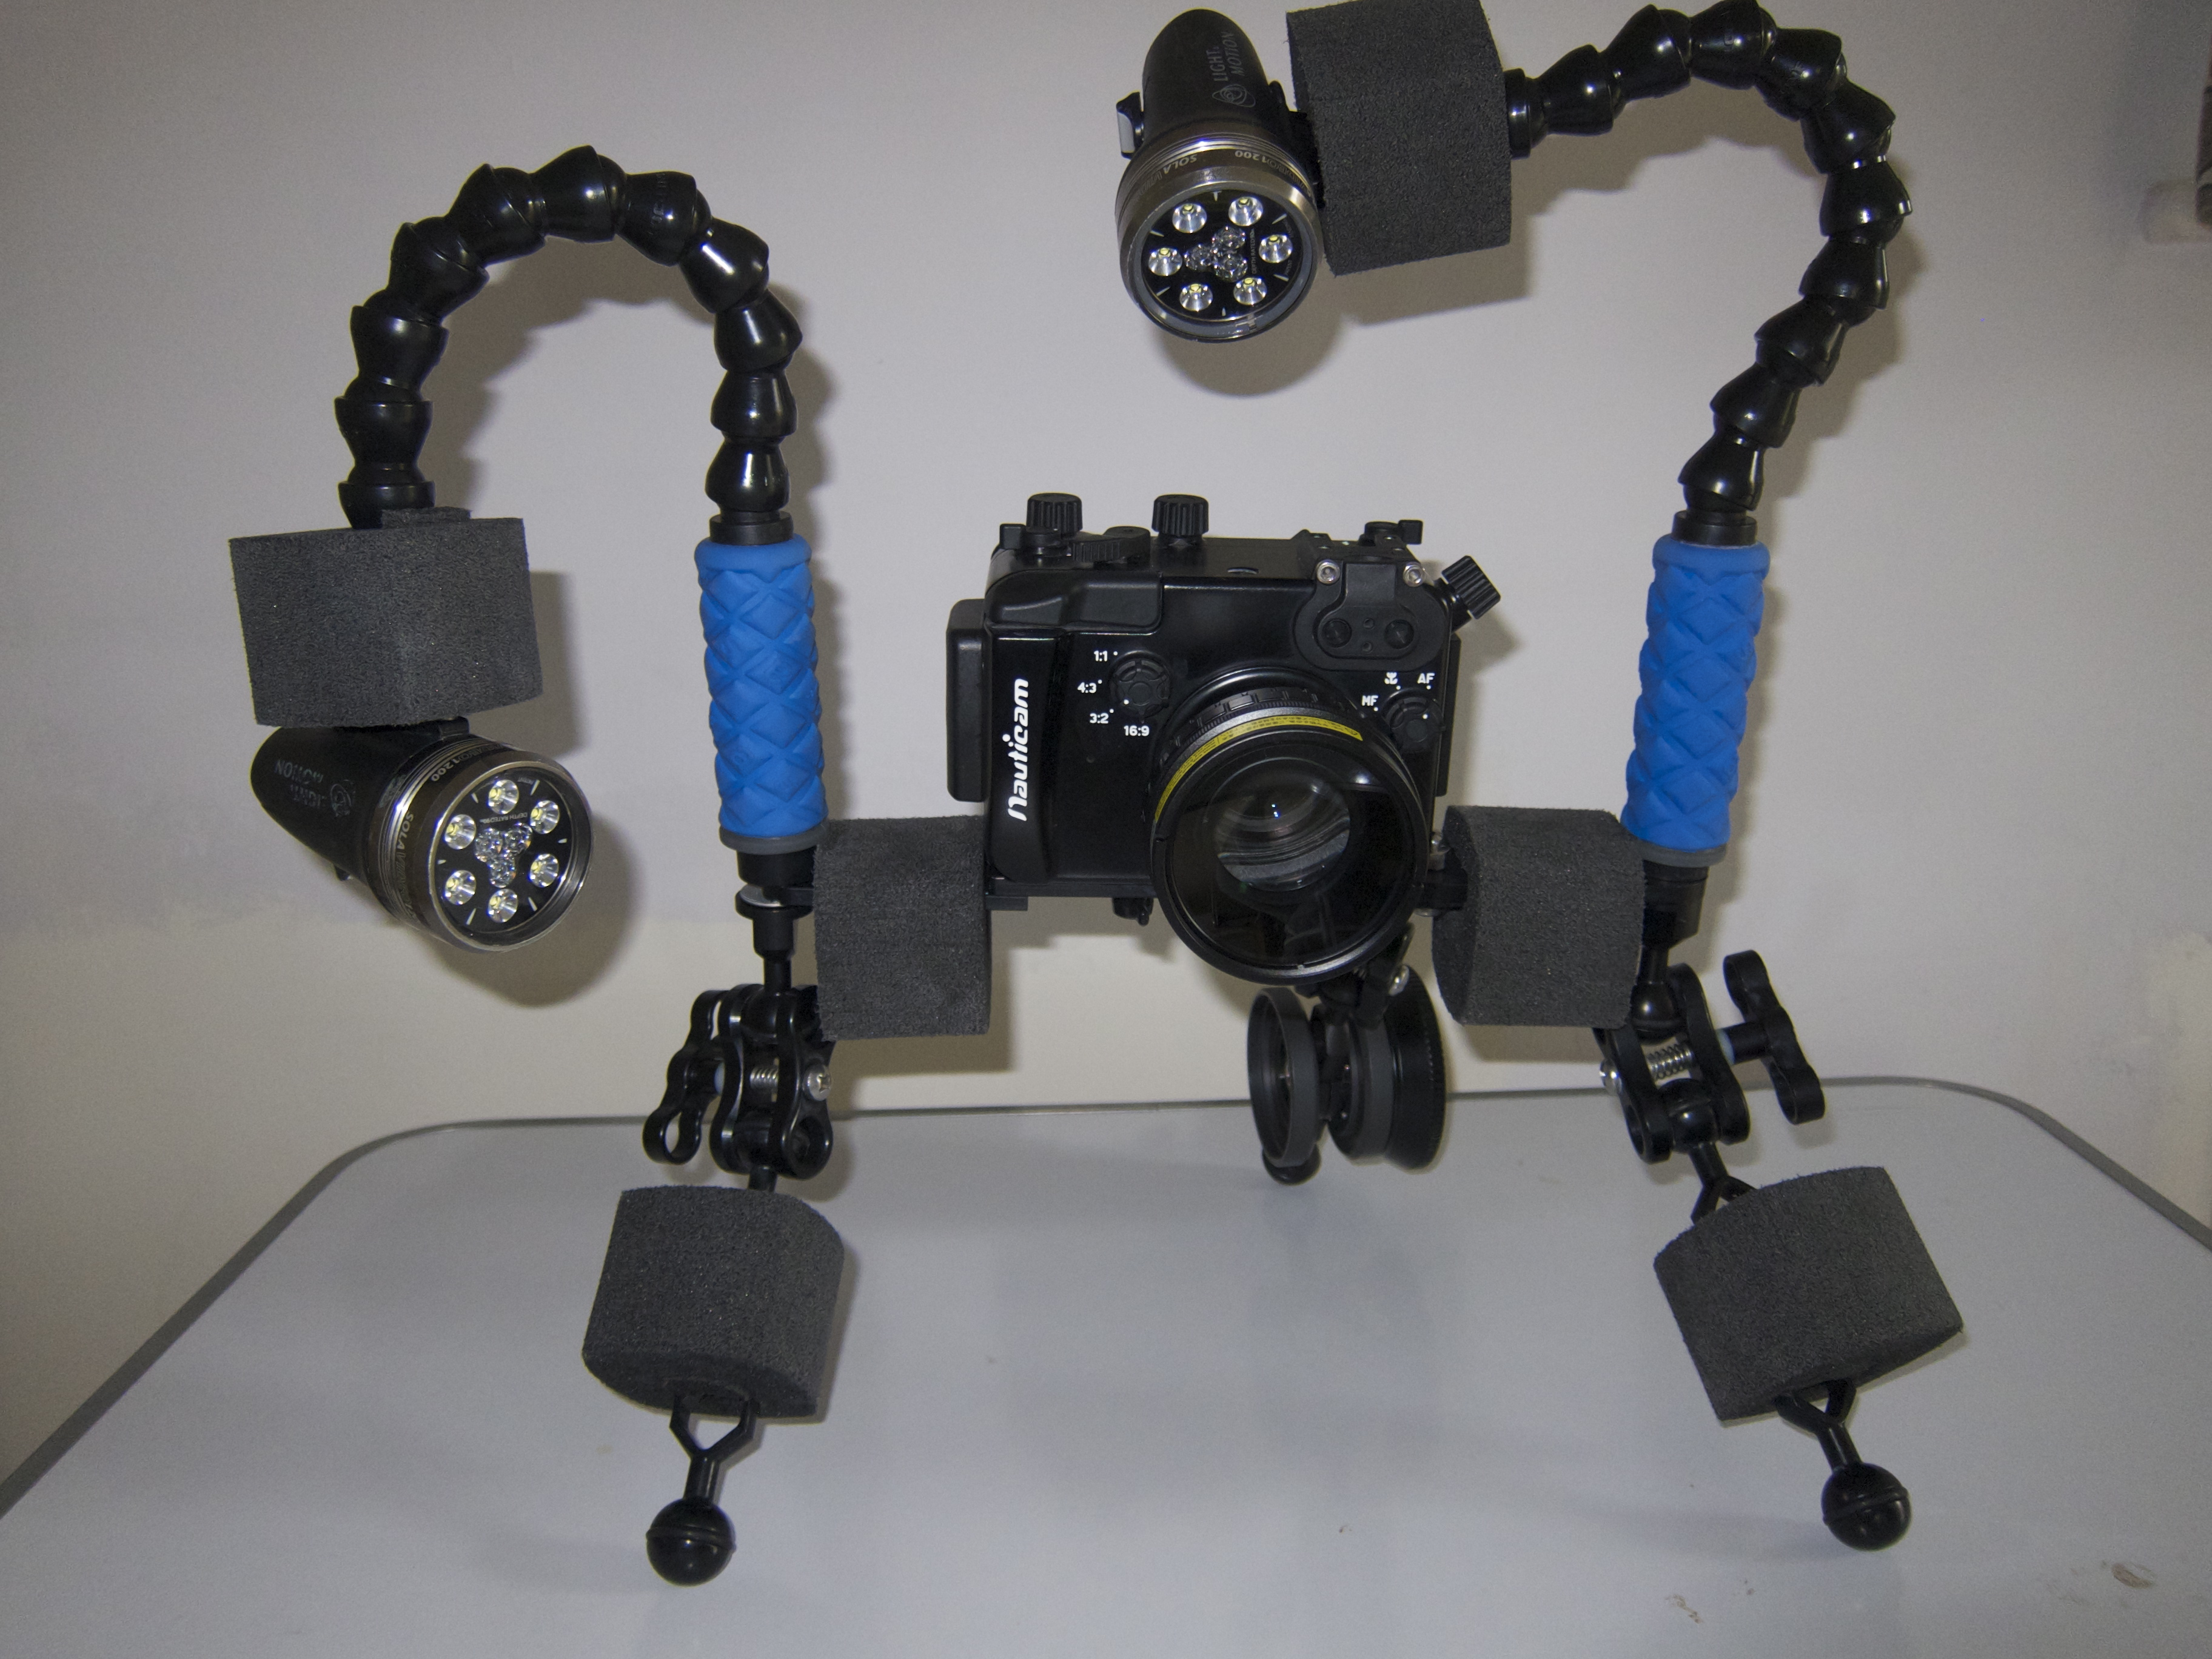
  • Know your equipment
  • Take all the gear you have
  • Be fit and self reliant
  • Set your self objectives

I did not really ask many questions before going as Dr Mustard sent a very comprehensive document however this is not standard and it is better to ask in advance about the conditions, the dives, the type of training and generally how the workshops is organized. Some have talks, other have one to one, other are just dive trips where you ask when you need. Not all types fit everyone so better to make sure you go to one that matches your need.

Sadly even this time like in every trip I have come across people using their equipment or part of their equipment for the first time. The end results is wasted dives and opportunities, I cannot stress enough that testing your rig in a pool before going allows you to familiarize with it and make any corrections you need.

Pool Conditions
Pool Practice

Also take all the possible lens, ports, parts that may be useful. Once you are there you don’t want to have regrets about something you have left home. In my case all was there but I did not know about remote strobes otherwise I would have got myself a trigger as I have 2 Z240s.

Transformer Tray
In case of doubt exceed with equipment

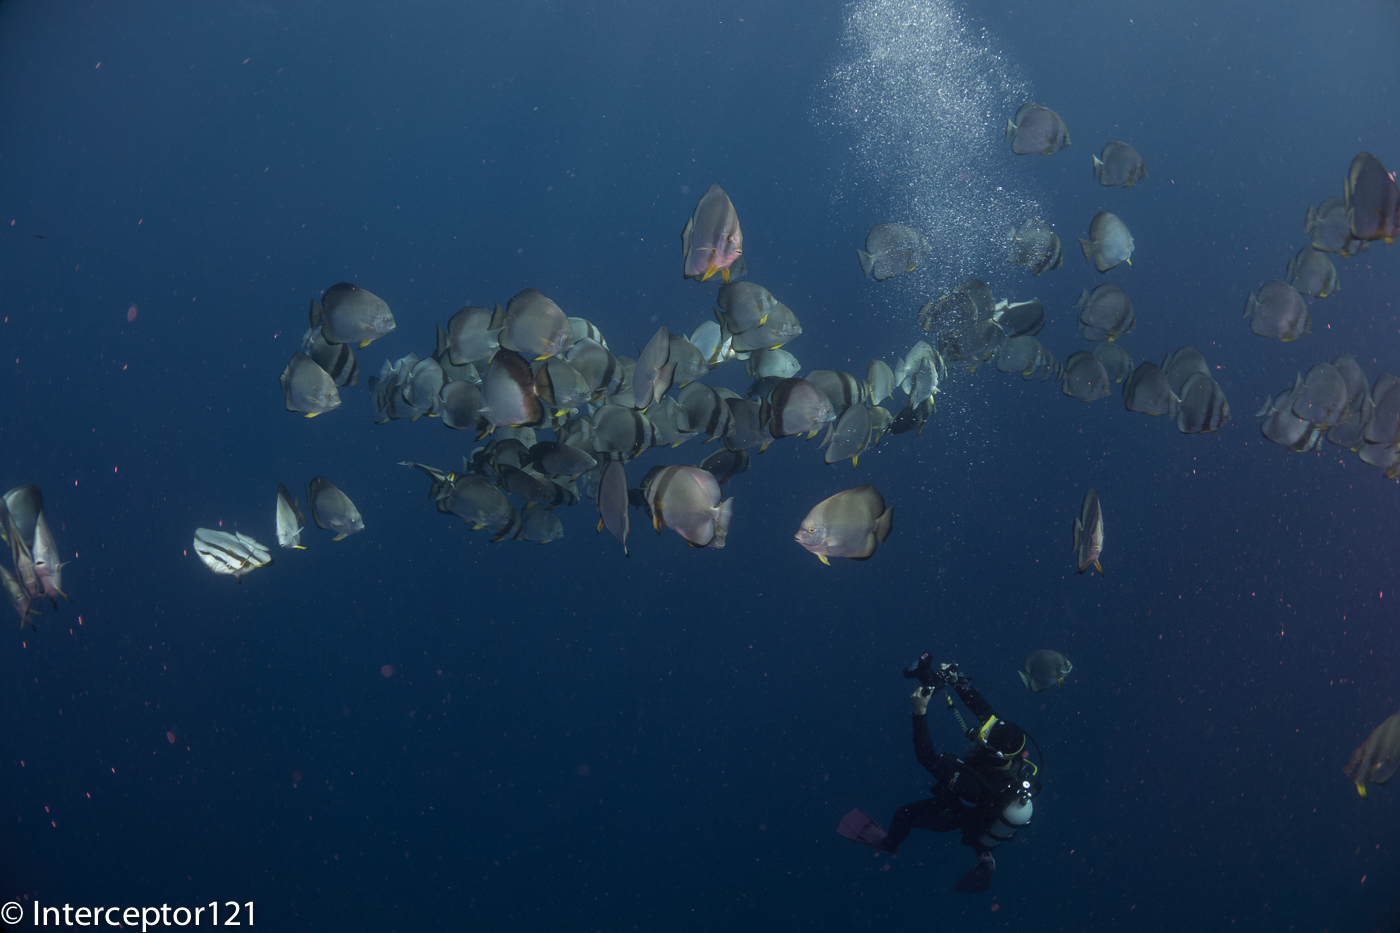
In most of those workshops buddy system does not really apply so make sure you are self reliant and fit as the conditions allow to avoid embarrassing or even dangerous incidents. Once there dive within your comfort limit and if you don’t really have a buddy dive with a guide.

It is useful to know before you go what your objectives are, for example what type of shots you want to work on. This means you have something to do over and above the assigned tasks.

During the workshop

Once there you need to stay focused on your performance. Those are additional points to think about:

  • Deliver the assigned tasks
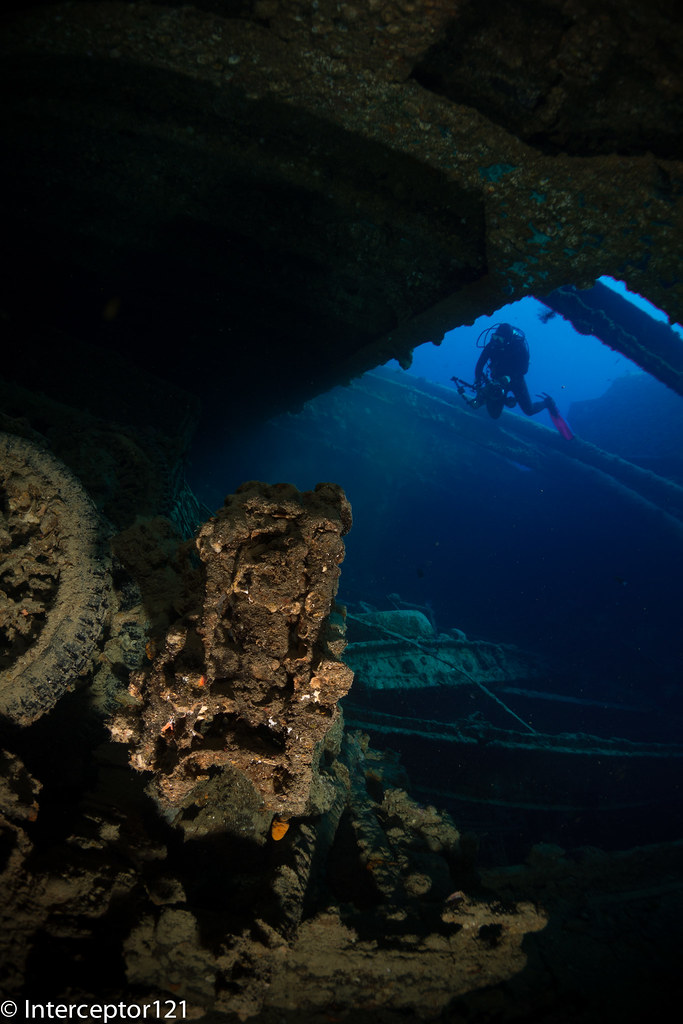
  • Go off the beaten track
  • Learn from other participants
  • Take notes

Sometimes during those workshop there are challenges or set shot that are suggested, this is your opportunity to compare your work with others and therefore you should make sure you deliver those also to find out if there are limits with your equipment.
Eggs
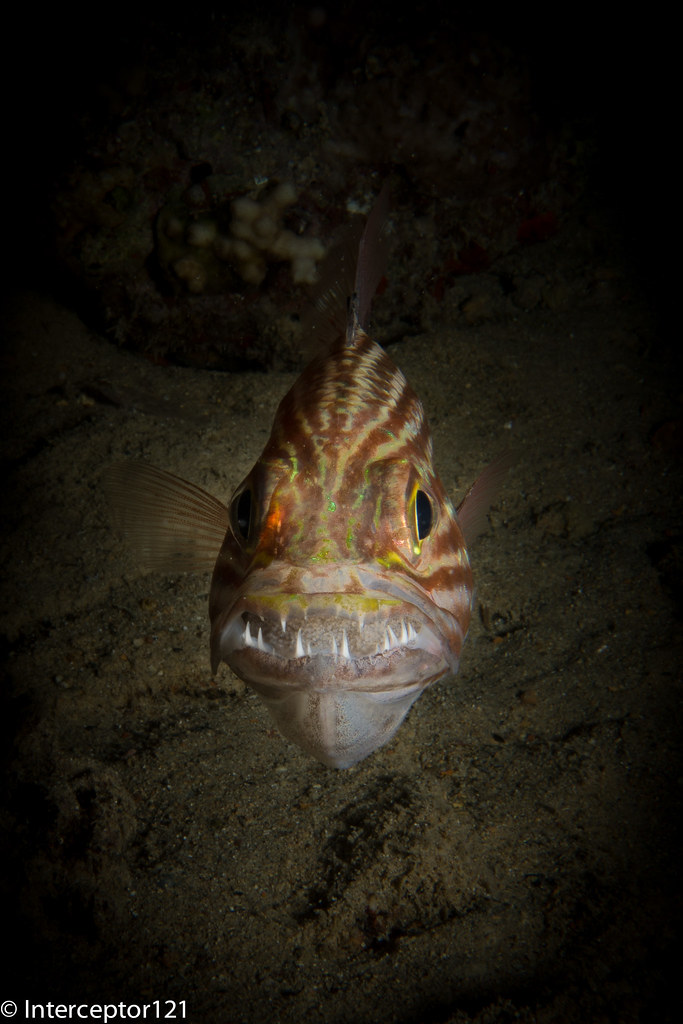
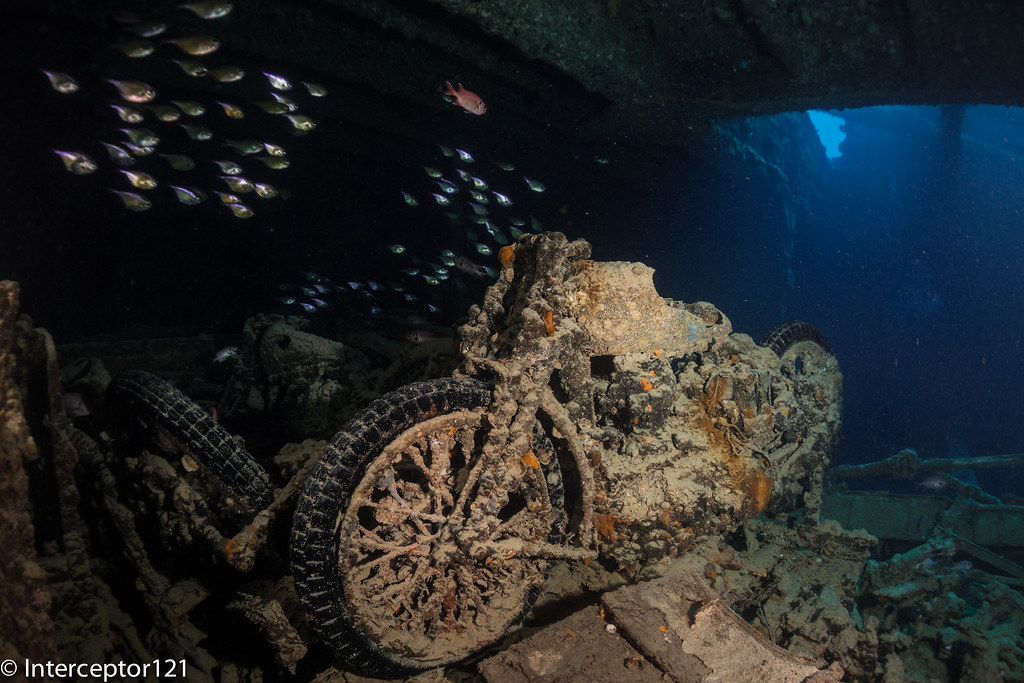
In the Red Sea workshop were given the task of taking pictures of cardinal fish with eggs in their mouth. I realized I could not fill the frame because I lacked a mid range close up lens and my camera would not focus closer.

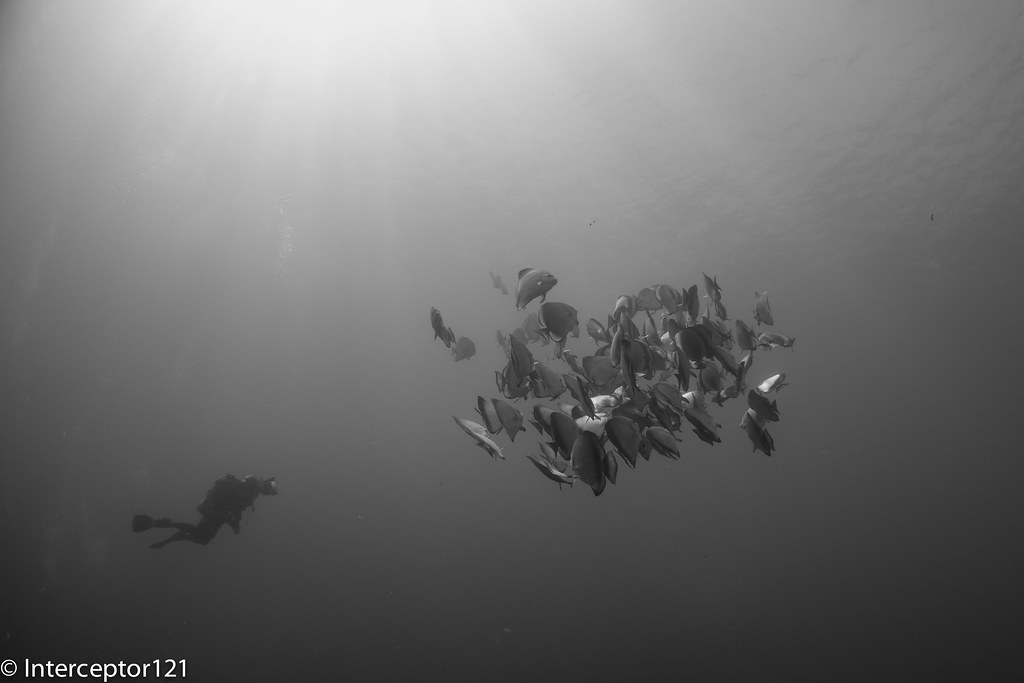
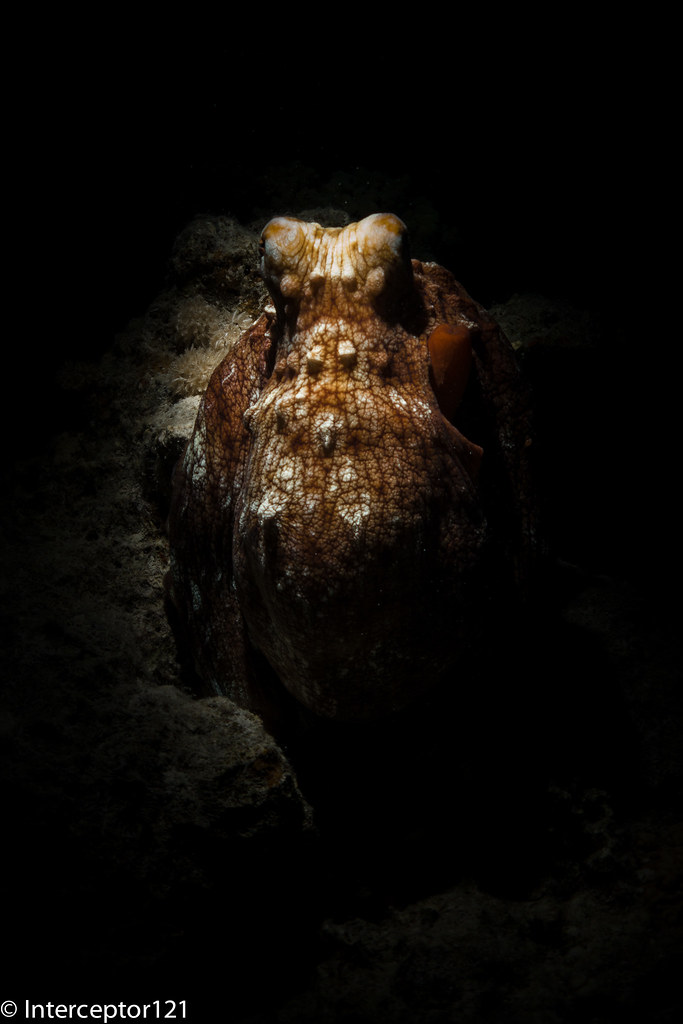
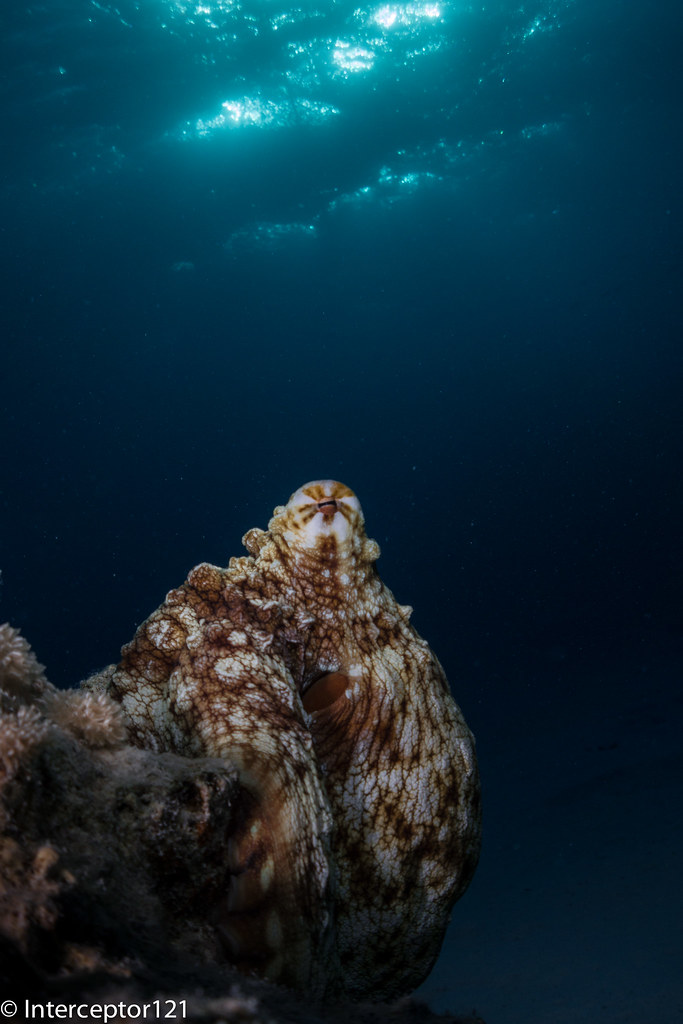
In addition to the suggested shots you should make changes to those and try something different even if not totally different.

Ras Katy Sunset

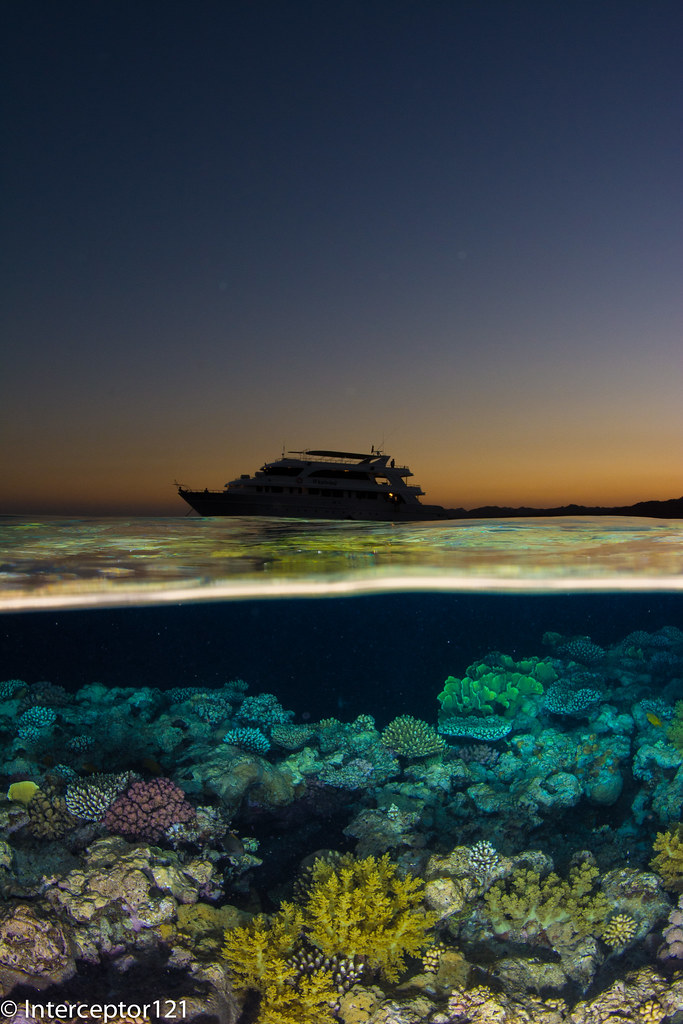
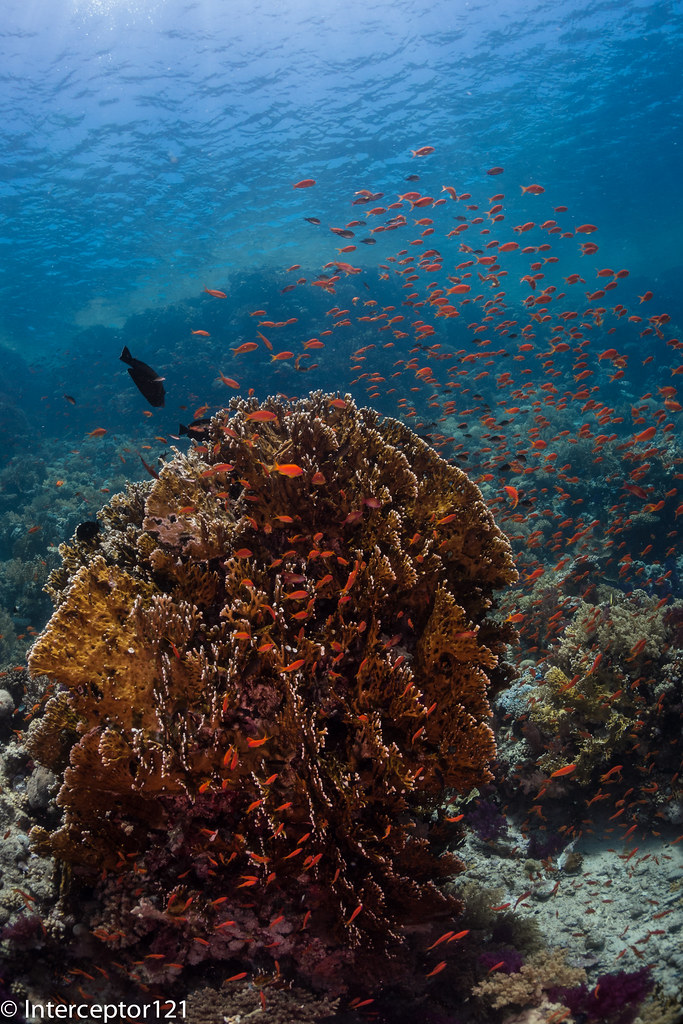
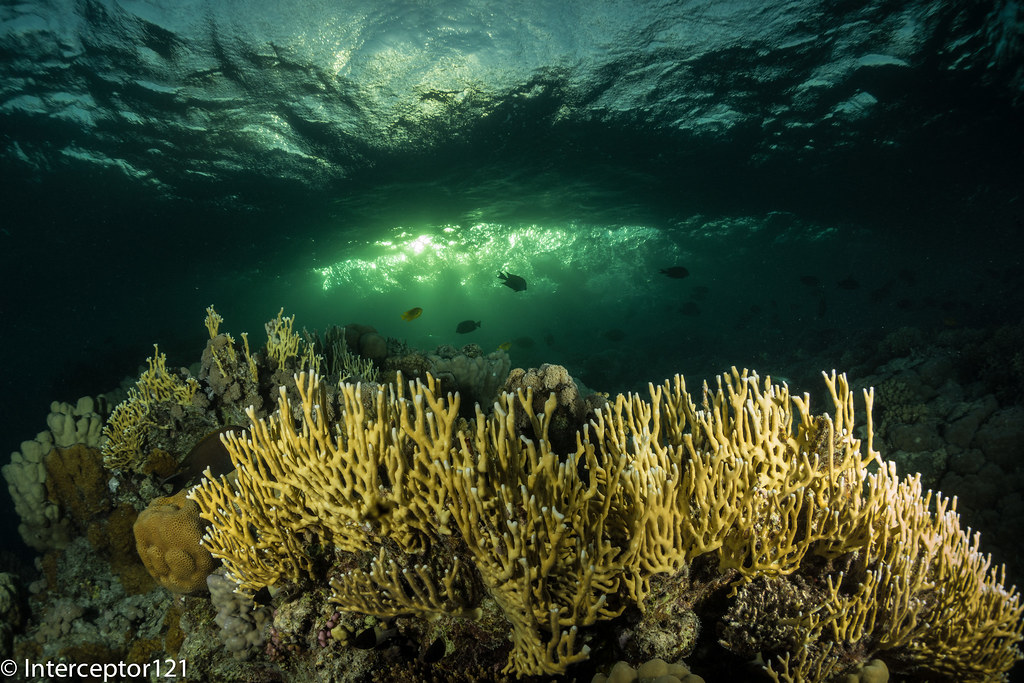
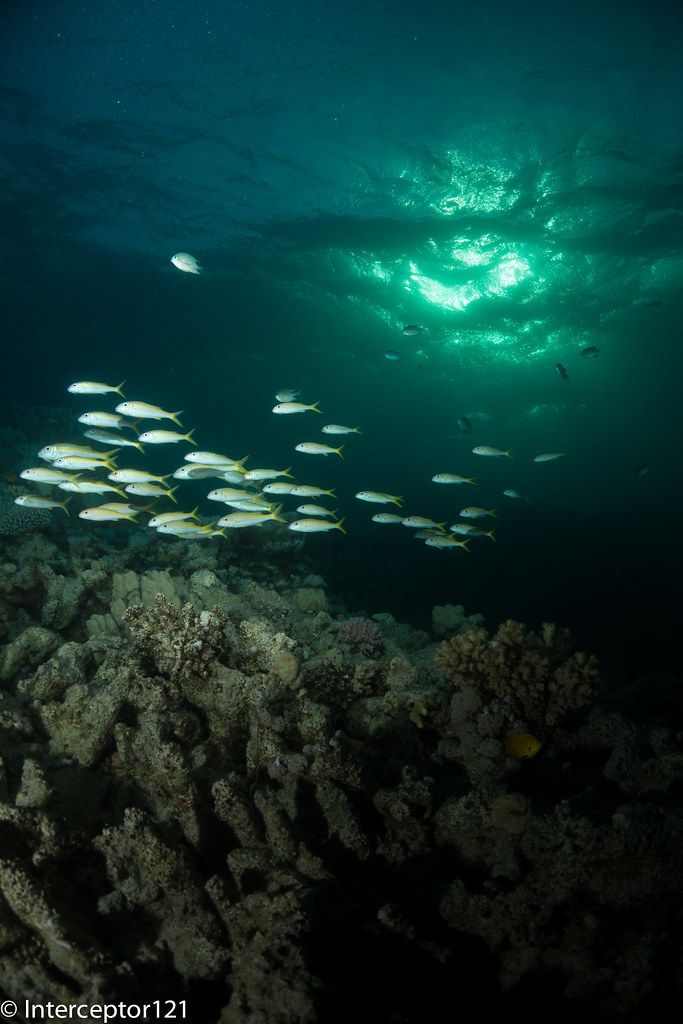
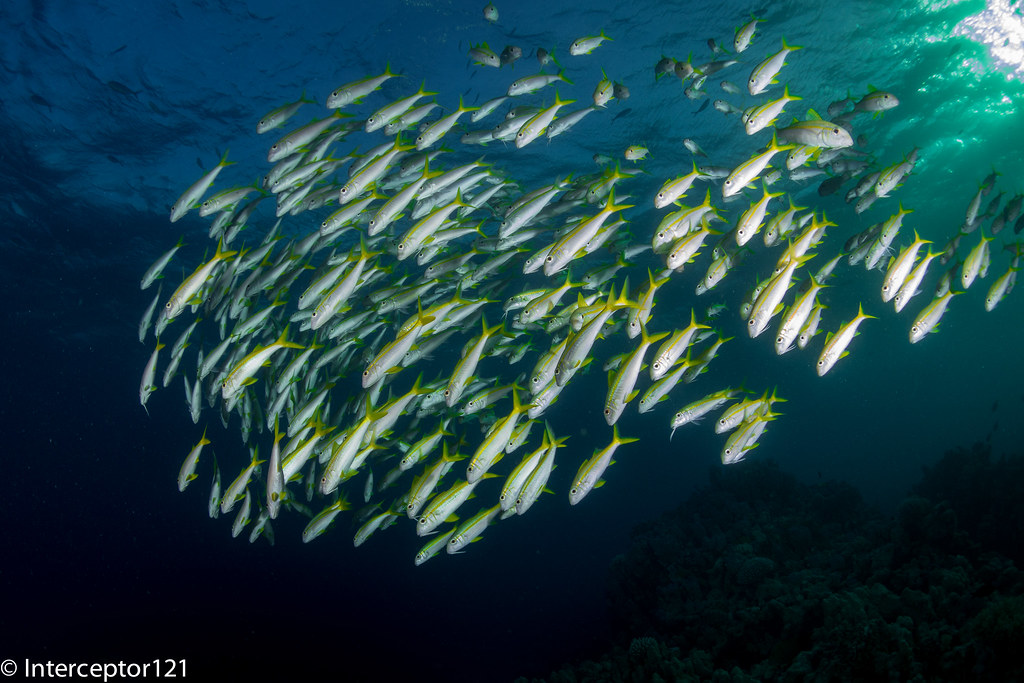
There are many landscape split shots but not many portrait so why not try one results can be excellent and it is easier with a small dome.

Other participants also will give a go to the same shots or have better editing skills it is worth to watch and learn.

Trucks
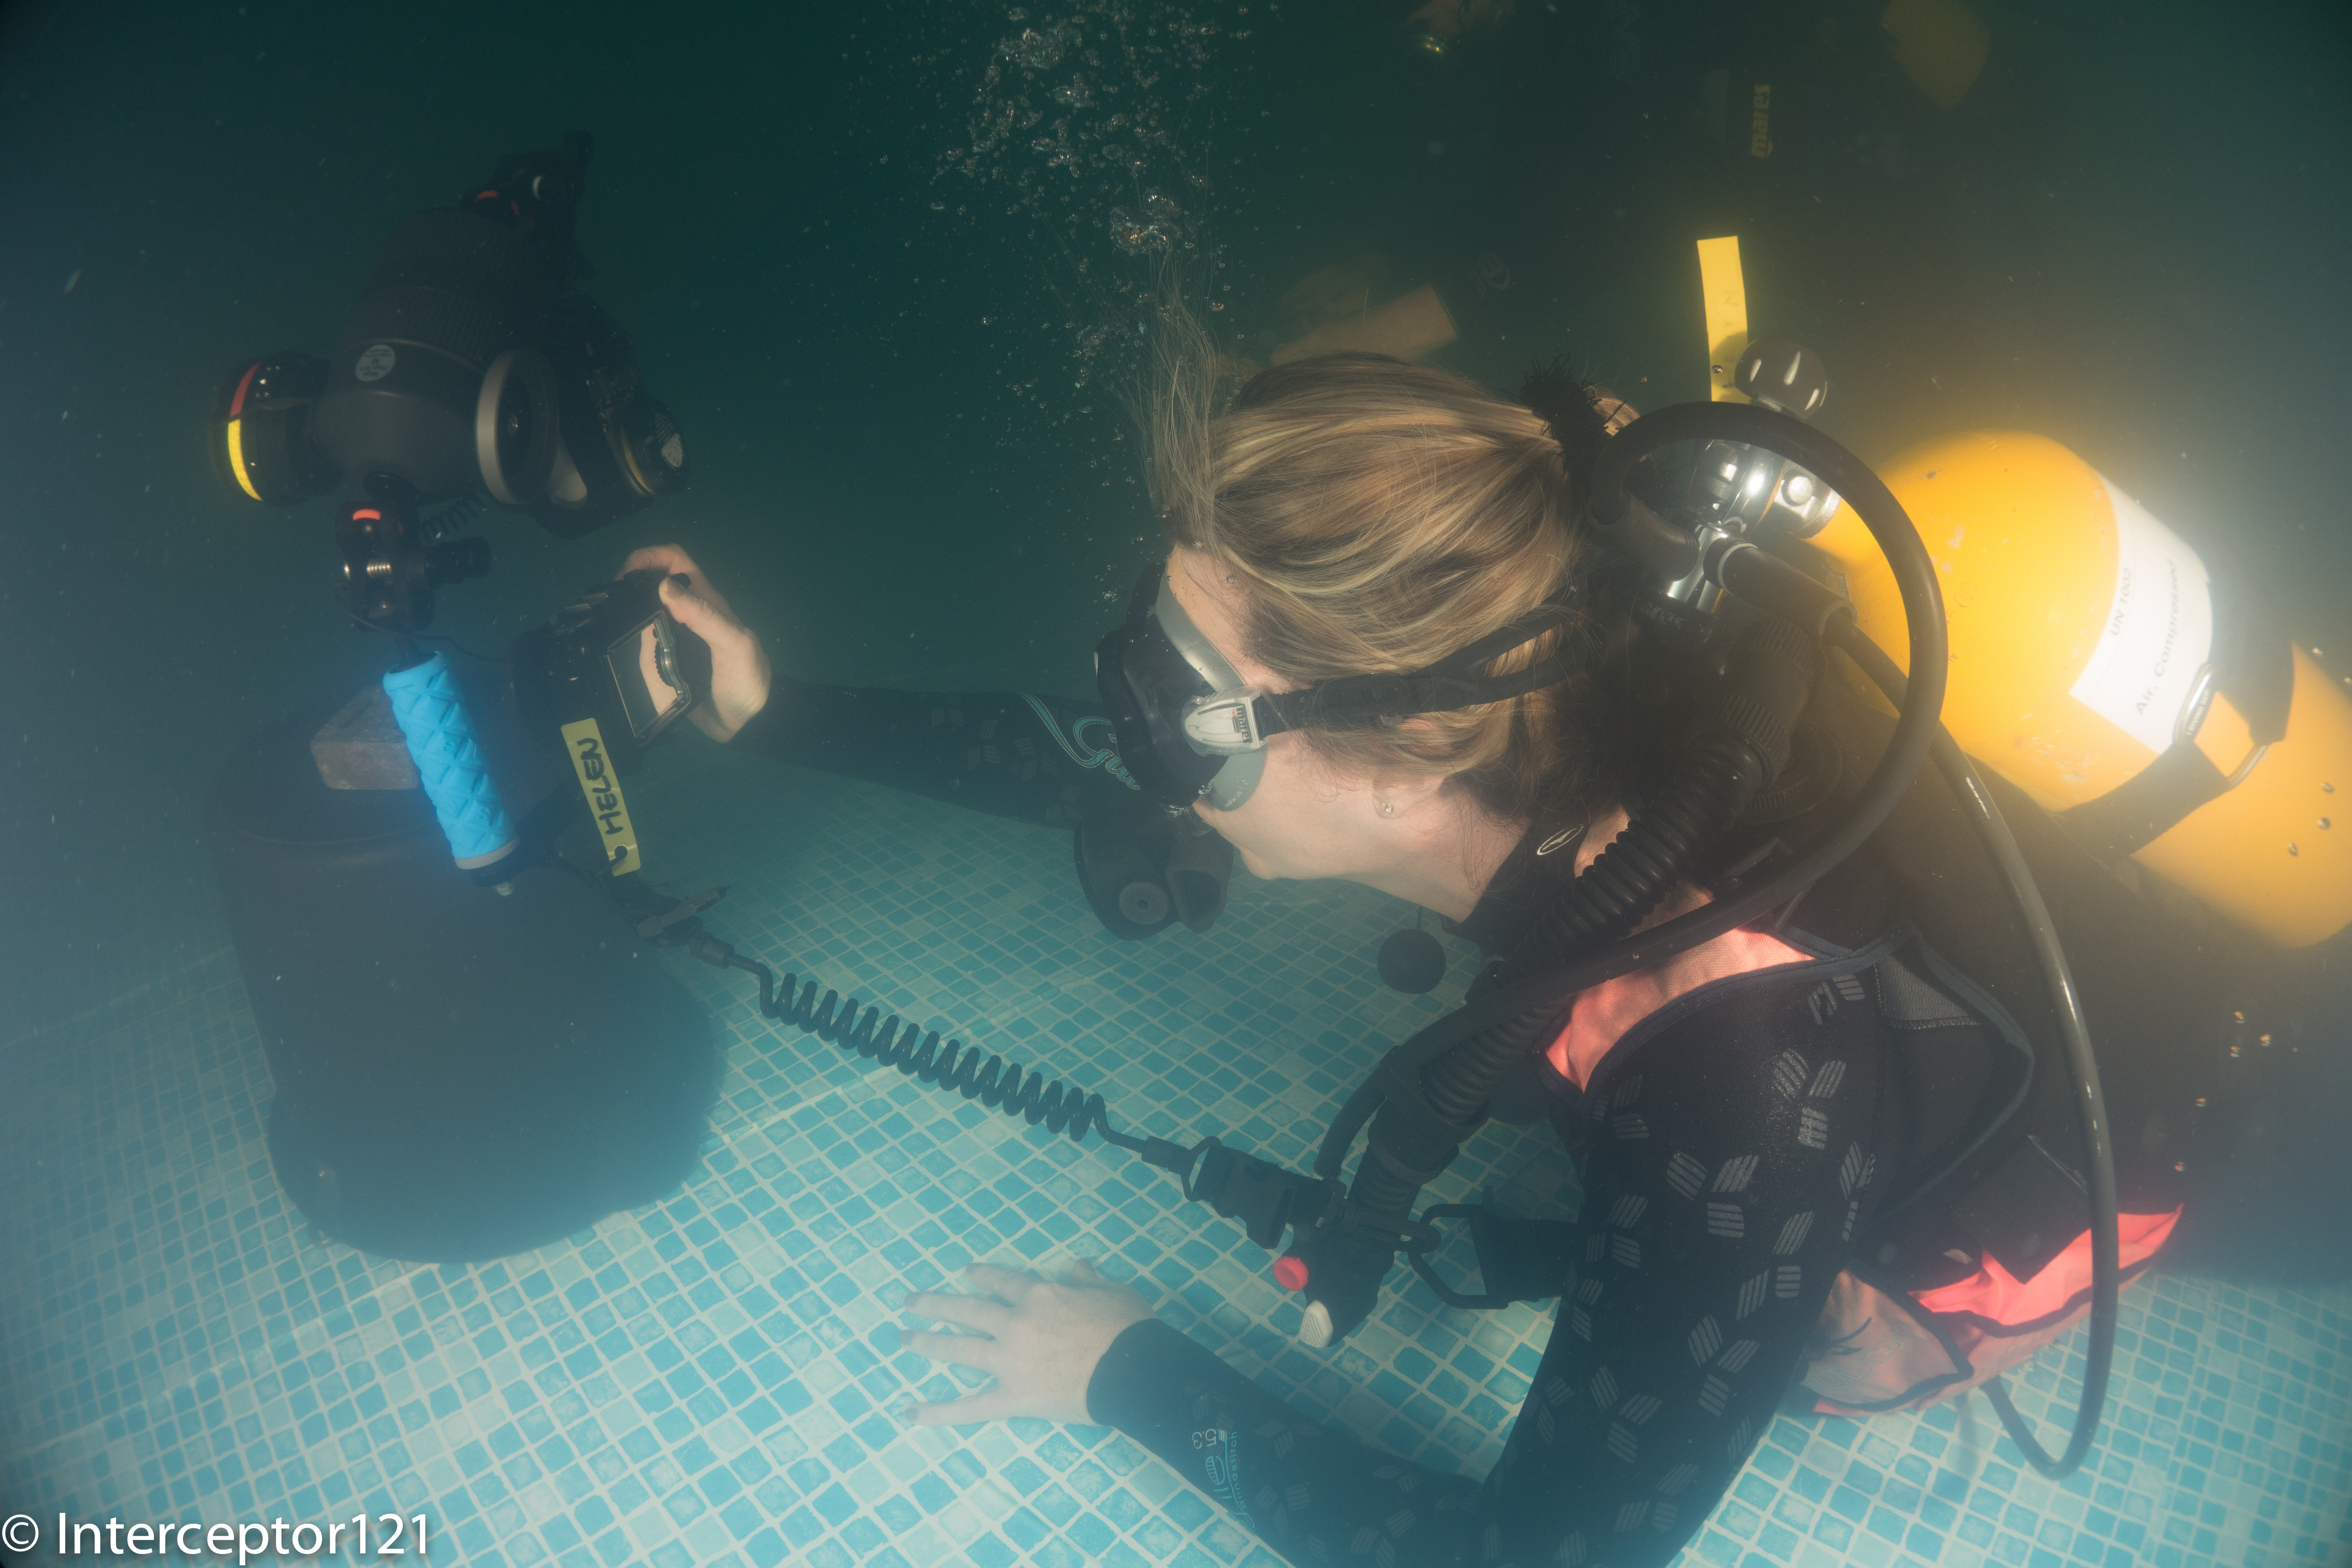
My buddy was setting up a remote strobe I fired a few shots (unintentionally of course) so I got my own shot!

Finally take notes of what you did right and wrong and if you missed anything.

After the workshop

After the sessions are over still there is work to do over and above going over your pictures again.

  • Write down your lessons learned
  • Look at other people images
  • Order any equipment that you missed

Well it goes without saying that I put the notes together and summarized them here.

I also found great to connect to other people and then look at their gallery for other shots that we had not discussed before.

Finally I ordered myself an Inon UCL330, funny I had this lens and sold it not realizing the real use which is fish portraits!!!

That’s all for now if you go on a workshop soon I hope you find this useful.

Red Sea Workshop with Alex Mustard – Part IV Shark Reef

After the first 3 days of workshop we got into the core of it and Alex talked about schooling fish and how to take shots.

We had 4-5 varieties to choose from:

  • Batfish
  • Surgeonfish
  • Barracuda
  • Jacks
  • Snappers

Detailed information was given in terms of how to best approach the fish depending on their behavior and also about the etiquette in terms of letting other people best positioned taking their shot first.

The surgeon fish are not that photogenic and actually quite messy I tried to take some shots when the current was pumping and they were all aligned close to the bottom at Yolanda however to me this is not that exciting as a shot. Other people got better results but I frankly was not that bothered about Surgeons. Probably as the fish is pretty dark and does not reflect the strobe much. The featured image close to the title shows what I mean.

During this trip the current was not going north to south as usual but there was near to no current at shark reef and current going outward at yolanda corner. This means the snappers that usually sit at the edge of shark reef were not out to play.

We were left with barracuda, batfish and jacks to choose from. On day 4 I only see few giant trevally but not many schooling jacks so had to focus on barracuda and batfish.

Unfortunately the barracuda were far from the reef and a bit too deep and did not really want to entertain chasing them so I tried with the batfish. Obviously there were not only us but also other boats so it was a bit of a competition for fish.

Encirclement
Encirclement

Also you always managed to get someone in the frame or bubbles

Shooting Batfish Below

So I focused on trying to get the best backgrounds for the pictures to come like in this case.

Bommie

Also had some fun taking images of the others and the batfish one or two came out pretty good.

Bats Photography

Creative angles
Creative angles

It is quite hard to have the discipline to respect rules when you are with other 18 photographer on the boat so the competitions had to be expected and I was not that bothered.

In the evening we headed back to Ras Katy and I borrowed a Nikon D7100 from Nauticam UK. I asked to have a 9″ dome for the split shot and jumped in the water with the idea of just doing that.

This is my best  shot

Ras Katy Sunset

Personally I do not like split shots where the surface line is very distorted to avoid that you need to make sure your lens is near to rectilinear and it is better to shoot portrait as there is little distortion on that axis. What I wanted to capture in this shot is layers, the reef, water under and over, the boat and sunset colors.

I think it came out pretty good but it is painful to take 100 shots just to get one right and I wish I had some fish in the frame but never mind is good enough like this. The water was not really flat so that was an additional challenge as you can see the wave breaks on the lens creating a little thicker line but overall a good shot.


Red Sea Workshop with Alex Mustard – Part II Thistlegorm and Co

After the first day of fish portraits it was time to go and dive the Thistlegorm, this can be an amazing dive site but also very challenging as the wreck is not sheltered by any reef formation.

We got there early in the morning and attached to the wreck using the classic 3 point method: anchor, line on the bow and line on the stern we were all ready to go.

I have to say Dr Mustard prepared this very well and had a wealth of information on the wreck and the specific features.

The first dive was suggested to be a guide tour of the wreck from the outside with a limited penetration, the second would have been a penetration and the third dive a play with remote strobes (that I did not have).

As I had dived the wreck a number of times I decided to change the order so on dive number one went for a penetration of hold 2 and played a bit with the motorbikes.

There were already some others surrounding the bike as I went down so I played a bit with the divers themselves before being able to get in position.

Wreck Diving
It is amazing how much more interesting is a picture once you have a person in it. Eventually I got hold of the Bike in hold 2 also known as Elle’s bike. I looked around and there were some hatchet fish that I thought would have made the picture more interesting compared to the usual single fish in front of the bike.

Motorbike in Hold 2
I love the reflection on the fish that the strobe produced.

On dive 2 it was time to take some ambient light shots and I was expecting some divers to be around the stern that I could capture. Unfortunately the day boats had gone and the Thistlegorm was pretty empty so dive 2 was a bit of a waste as the boat itself says very little without a diver or a school of fish.

Thistlegorm Stern
Thistlegorm Stern

It could be the size of a RIB but you could not tell from here the massive size of the boat. It is quite dark at the 28 meters I took the picture so there is not a lot of color.

On dive 3 people that had them were playing with remote strobe. I fired a few shots when my cabin mate was placing his strobe, funny enough his remote strobe fired and I blackened him in lightroom so he is actually still there!
Trucks

The remote strobe creates the blue in the truck glass that would not be there otherwise.

Next trip I will take my third Z240 and the gorillapod, I have to get a remote trigger but I think this is relatively straightforward.

The briefing from Dr Mustard included map of all the bikes and trucks and suggestion for shots and strobe positioning really impressive detail there.

After 3 dives on the wreck we moved to Beacon Rock where the Dunraven rests not to dive the wreck but to experiment with dapple light.

This was a very productive dive for me I had some of the best shots in relatively poor conditions.
Dapple

The surface was not flat but this made it even more dramatic as the waves were breaking through.

There were also barracuda and goat fish shoals. The barracuda were not really cooperating so I focused on the goat fish

Special Guest

Goats

Meteor

I also had a 26º snoot this time so I played a bit with an octopus
Waiting in the dark

The good thing about the Inon snoot is that you can remove it and take normal shots with two strobes
This is the same octopus as before just to give you an idea

Side Shot

I was very happy with the performance of my RX100 Mark II one of the only two compact on the trip especially comparing to micro 4:3 that did not really look that much better.

Part 3 will be out soon with the first shots from Ras Mohammed


Sony RX100 Mark II Bulkhead Connection Flop

In this post I will investigate for your enjoyment the bulkhead connector available for the Sony RX100 Mark II and will see why this is unfortunately an accessory that is not worth buying. There are other ways to put the M16 port to use for example with a leak detection system but if were thinking of firing strobes using electrical sync cords then think again.

I was today at the London International Dive Show where I met Dr Alex Tattersall of Nauticam UK that also introduced me to Catherine Lai, daughter of Edward CEO and founder of Nauticam and herself operations director.

I felt a bit sorry when I had to explain why the bulkhead was not a workable solution and if you have a look at the youtube video you will understand why, this has been shot by my fiance’ on an iPhone so apologies for the portrait format and occasional shake.

Right so if you didn’t manage to hear the audio or understand the subtitles here is the plain text explanation.

The bulkhead has a single X pin that connects to the center of the RX100 multi-shoe, now this is the same interface that is on the newer Nex and on the A7. The Sony multi-shoe has a complex 21 pin interface that used with compatible accessories can trigger an external TTL flash.

In order for an external device to be recognized the interface of the connector need to connect to the 21 pin slot not just to the center. Nauticam bulkhead adapter is not so complex and only connect only on the center pin.

So the result is that the external connection is not recognized and if you leave the flash set to fill flash, as you would do with an optical connection, the internal RX100 flash pops out and fires away negating the benefit of the electrical connection.

So in order to make it work you need to set the internal flash to OFF. As the pin on the multi-shoe is always live this works perfectly so when you press the shutter the nikonos interface triggers the external strobe which is what should happen.

The little but significant inconvenient is that if you set the flash to off the LCD goes pretty much black as the RX100 has live view on the LCD and only lights up when you half press the shutter. This means is practically impossible to compose any shot unless you have a really bright focus light or there is sufficient ambient light. In any case for a close focus wide angle shot that you will take with this camera with apertures between f/8 and f/11 the screen will look pitch black as in the video even if you set the LCD to sunny weather.

Whilst the A7 and Nex have an option to disable live view in the LCD, the RX100 does not have such option so you are pretty much done and this accessory is not worth buying as it also introduces an additional point of failure for the housing and one for each strobe.

So the supposed big advantage of the Mark II goes out of the window, time to despair? Not at all!!!

As previously anticipated in my first impression post https://interceptor121.wordpress.com/2013/07/27/sony-rx100m2-first-impressions/

I had the impression that the internal flash was recycling much faster than the original RX100, well I have done some tests and I can confirm what imaging-resource has measured: the flash recycling time at full power goes from 7.2 sec of the RX100 down to 4.4 seconds of the Mark II.

Now this is significant because after your shot you need anyway 2 seconds to recharge the strobes and look at the image preview after the shot and probably another 2 seconds to recompose the shot, at that time the RX100 Mark II will be ready to shoot again at full power.

The improved CIPA rating of the Mark II also means well in excess of 200 shots at full flash before having to change the battery so there is no big deal that the electrical option is not workable, get yourself a twin set of Inon Z240 (my current favourite) or Sea and Sea YS-D1 and you will have no issues compared to any other compact as the RX100 Mark II has the highest CIPA rating of all compacts on the market that are good underwater.

In fact the most significant improvement of the RX100 Mark II in addition to the better performance in low light is certainly the strobe recycle time, from 7.2 to 4.4 is nearly a 40% improvement and the Mark II is faster to recycle than a Canon S120 although not as fast as the G15 or as fast as the Panasonic LX7 or Olympus XZ2. However we are talking about 1.2 seconds difference I doubt that is such a big deal

Clearly the RX100 Mark II is the best compact camera for both still and videos and I look forward to shooting more stills with it.