There is no doubt that the Panasonic GH5 is a very capable camera and in given conditions the video performance you can get is truly impressive.
Broadly speaking a video clip needs to be:
- Sharp
- Colorful
- Contrasty
- Clean
Those 4 characteristics are tightly related to:
- Resolution
- Color depth
- Dynamic range
- Low Noise
Resolution
Today everyone shoots 4K and after all resolution is well supported by almost any camera, broadly is unaffected by other factors and unless the noise is really high sharpness of your frame is not going to be a real issue shooting at 4K.
Color depth
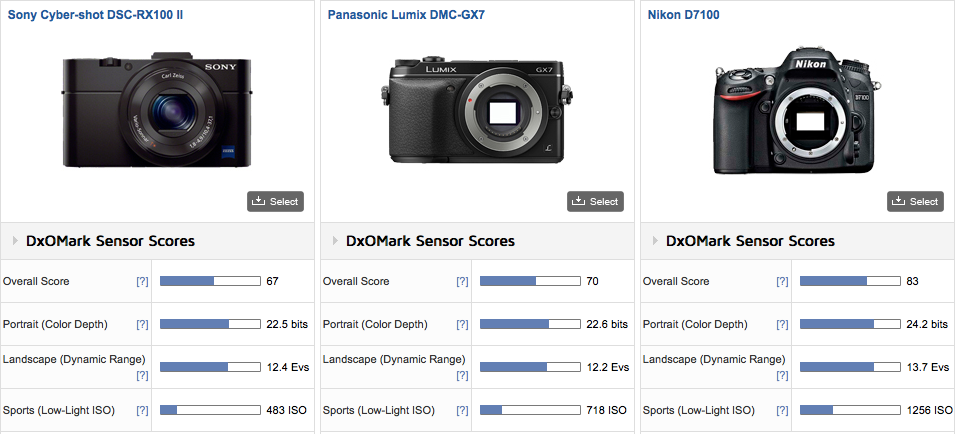
In normal conditions and not underwater a camera can resolve many colors. However underwater due to the diffraction of light and selective absorption of colours the starting point is very different from land. So generally is not the camera that cannot resolve the colors but the colors that are missing to start with. This post will focus specifically on this aspect. The Panasonic GH5 can resolve 23.8 bits in RAW and therefore technically has less than 8 bits color depth – do not confuse this with the 8 or 10 bit recording setting.
Dynamic Range
Underwater scenes tend to have limited dynamic range, with the exception of sunbursts or shooting against the light this is going to be an issue only in specific circumstances of very bright scenes with shadows. In all scenes taken with video lights dynamic range is not an issue at all. The GH5 has 13 stops of dynamic range but rarely this is an important consideration.
Noise
Noise is an important consideration as when the noise goes up the camera looses the other characteristics, color, dynamic range and resolution will be affected when the camera is outside the sweet spot. Broadly speaking the Panasonic GH5 does not do well once you pass the ISO 1600 setting and I tend to cap the ISO in video at 800 in most cases.
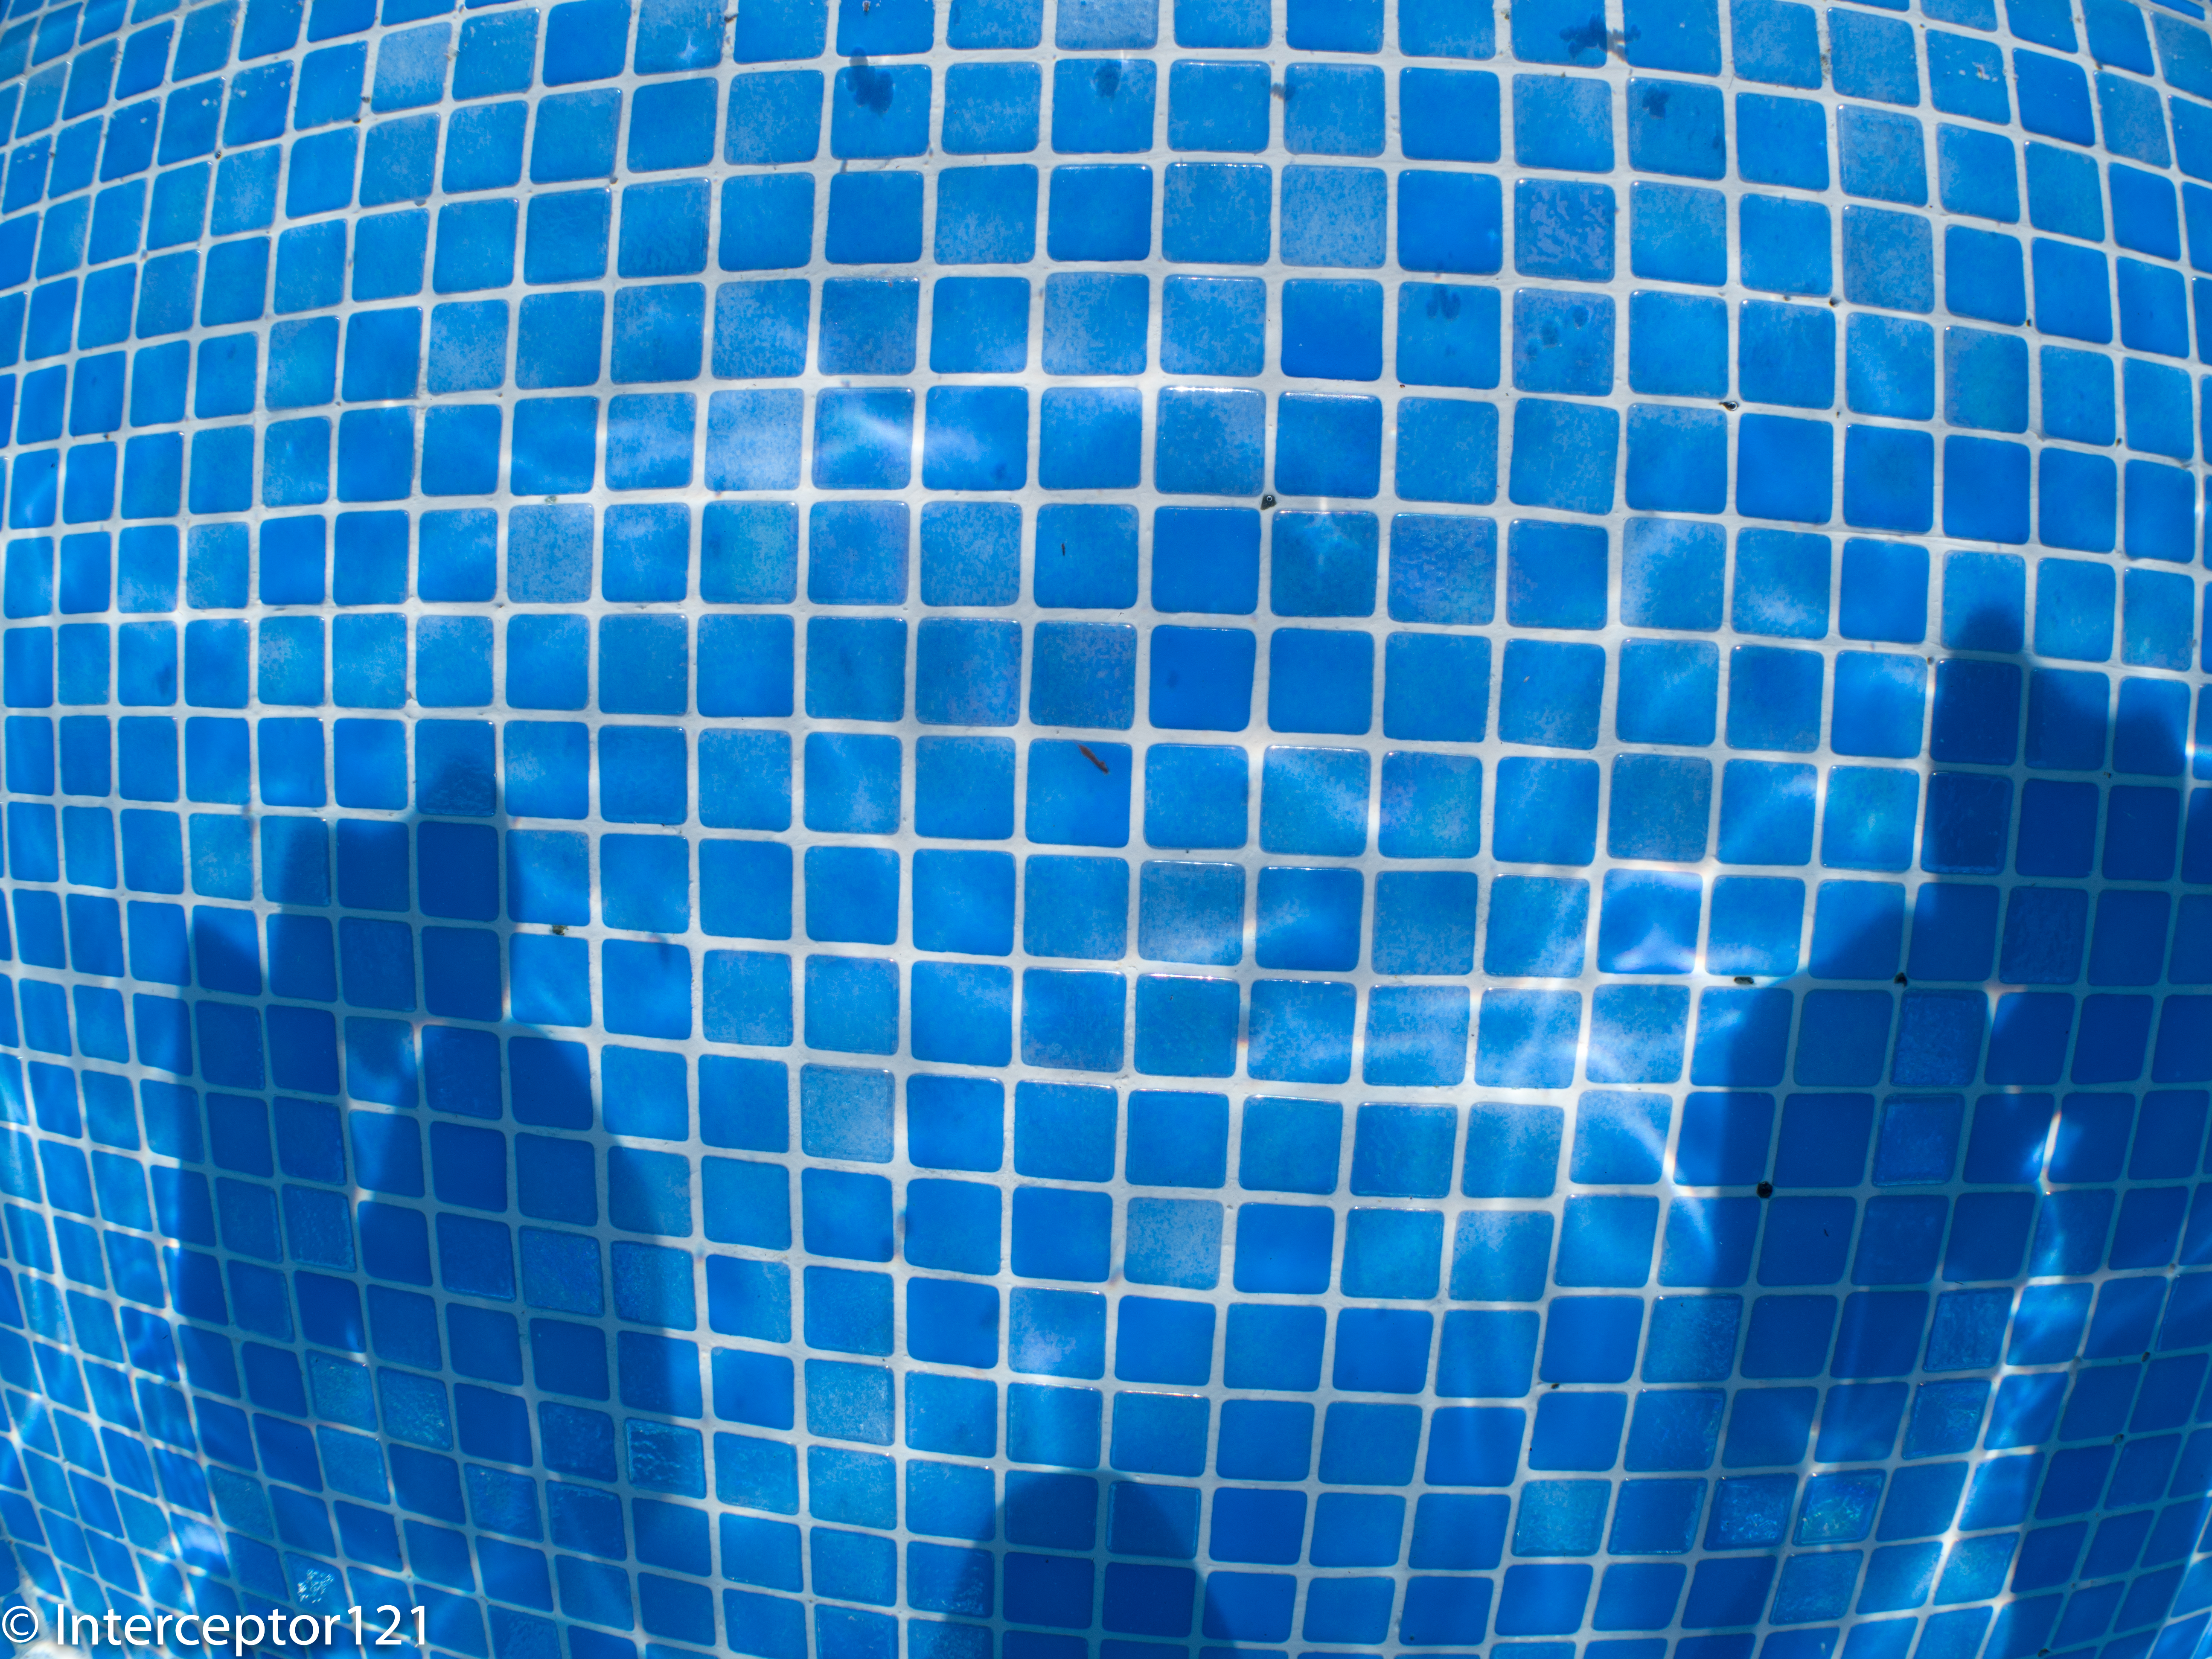
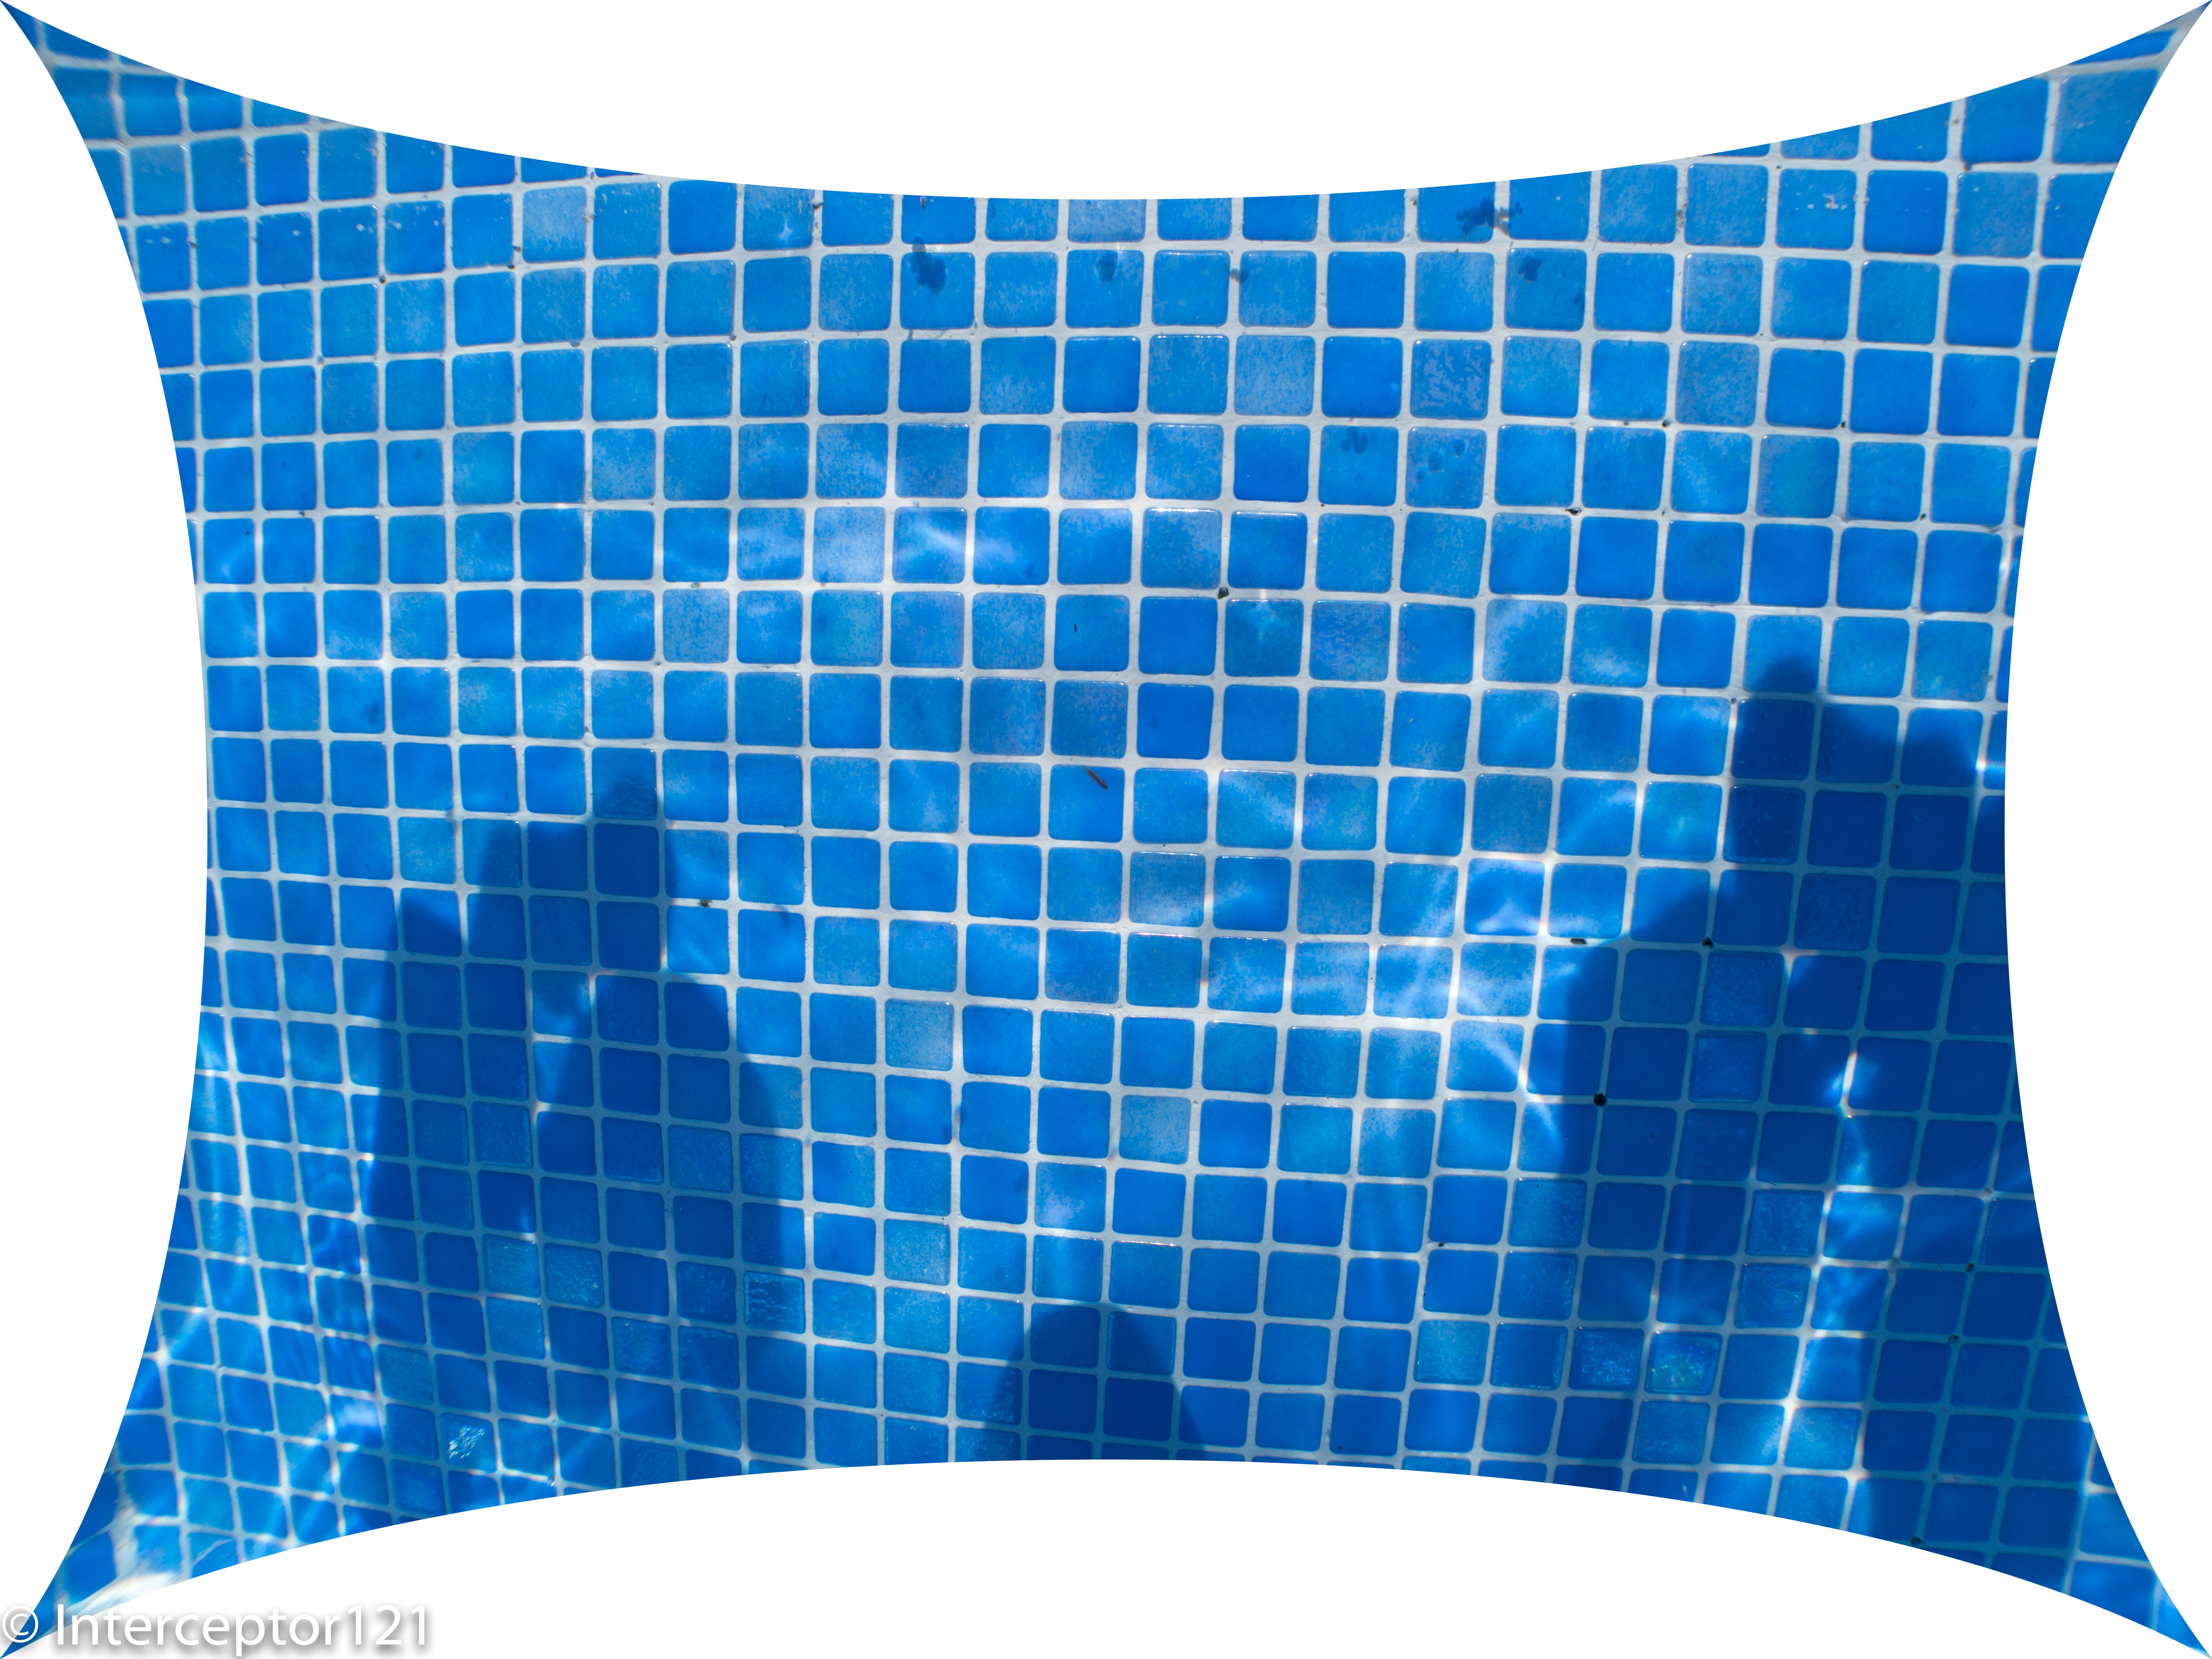
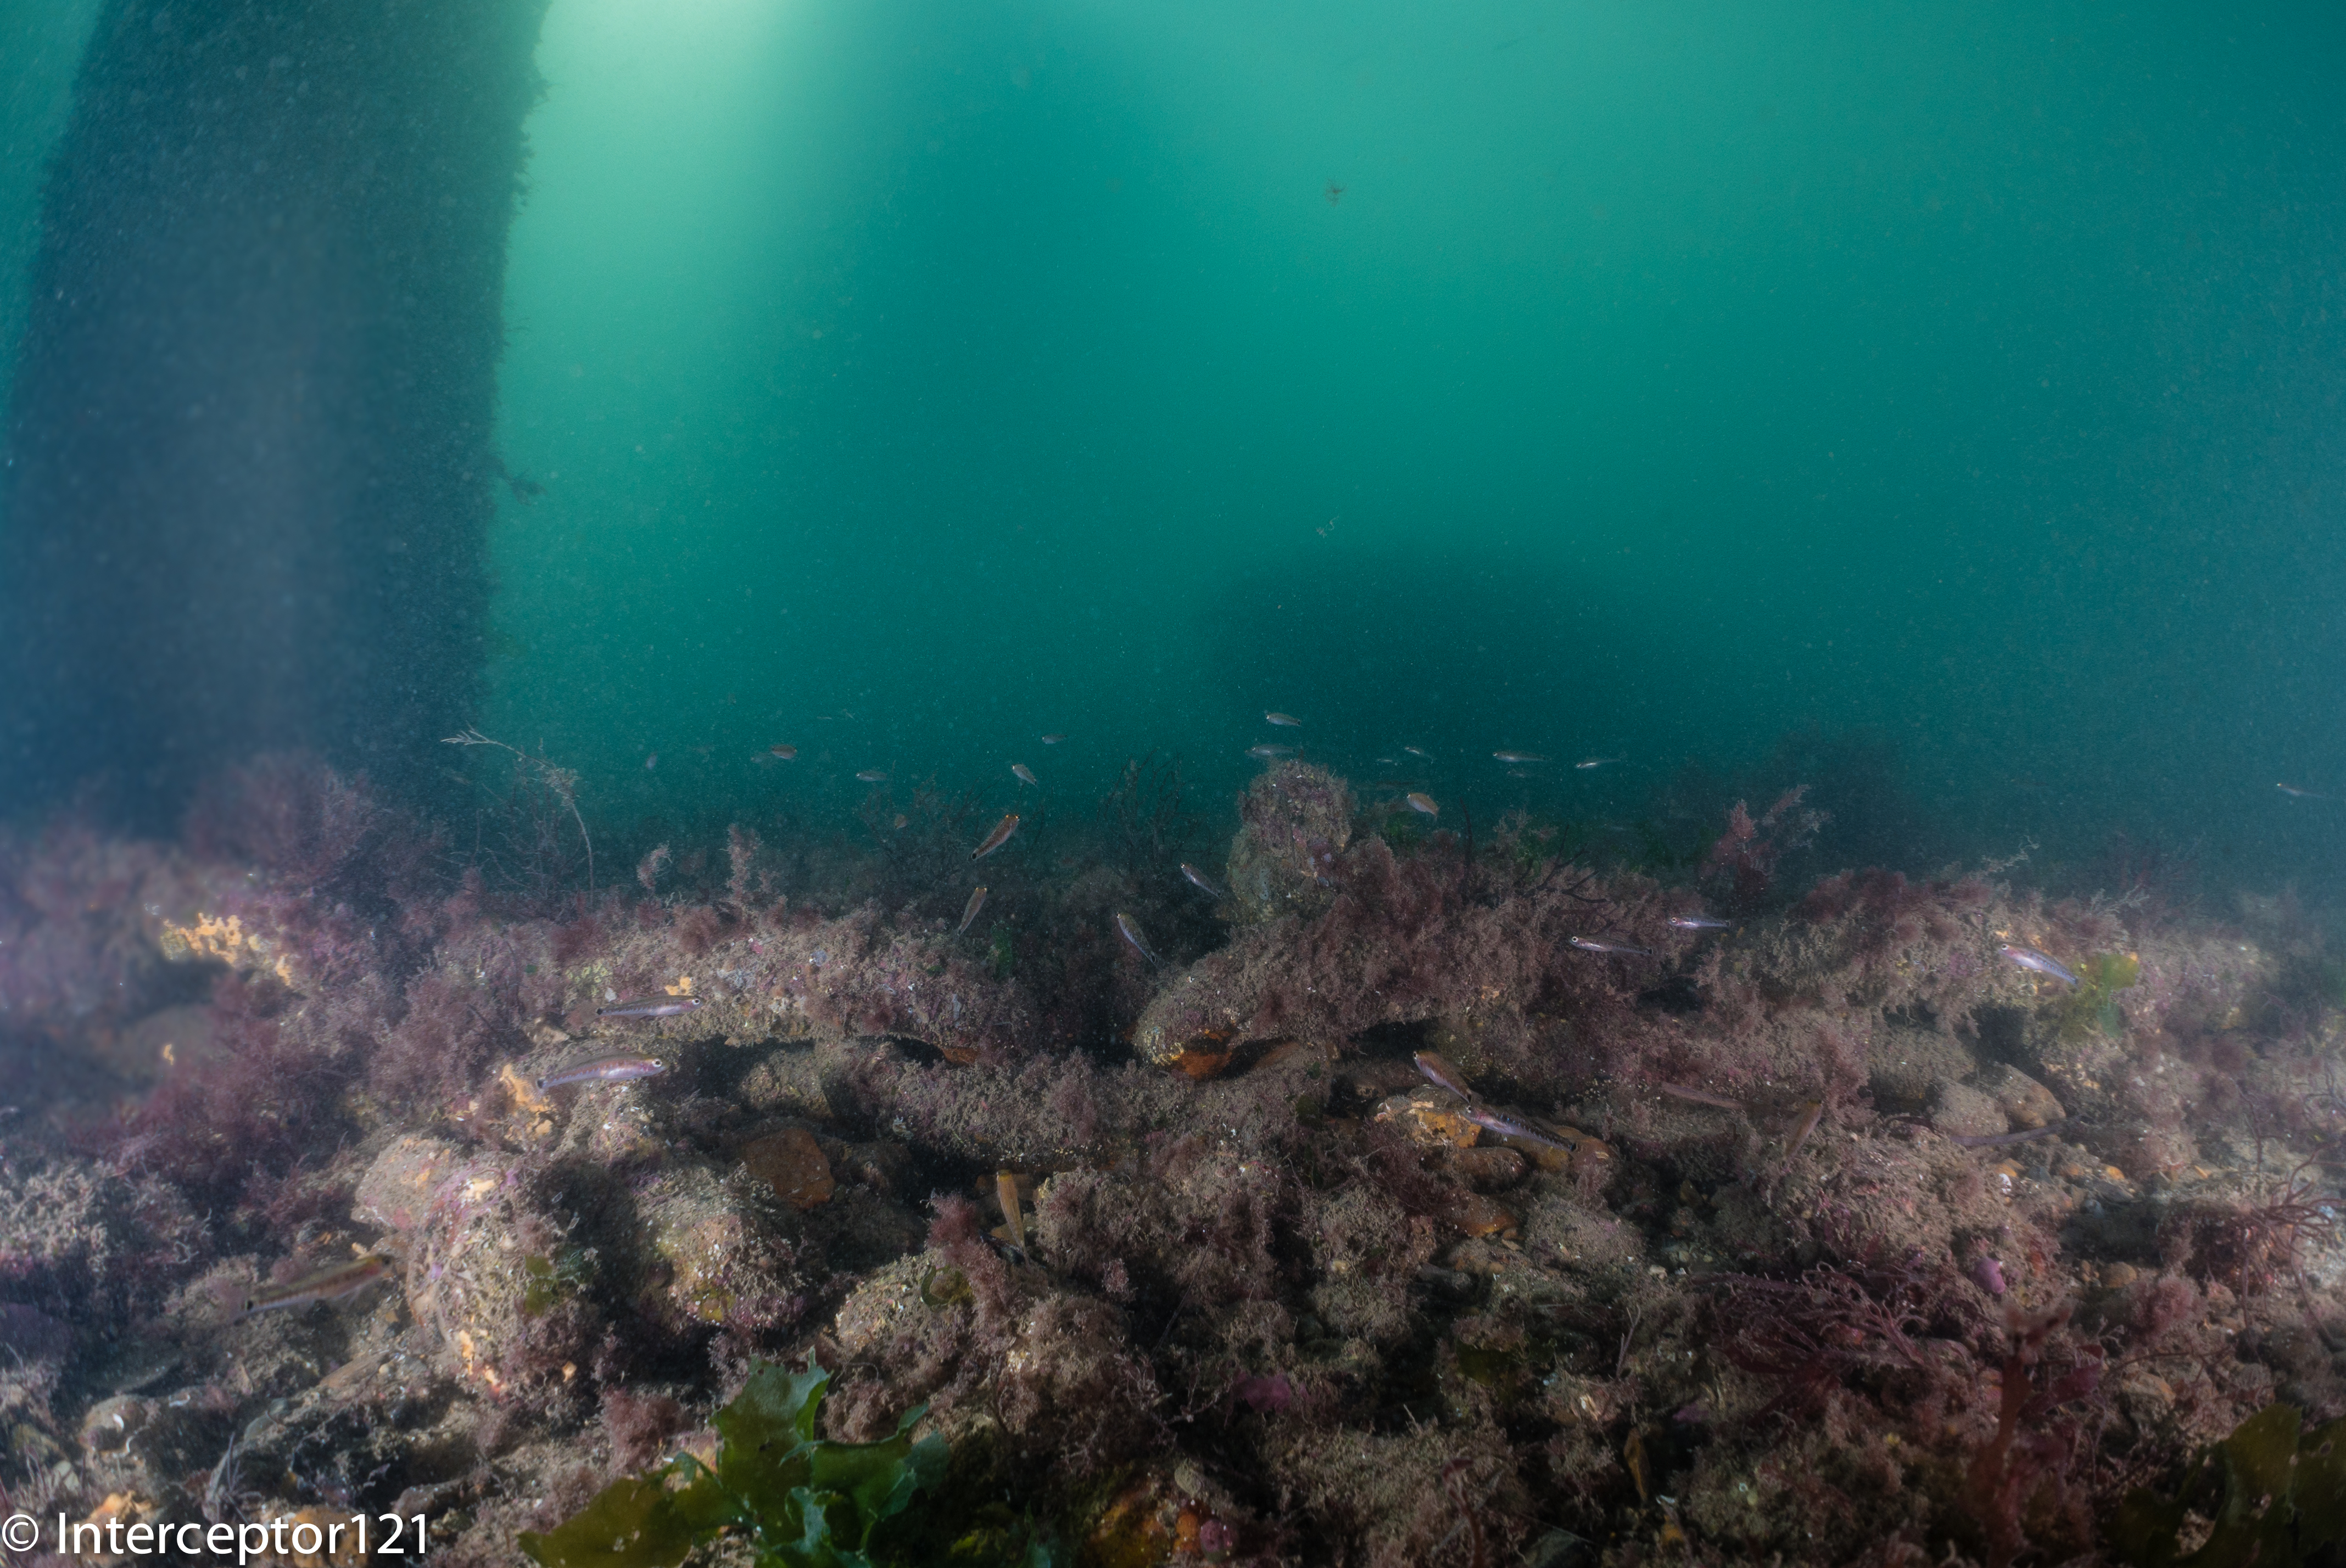
Diving Conditions
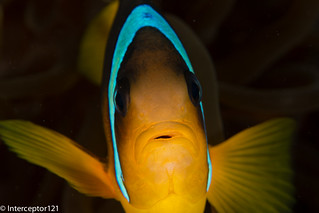
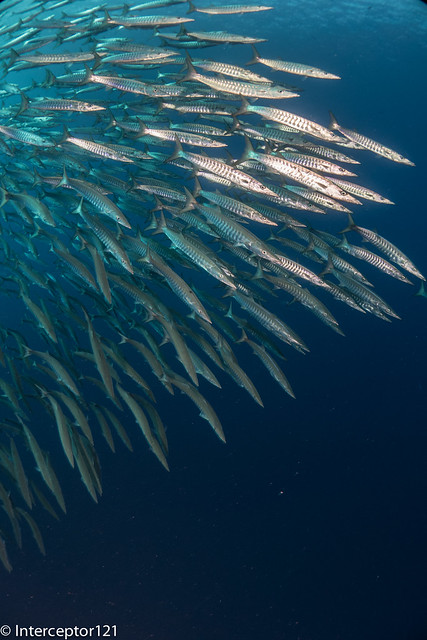
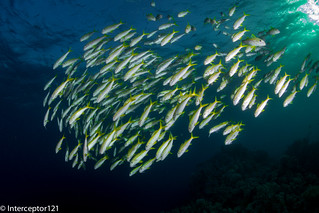
To understand how those variables play we can see how the same set up reacts very differently in scene where there is less light and therefore the camera uses high ISO like this one.
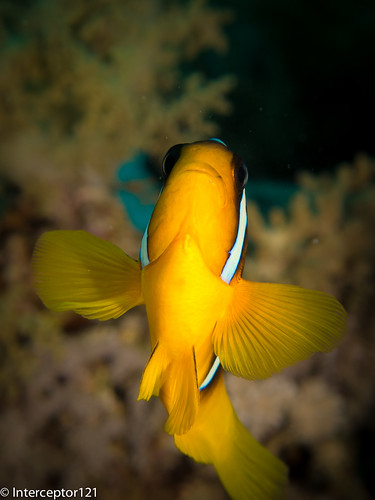
The same camera with exactly the same equipment in brighter water produces this
So the reason for the above is that with less light there are less colours and the clip looks what it is really.
OK moving on to the main subject of this post how do I get the colors right? It is a combination of techniques and the trick is to use the right one in the right conditions.
Generally every site has specific conditions that change depending on weather, time of the day, visibility and other factors. So in broad terms a site will have more or less light and therefore more or less colours. It is therefore impossible to categorically define what to do at a given depth but is more about typical values. With this in mind we have typically 3 scenarios:
- Ambient light shots
- Artificial light shots
- Balanced light shots
Close up Shots
In general close up shots especially of small subject fall within the scenario 2 for which a video light with high color rendering is important as this will define the colours you see. With a lot of power it is possible to extend artificial lighting to larger subjects but eventually you run out of power due to distance or size of the subject.
Wide angle shots and seascapes
True wide angle shots are generally ambient light shots which also means when it gets too dark the colors will be missing and it will look blue not matter the equipment.
In order to make the most of ambient light shots for wide angle it is essential to balance the colours in water even when you use a RAW format on a still image because RAW files are not as RAW as you think and are actually compressed.
Custom White Balance
Using Custom White balance with a grey card it is possible to obtain decent results until the camera hits the maximum color temperature in the case of the Panasonic GH5 this is 9900K. Depending on conditions you may get to 10-12 meters and this still works, in darker water this stops working much sooner.
Color Filters
Color filters push the limit of custom white balance further down. Some add more or less 4 meters others up to 6-8 meters at the expense of an overall loss of light. Filters are useful when there is a lot of light because also help to keep the Panasonic Gh5 in the best aperture range (not smaller than f/11)
Right now there are predominantly 3 filters on the market:
- UR PRO
- Magic filter
- Keldan Spectrum
All those filters will improve the performance and color rendering of your footage, under the conditions that the loss of light is not pushing the camera above reasonable ISO values.
In terms of depth range the magic filter and the Keldan Spectrum -2 version can be pushed to 15 meters depth on a bright day in clear water. The URPRO is capable of getting a few meters more down to around 17-18 meters although it does generate an orange cast (as there is no red left) it is still workable.
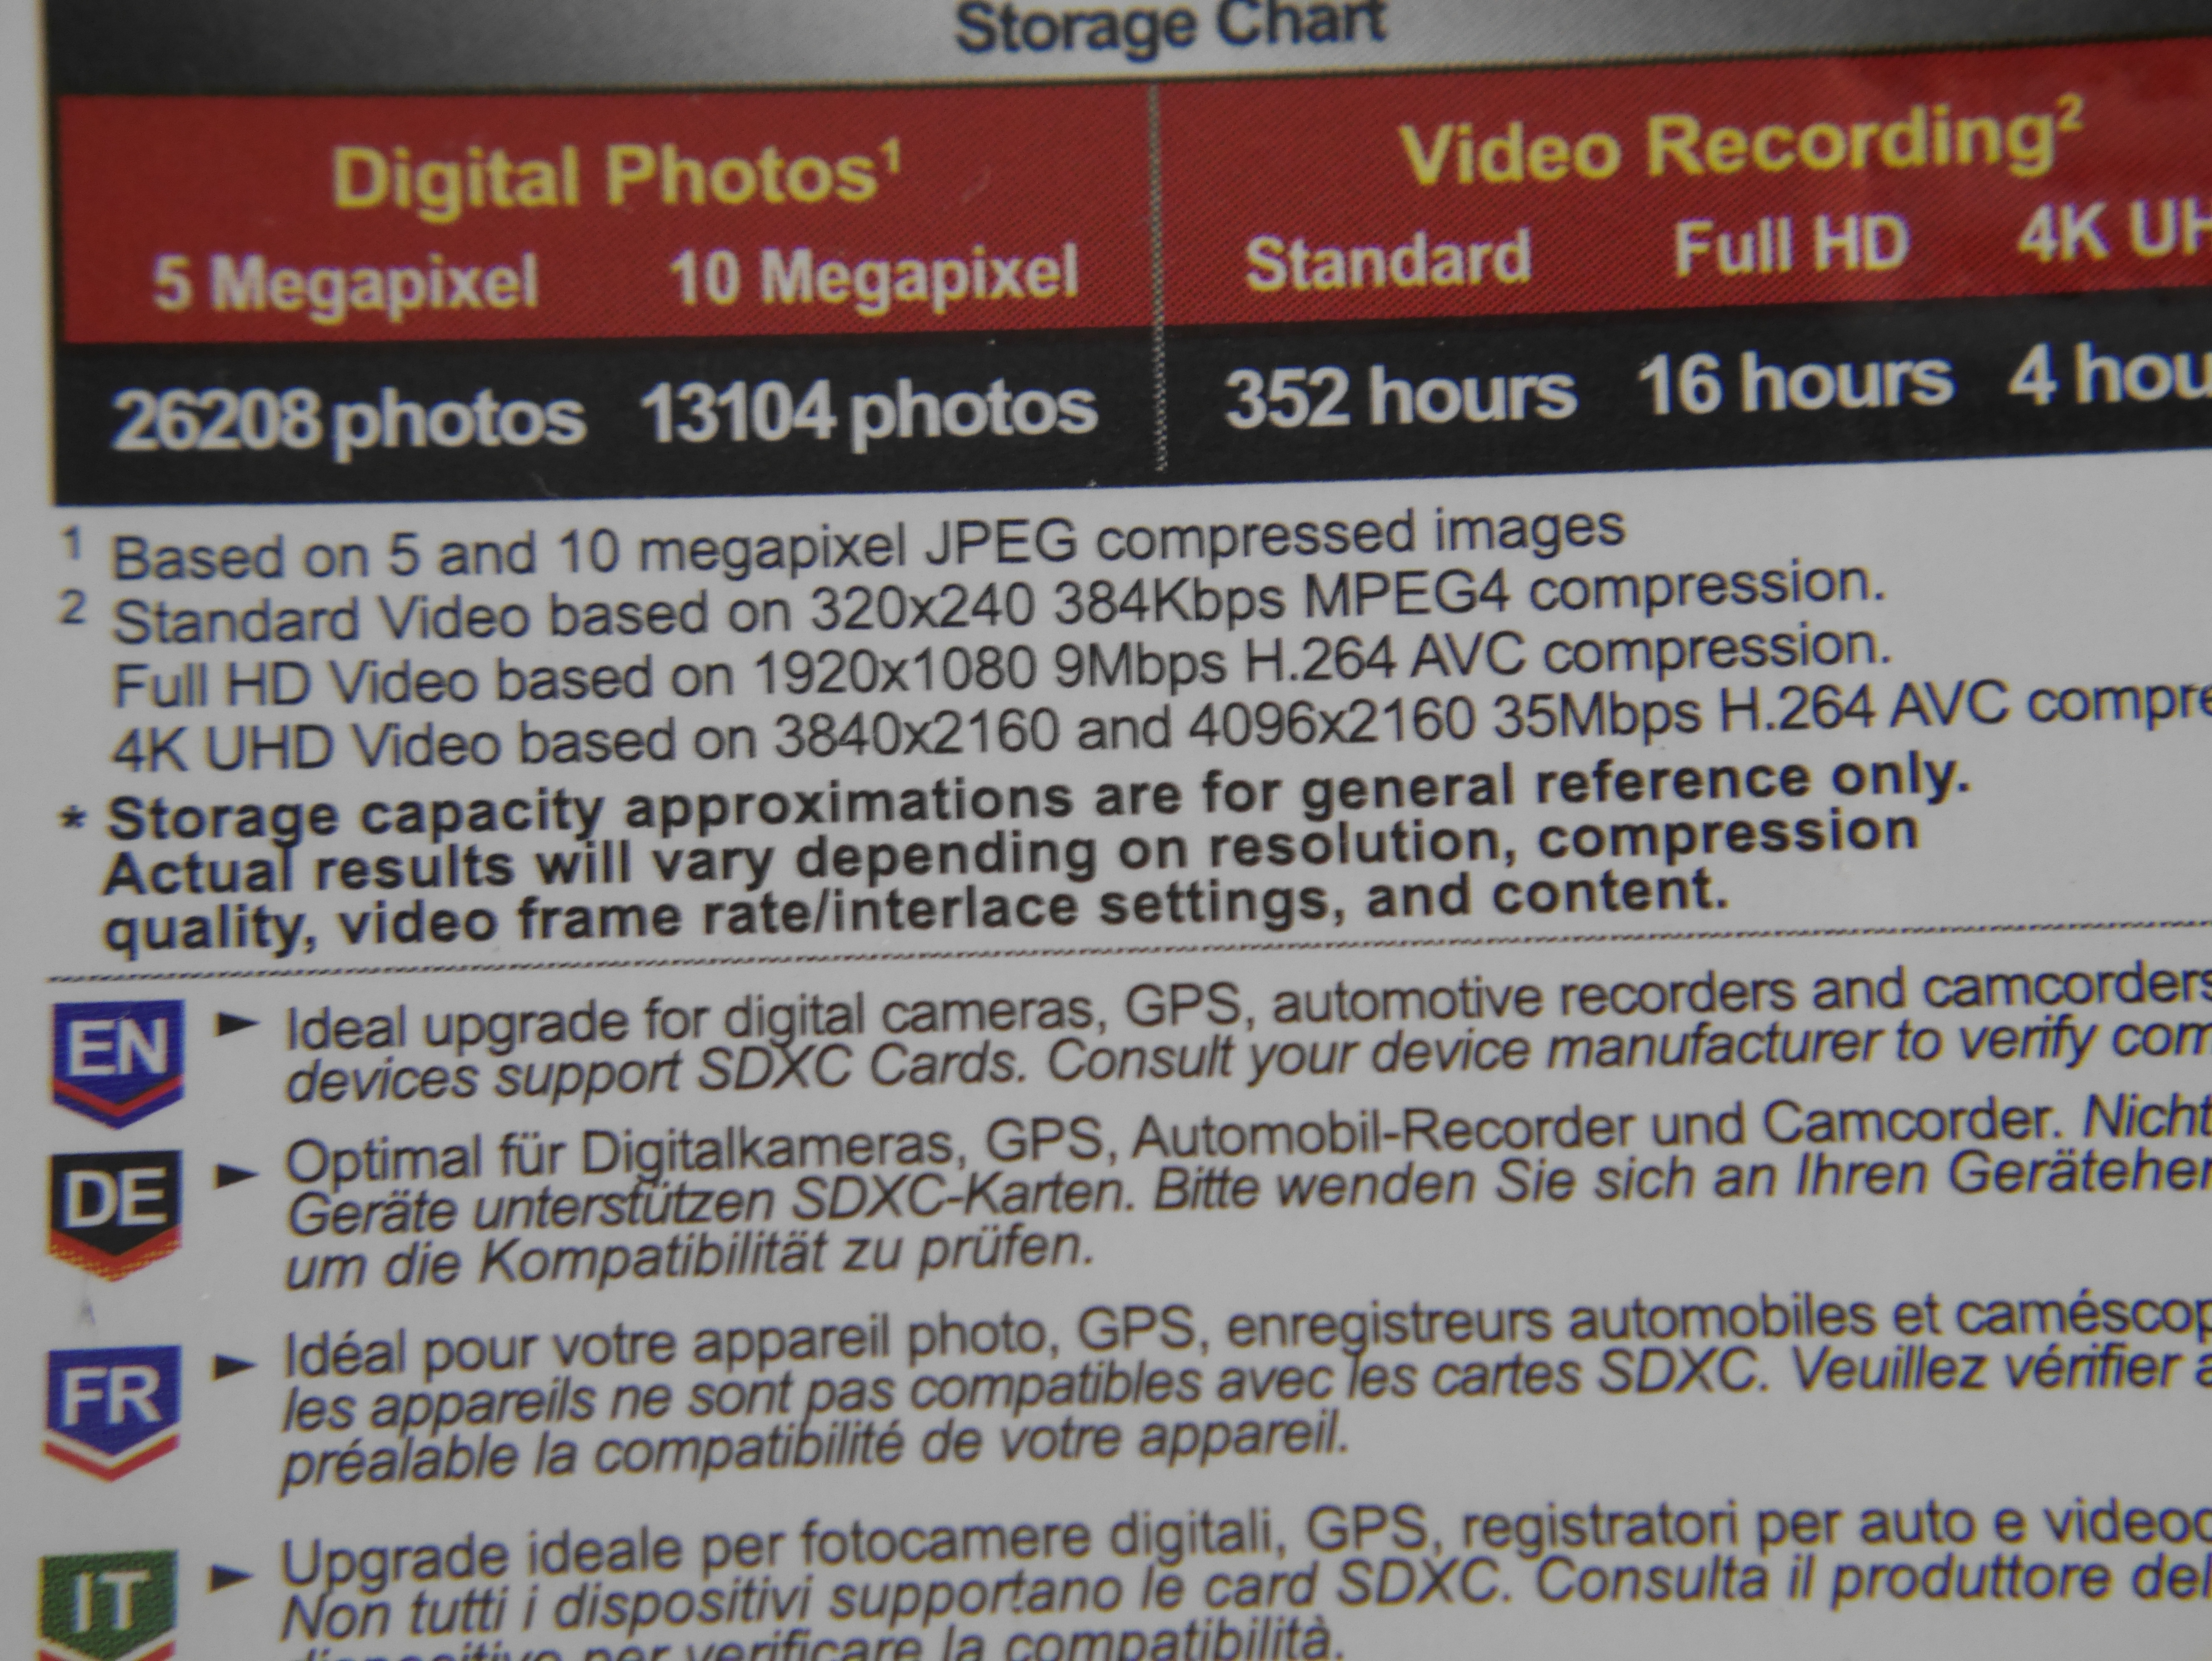
| Filter | Light Loss | Typical Max Depth |
| Magic Filter | 1 2/3 Ev | 15 meters |
| Keldan Spectrum -2 | 2 stop (WWL) | 15 meters |
| URPRO | 1 2/3 Ev | 18 meters |
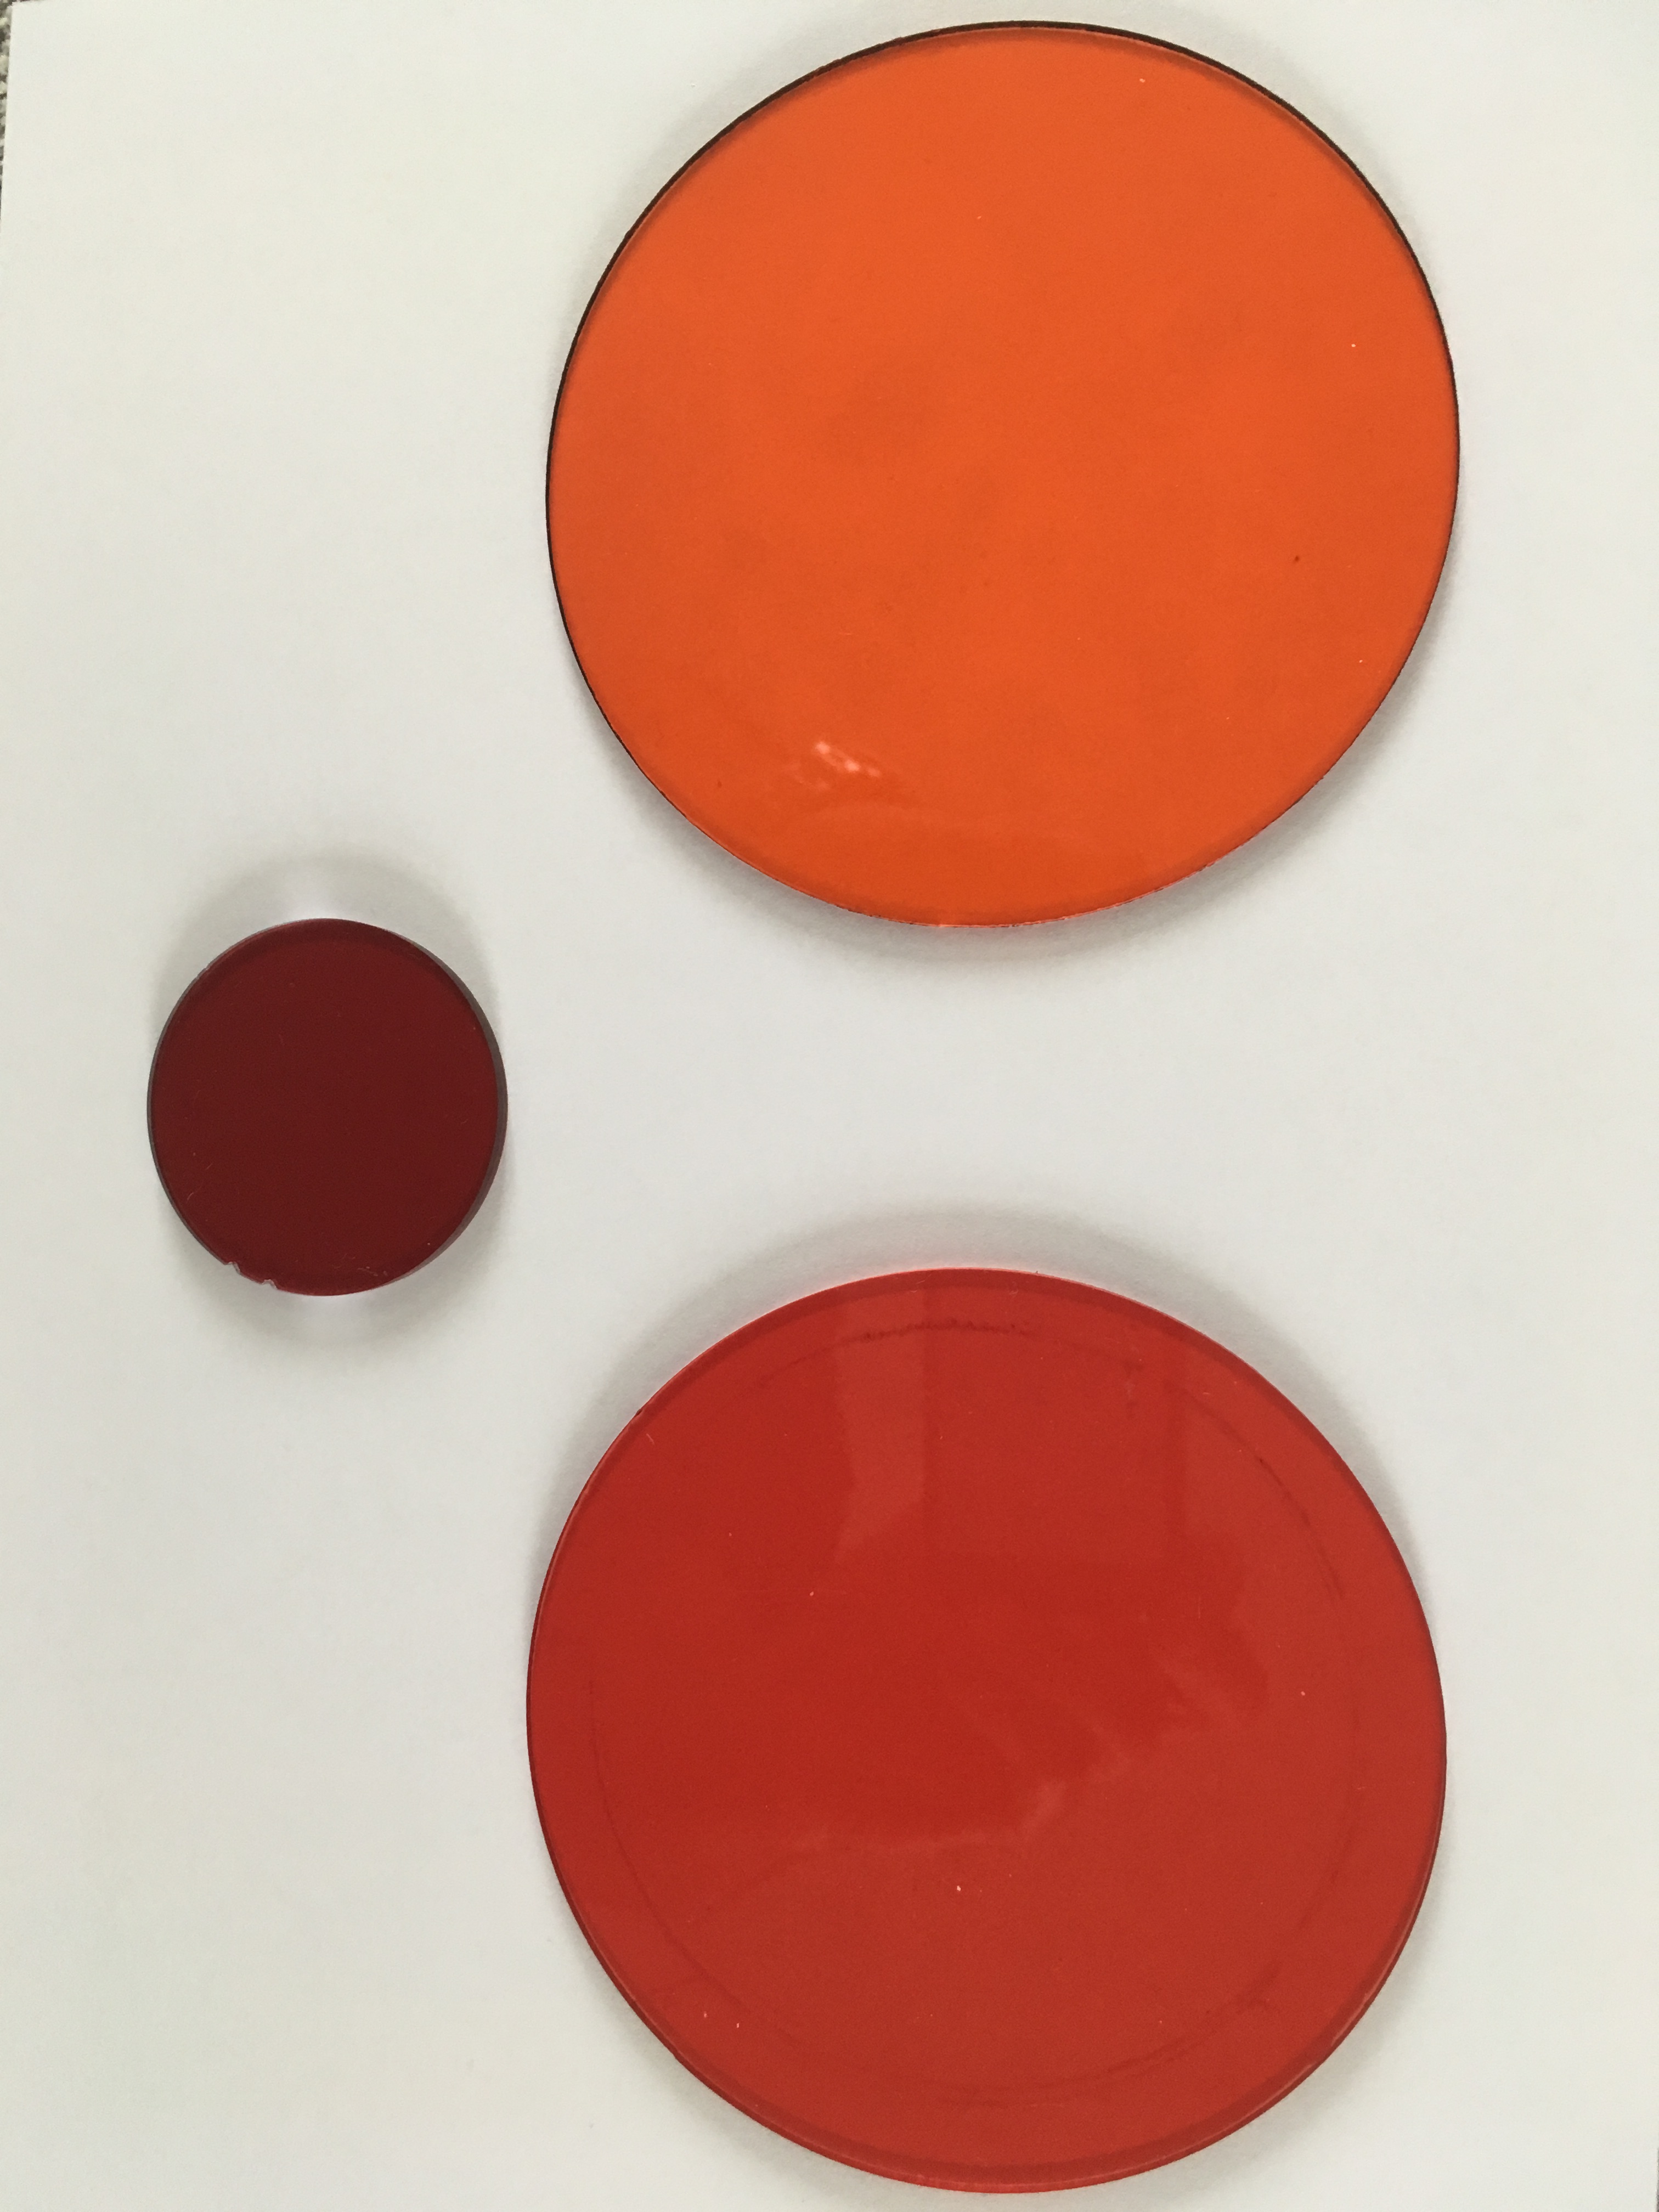
This image gives an idea of the 3 filters as you can see they are very different one from the other.
Balanced Wide Angle Shots
This is an entirely new technique that has started with the Keldan Ambient light filters. I wrote a whole piece on wetpixel
The principle is to use custom white balance with or without filter to obtain color rendering and then put filters on the video light so that the color of the light emulates the ambient light and therefore it only gives texture not color.
Keldan has developed a whole range of filters for various situation that match their light and therefore are not applicable to any other light.
As I do not own a set of Keldan I have done some tests and found that a gel of Cyan filter 2 or 3 stops makes my divepro G18+ practically ambient light in the conditions I dive into.
| Filter | Cyan Strength |
| Magic Filter | 2 stops |
| Keldan Spectrum | 2 stops |
| URPRO | 3 stops |
The above value are based on my experience use at your own risk especially with different lights.
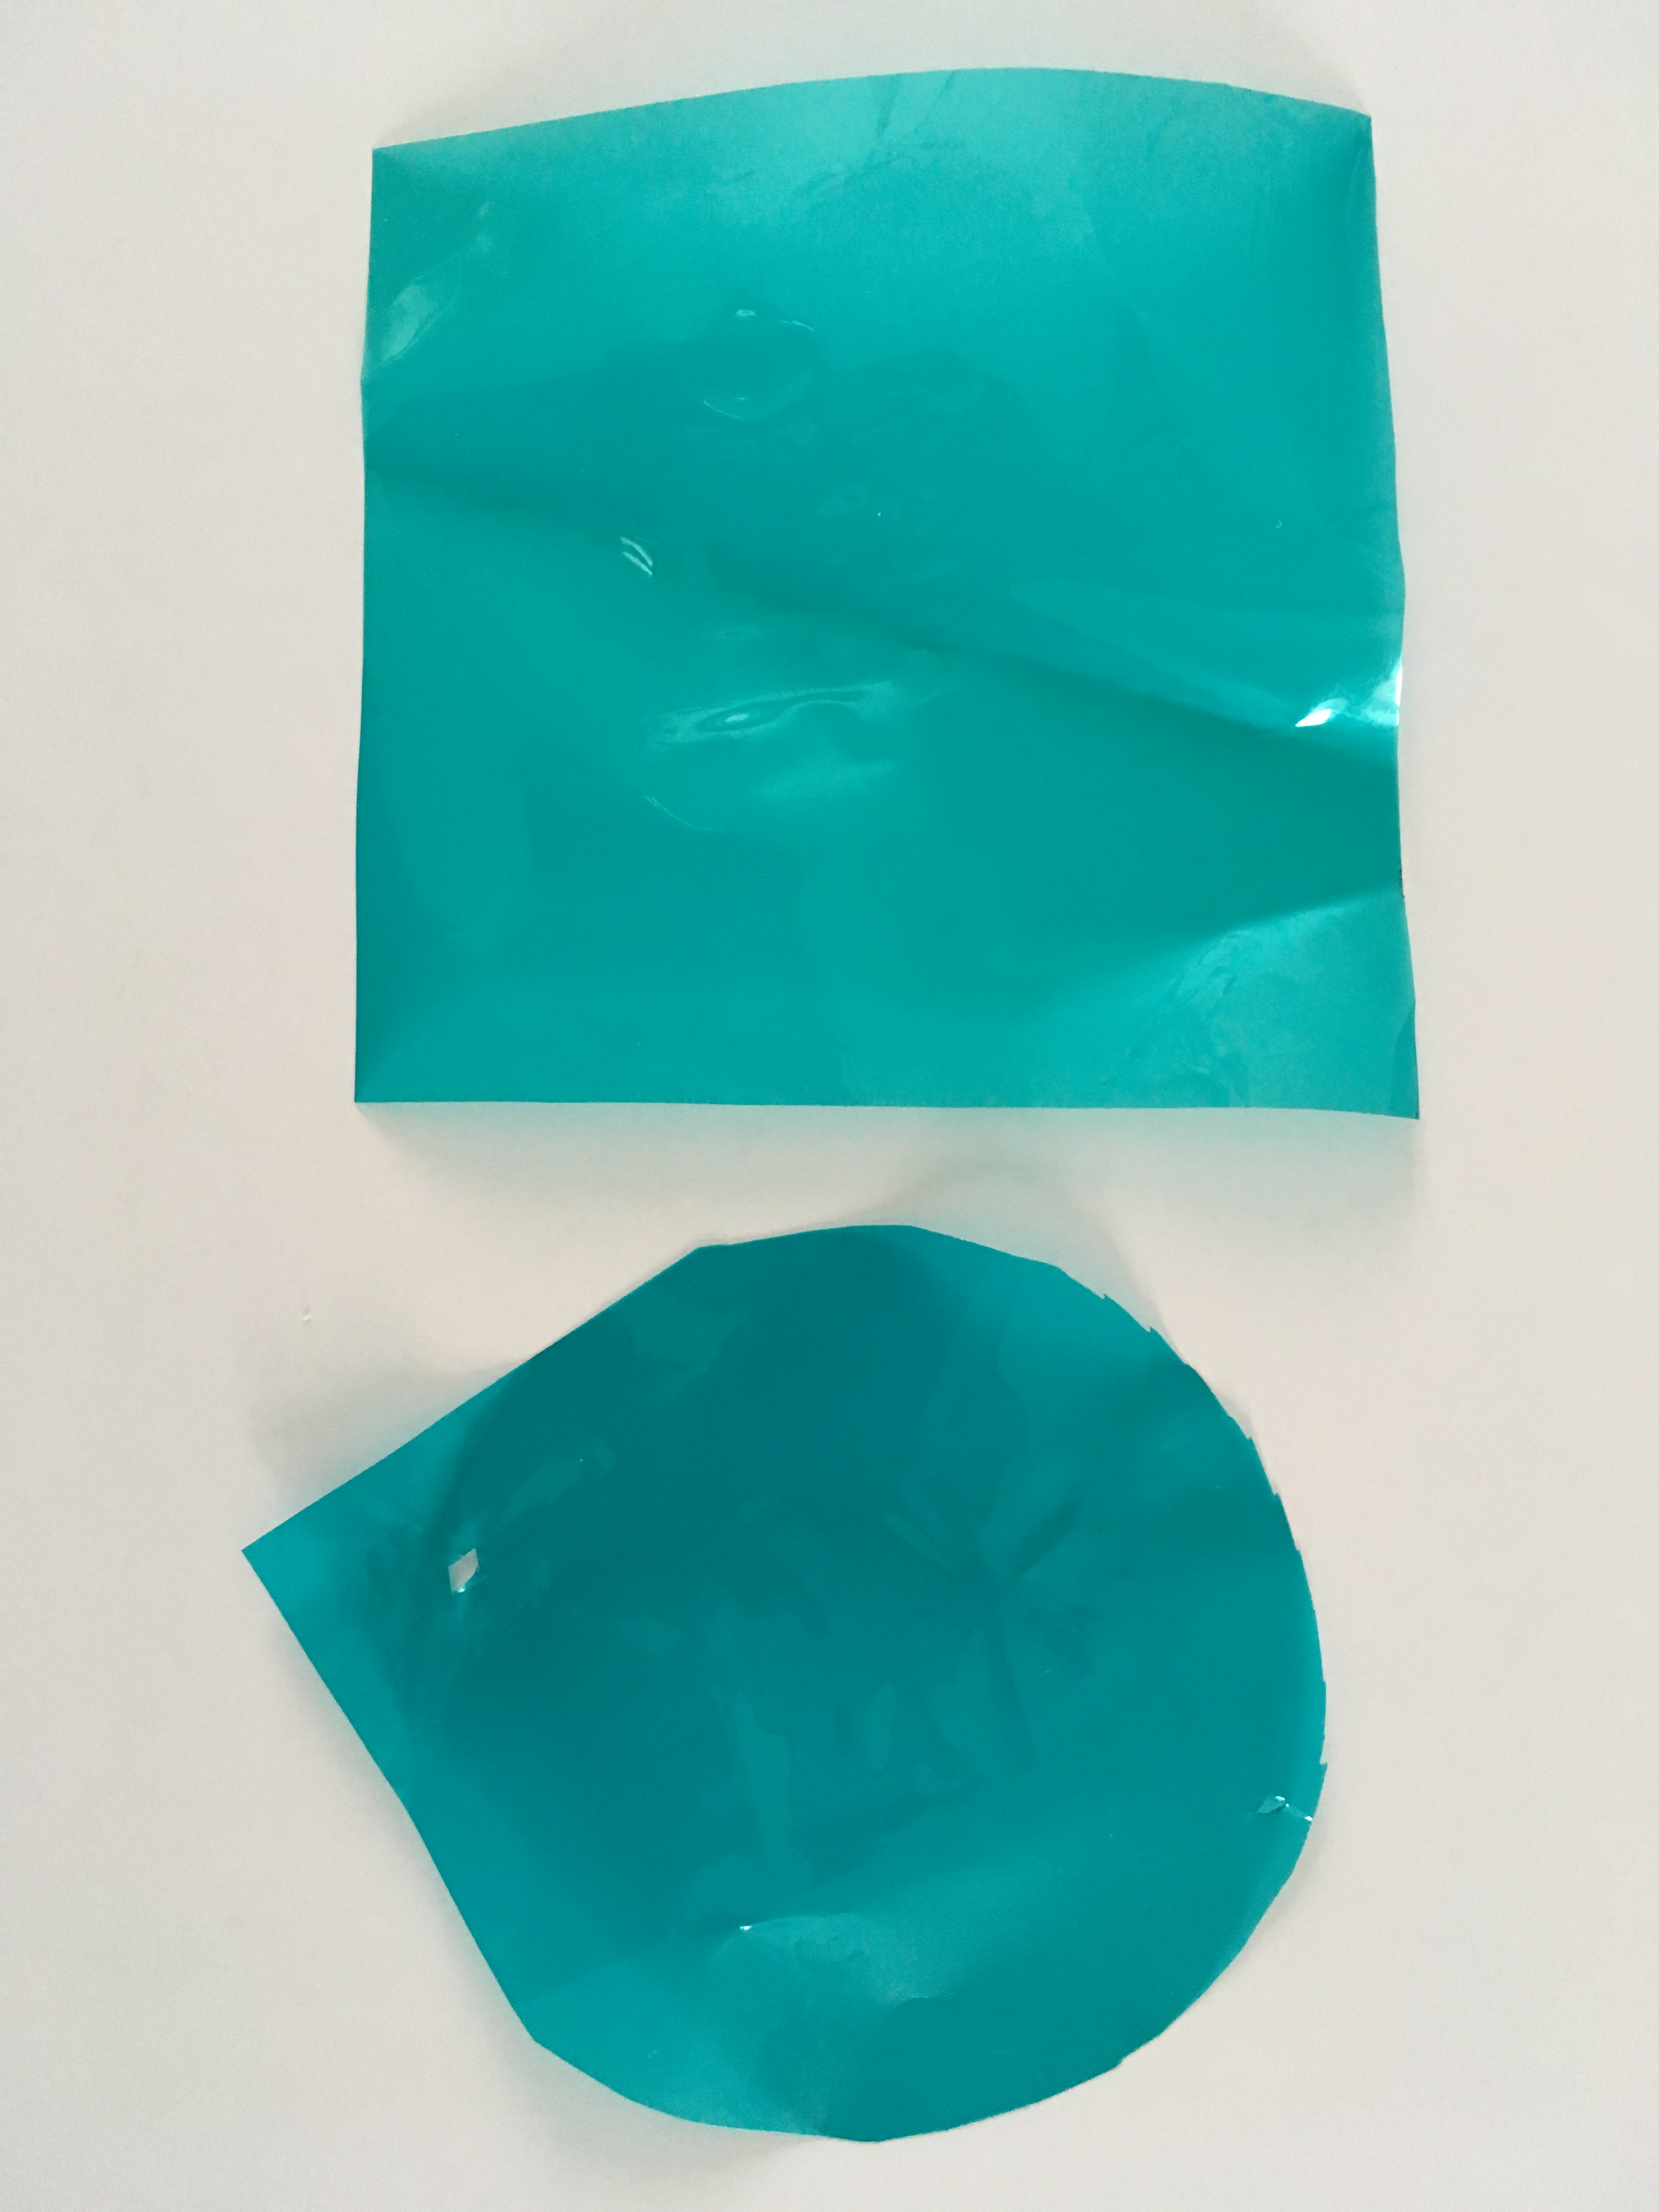
To give an idea I overlapped the filter to my iPhone lens
This is the shot without any filters

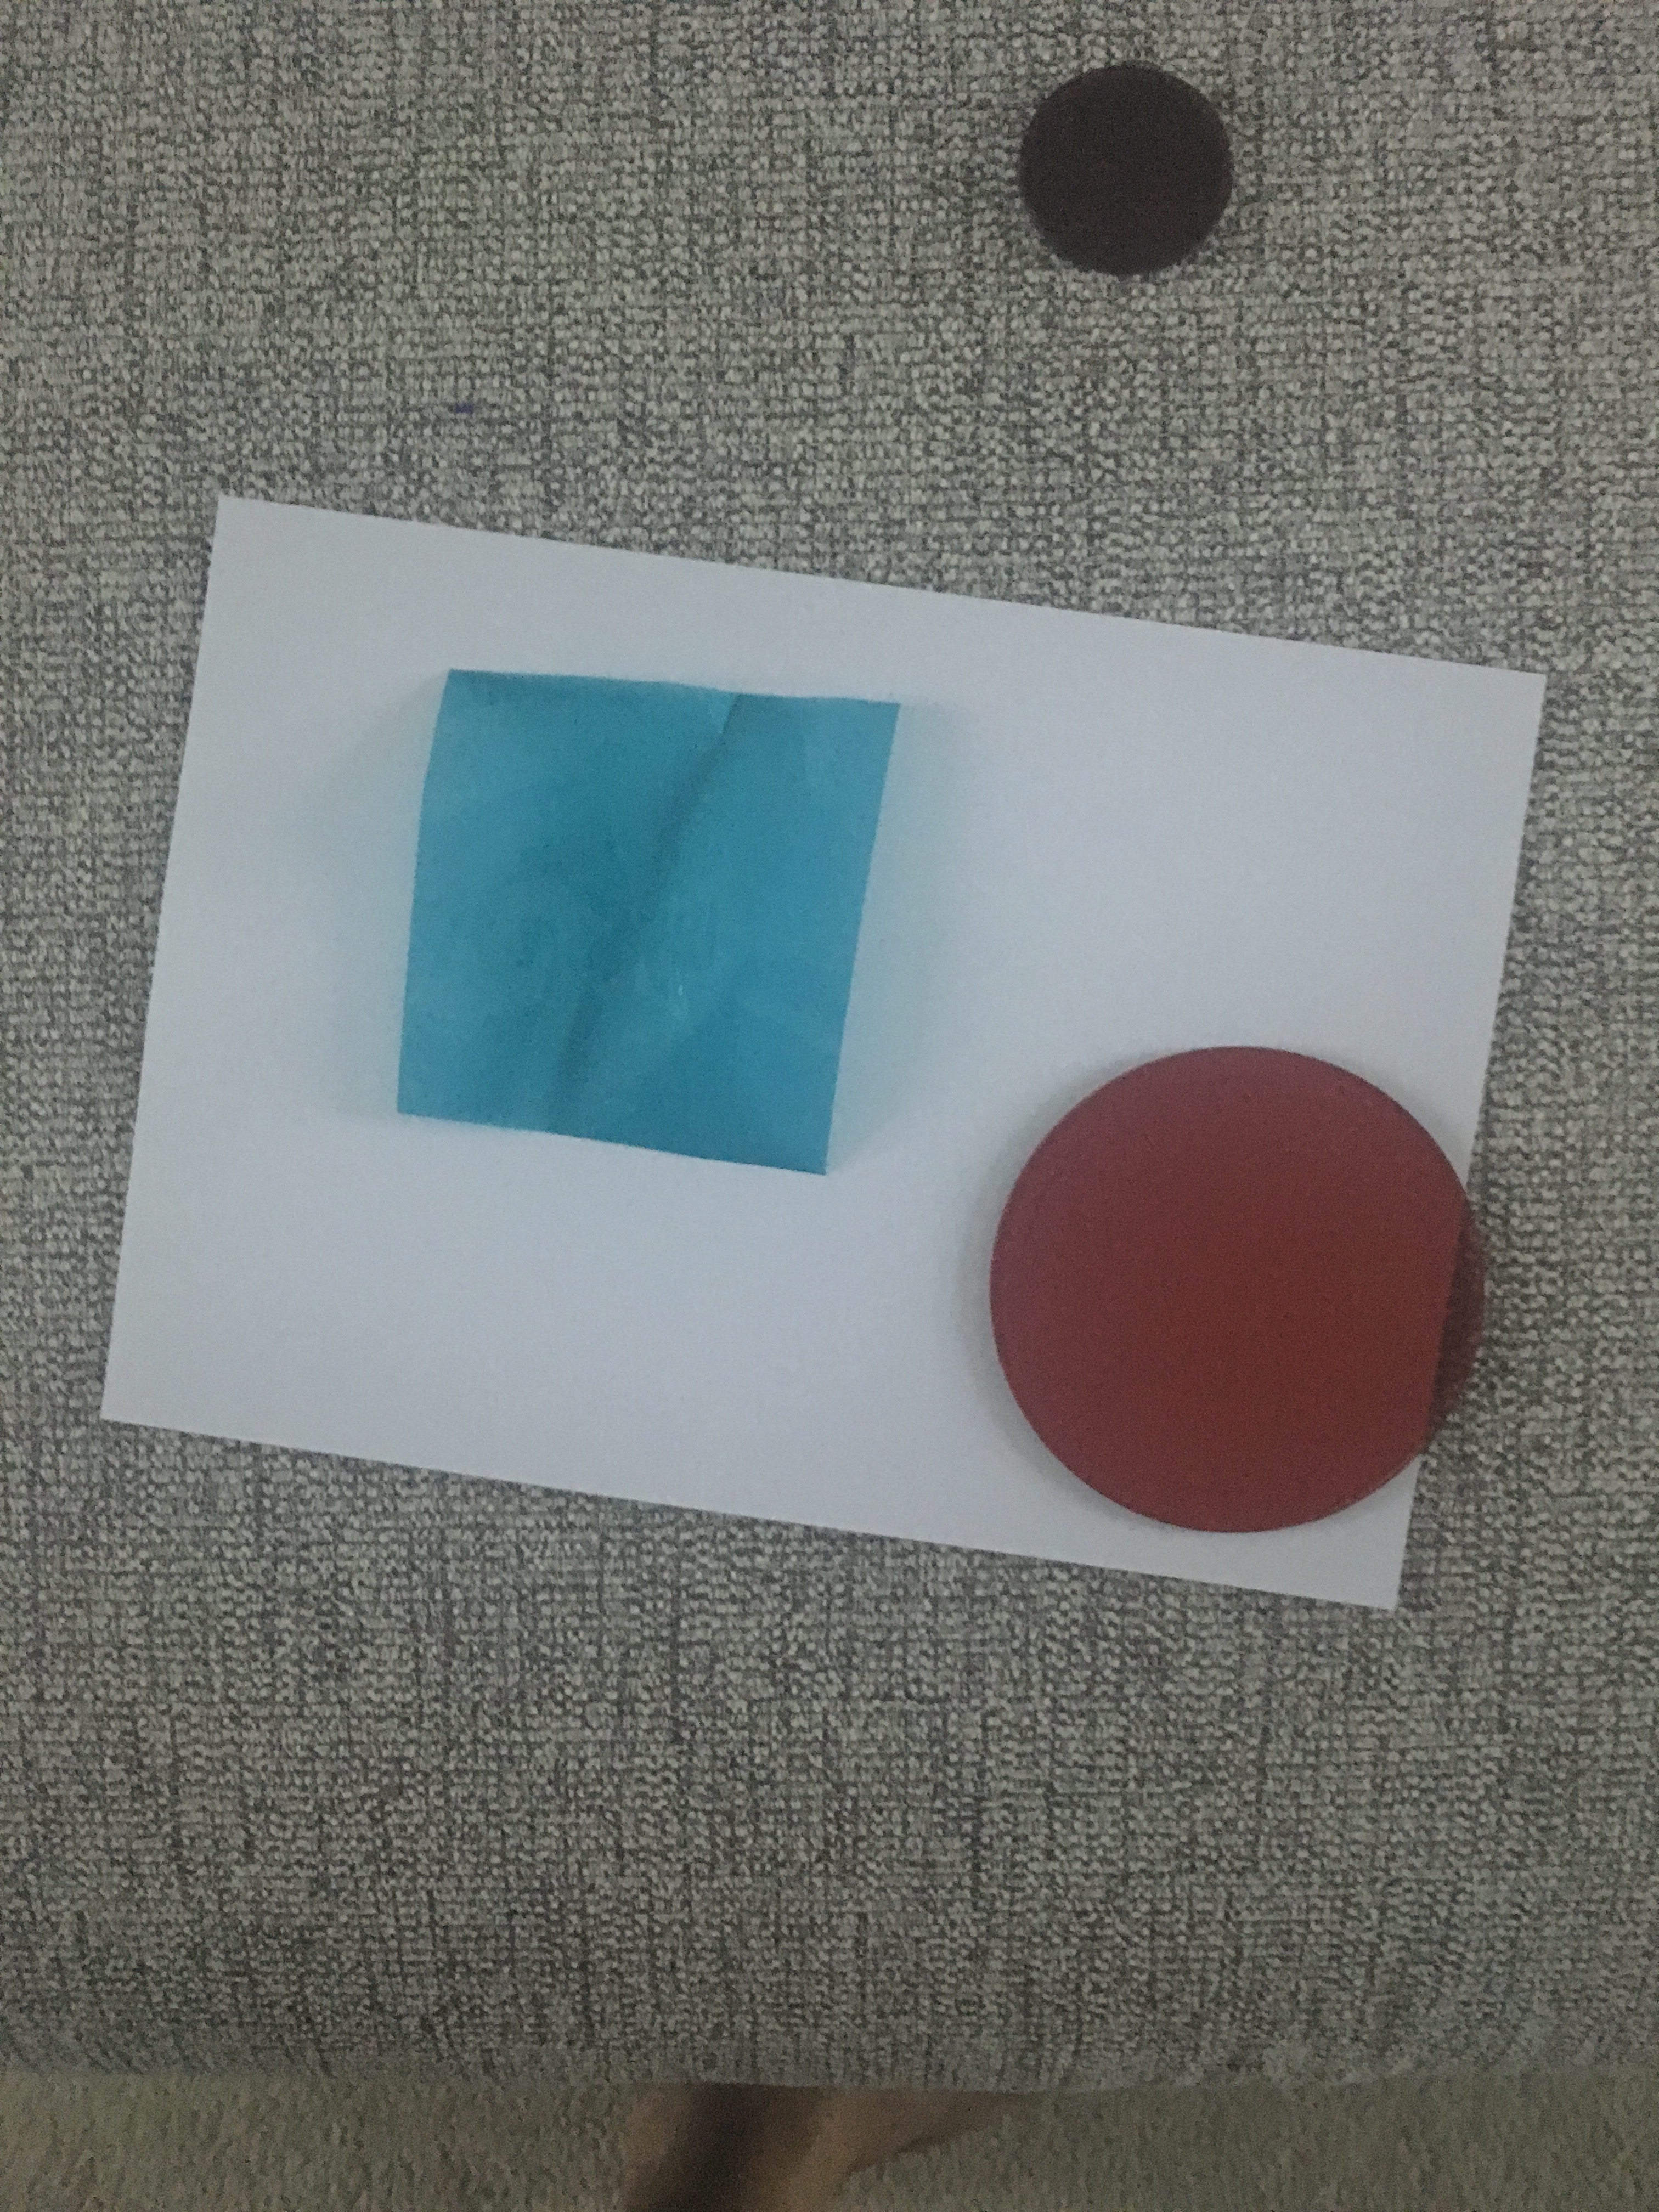


This example shows that the two filters cancel themselves the result is almost daylight with no cast which means in water if you use a video light or a strobe you will not see a red or orange spots on the image.
For those taking pictures the same combination remains true with Inon Z240 and Sea and Sea YS-D2
Example picture here
One thing to take into account is that you need to find a way to hold the gel on the video light or the strobes. The flat surface strobe diffusers make this process easy, finding something you can use with your video lights is not easy and also the gels may melt after continuous use.
Artificial lights
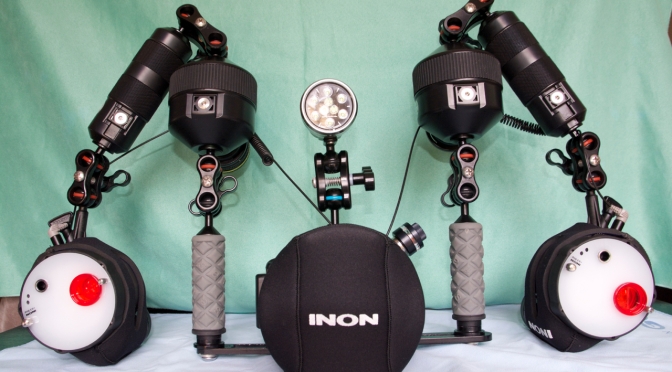
It comes a point and a depth where filters stop working, this could be as shallow as 8 meters in green water. As the scene is dark using lights is what is required. There is nothing specific about this technique except making sure you don’t get burned highlights or backscatter. As it happens in photography using long arms (maybe not as long as for stills) is key to get good lighting on your subject.
My Camera Settings
I use CineLike D with saturation, sharpness and noise reduction to -5. I shoot at 24/25p AVCI 400 mbps and follow the 180 rules, it is entirely possible to shoot at 1/100 if you like more crisp look.
Clearly there are people out there that do not like filters and think white balance is best etc but I think a good read on magic filters explains it all.