
So I finally had the opportunity to take the LX7 on a trip after some pool tests.
After my attempts last year with the Sony RX100 I was a bit skeptical that I could actually find something better for video but I think the LX7 beats it.
I put together a sample just to give an idea of equipment used and how it works, please note this is not altered in any way
http://vimeo.com/62838598
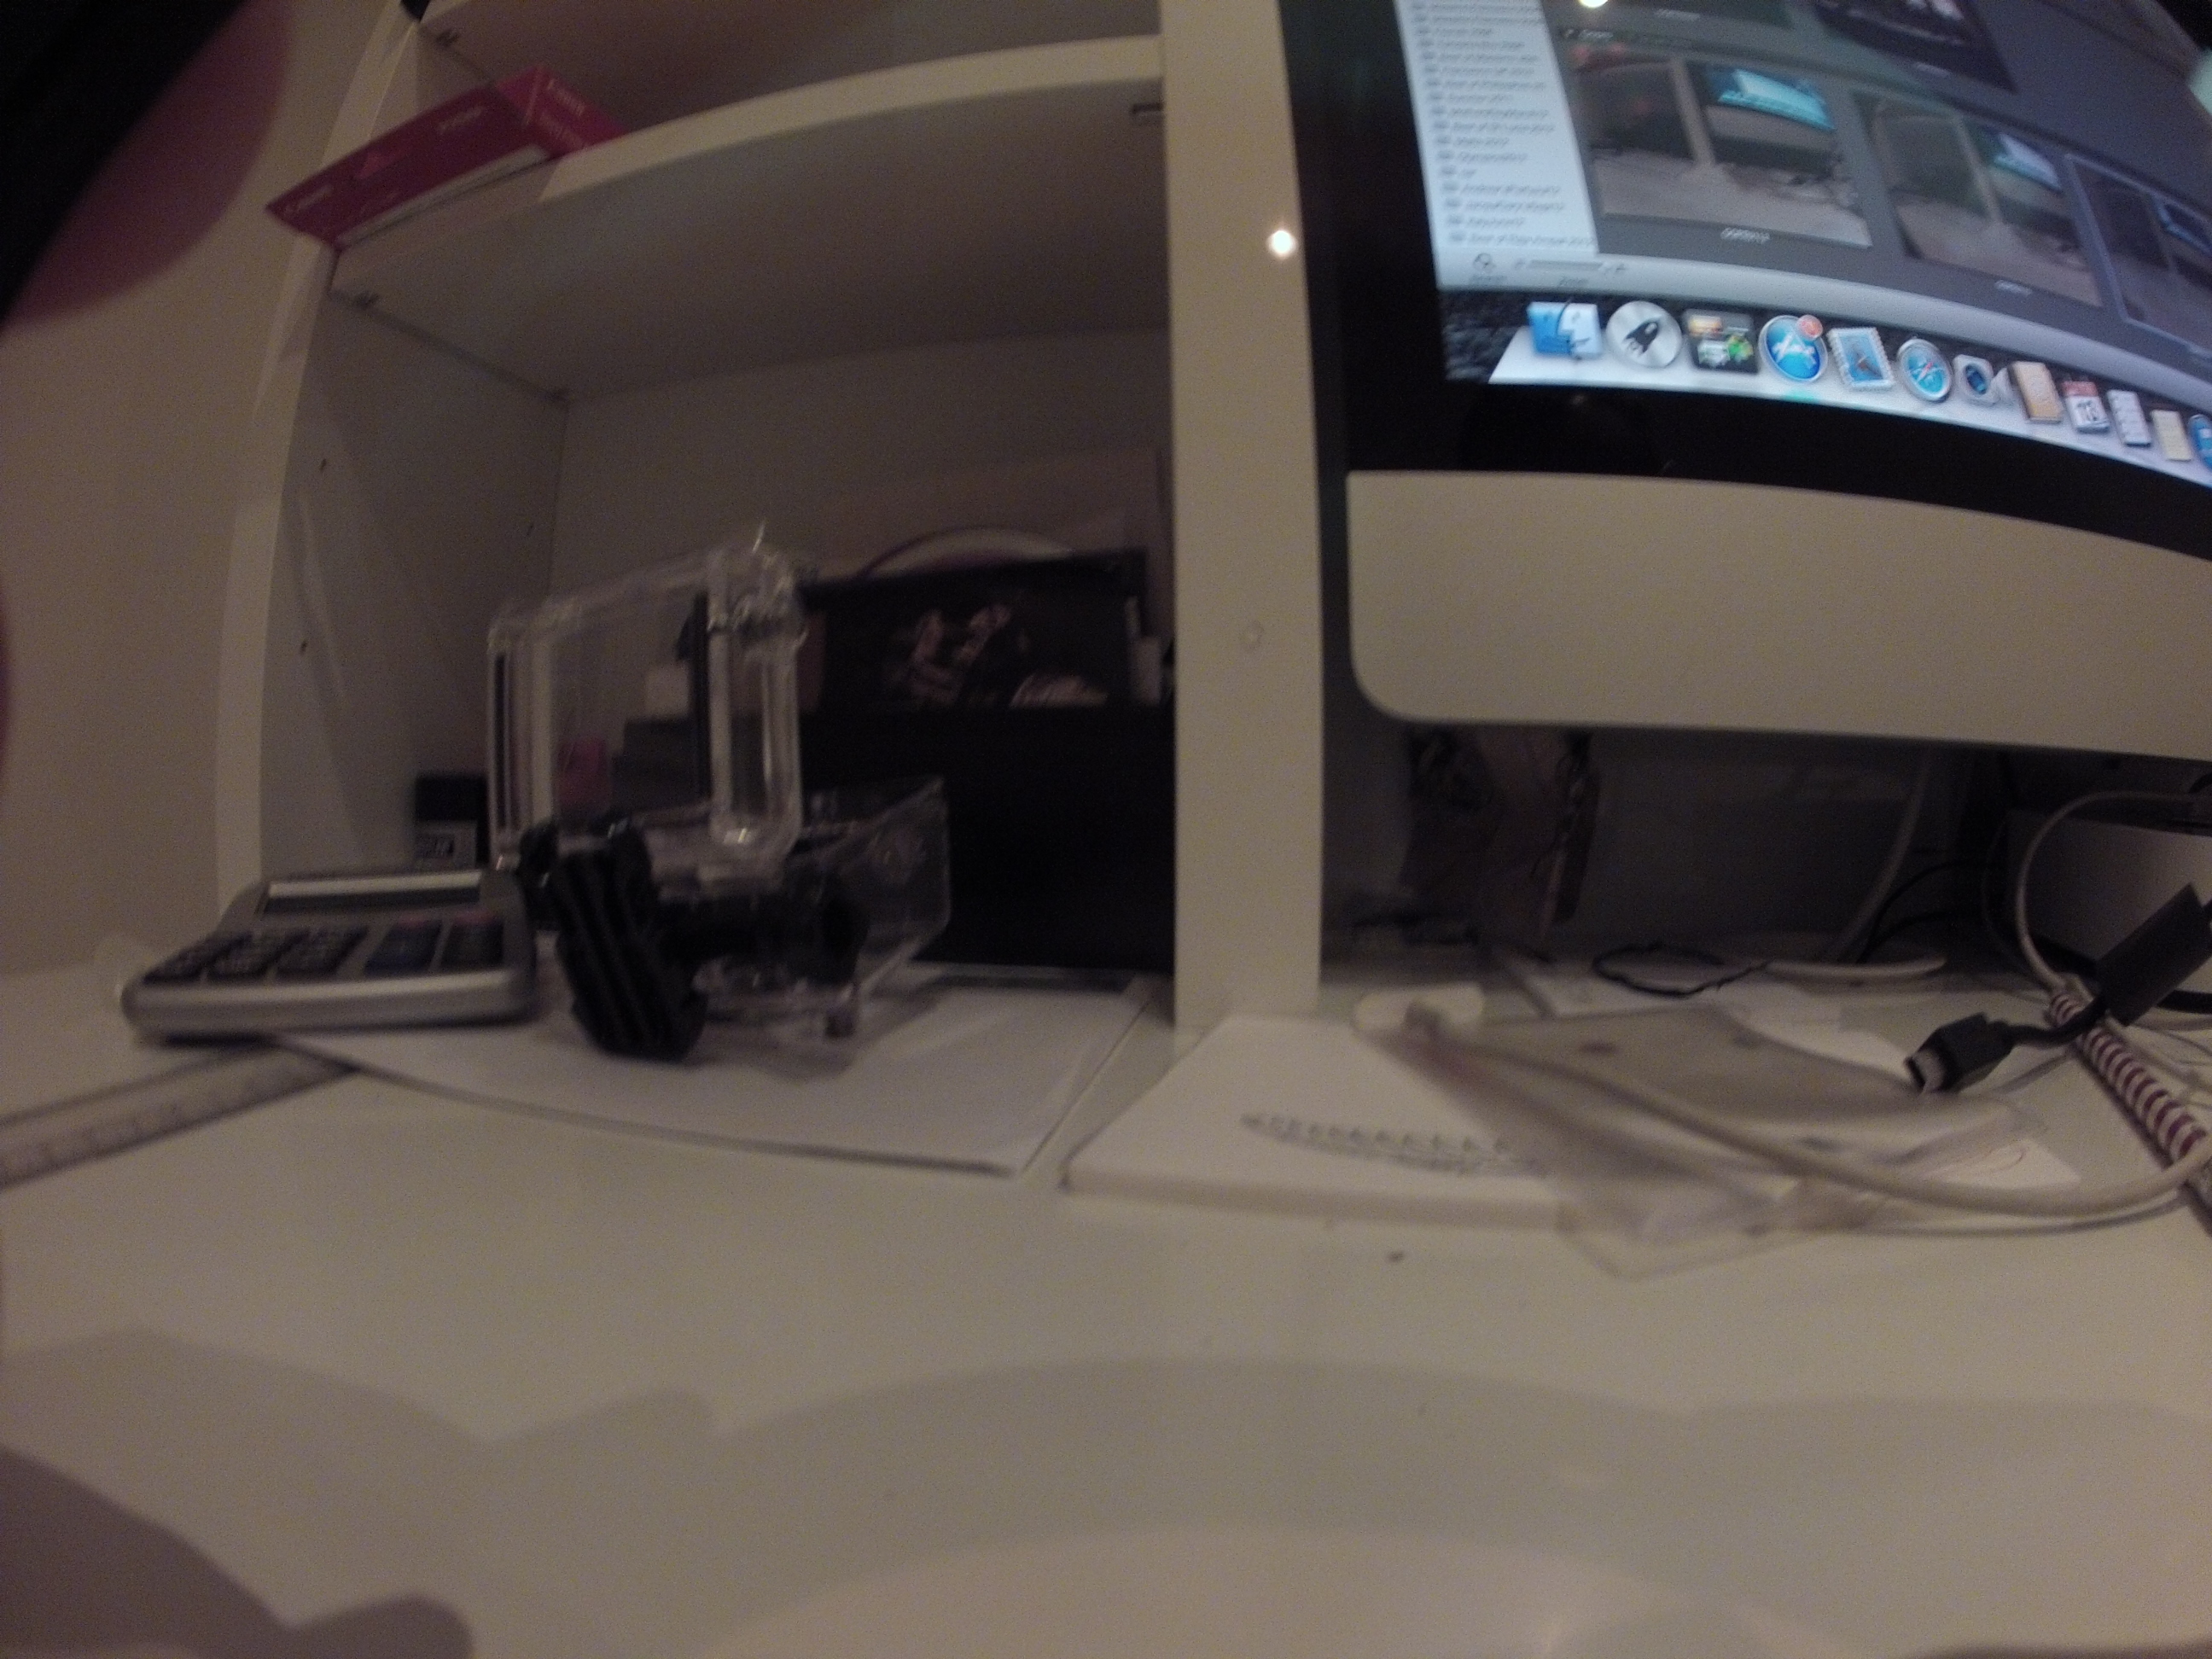
There is a picture of the rig in this blog on a specific page but let me confirm once again in detail
Panasonic LX7
Nauticam LX7 housing
Ultralight TR-DM tray with extension TR-DUP and two TR-DH handles without ball.
12 segments locline arms on 3/4″ mount base and reducer on the handles
Two sola 1200
Nauticam wet mate
Inon UCL165AD on bespoke M67 adapter
Inon UWL-H100 28M67
Inon M67 double lens holder on custom mount
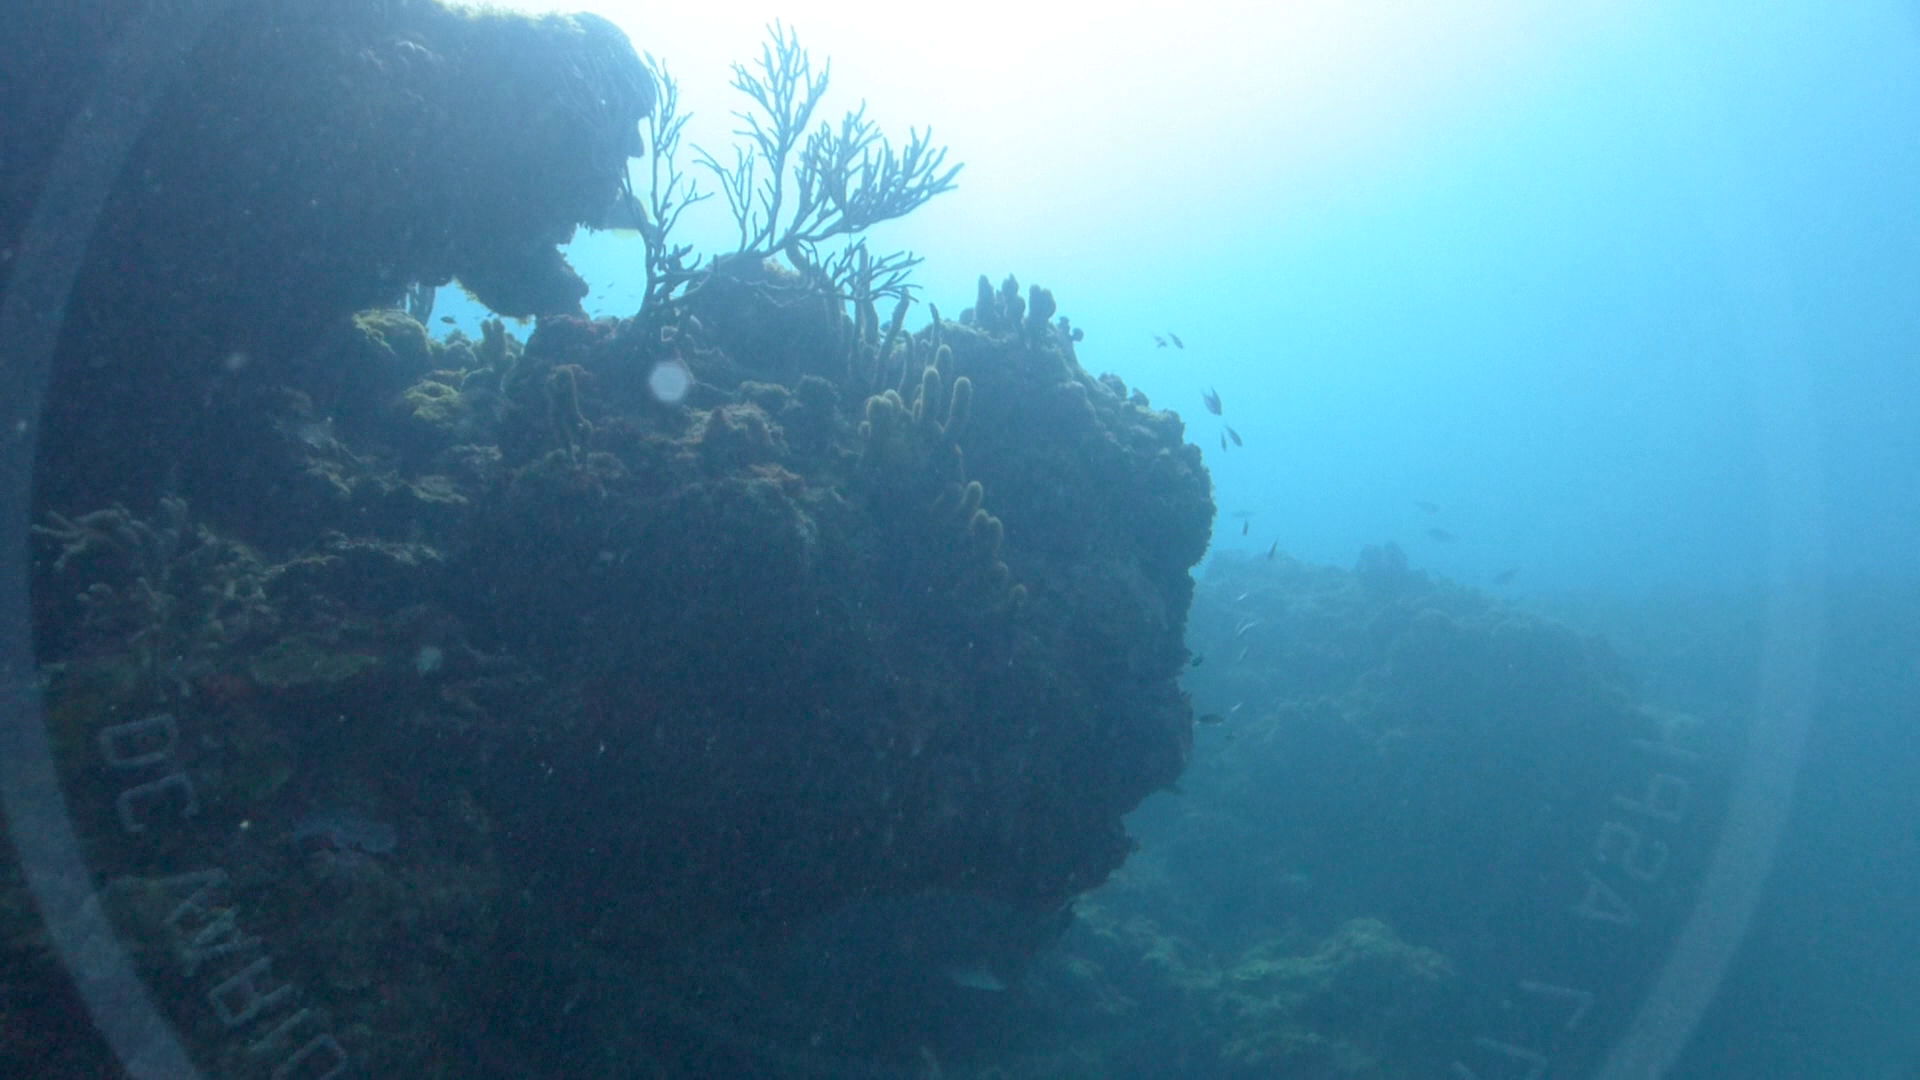
In a previous post I highlighted that for most the wet mate will be the only lens needed however I had some wreck dives and the 18mm of the Inon wide angle are more appropriate.
I also gave a try to the panasonic intelligent zoom that allows for 2x digital magnification and sharpening that for me works very well and you can see it in the footage. This allows a user with just the wet mate to further zoom without need of a close up lens or a use with a single +6 diopter to achieve super macro.
The frame height is less than 1cm
I found the white balance of the camera excellent on both my hand or sand. I had issues with my padi slate that many times returned a ‘scene too bright’ error. Maybe this is the reason why backscatter failed this camera for video?? Who knows.
You can see that even at 36 meters the colour are as good as they can be.

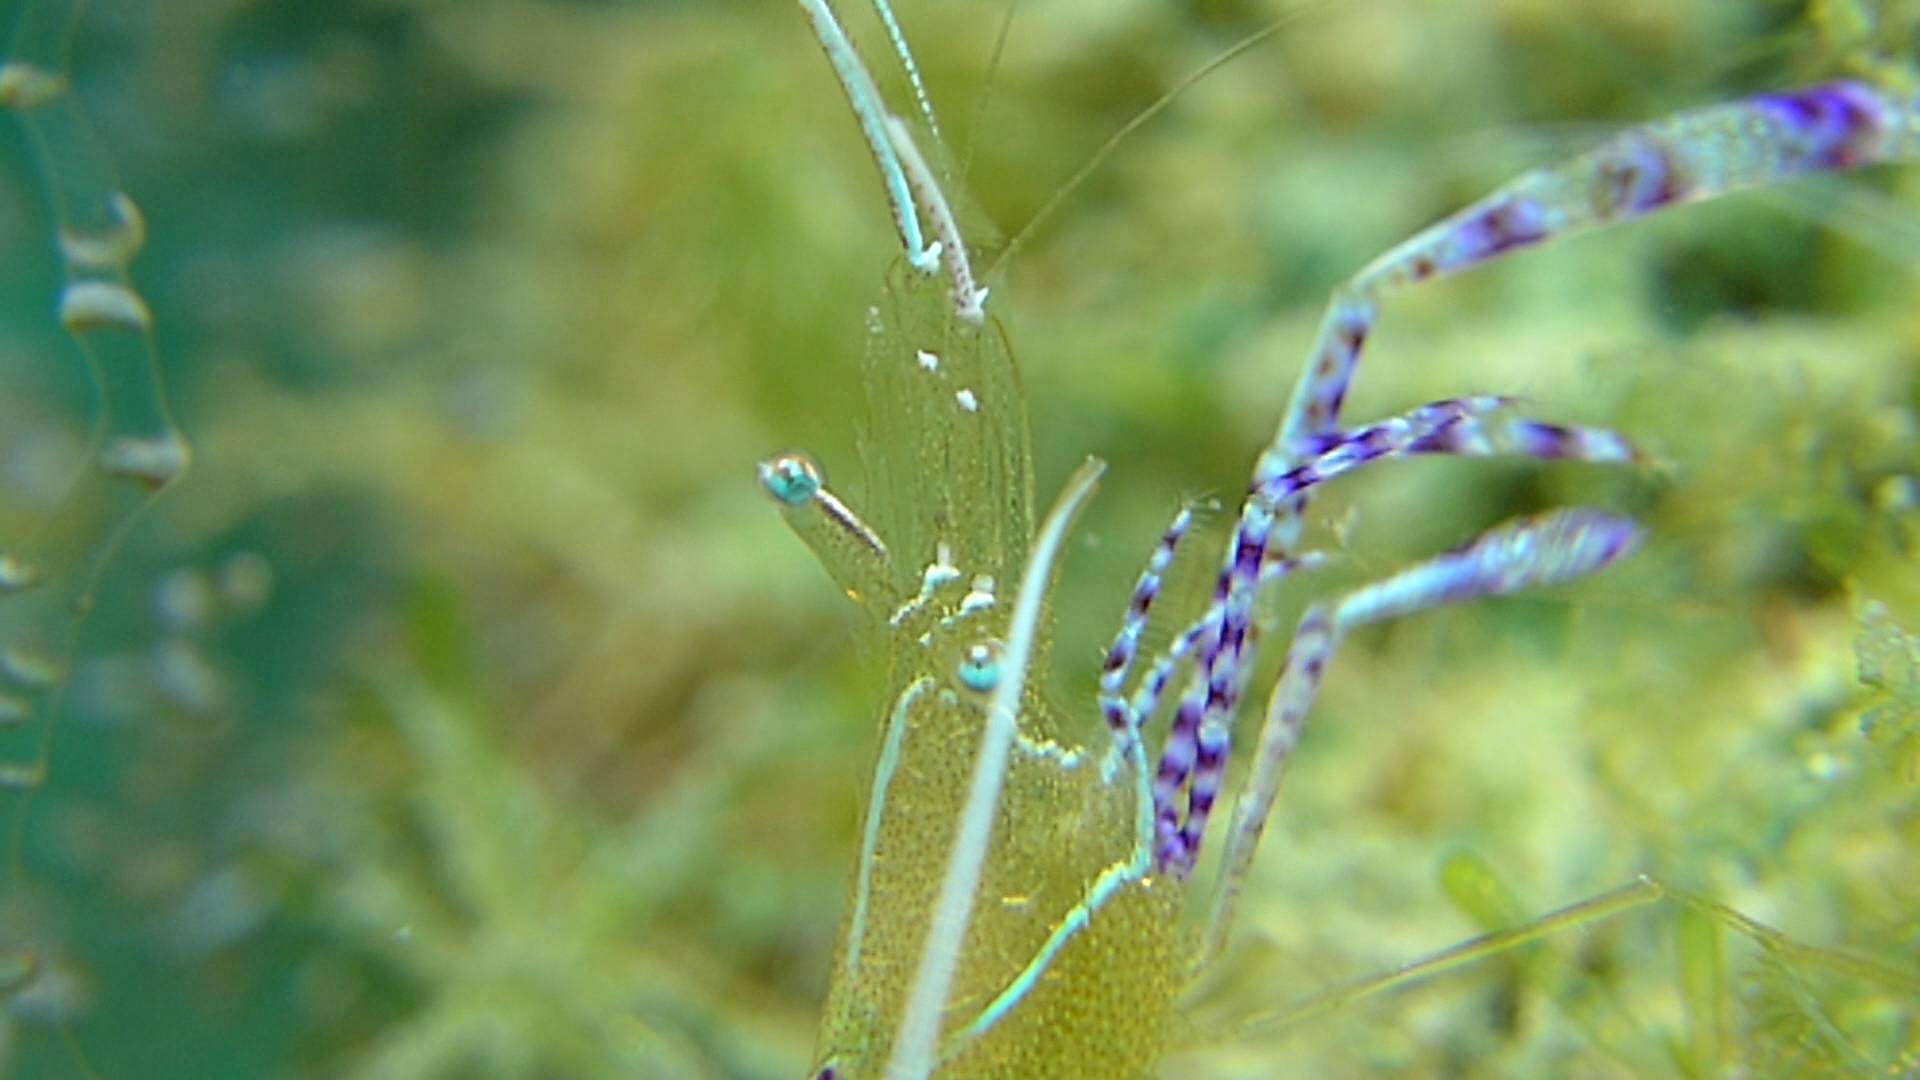
For macro shots I used the temperature setting at 6500K, I found the white balance tint fine tuning to be excellent to further enhance it.
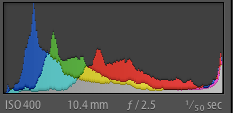
I shot in shutter priority the whole time with shutter speed of 1/100 or 1/50 depending on conditions and type of shot. The camera autoISO and choice of aperture privilege noise reduction however as the lens of the LX7 is really sharp the relatively wide aperture did not mean soft corners.
I tried the various photo styles and at the end settled for the standard one, I found the natural really to have too little contrast.
I thought of shooting in mp4 for wide and AVCHD progressive for close up but this would have meant two different frame rates to edit, at the end I shot at the highest available setting to avoid confusion.
I had received a new port from nauticam so I had no vignette at 28mm and the full 100 degrees the inon lens can offer.
The ergonomics of the camera that have fixed commands for aperture and shutter proved to be convenient and the built in neutral density filter was very effective at shallow depth or on the surface.
In essence I think that the issues backscatter mention are non existent.
I did have a few problems with the wet lenses though.
The wet mate proved to be a great little tool very sharp and light however none of the sides of the glass have anti reflective coating. In bright scenes or backlit scenes I did not have many issues with flare however I could see the marking on the lens reflected back on the wet mate and in the picture. I suggest putting an inon anti ghost sticker or gaffer tape to hide those shining markers or to colour them with permanent black ink.
Other than this the wet mate performs very well in all reef scenes and close up of critter a few inches big.
The inon diopter did not cause any trouble other than the obvious vignetting until 70mm. One pleasant surprise is the LX7 autofocus. Having struggled with the poor focus of the RX100 at high magnification I was astonished that the LX7 finds focus even with two stacked diopters and keeps it!!! I never had to use manual focus that with the RX100 was the norm at macro range.
I had bought the UCL165 and UCL330 in m67 format but decided to sell them as I will actually switch to bayonet very soon for the wide angle.
The Inon UWL-H100 was probably the most disappointing find of the trip. Image was sharp in normal condition however this lens tends to flare quite a bit and this creates block noise in the water column in video, when I used my hand to shade the lens the flare went away. Inon sells a lens hood for the 28LD version of this lens but not for the M67 as there would be issues to align the hood petals to the frame.

Considering that the lens is very heavy in water at 350 grams and that screwing and unscrewing was a concern mid water I have decided to convert the lens into an LD bayonet. Inon sells a replacement service part for the 28LD that can be used to replace the M67 thread of the lens. Other than this part the two lenses M67 and 28LD are identical. I will use a nauticam m67 LD adapter I hope this will not increase the vignette. I will connect my AD mount close up with a AD->LD converter when using the wide angle and then use an AD->M67 converter when I use the wetmate. This saves me buying two different diopters and I can stack the two UCL165AD I already have. They do vignette a lot at medium but who cares when you shoot at full zoom.
I look forward to testing the UWL-H100 with the lens hood I am sure results will be better. On the other hand when the sunlight is behind the shots have incredible sharpness with this lens.
So the LX7 gets 5 stars from my side and I leave you with two recommendations:
1. Apply a form of anti ghost sticker to the LX7 lens
2. If you want to get the Inon UWL-H100 go for the LD mount so that you can put the lens hood on


