It has been almost 9 years since my first review of the Nauticam WWL-1 and five years ago I revisited this lens on micro four thirds.
Since the very first release I was told by Nauticam that the WWL-1 had been tested on Sony full frame with the 28mm f/2 lens and since then more lenses have been added to the compatibility list and the WWL-1 itself has had a redesign called WWL-1B, this lens has an integrated float collar and I do not know if there is any difference in the optics but I assume there is none.
Nauticam has since released a number of other water contact optics with dry mount and today you have a choice of at least 3 flavours for your Sony full frame camera that provide the 130 degrees diagonal field of view.
| Model | Price (€) | Weight (kg) | Diameter (mm) | Depth (mm) | Max Filter size (mm) |
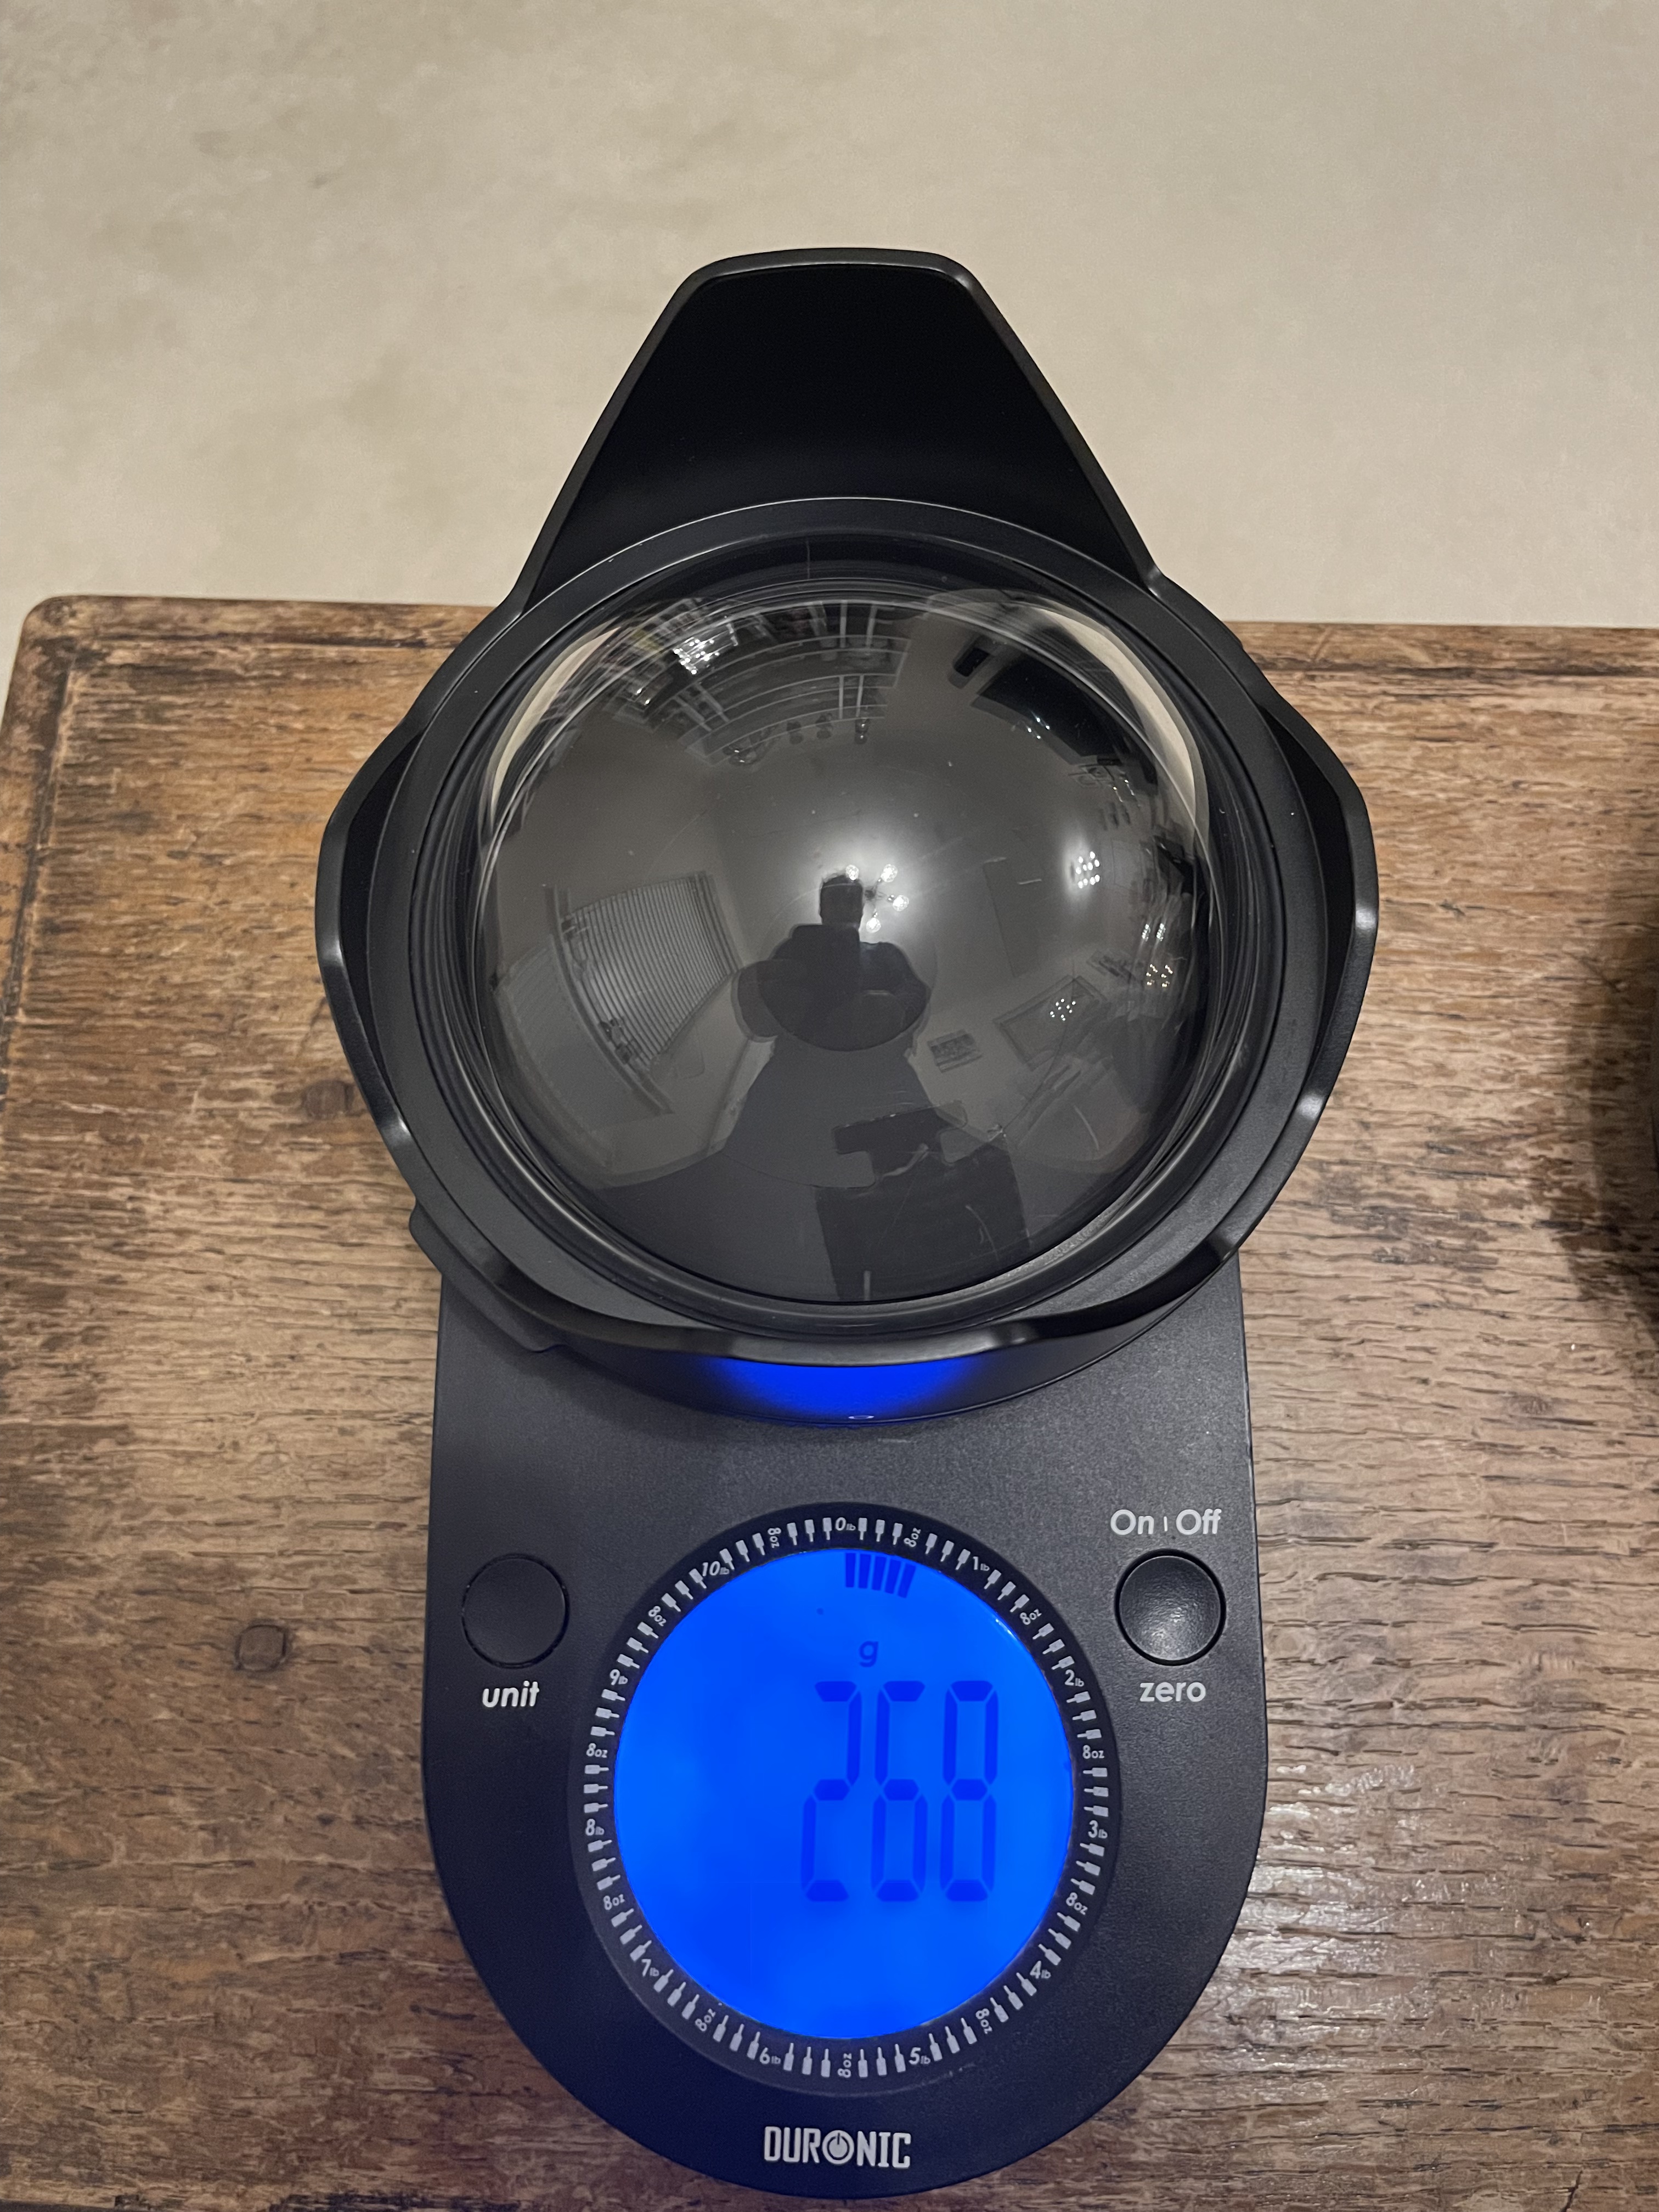
| WWL-1 | 1424 | 1.35 | 156 | 97 | 52 |
| WACP-C | 2930 | 2.24 | 170 | 145.5 | 72 |
| WACP-1 | 4604 | 3.90 | 194 | 176 | 82 |
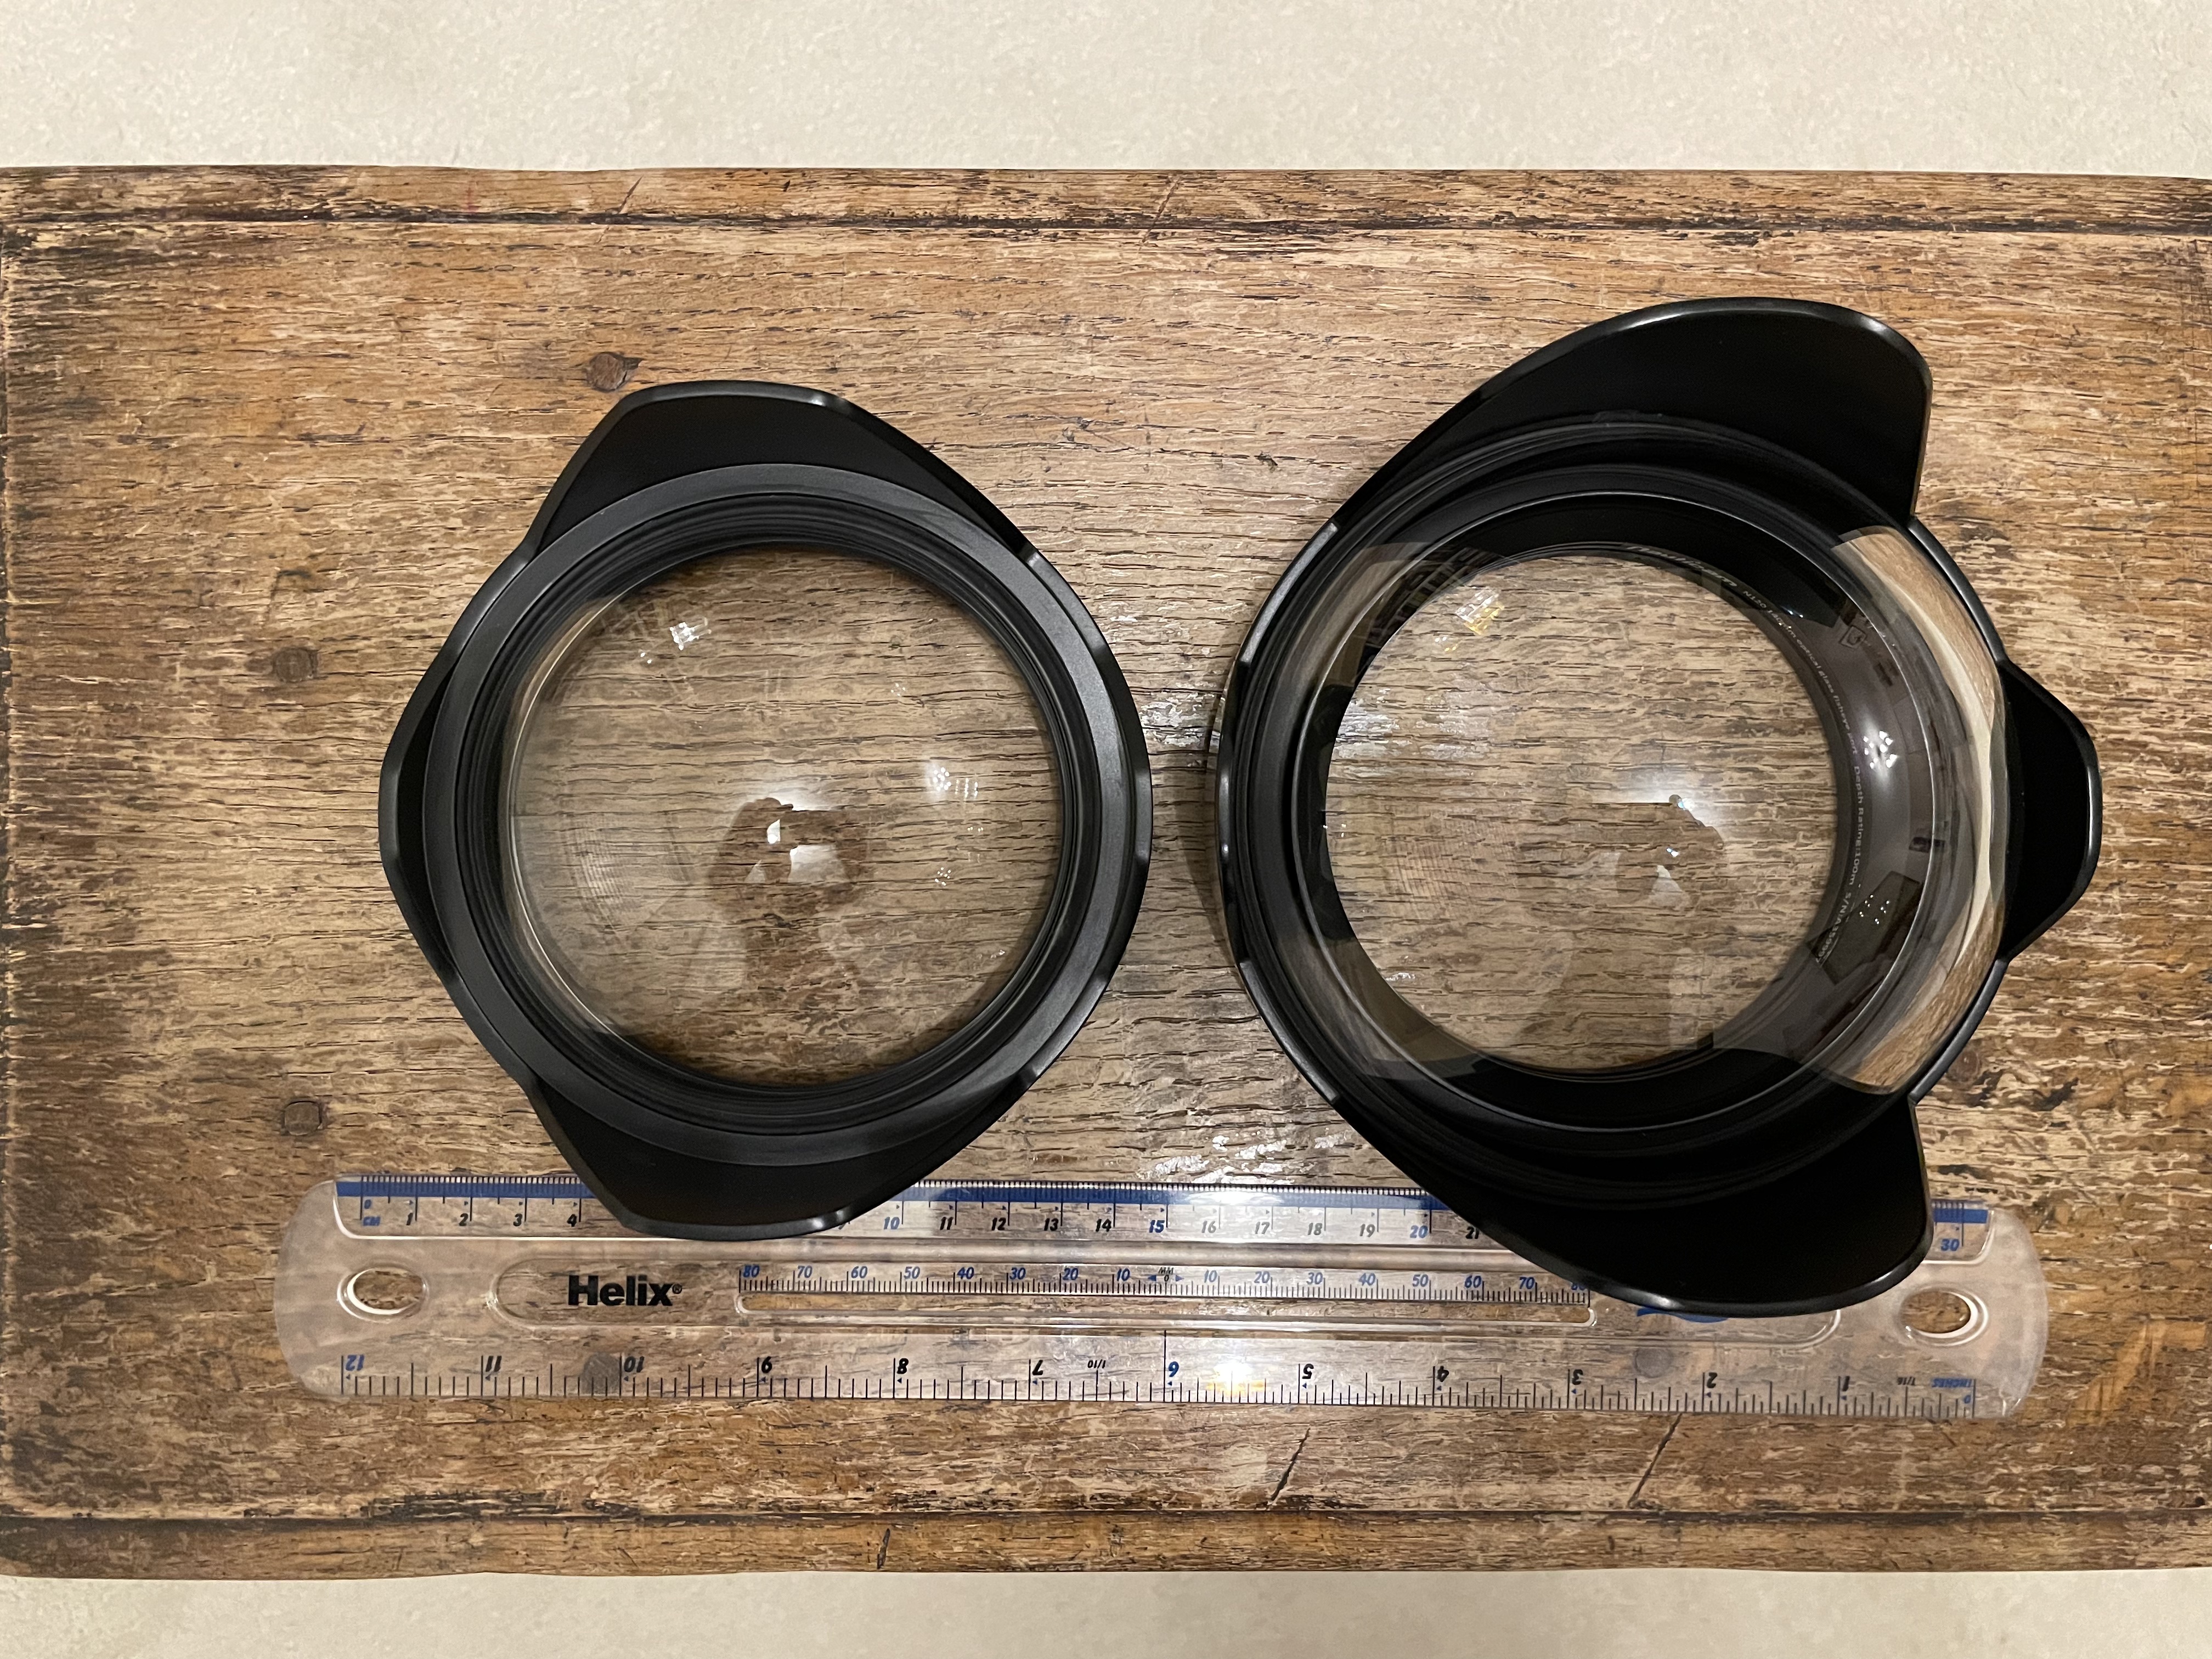
The three lenses provide the same field of view but they are different in size and mount. A useful way to see is that as the lens physical size grows you require a larger underwater optic.
The Sony E-Mount is still the only full frame format compatible with the WWL-1 in virtue of some really small and compact lenses. As you can see from the table above the WWL-1 rear element is large enough for 28mm lenses that have a maximum filter size of 52mm.
Two E-mount full frame lenses the 28/2mm prime and the 28-60mm zoom are compatible with the WWL-1.
As you move towards the WACP-C you can also use the 28-70mm lens which is one of the worst kit lenses on the market but will give you a longer tele end and finally the WACP-1 gives access to the Tamron 28-75mm and Sigma 24-70mm two lenses that have much higher quality than the smaller Sony lenses but have some restriction in terms of zoom range.
Underwater Performance Context
There are quite long discussions about which water contact optic to get for your Sony full frame once you have the 28-60mm zoom and some comparison in terms of sharpness.
In simple terms you can think of the following equation:
Underwater Performance = Land performance X Port Factor
Port Factor is always less than 1 which means a lens will never do in water as well than it does on land. Looking at my analysis of the 28-60mm corroborated by other test you know before buying any water contact lens that the lens has its own limitations and no matter how good is the port performance will only go down. However this may still be a better option compared to a standard dome port.
I do not have access (yet) to the other two water contact optics however I have a good idea of how the WWL-1 perform and how the Sony 28-60mm performs topside. If you want a refresh look at this article.
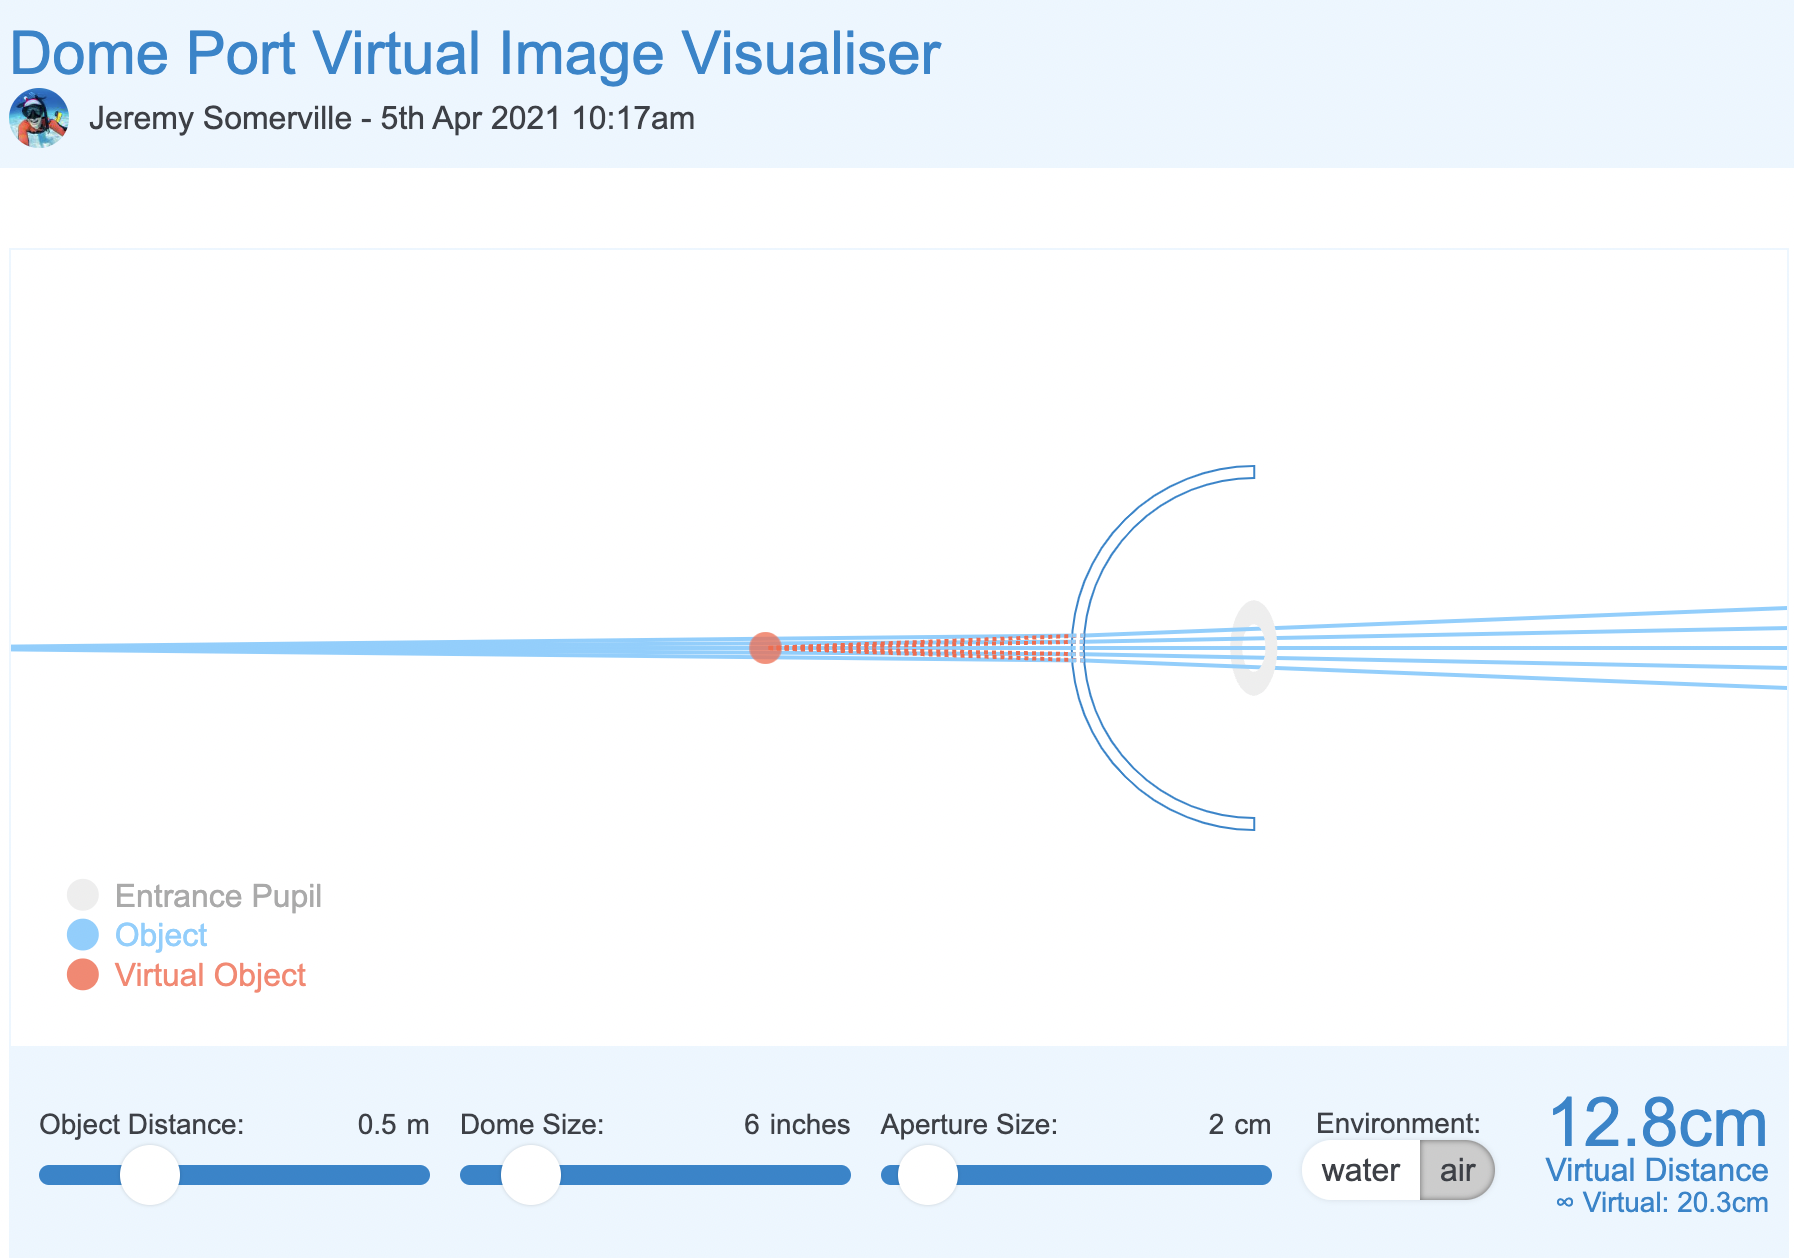
To understand how a water contact optic works you can go back all the way to the Inon UWL-100.
The idea of this lens designed for compact cameras is to demagnify the camera master lens to enlarge the field of view. You could then get an optional dome that will enable the lens to expand the underwater field of view from 100 to 131 degrees.
Back in 2015 I compared the Inon UWL-H100 with dome with the WWL-1 and concluded that the WWL-1 was giving better results when used on the same camera. It is now time to see if the WWL-1 can be used also on a full frame system.
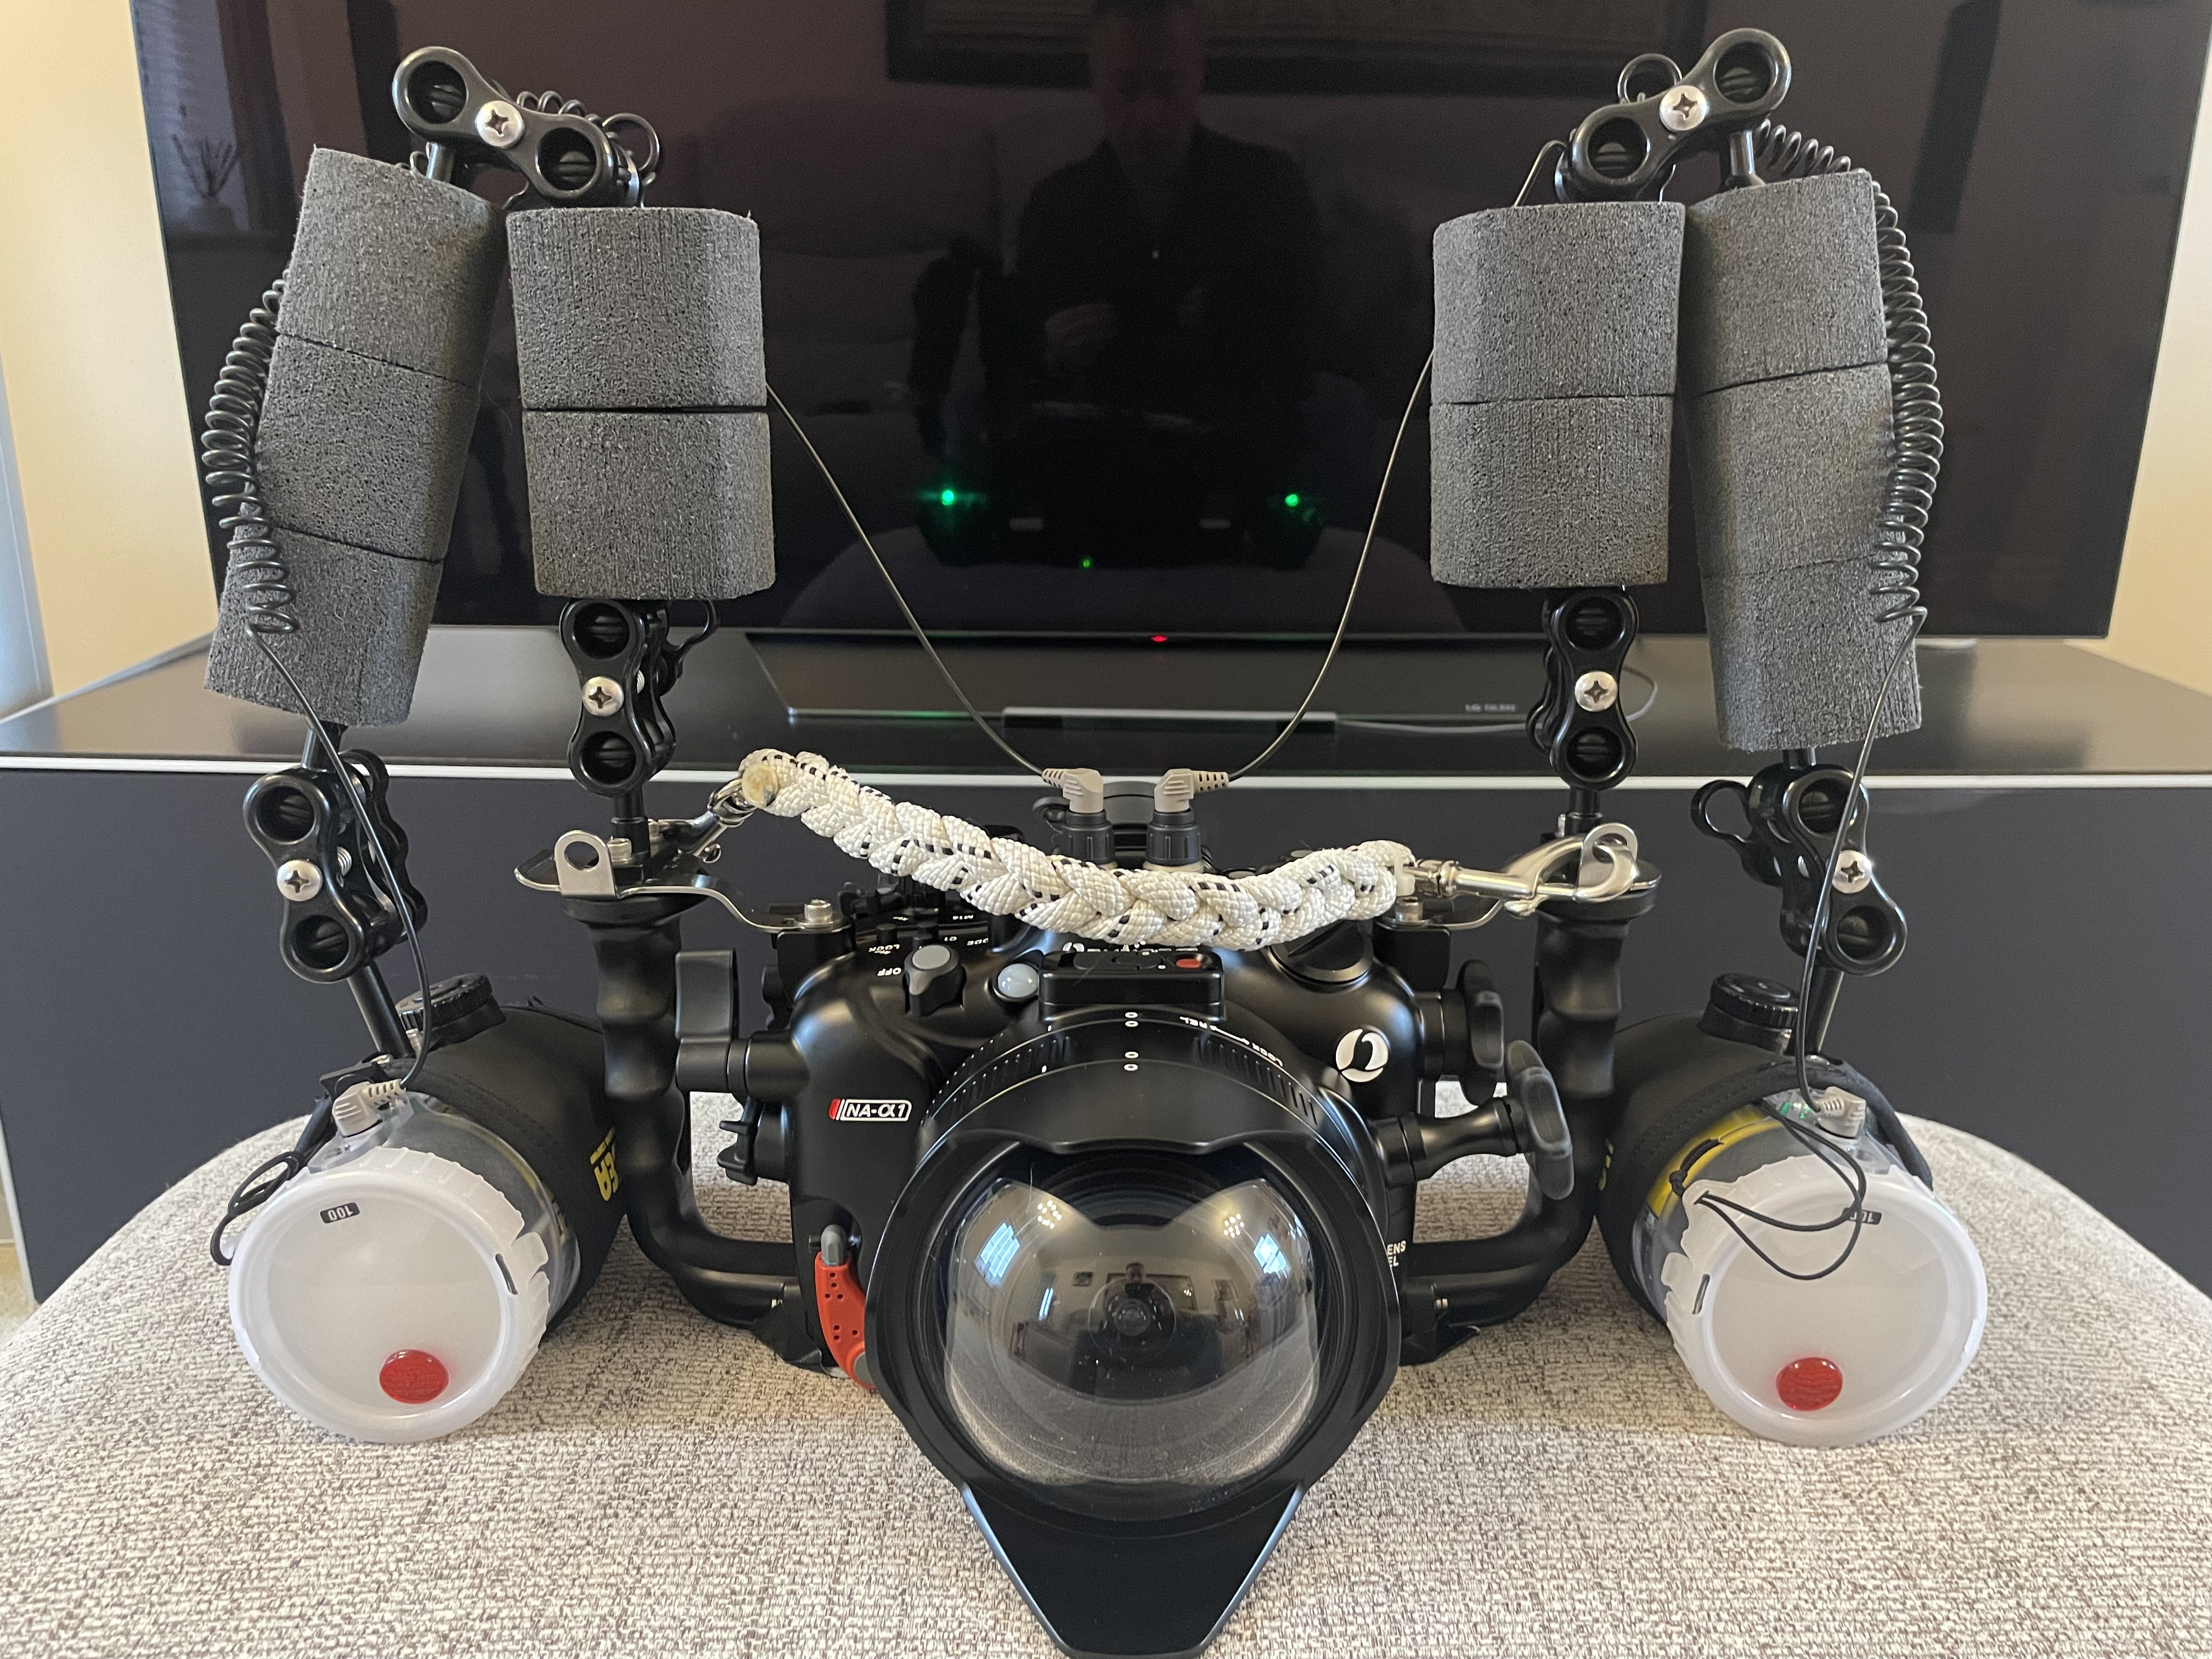
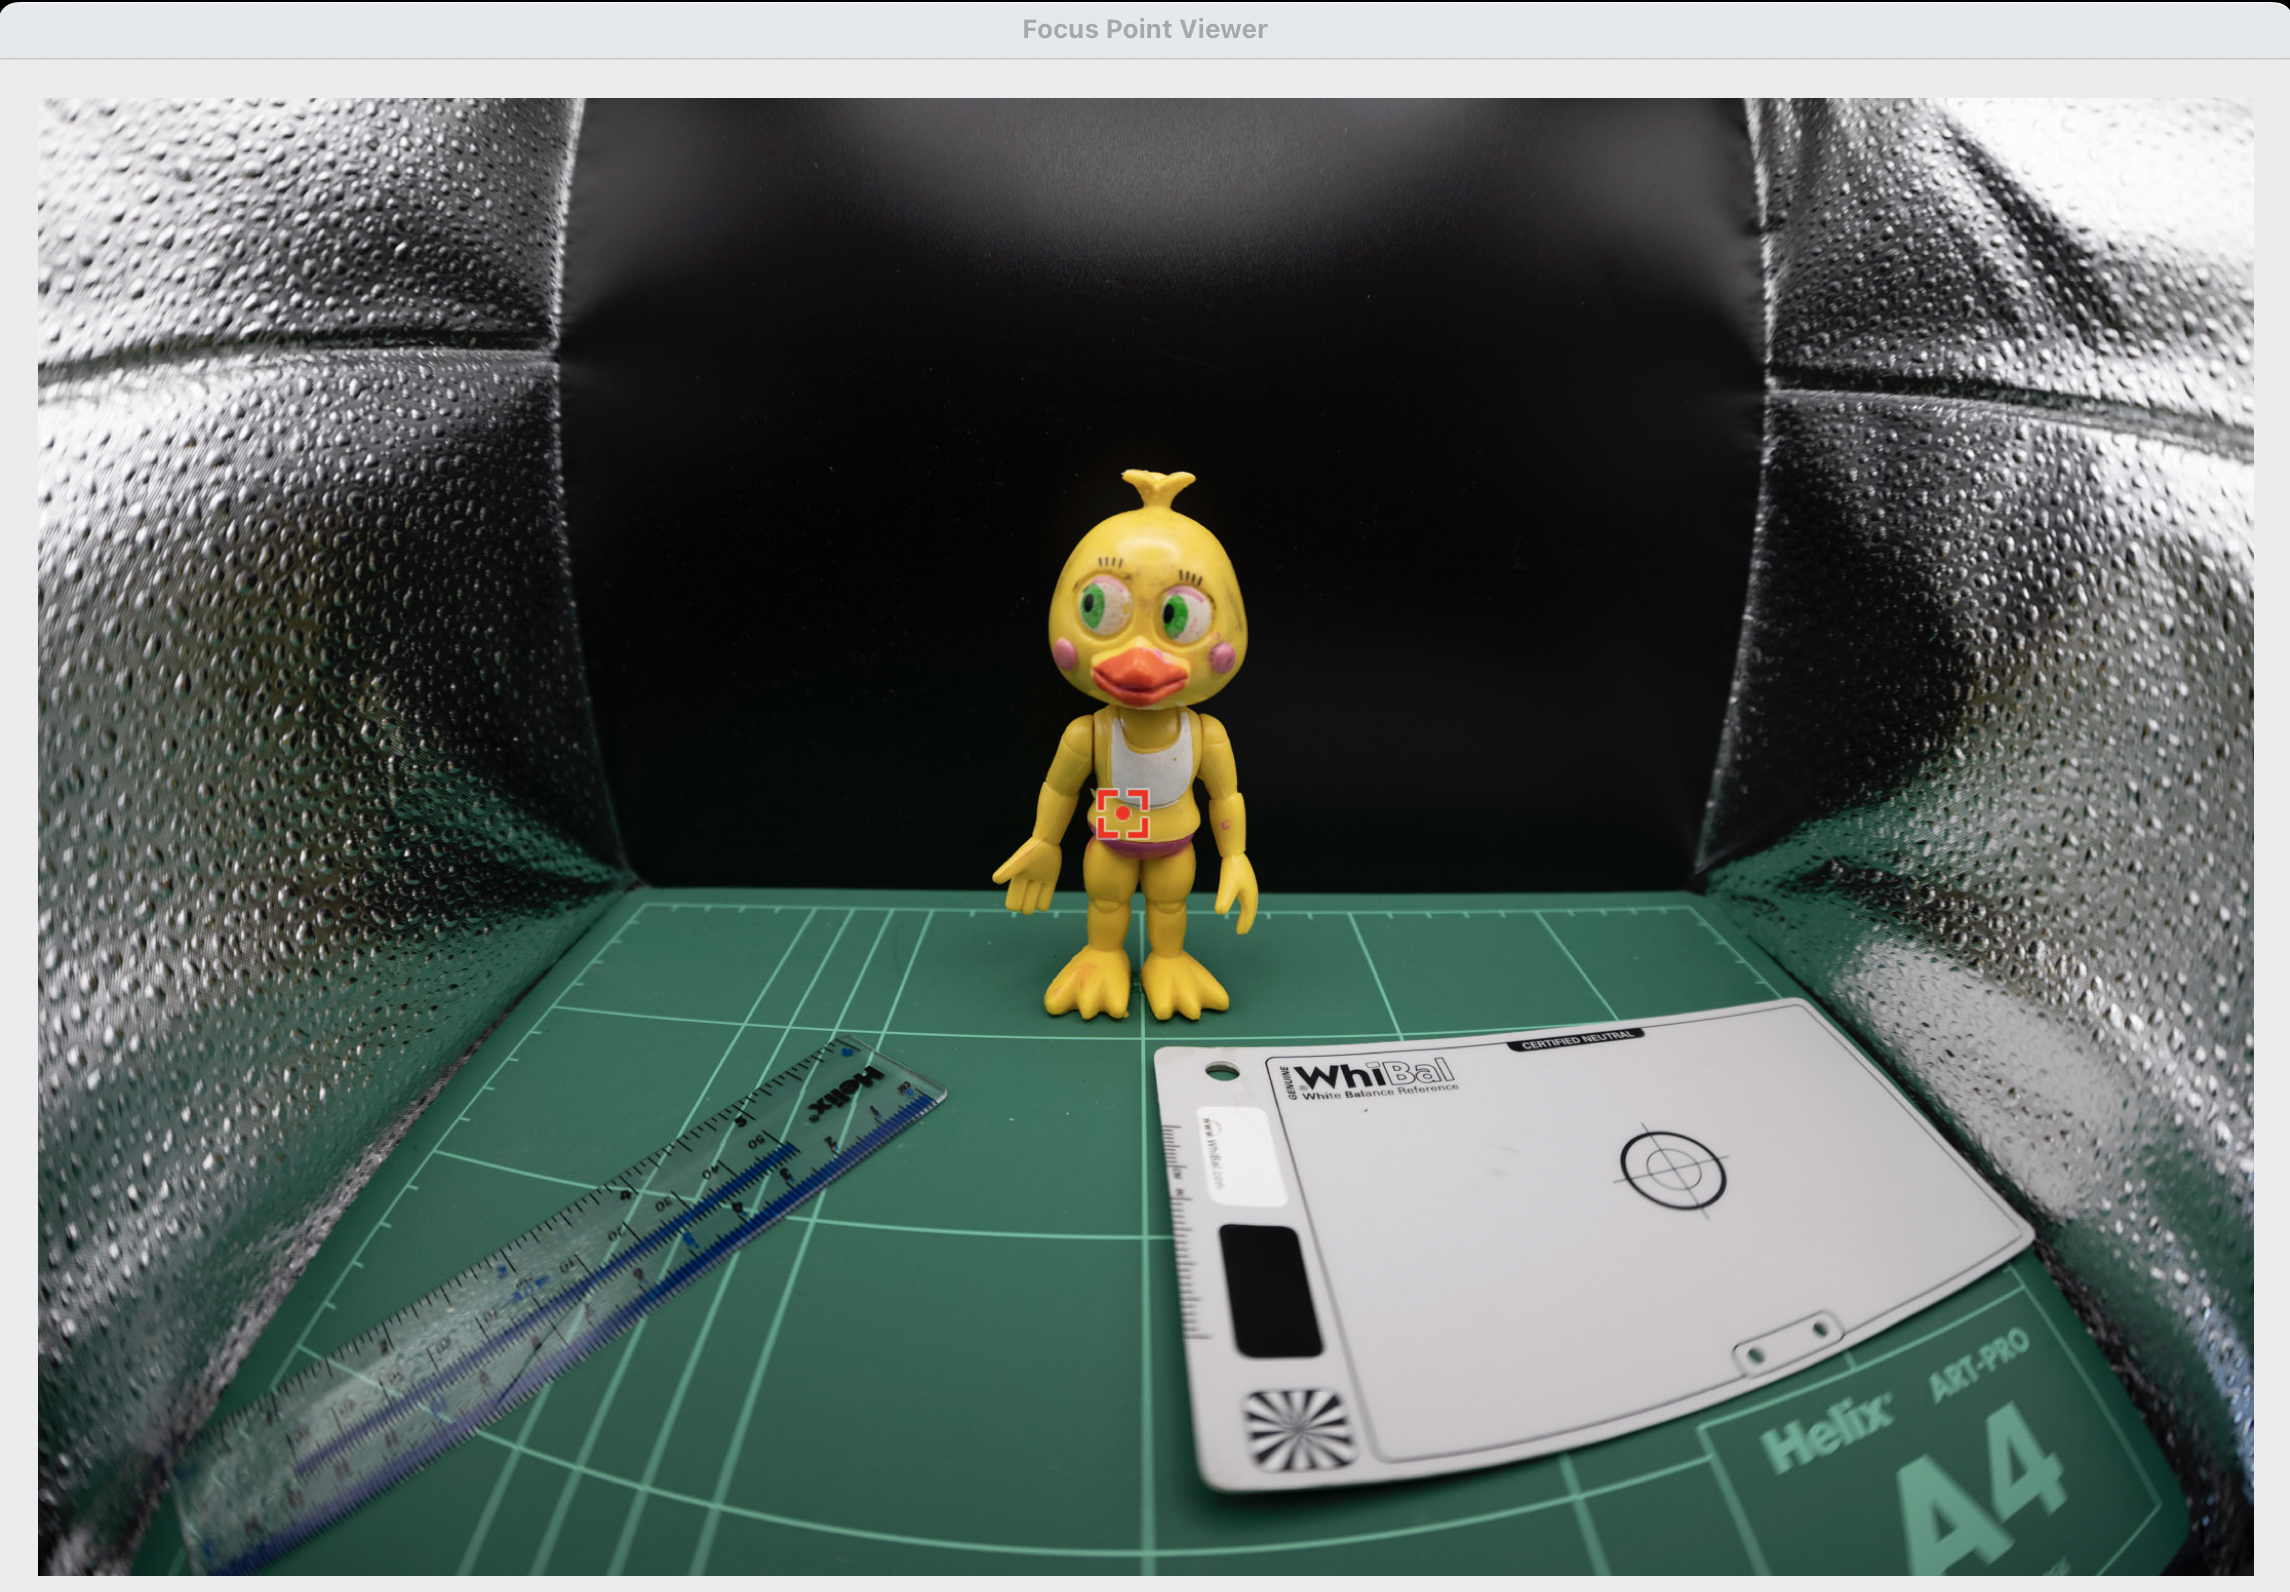
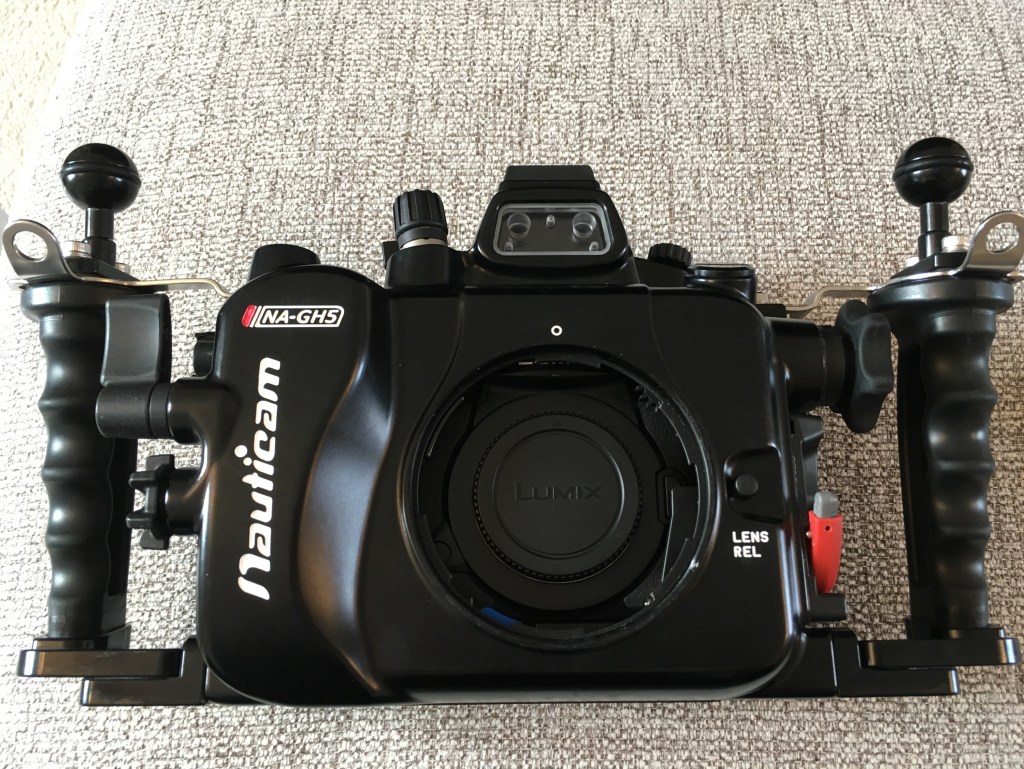
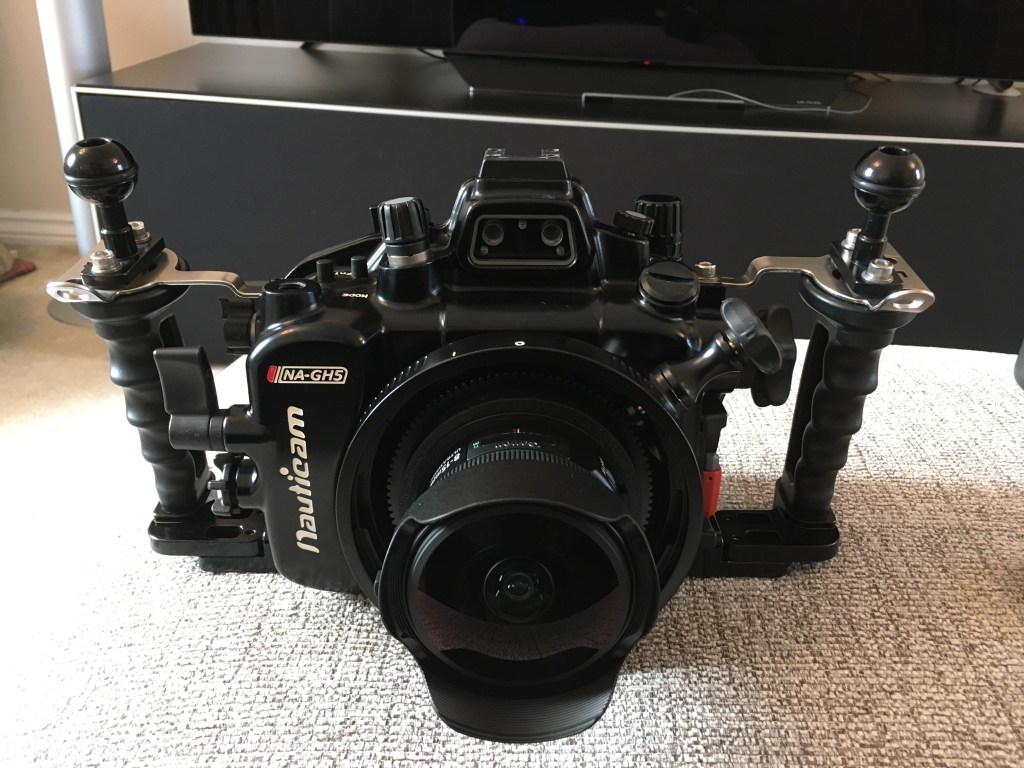
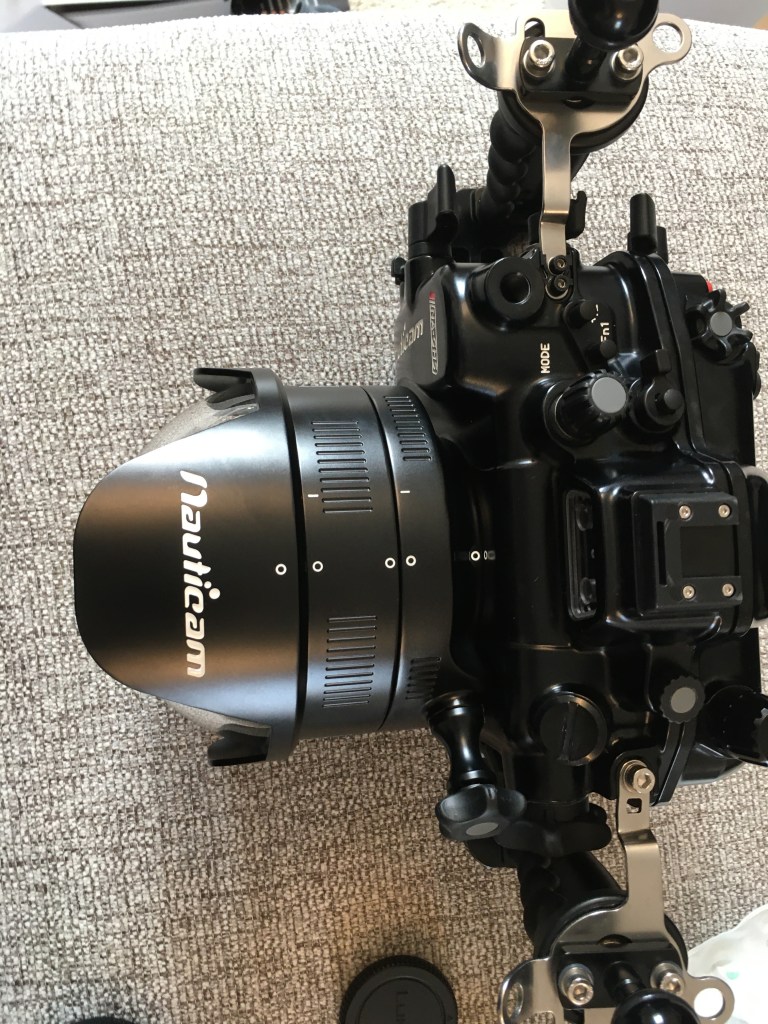
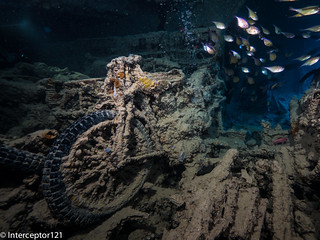
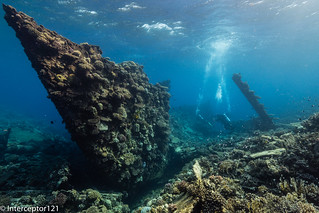
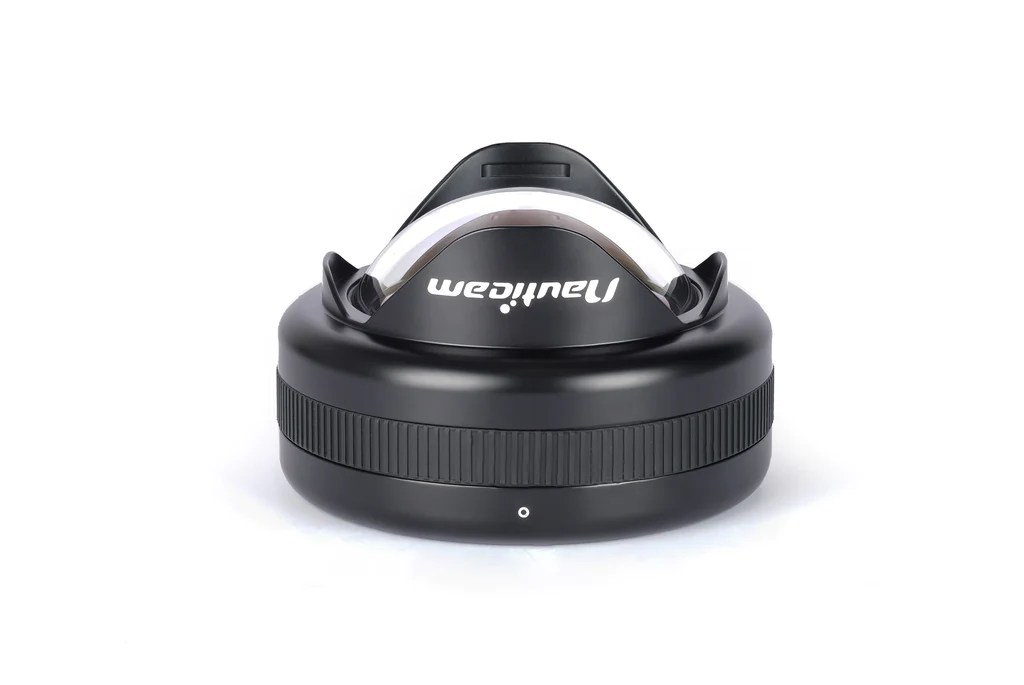
Sony A1 WWL-1 Rig
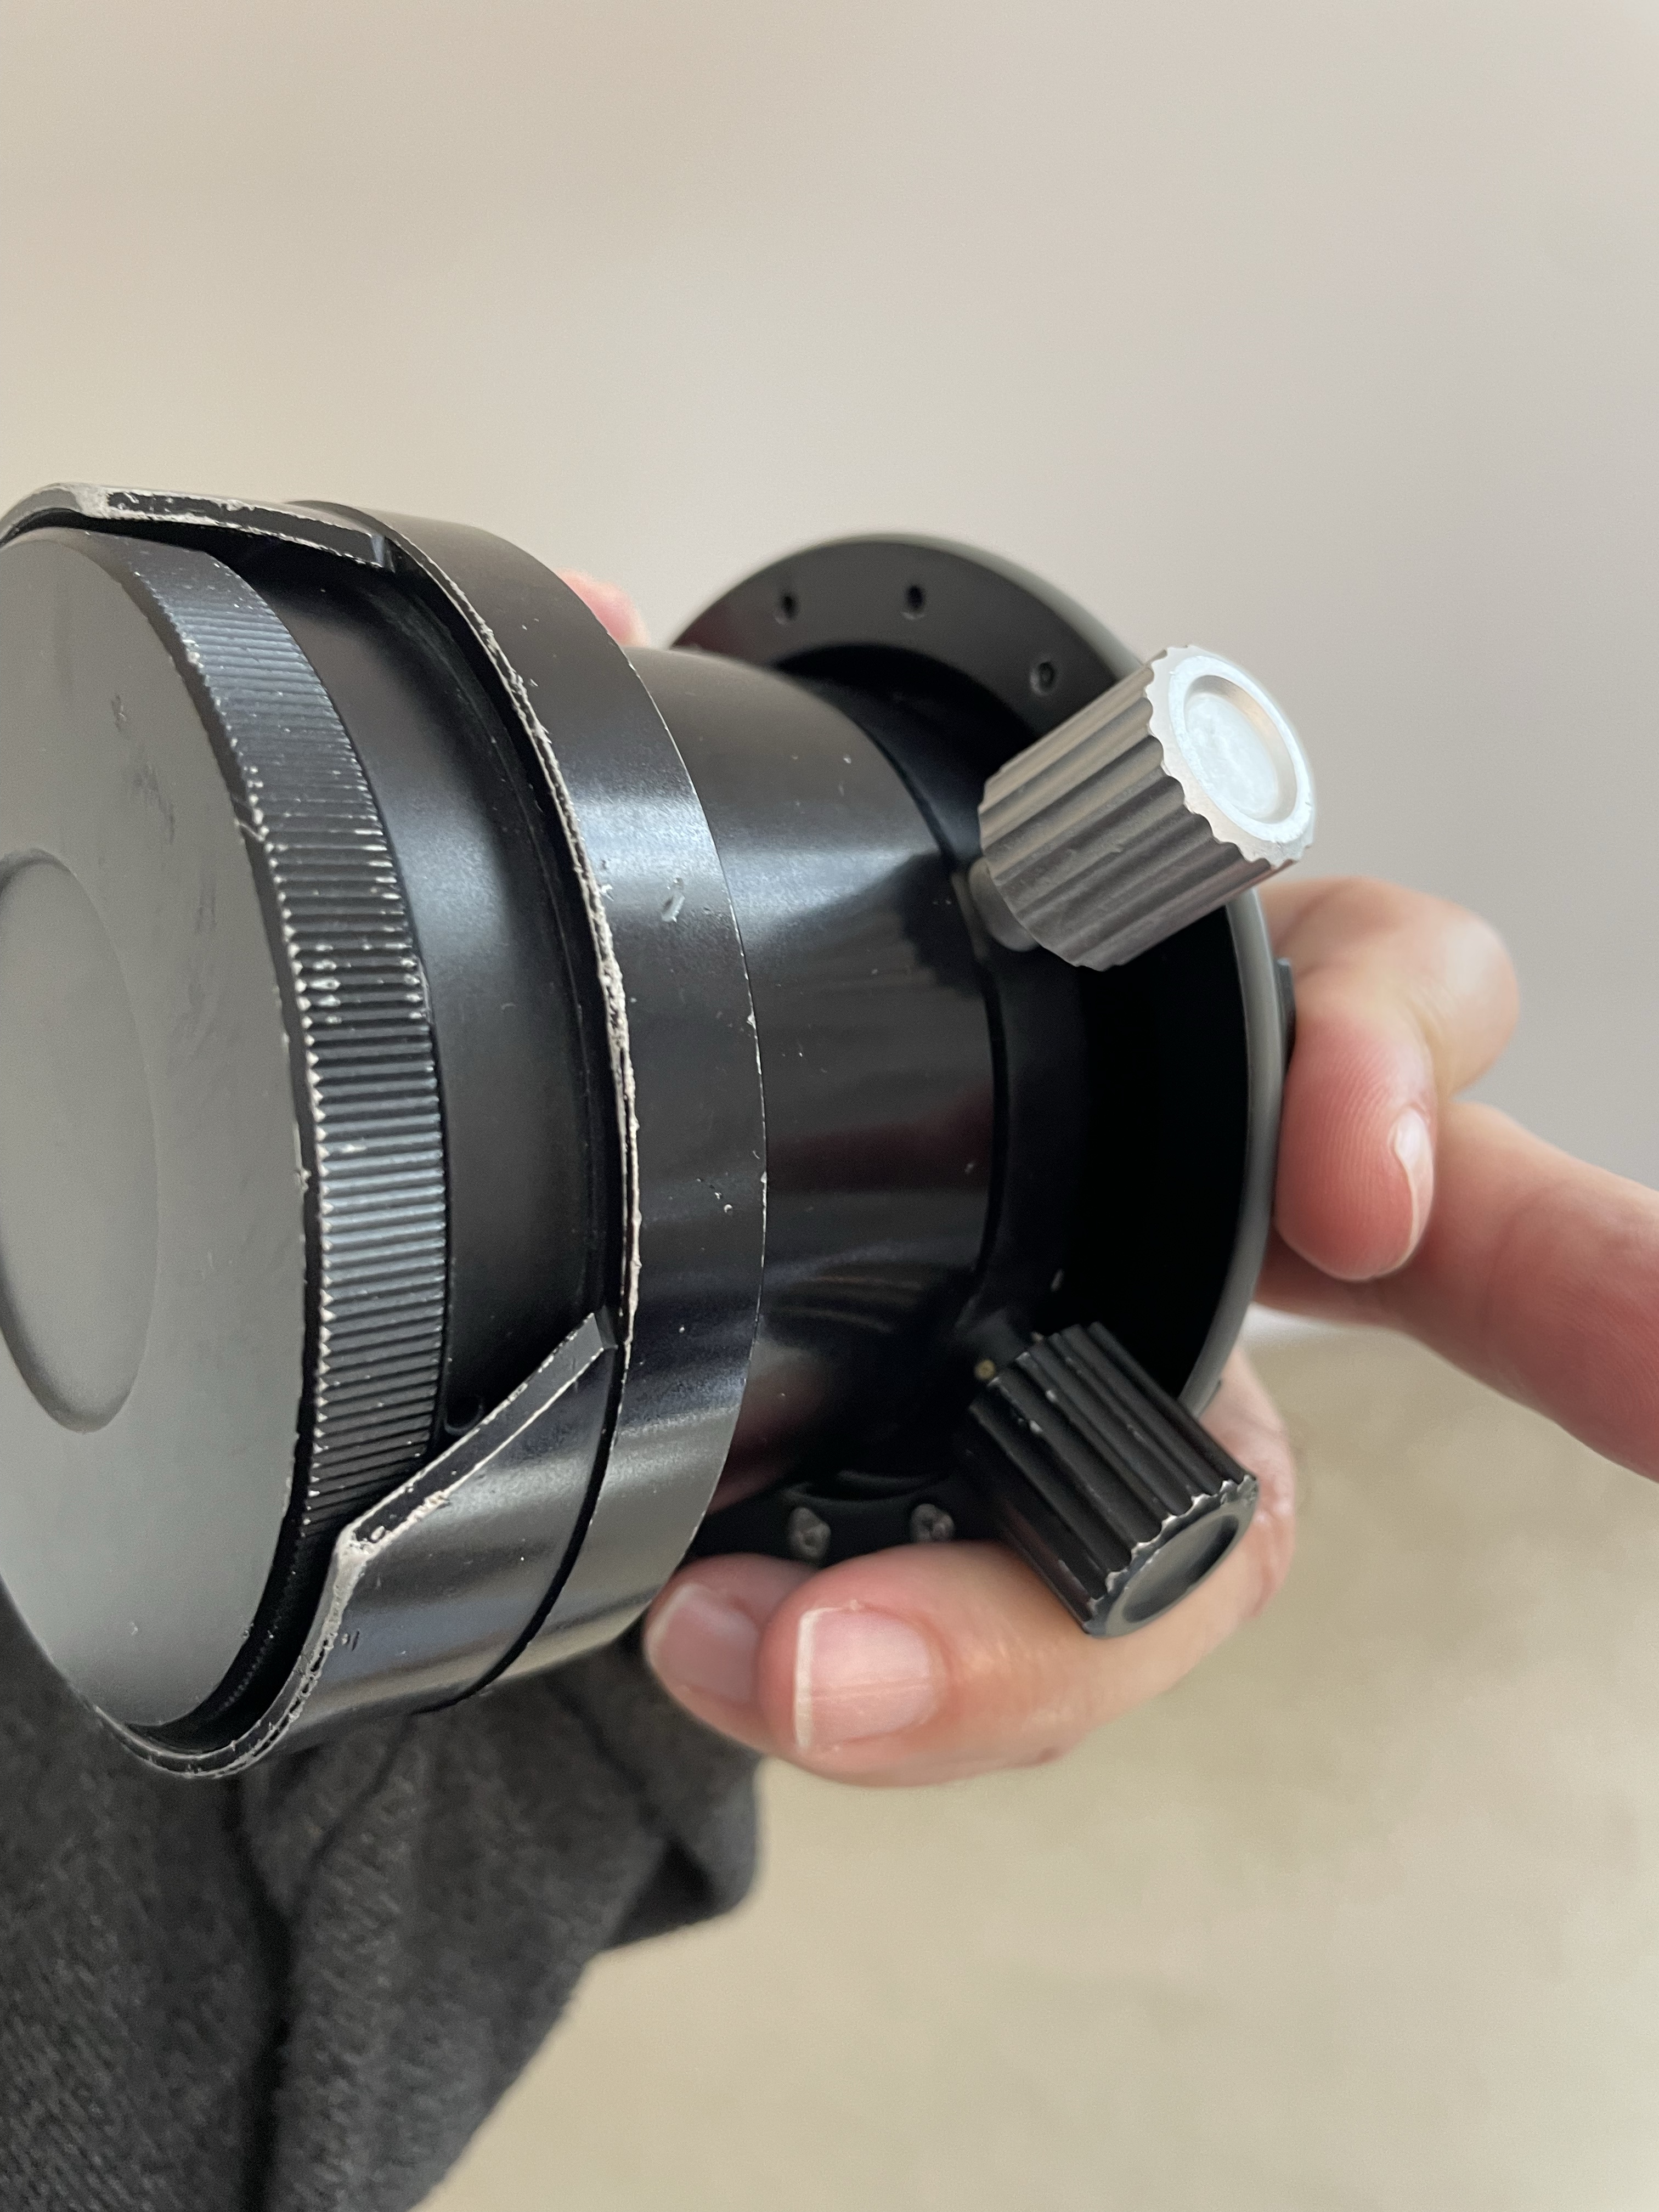
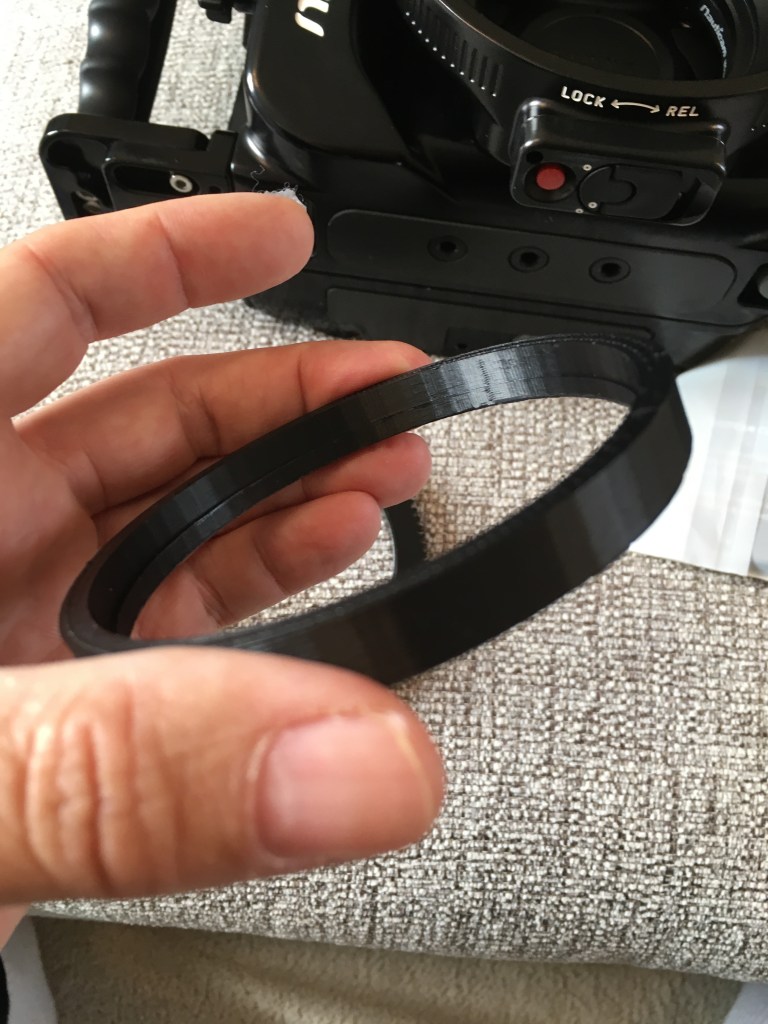
The WWL-1 requires the flat port 45 to be used on a Sony full frame underwater housing. The lens will be attached using the same bayonet adapter that has been available for several years now.

I have removed the focus knob from the port as I found it inconvenient. The focus knob may be useful with the flat port but for the WWL-1 that is afocal is definitely not required.

Once you add the flat port the overall length is very much the same of the WACP-C but this will require an extension ring resulting in overall 30mm additional length.
Overall the rig is very similar in weight to the Canon 8-15mm with the Acrylic Dome Port 5.5″.

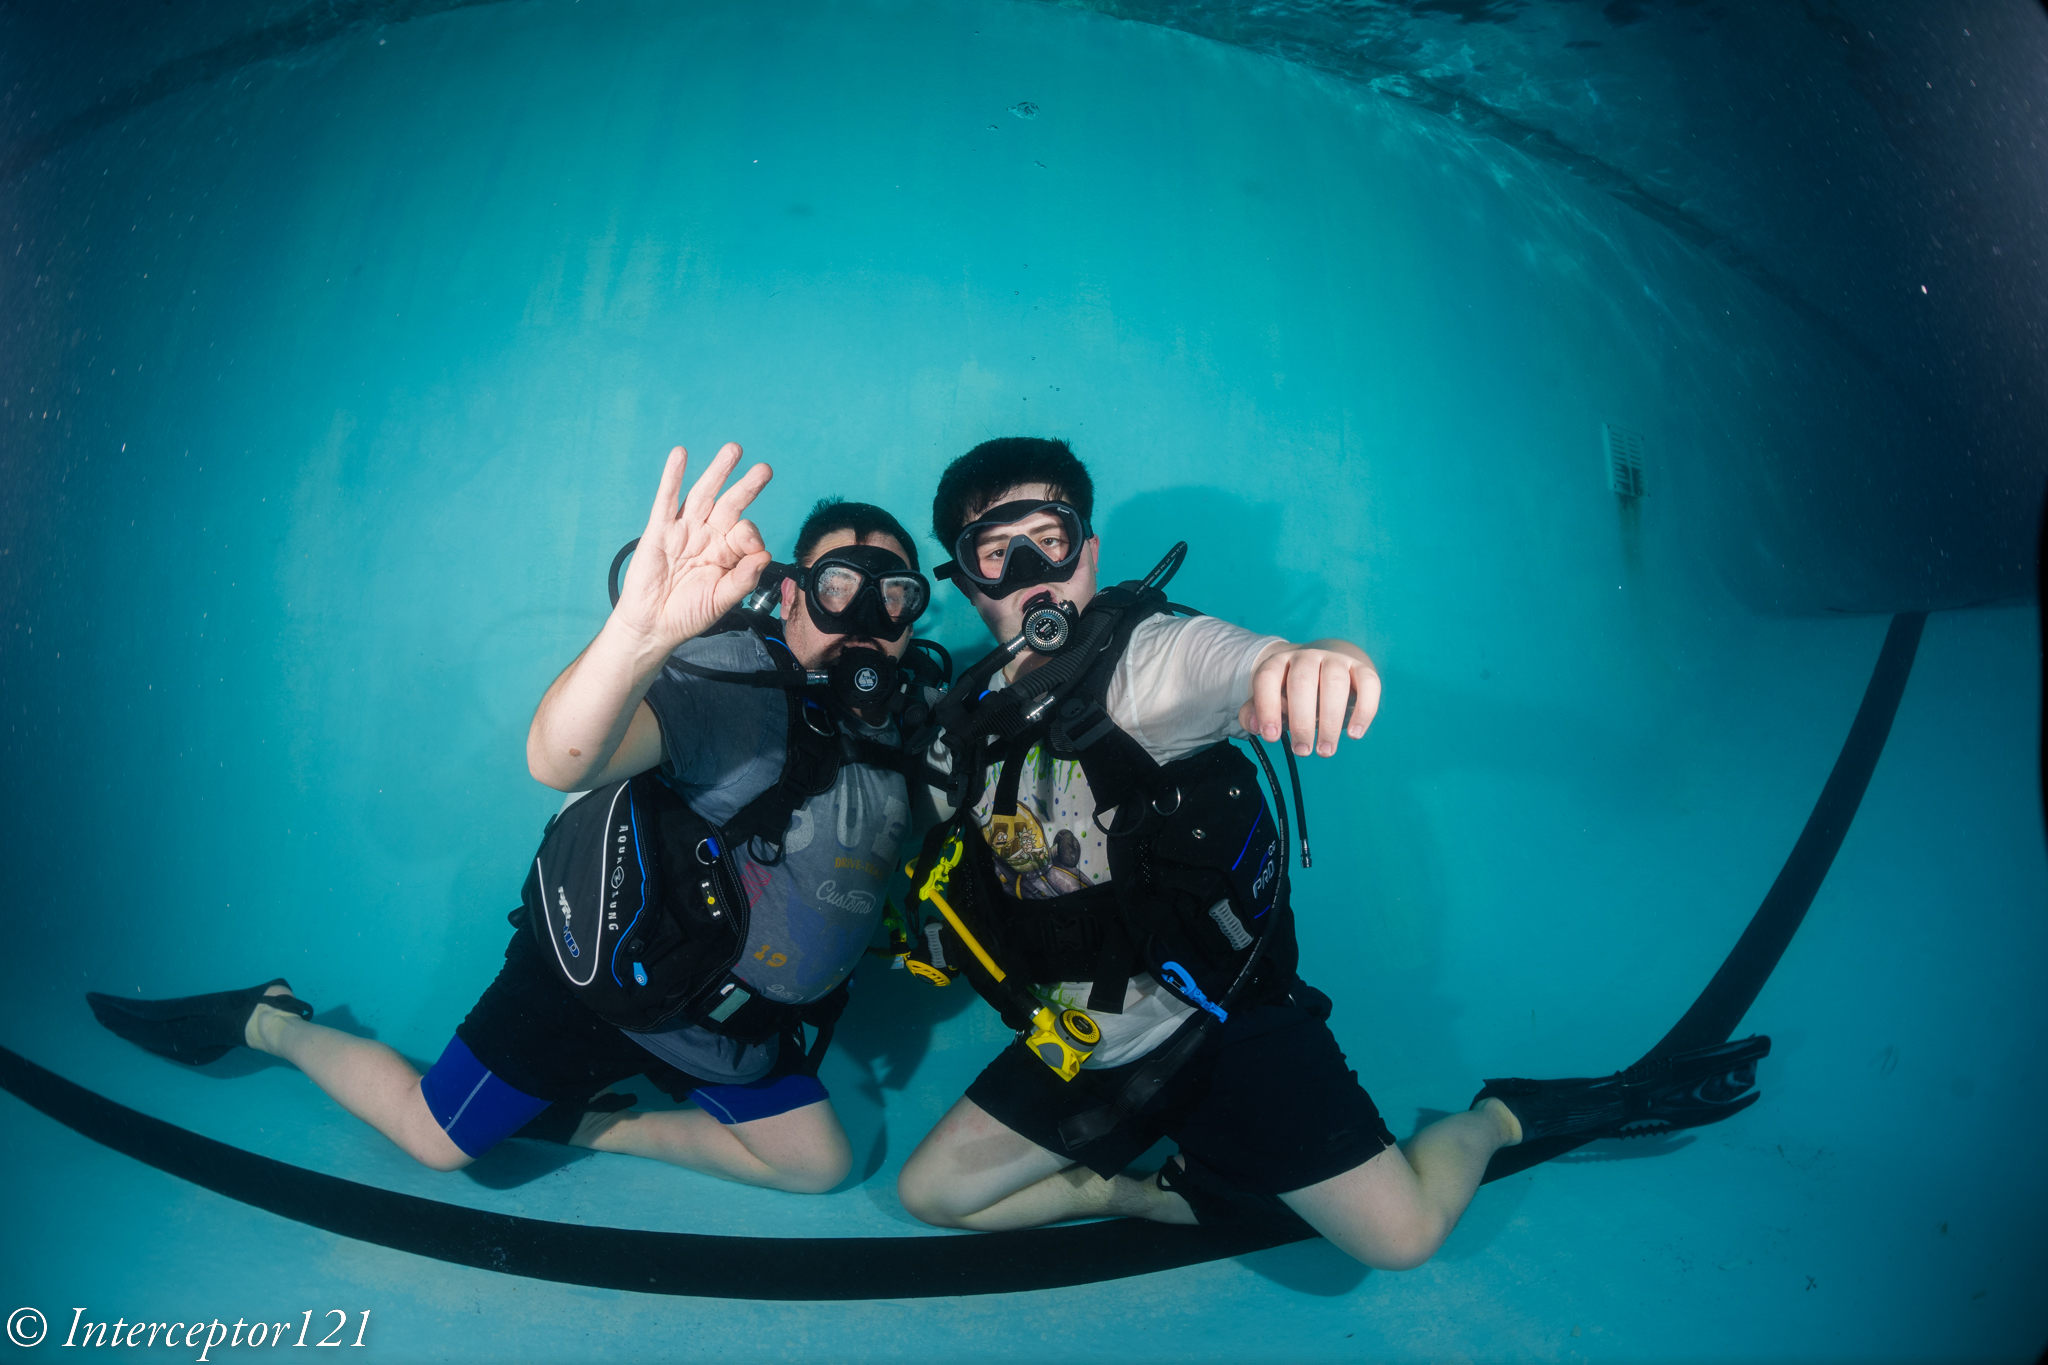
Pool Tests
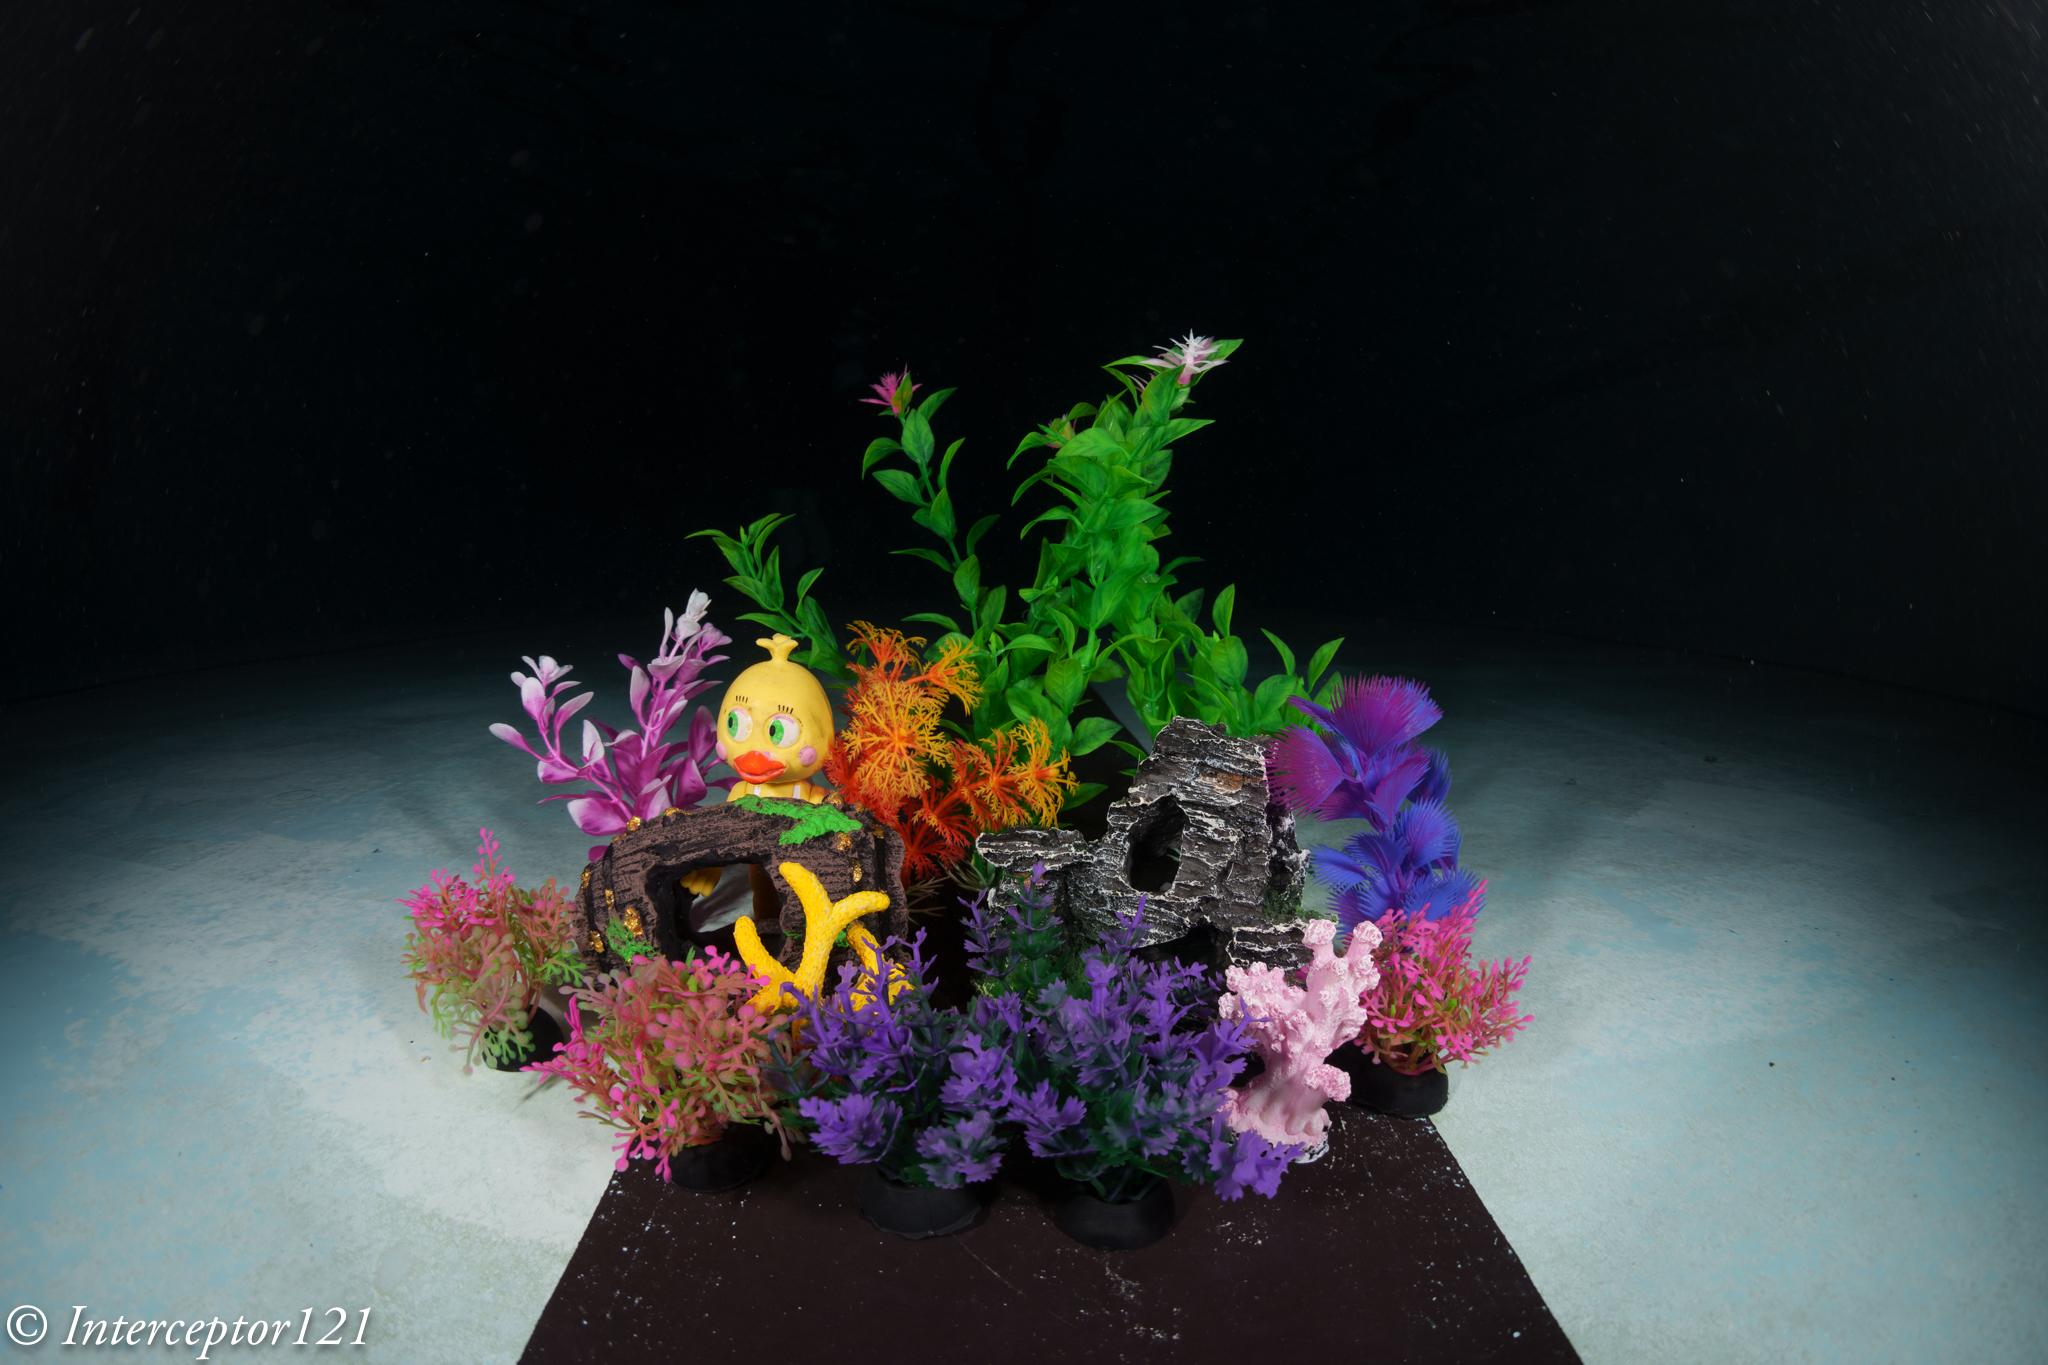
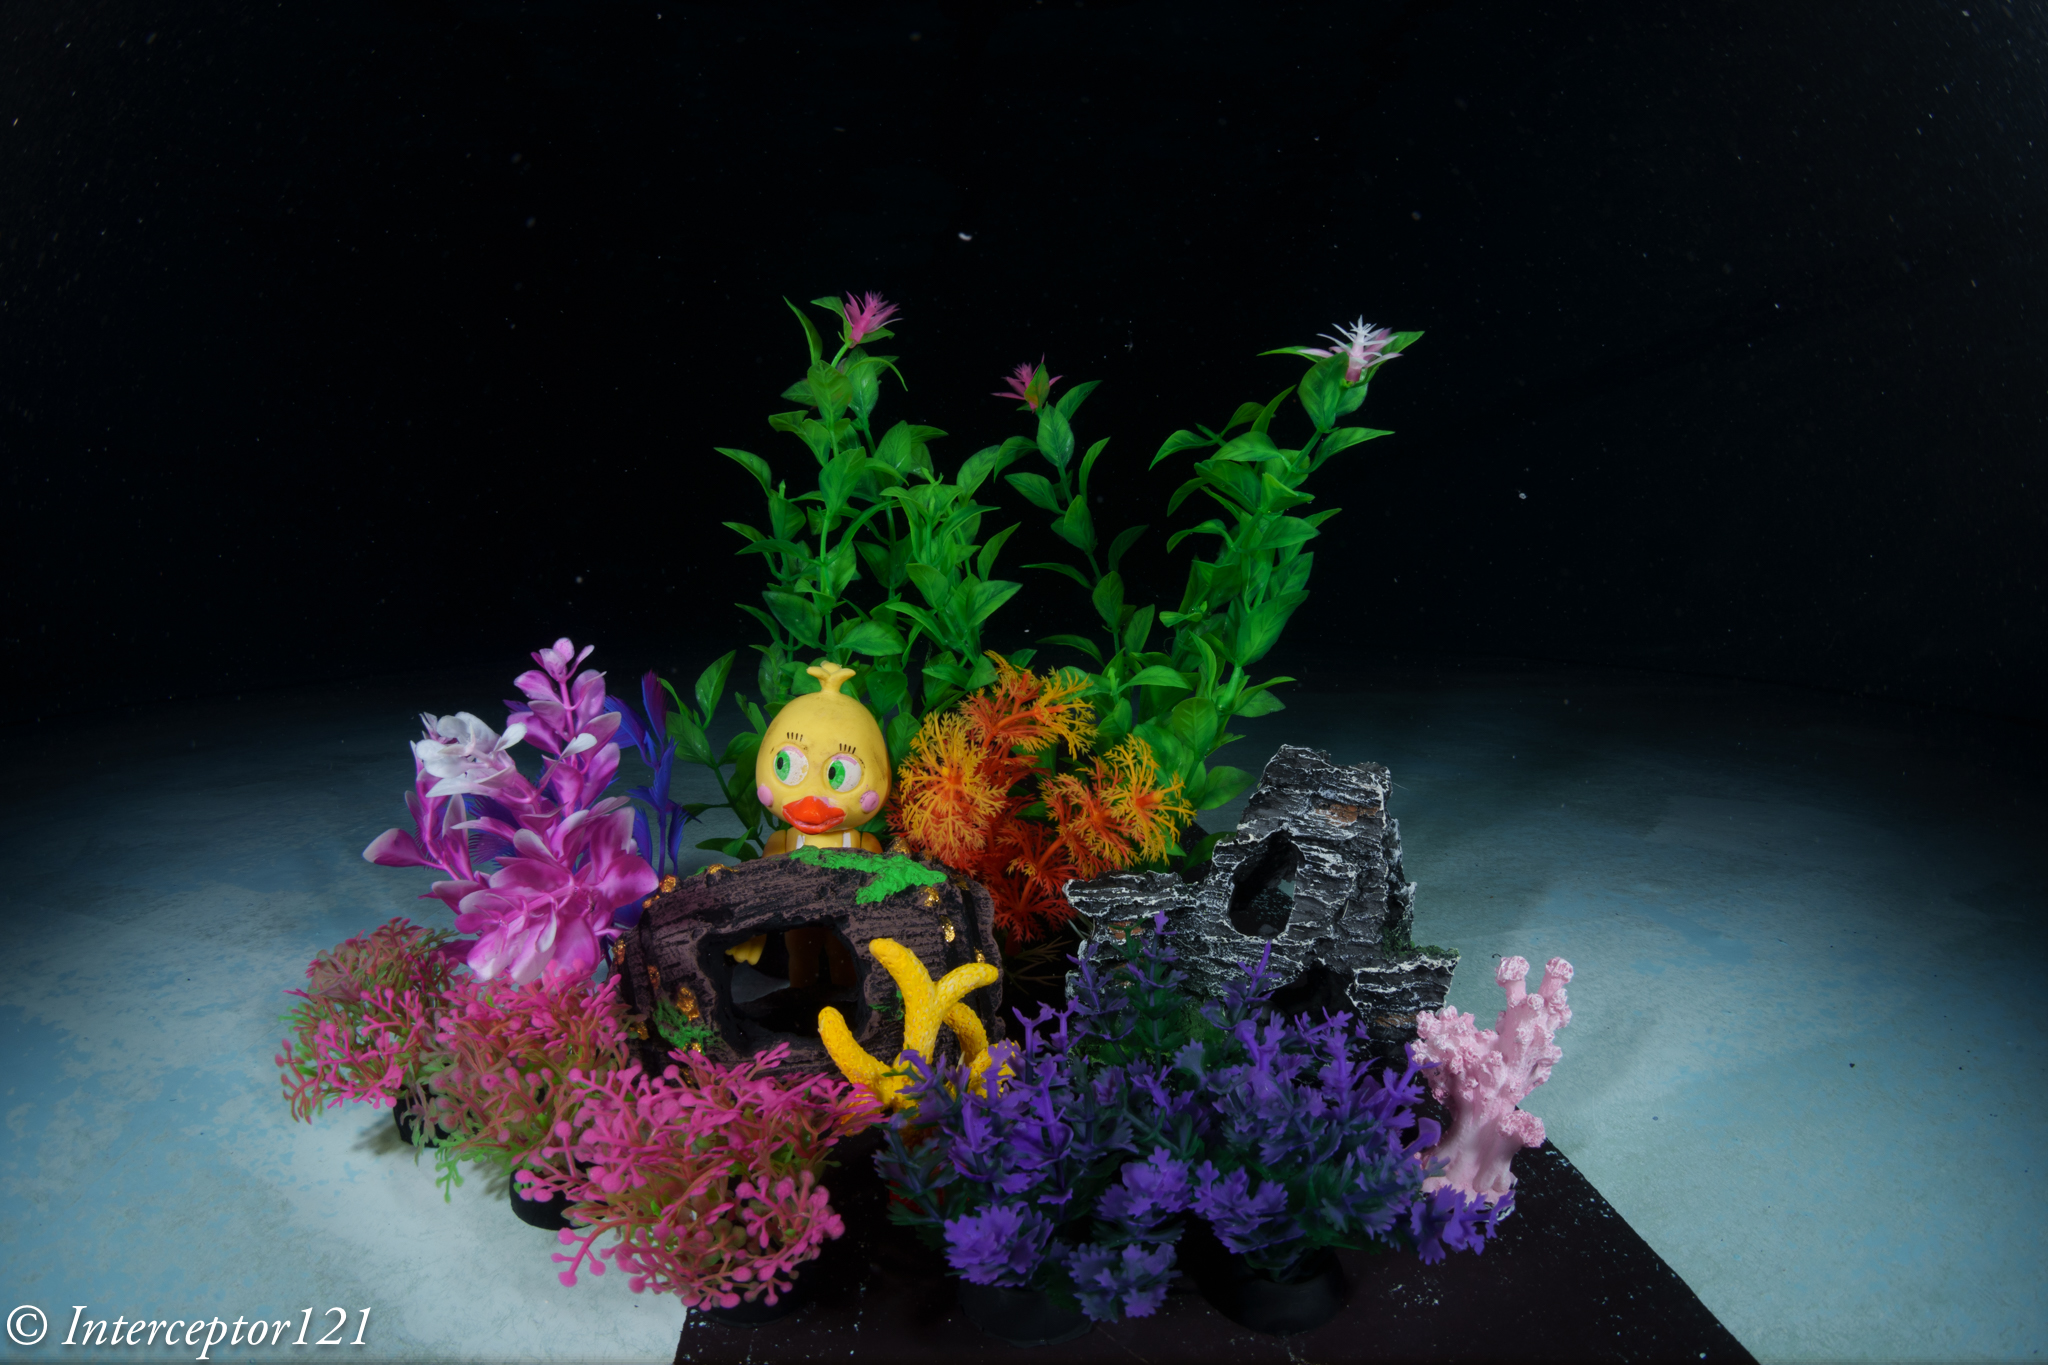
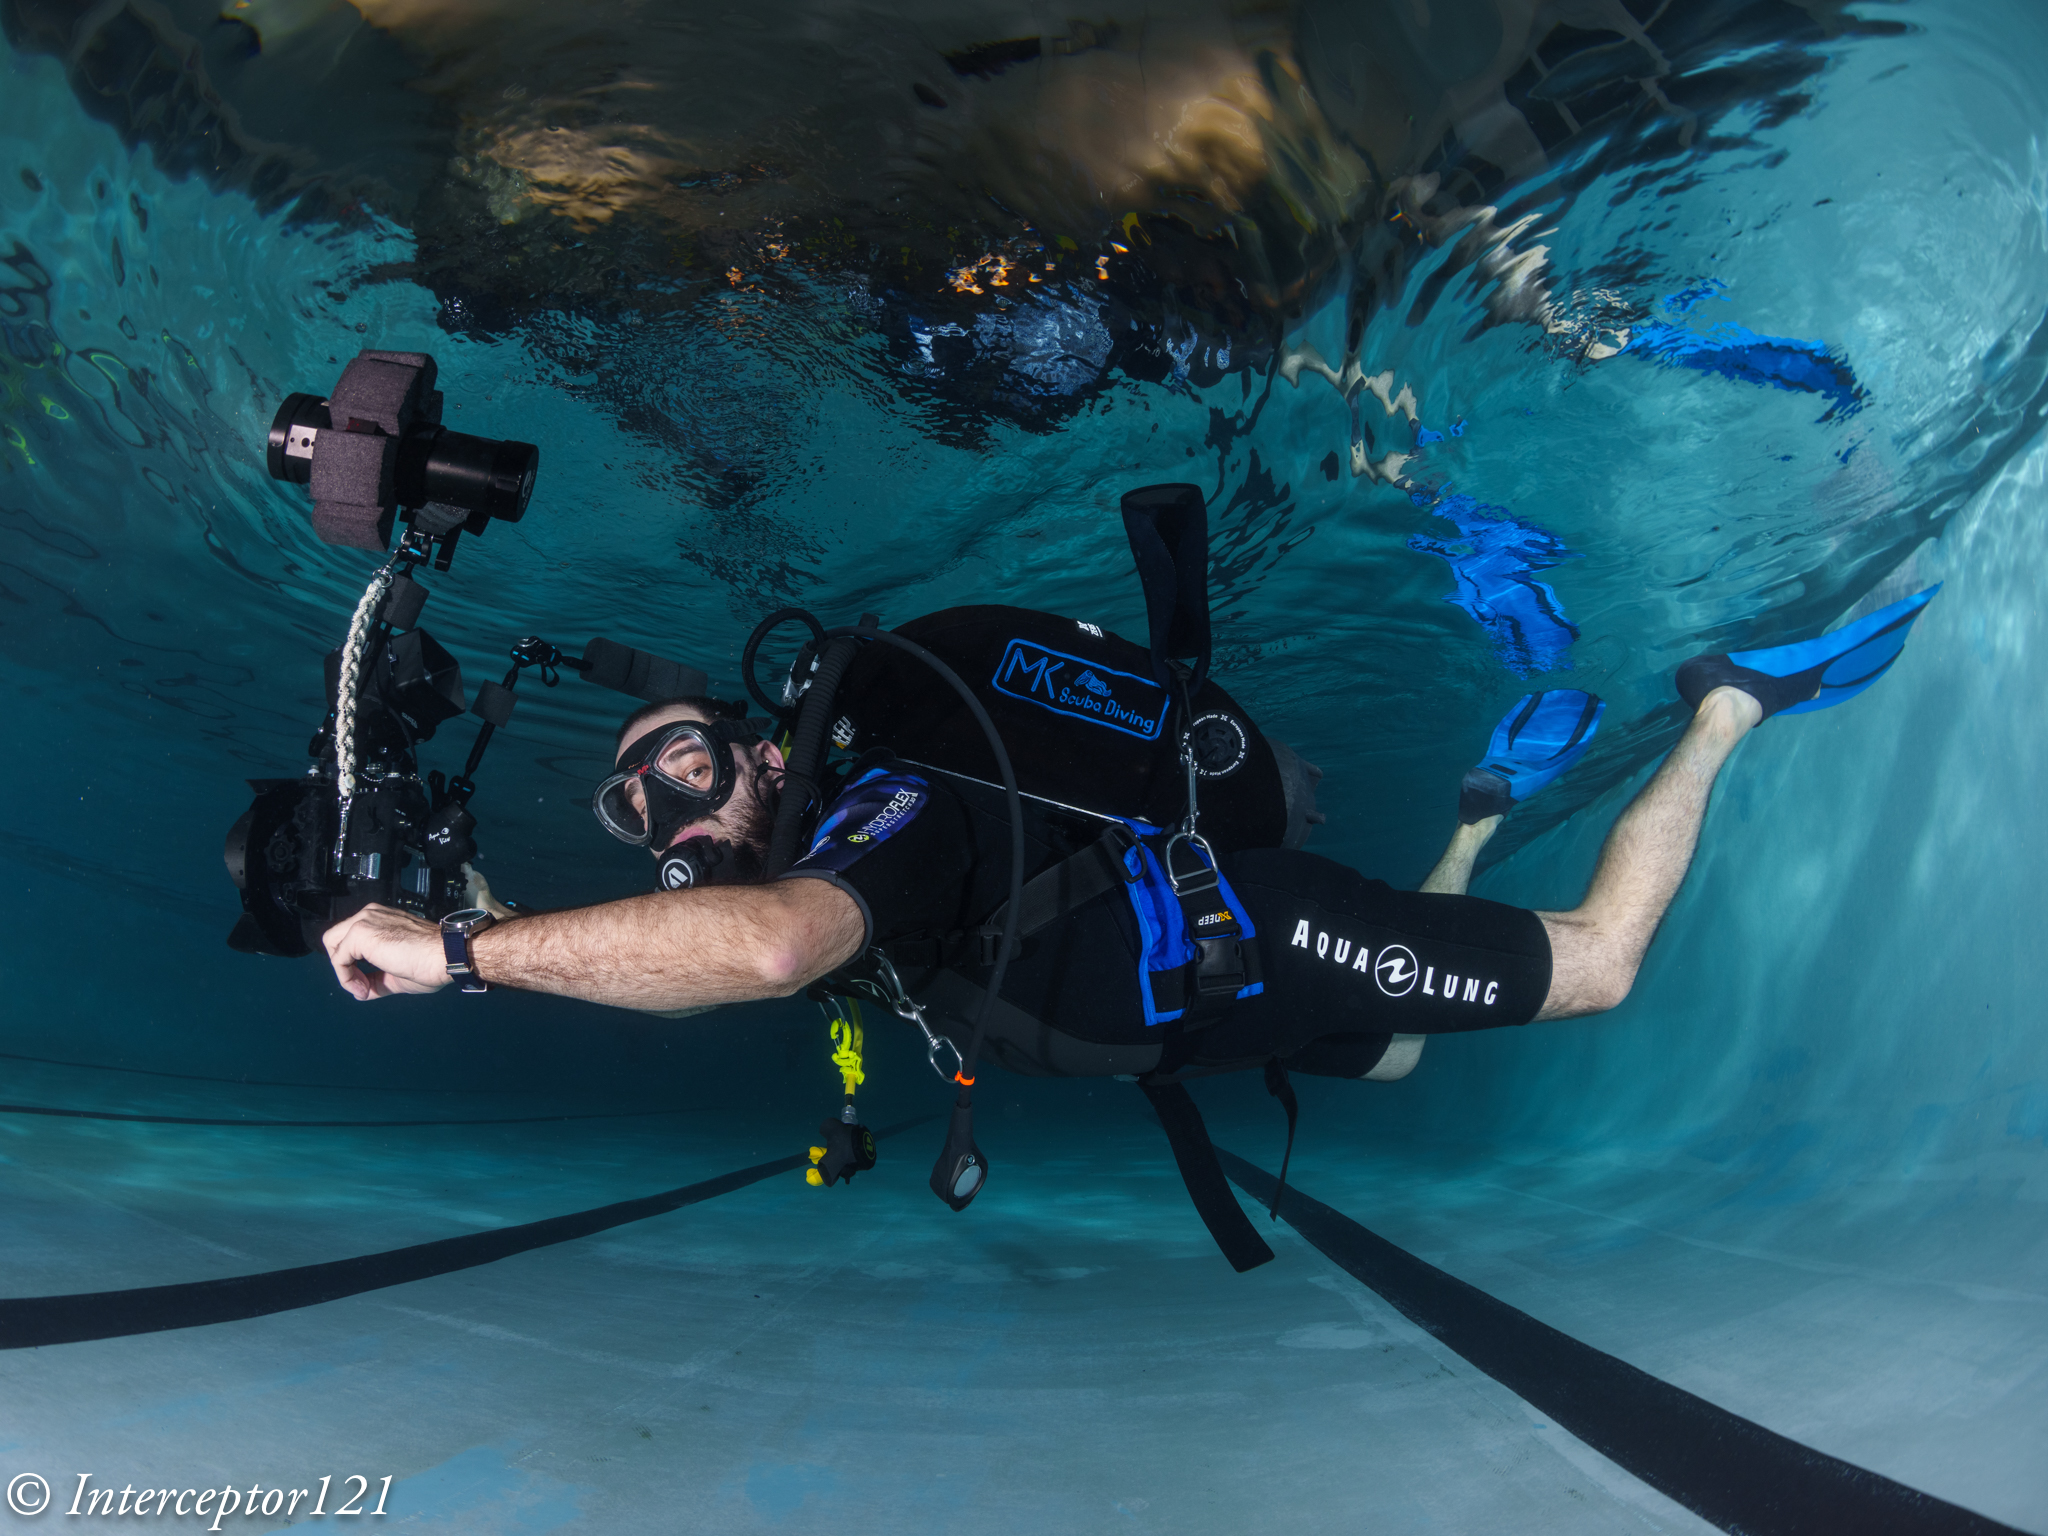
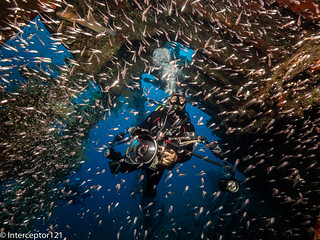
With the rig assembled I went for a pool session with the objective of finding out what was the overall performance of the system.
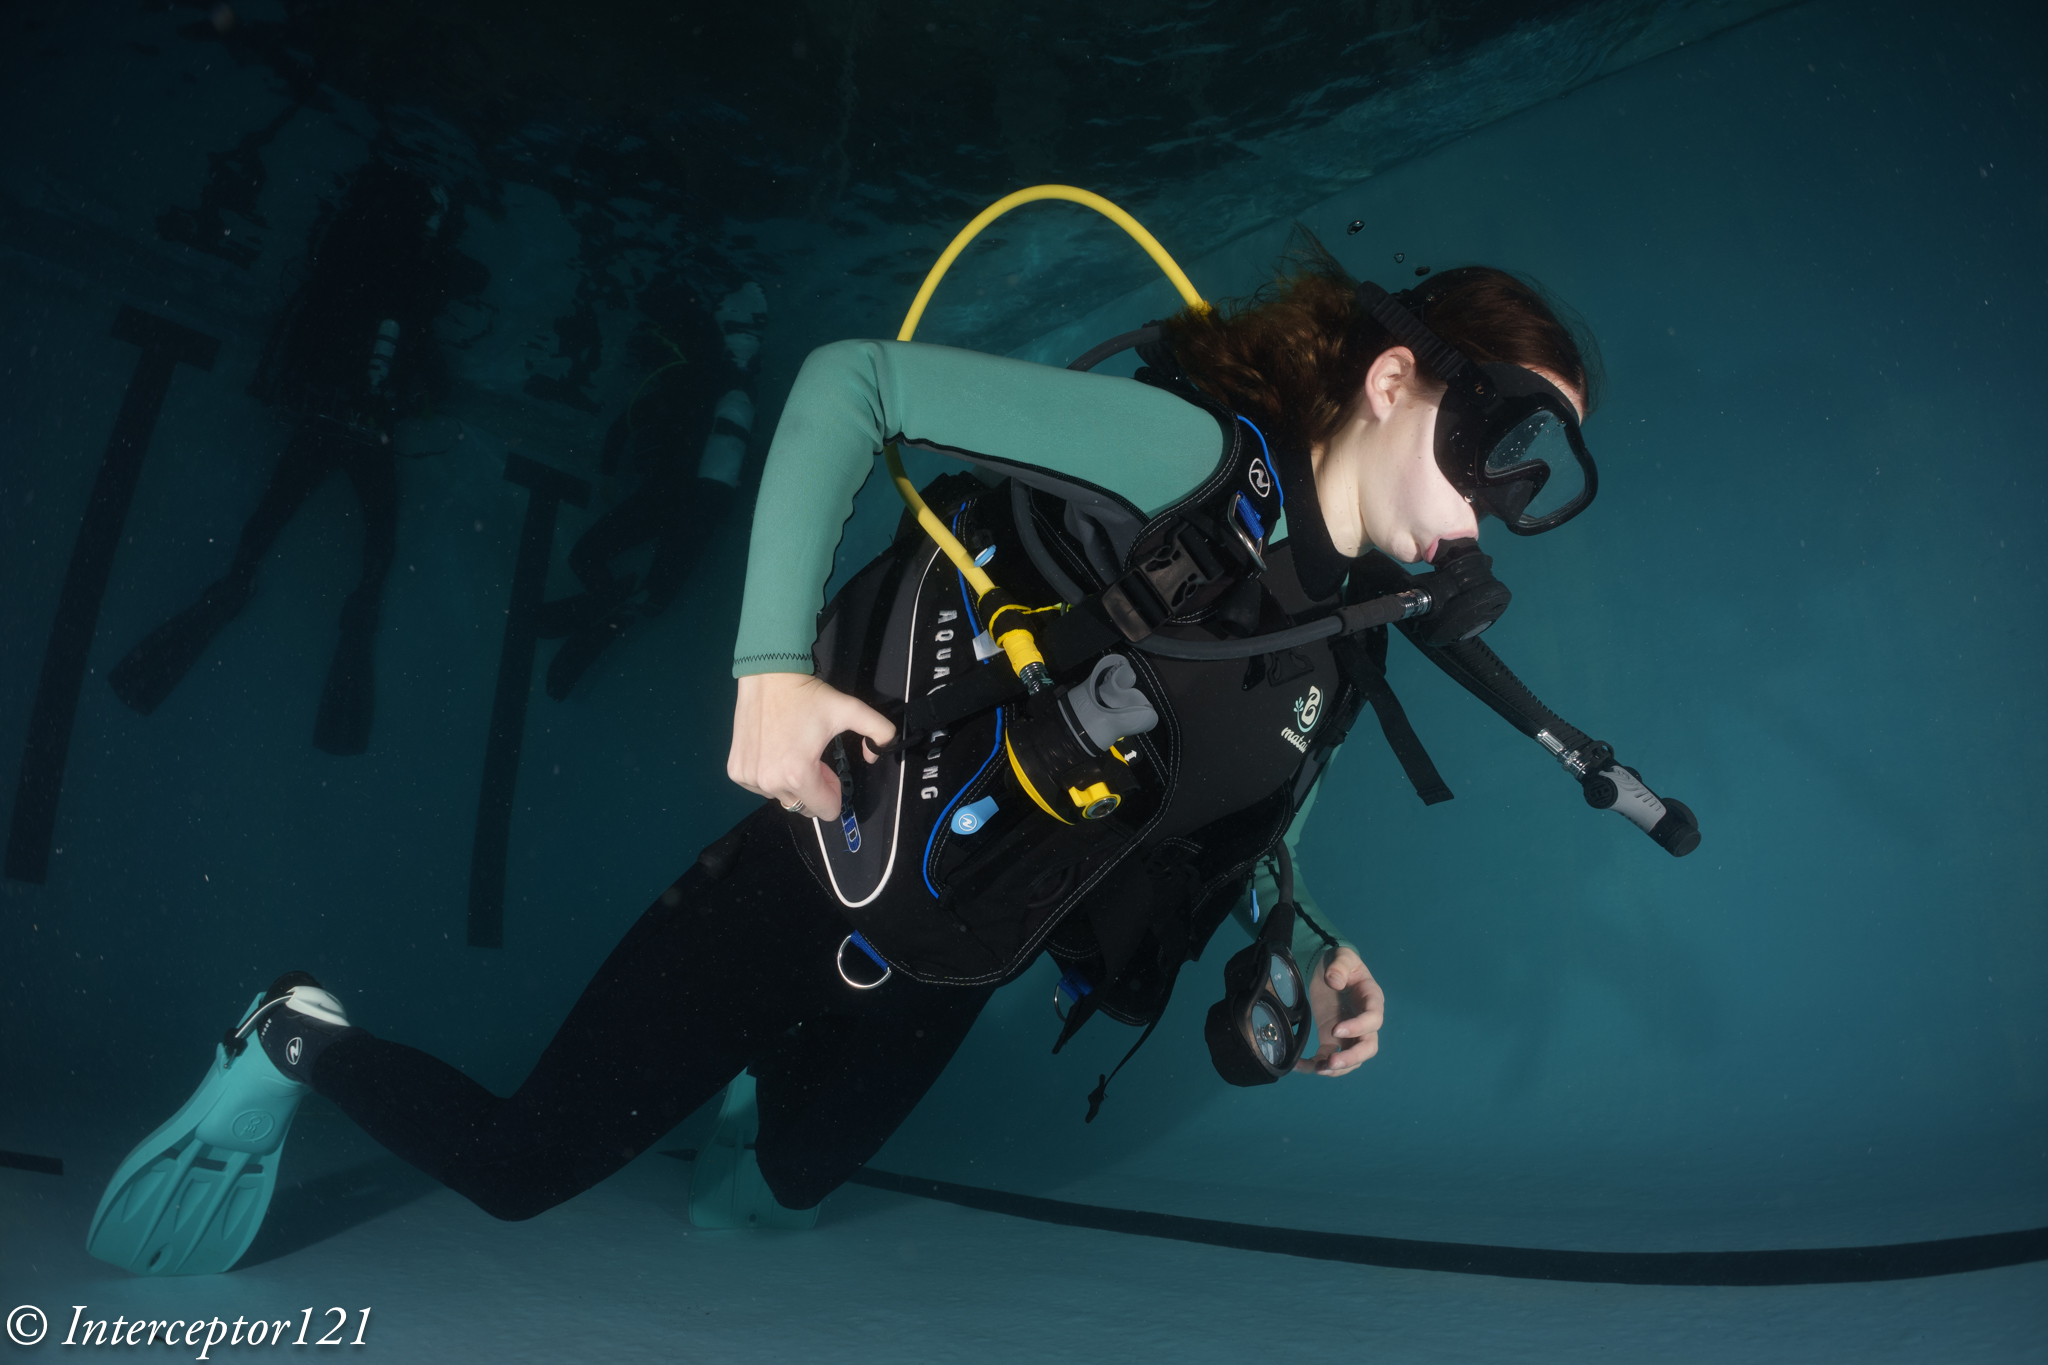
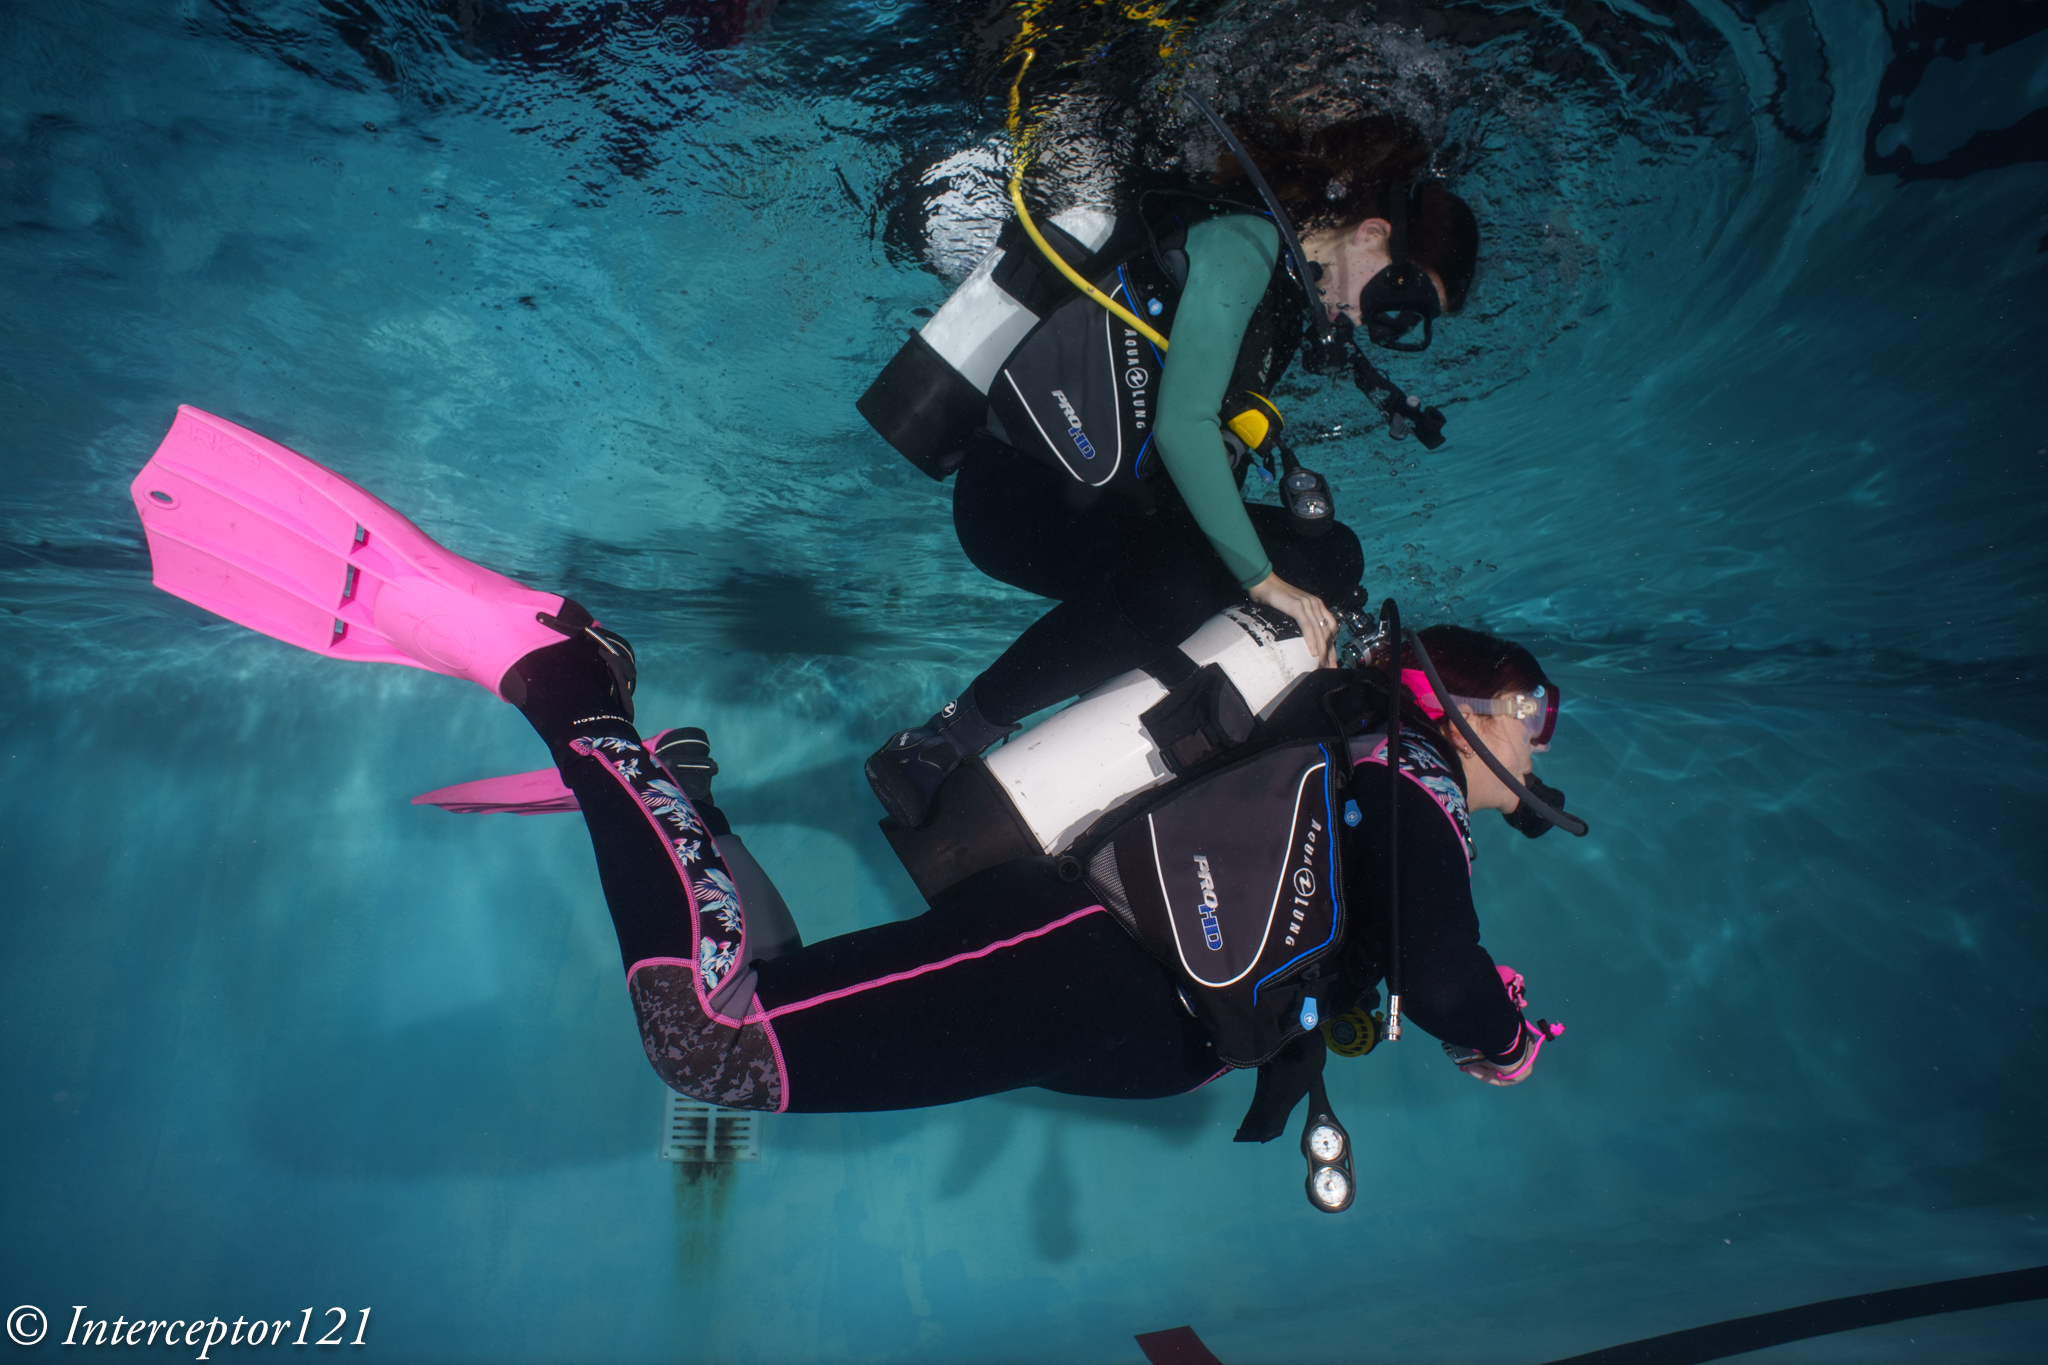
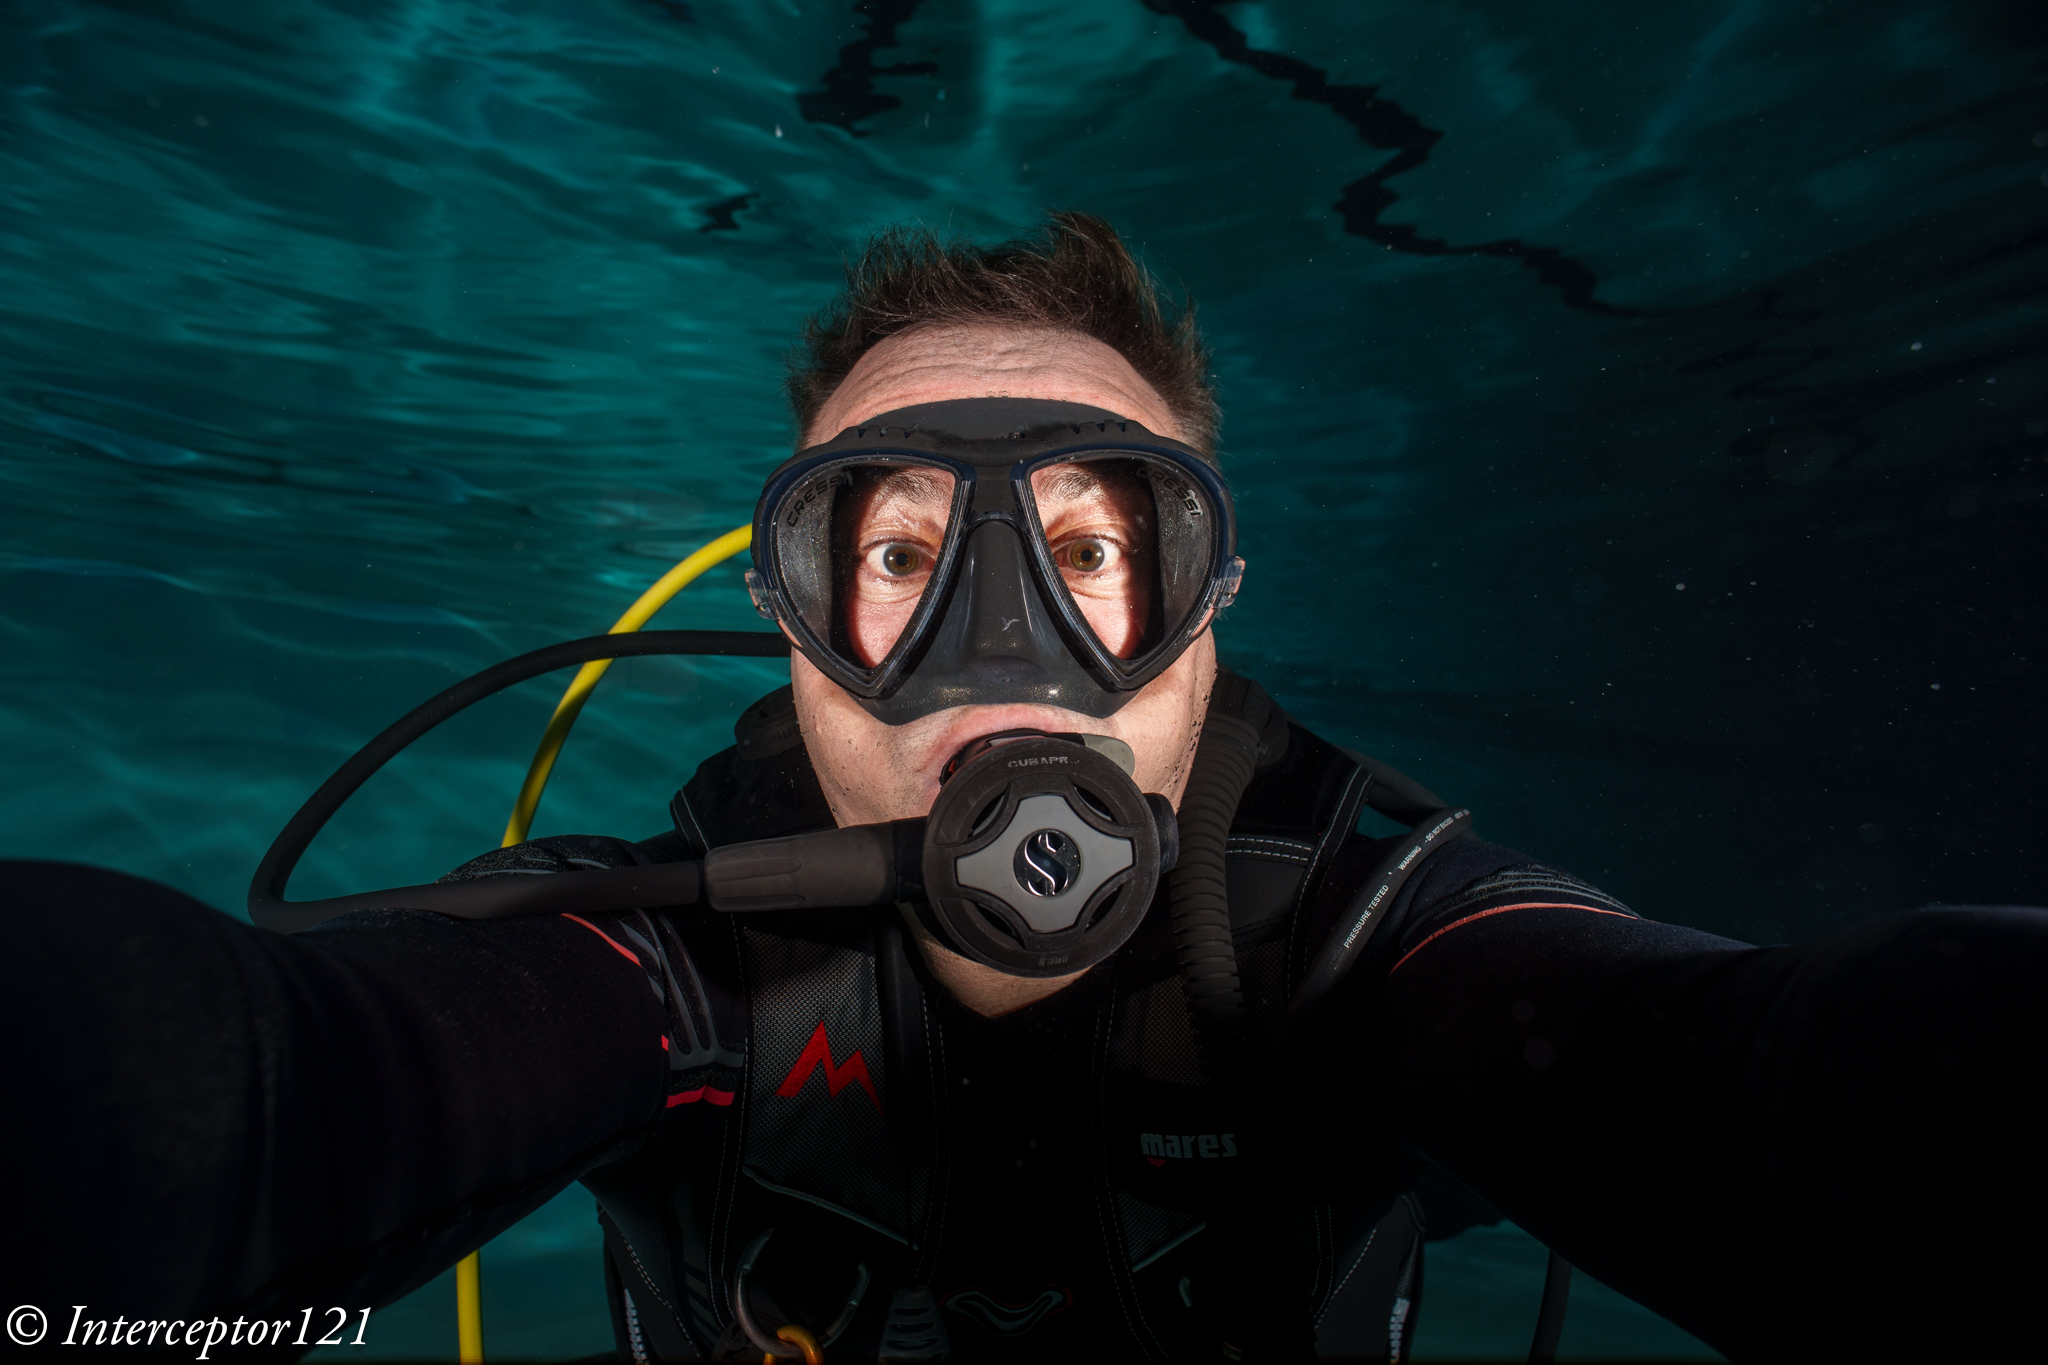
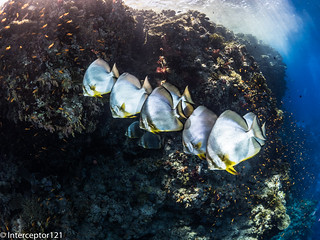
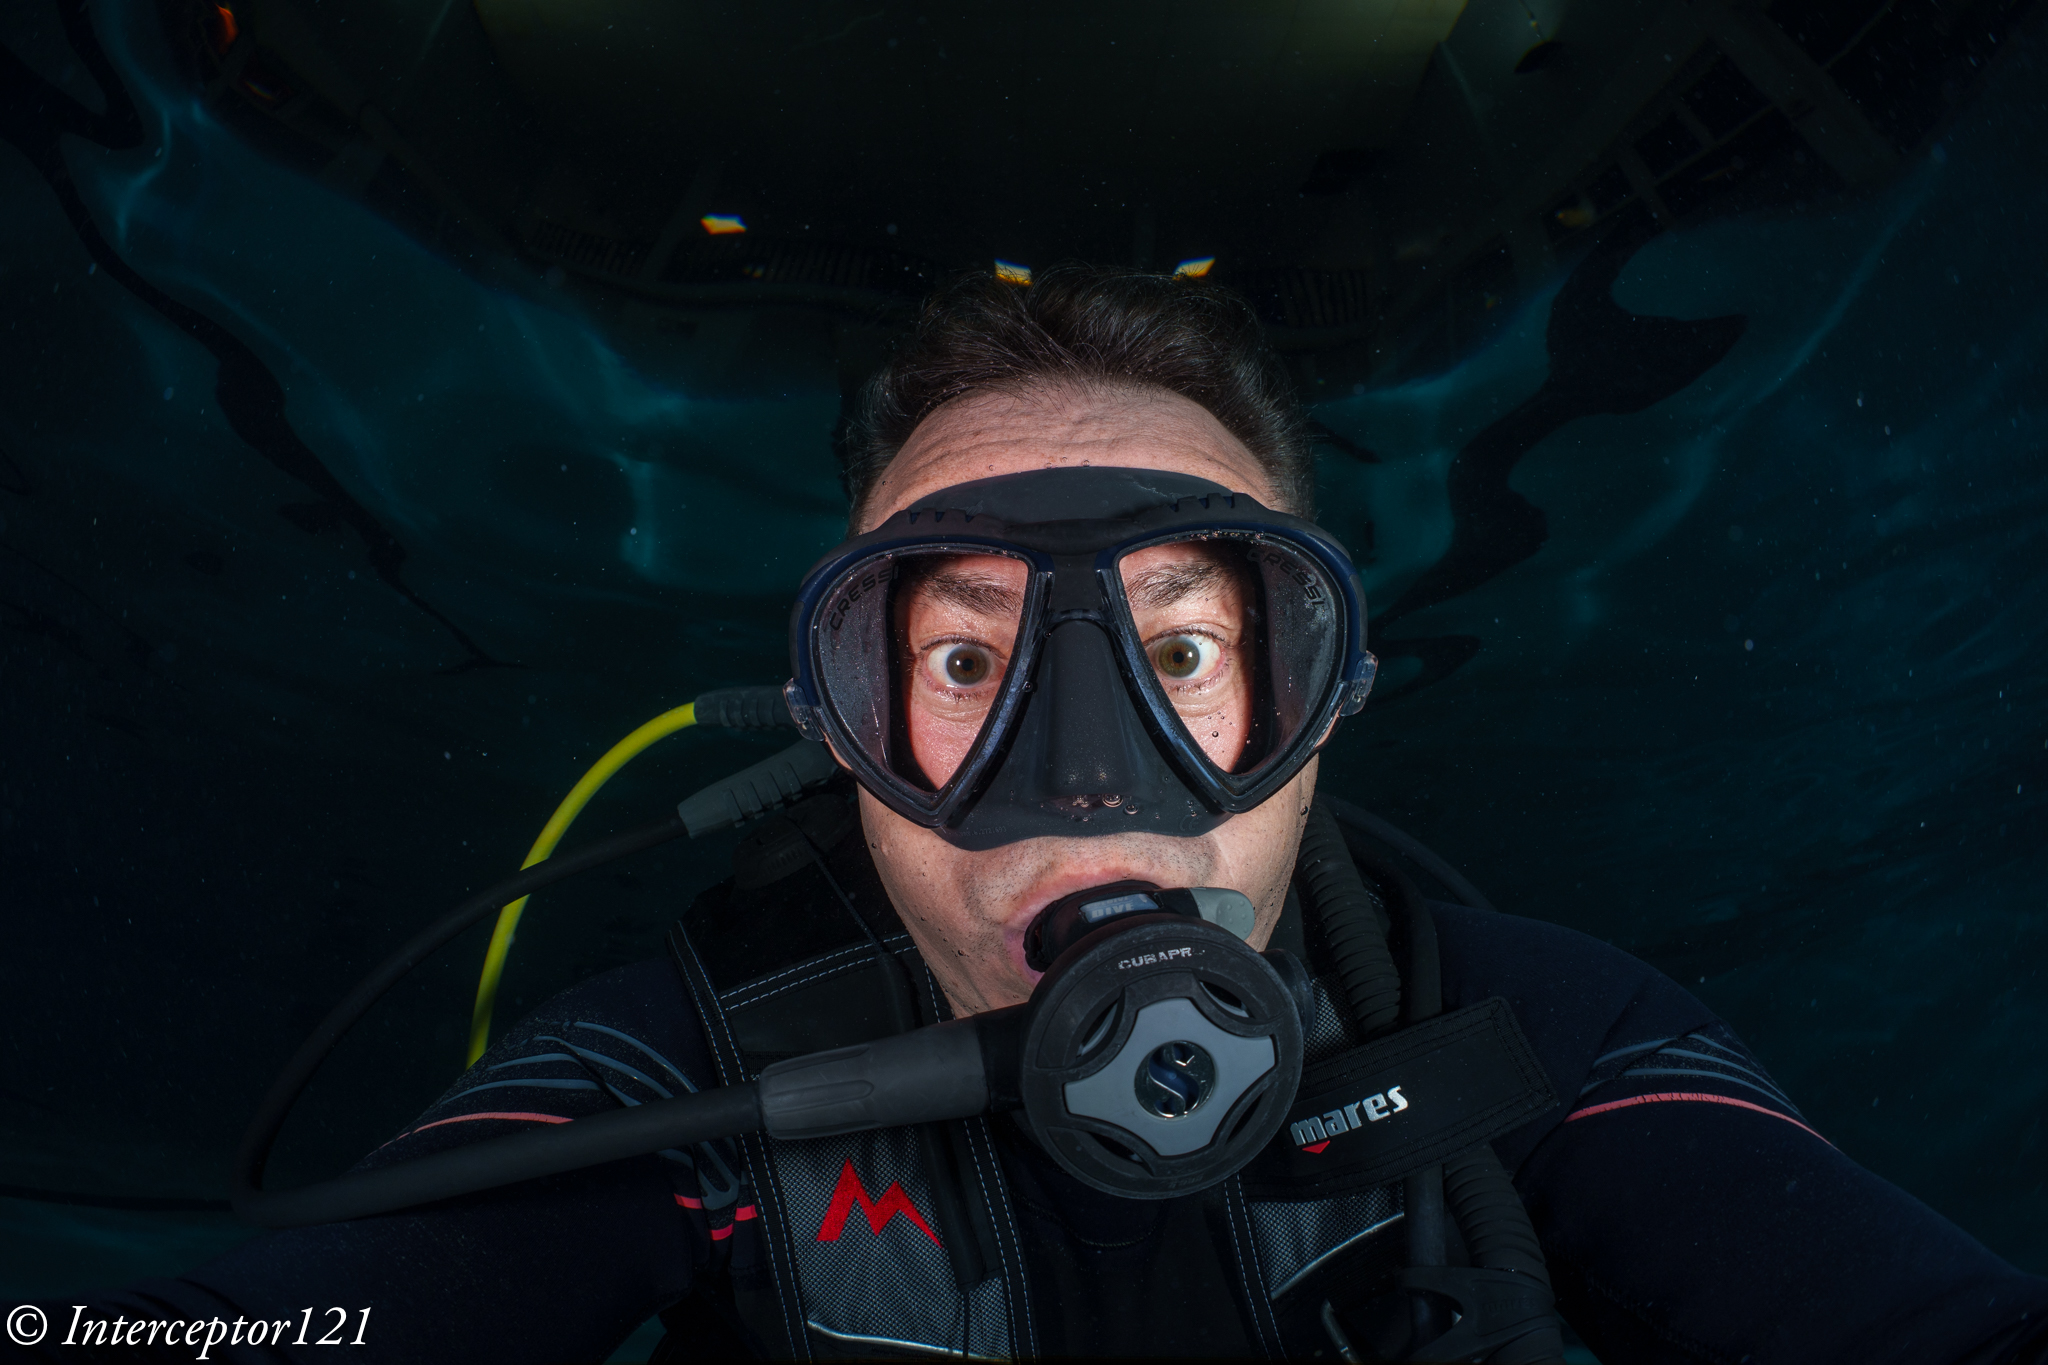
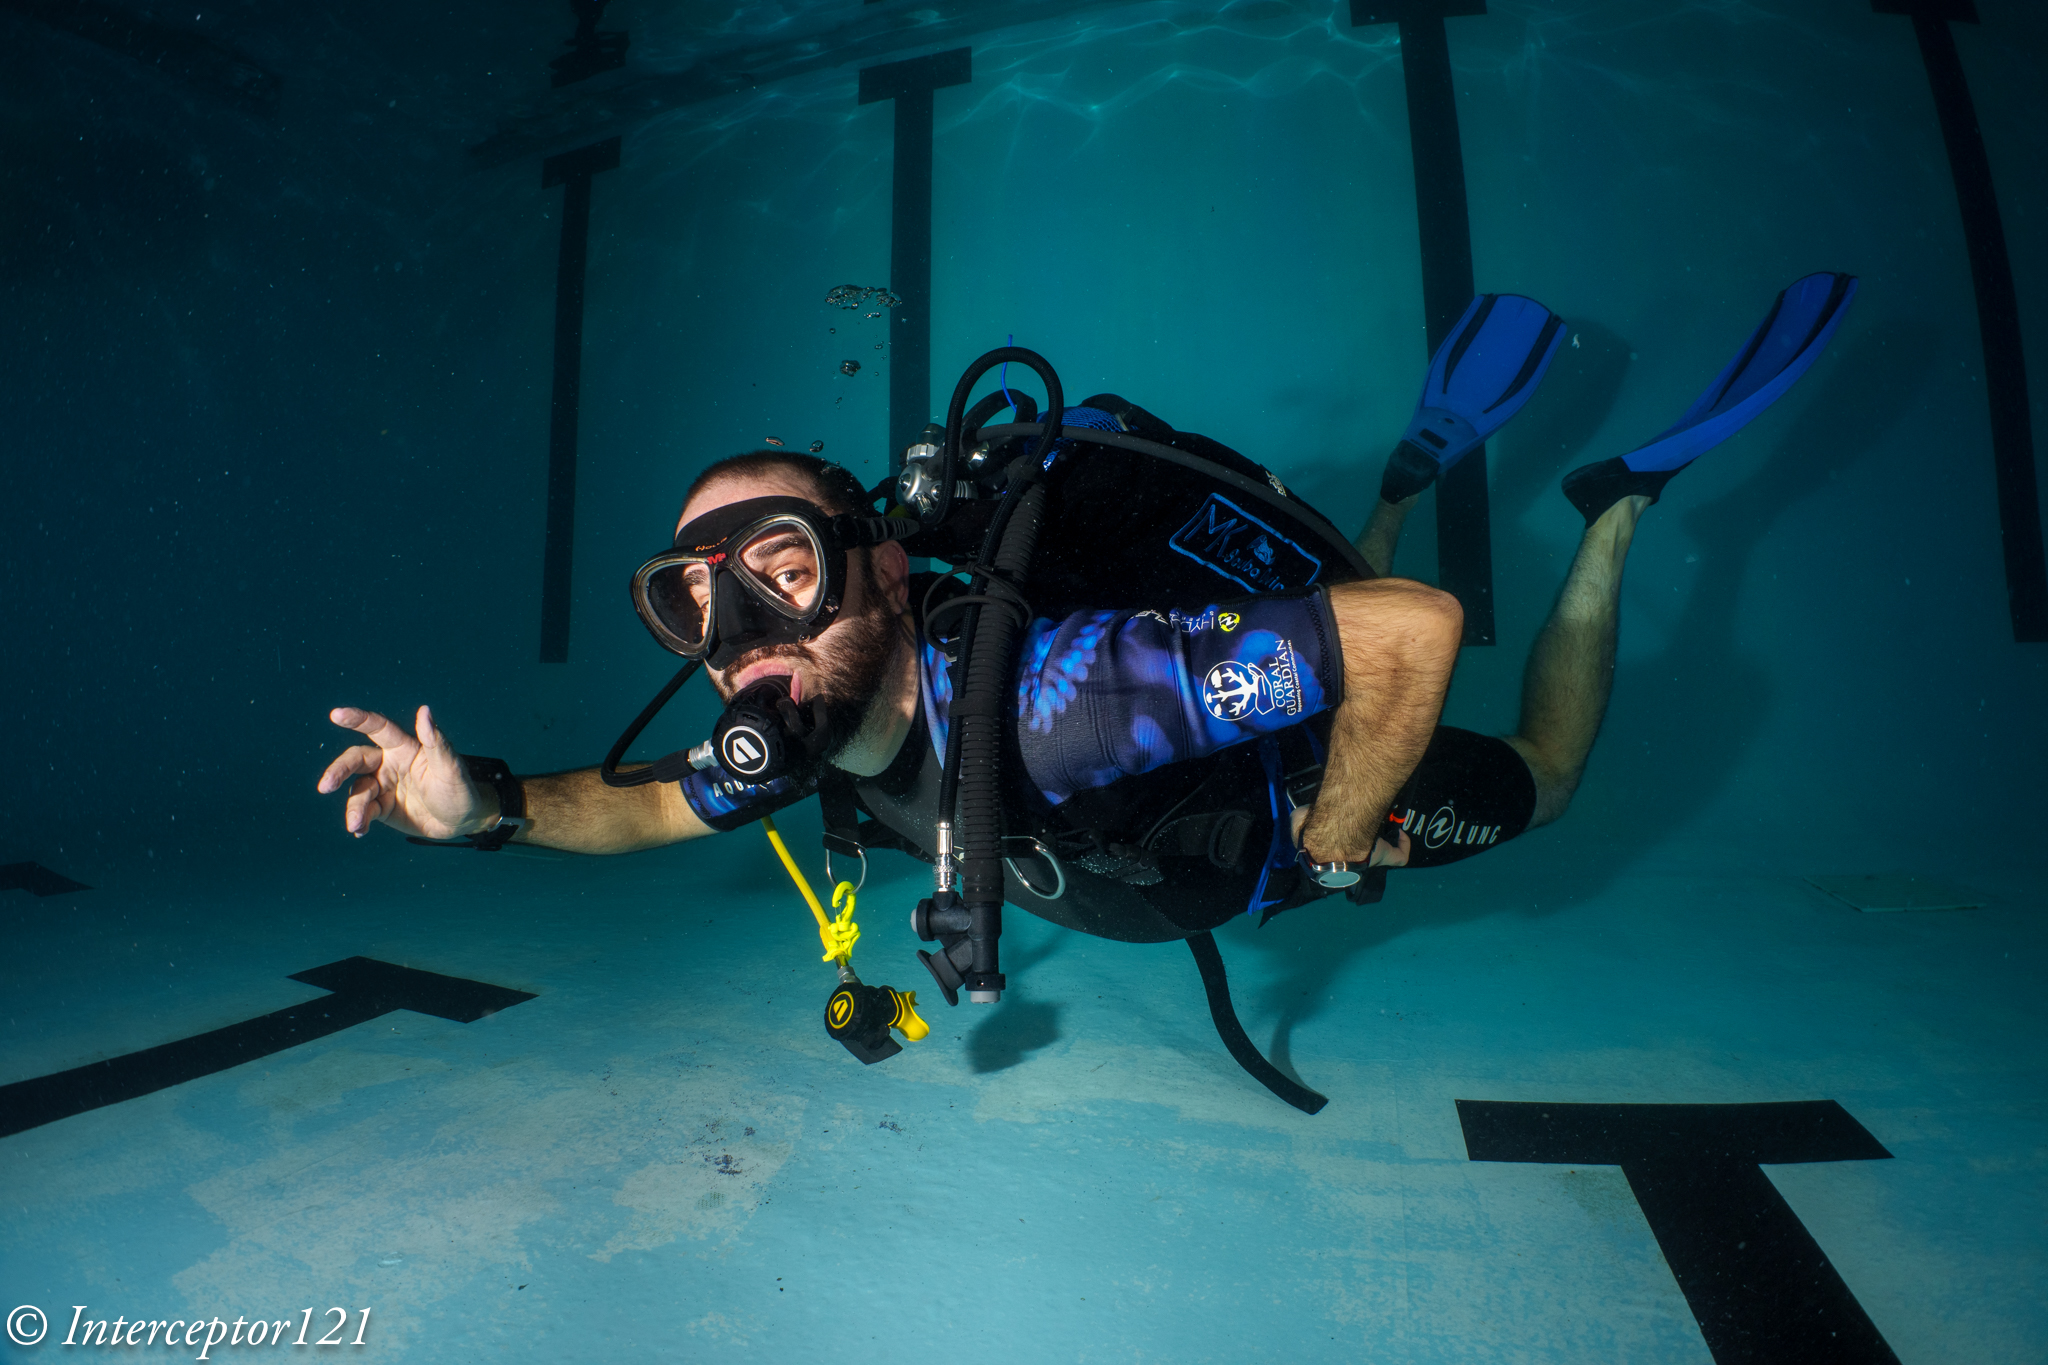
What follows are a series of test shots of divers.

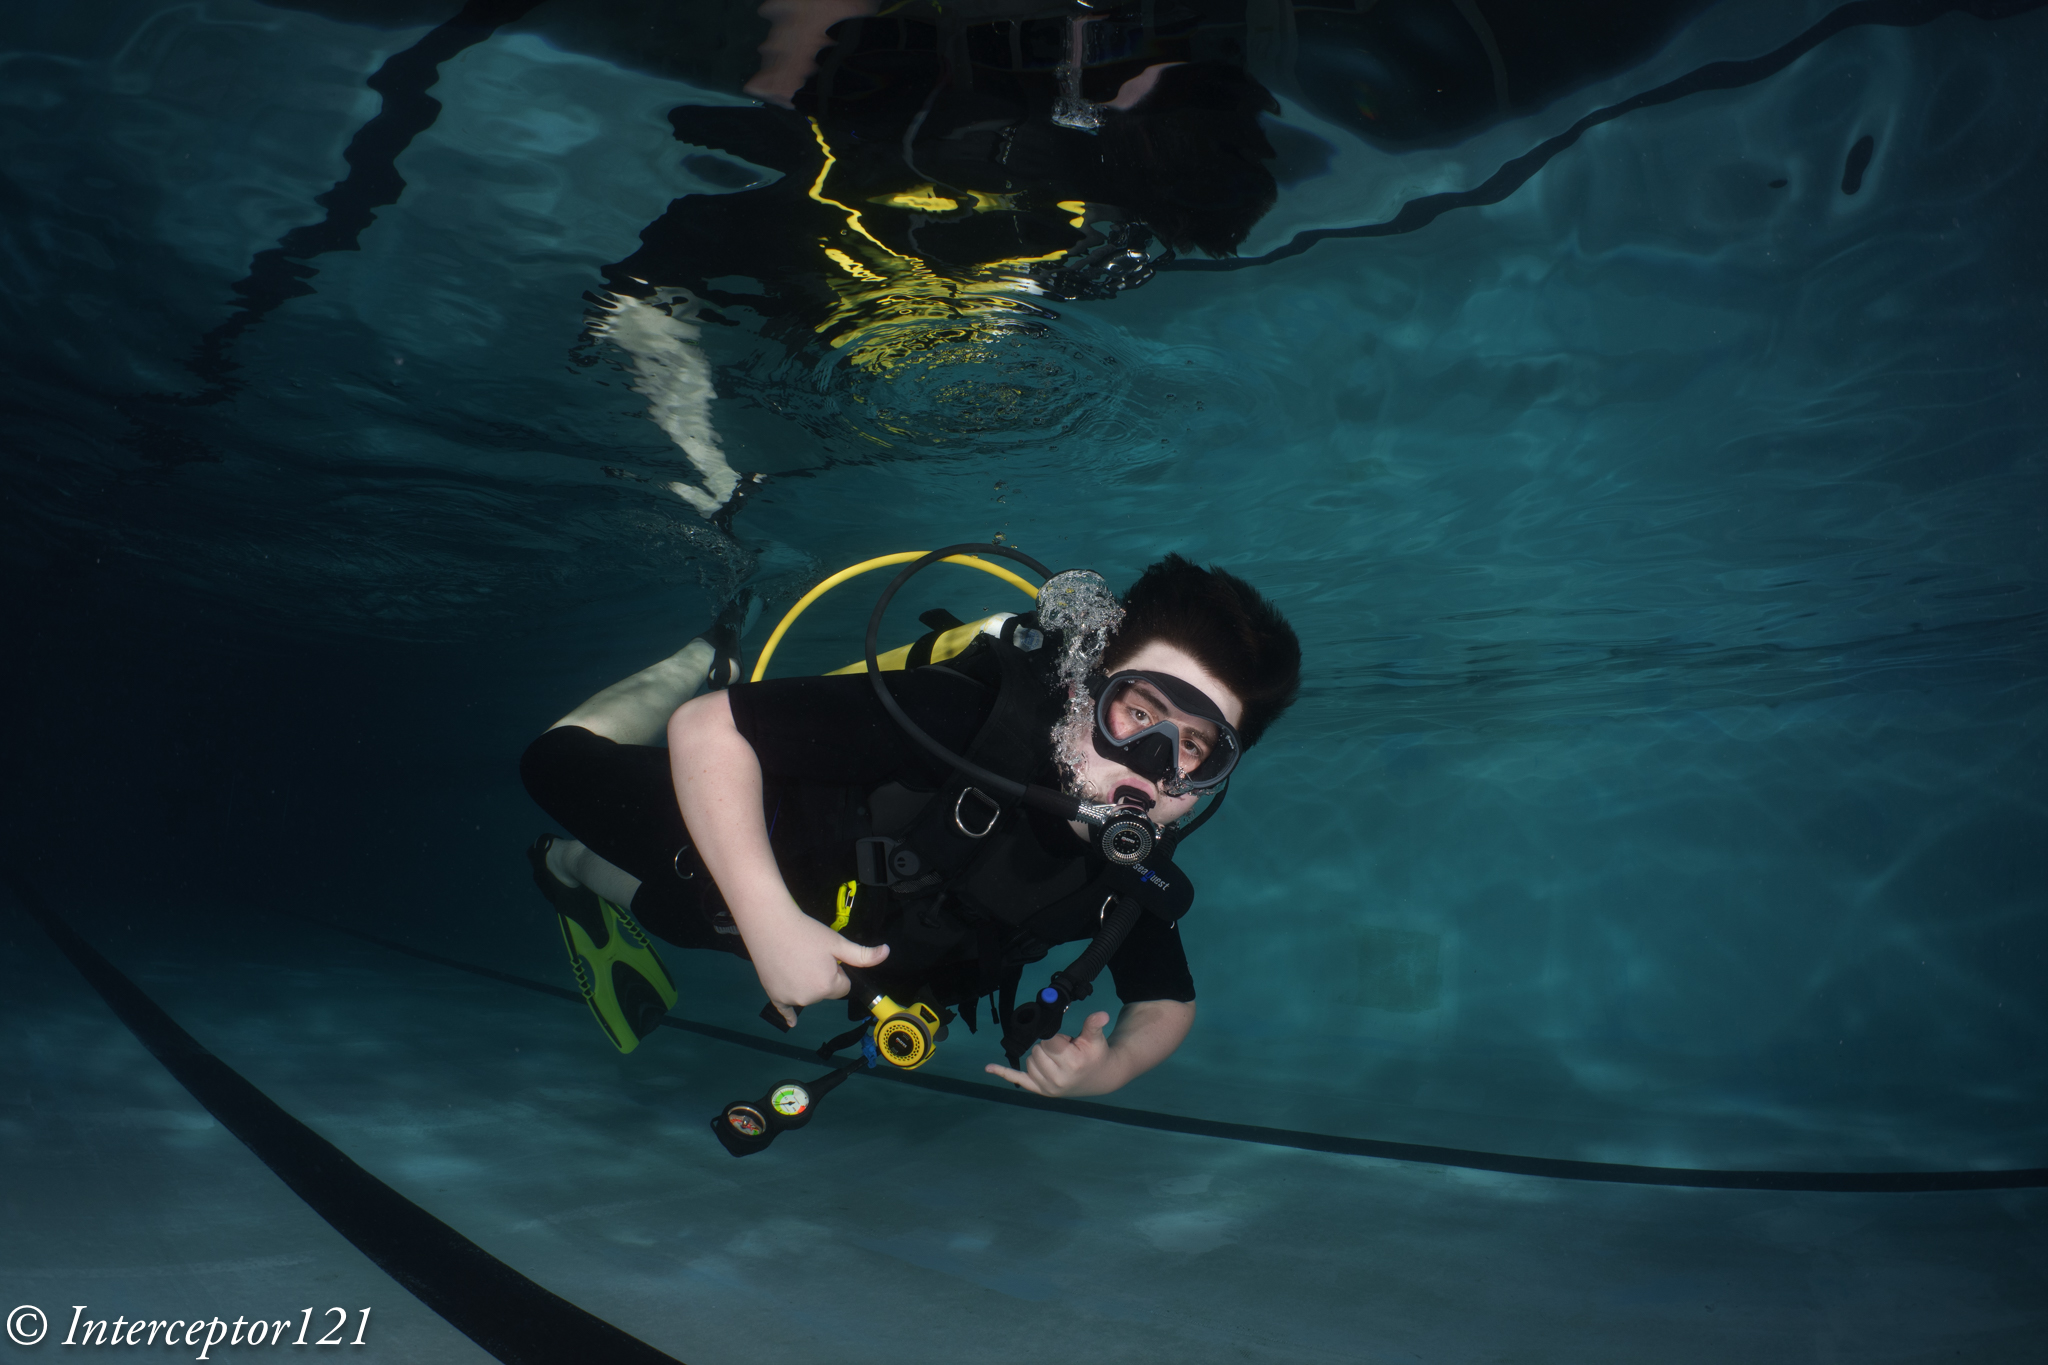
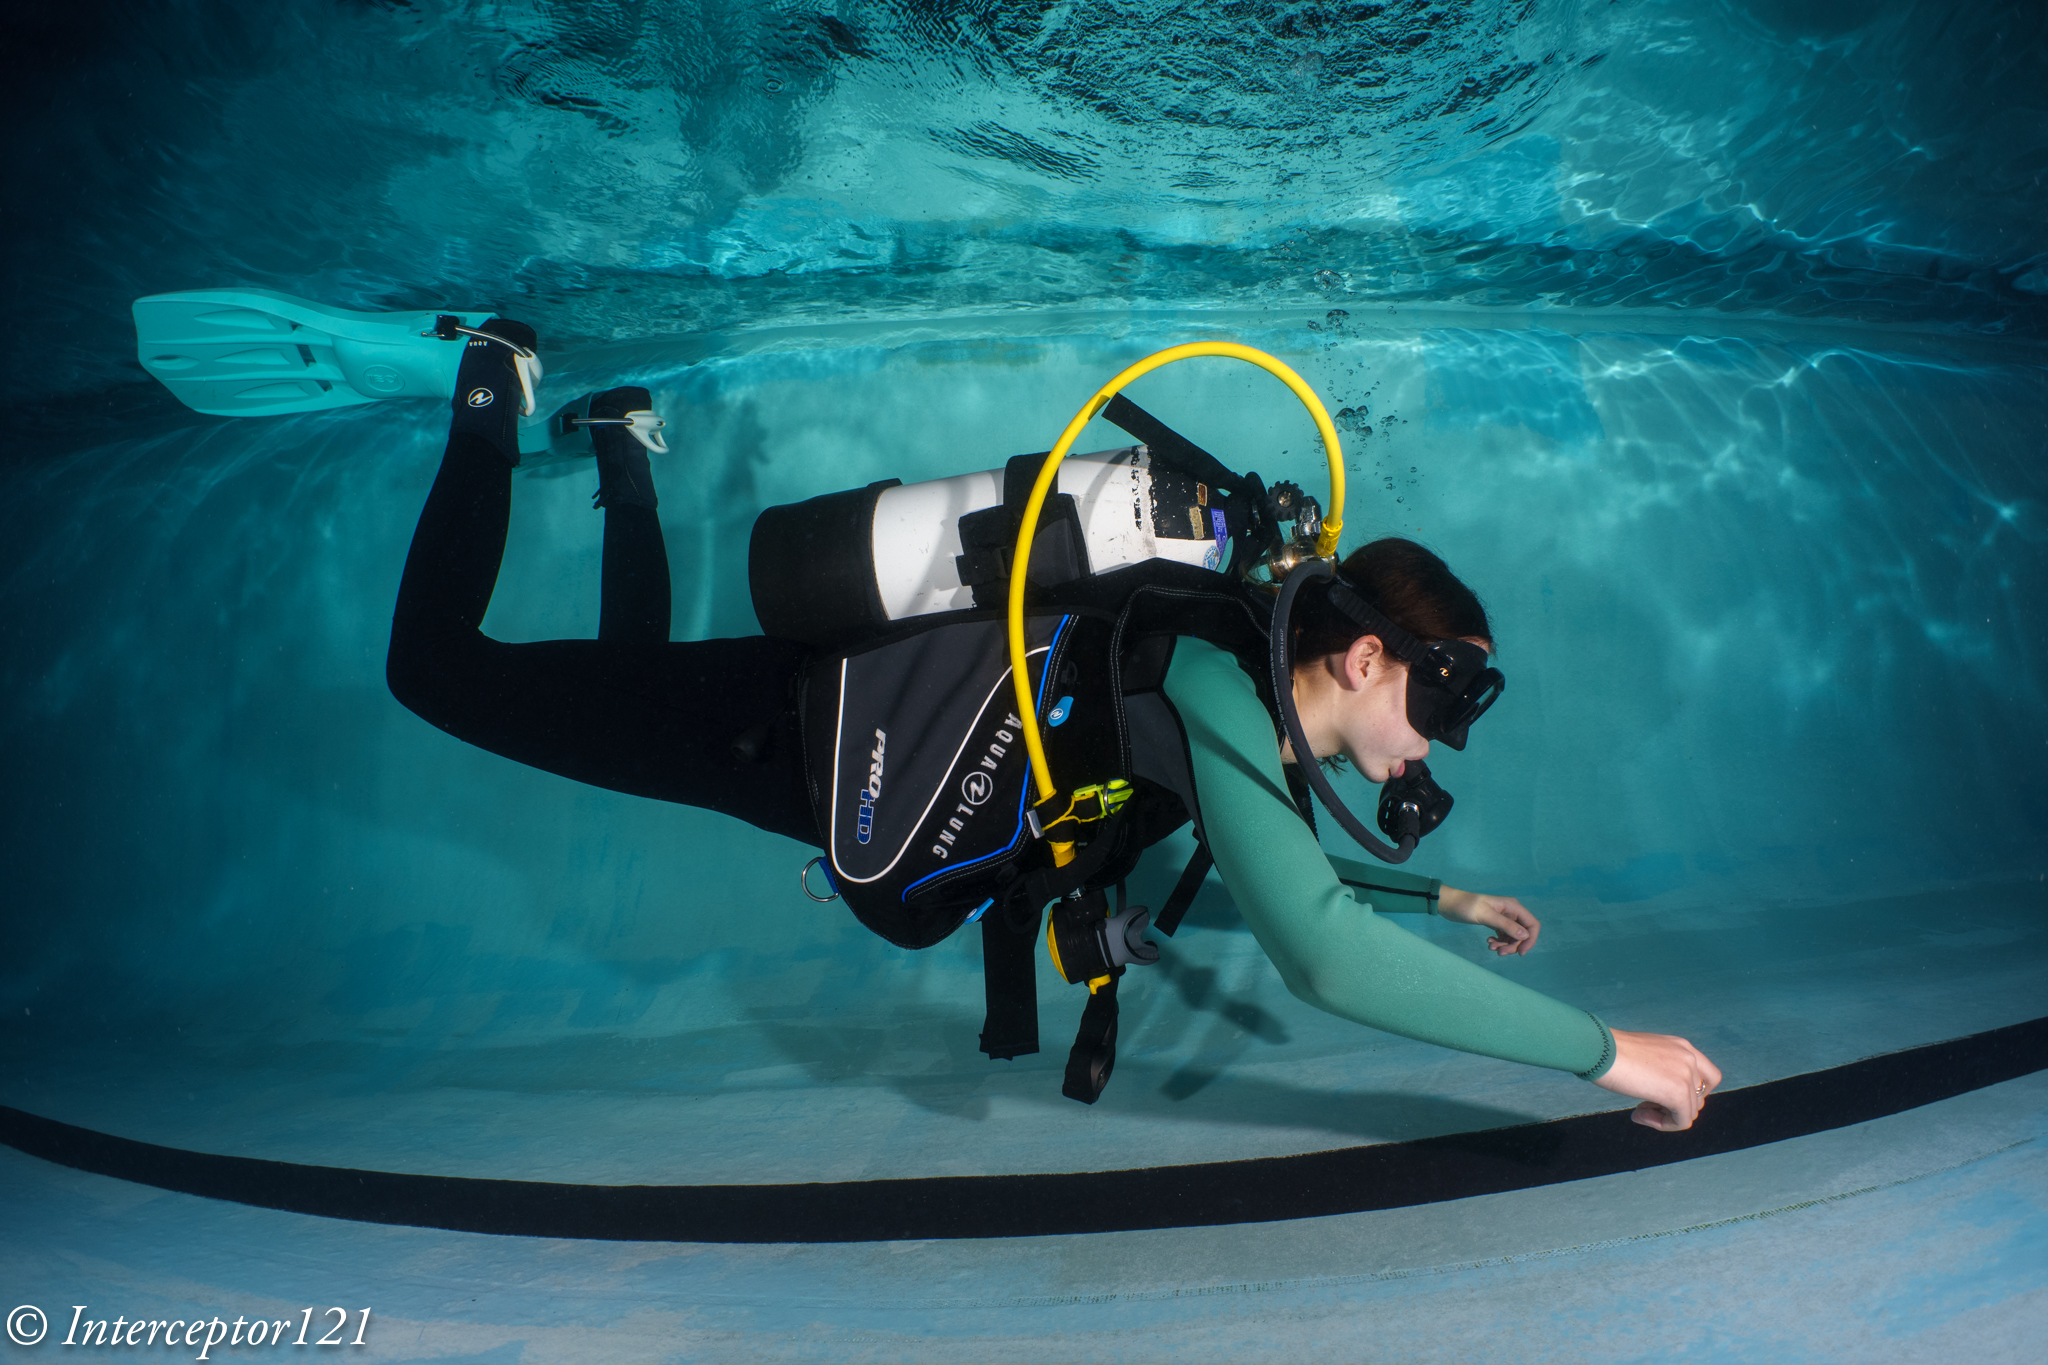
In general I found the lens to be sharper in the centre at f/8 but closing down to f/11 was required if there was something in the corners.
Edge Sharpness
I was intrigued by a number of discussions on edge sharpness and after several exchanges with Shane Smith he was clear that the lens needs to be stopped down to f/11 for best results.
After the session in the pool I would agree with Shane however I was curious if this was an issue of the WWL-1 or the 28-60mm lens itself.
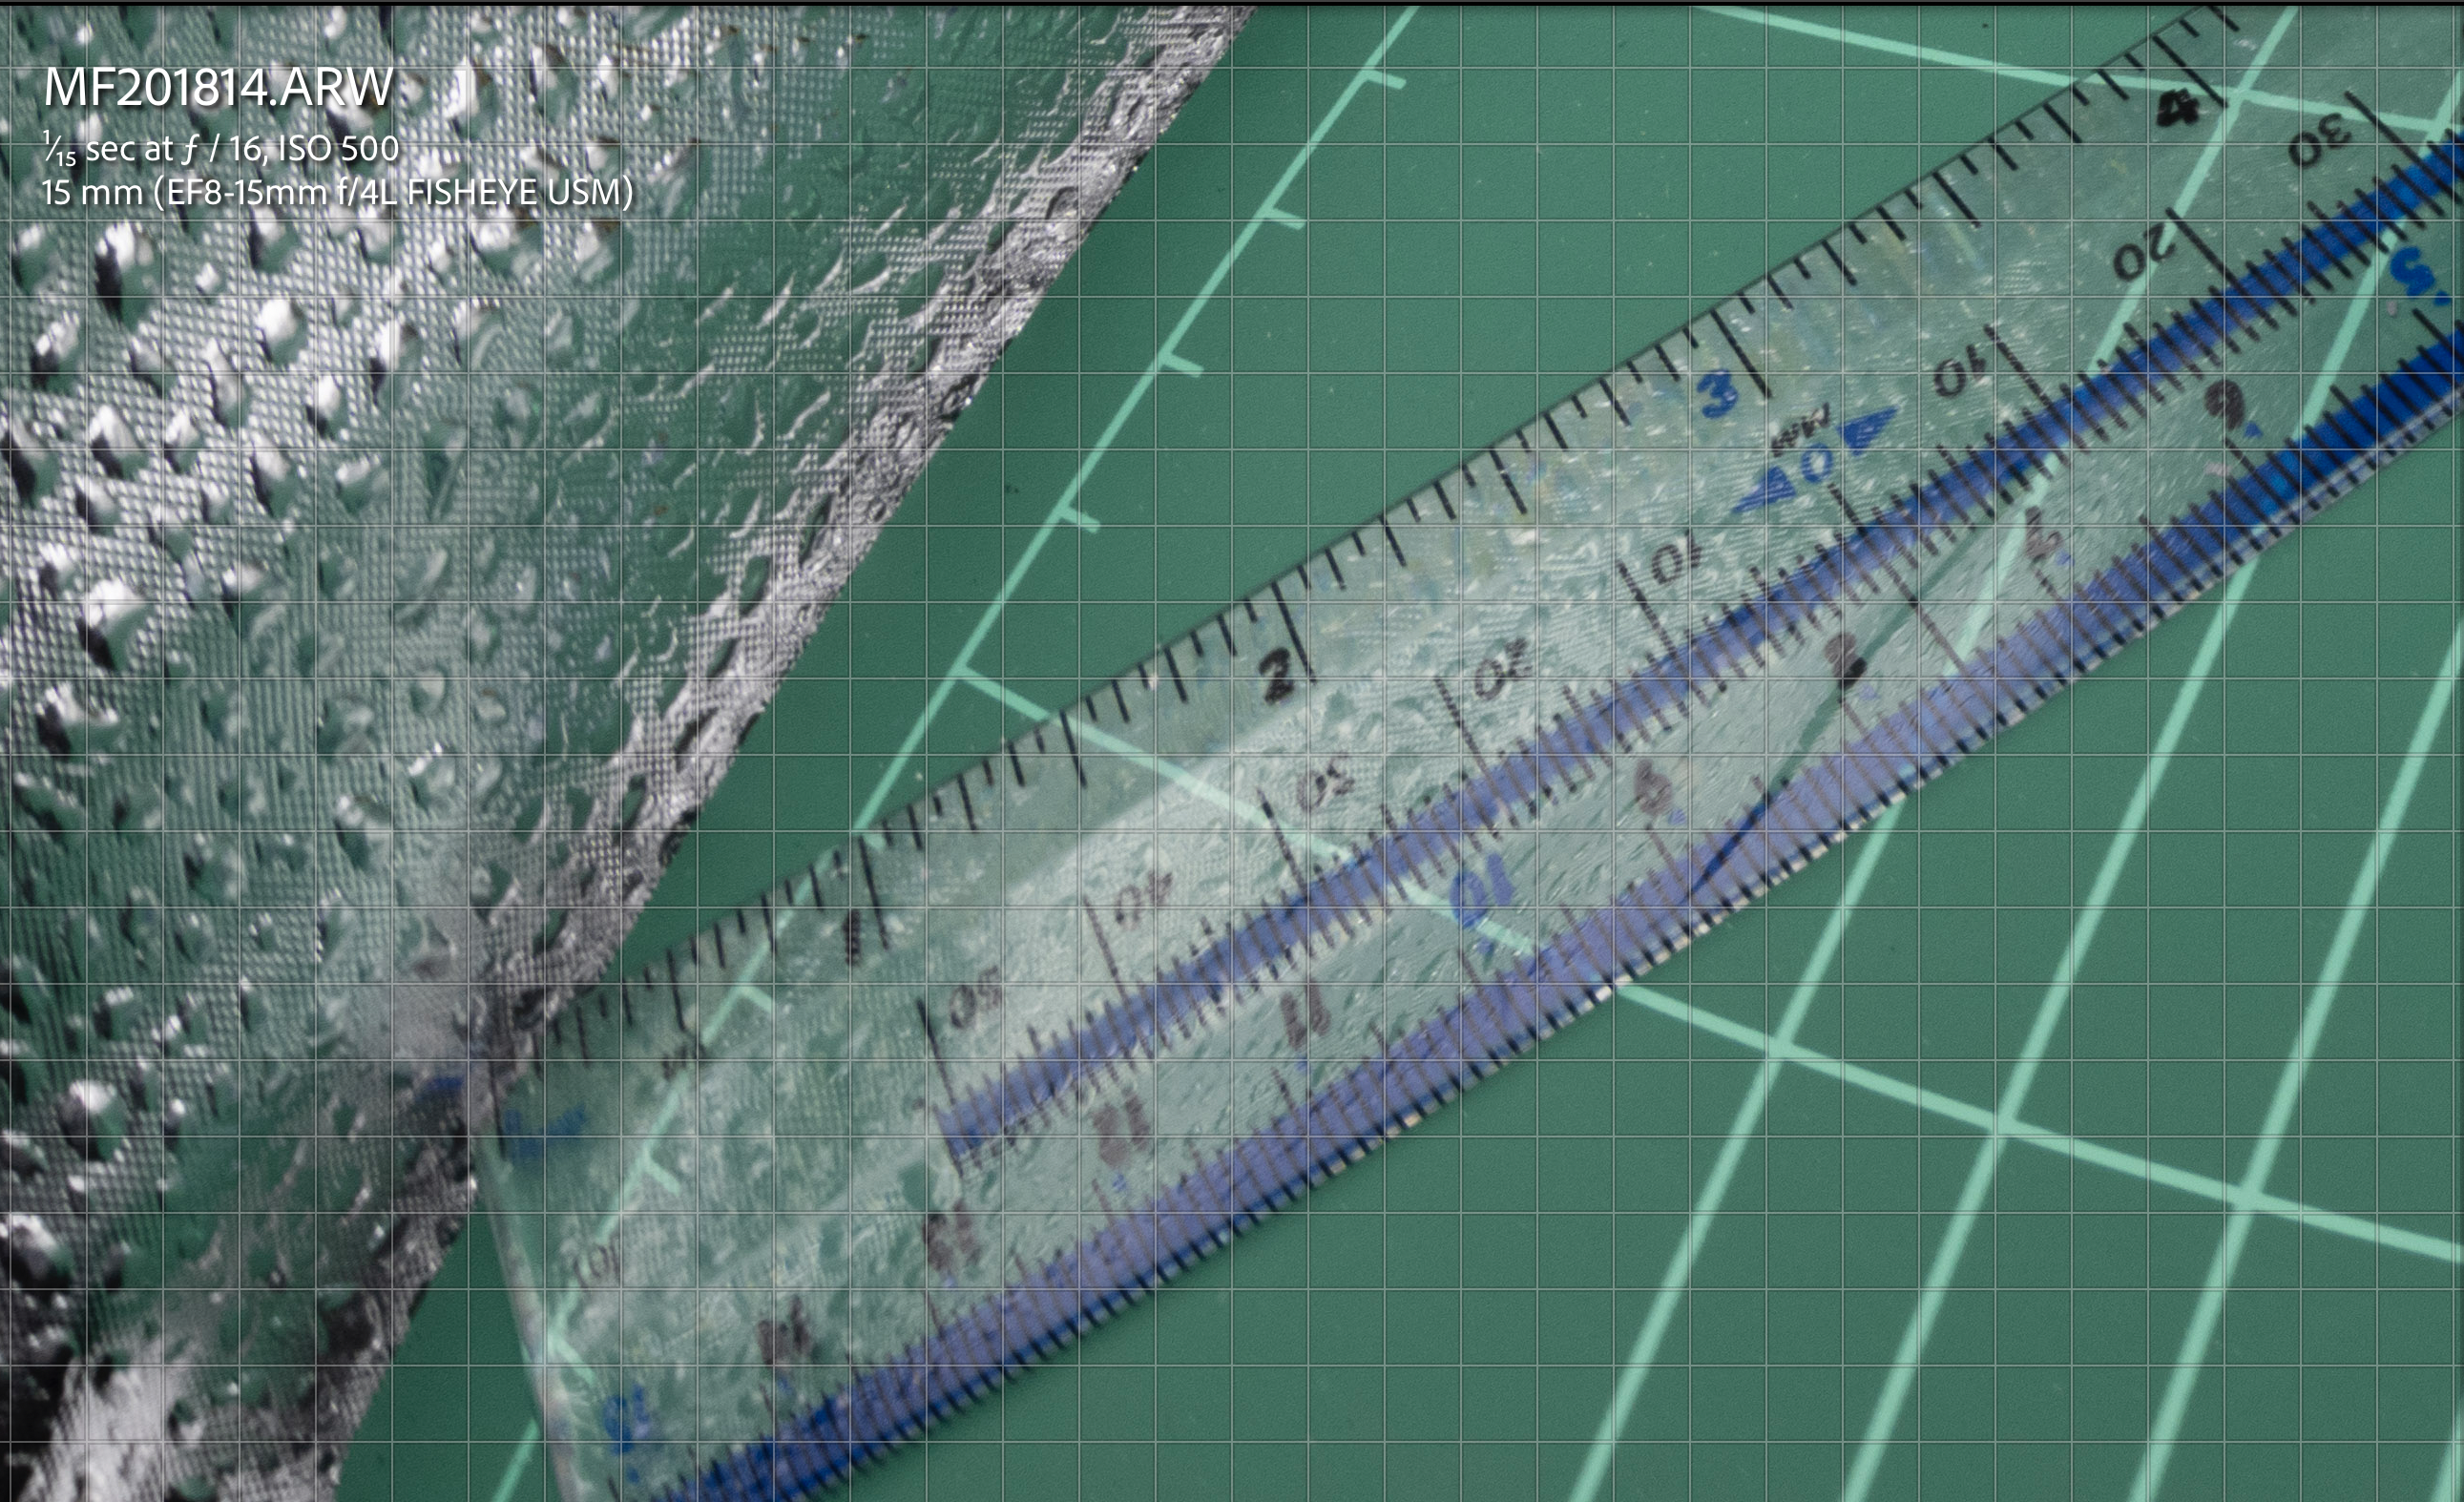
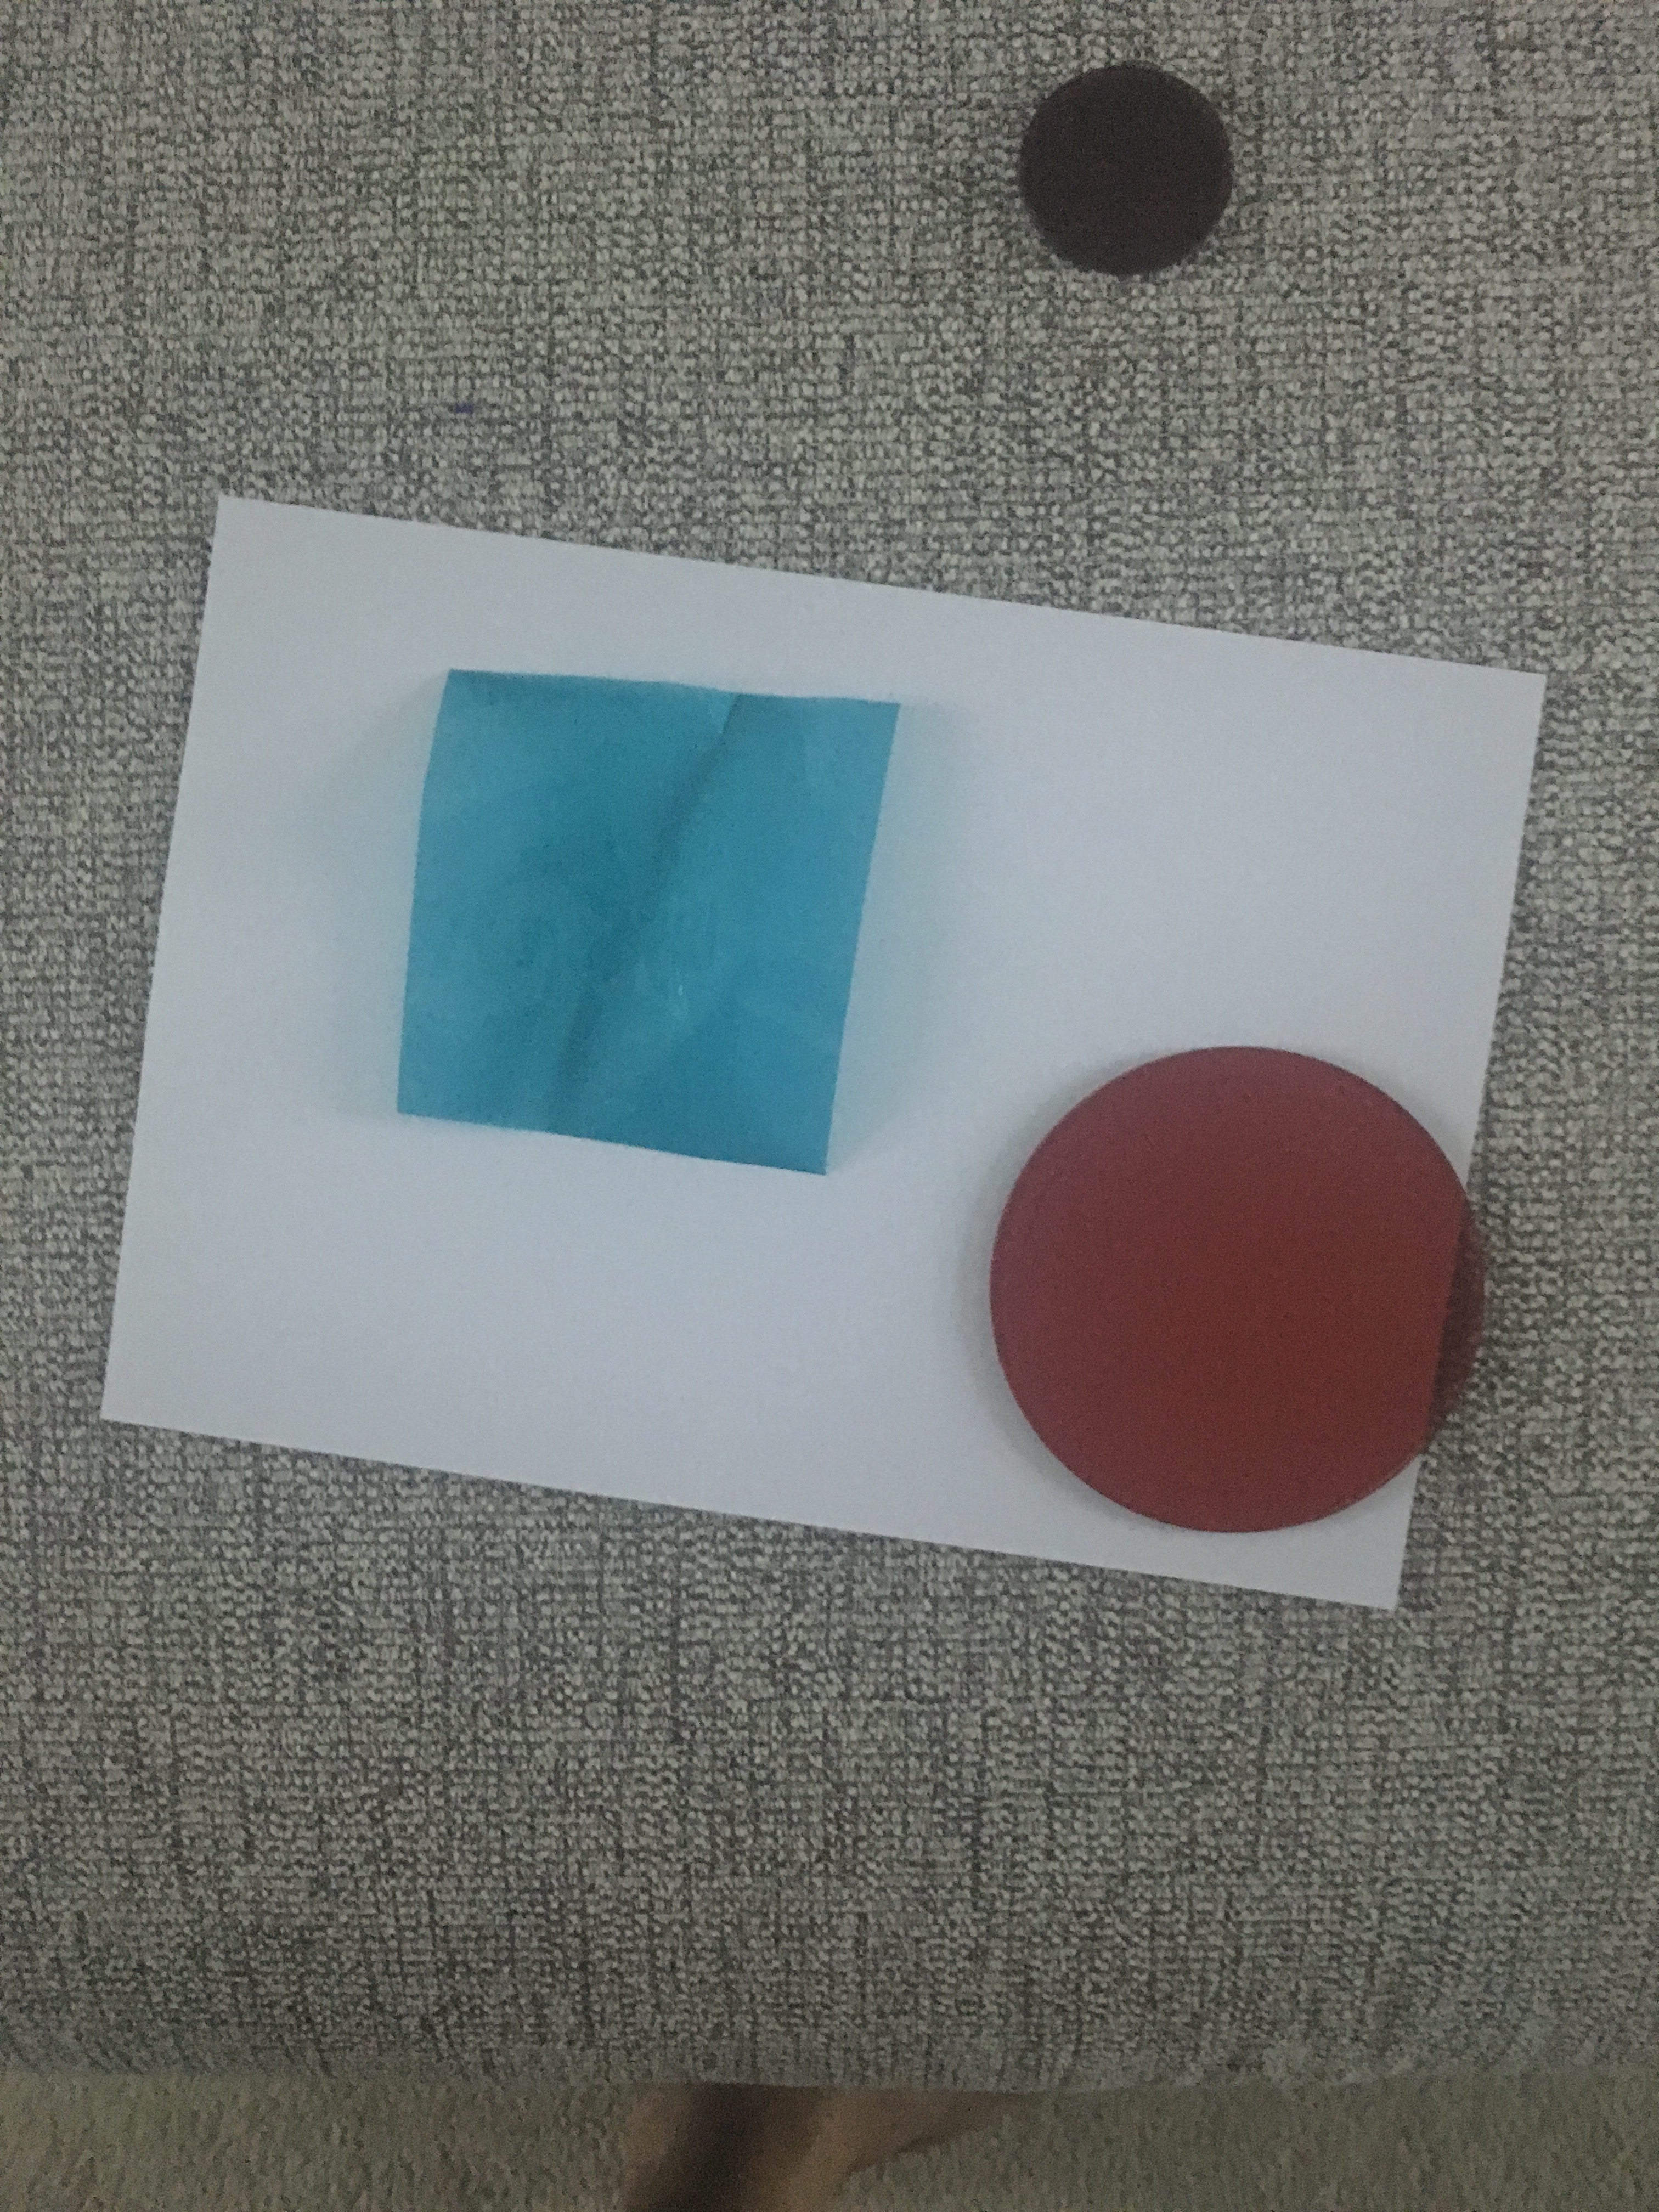
This image quite simple has something at the edges and has focus in the centre at f/8.

You will notice that the part of the frame closer to the camera is fairly blurry.
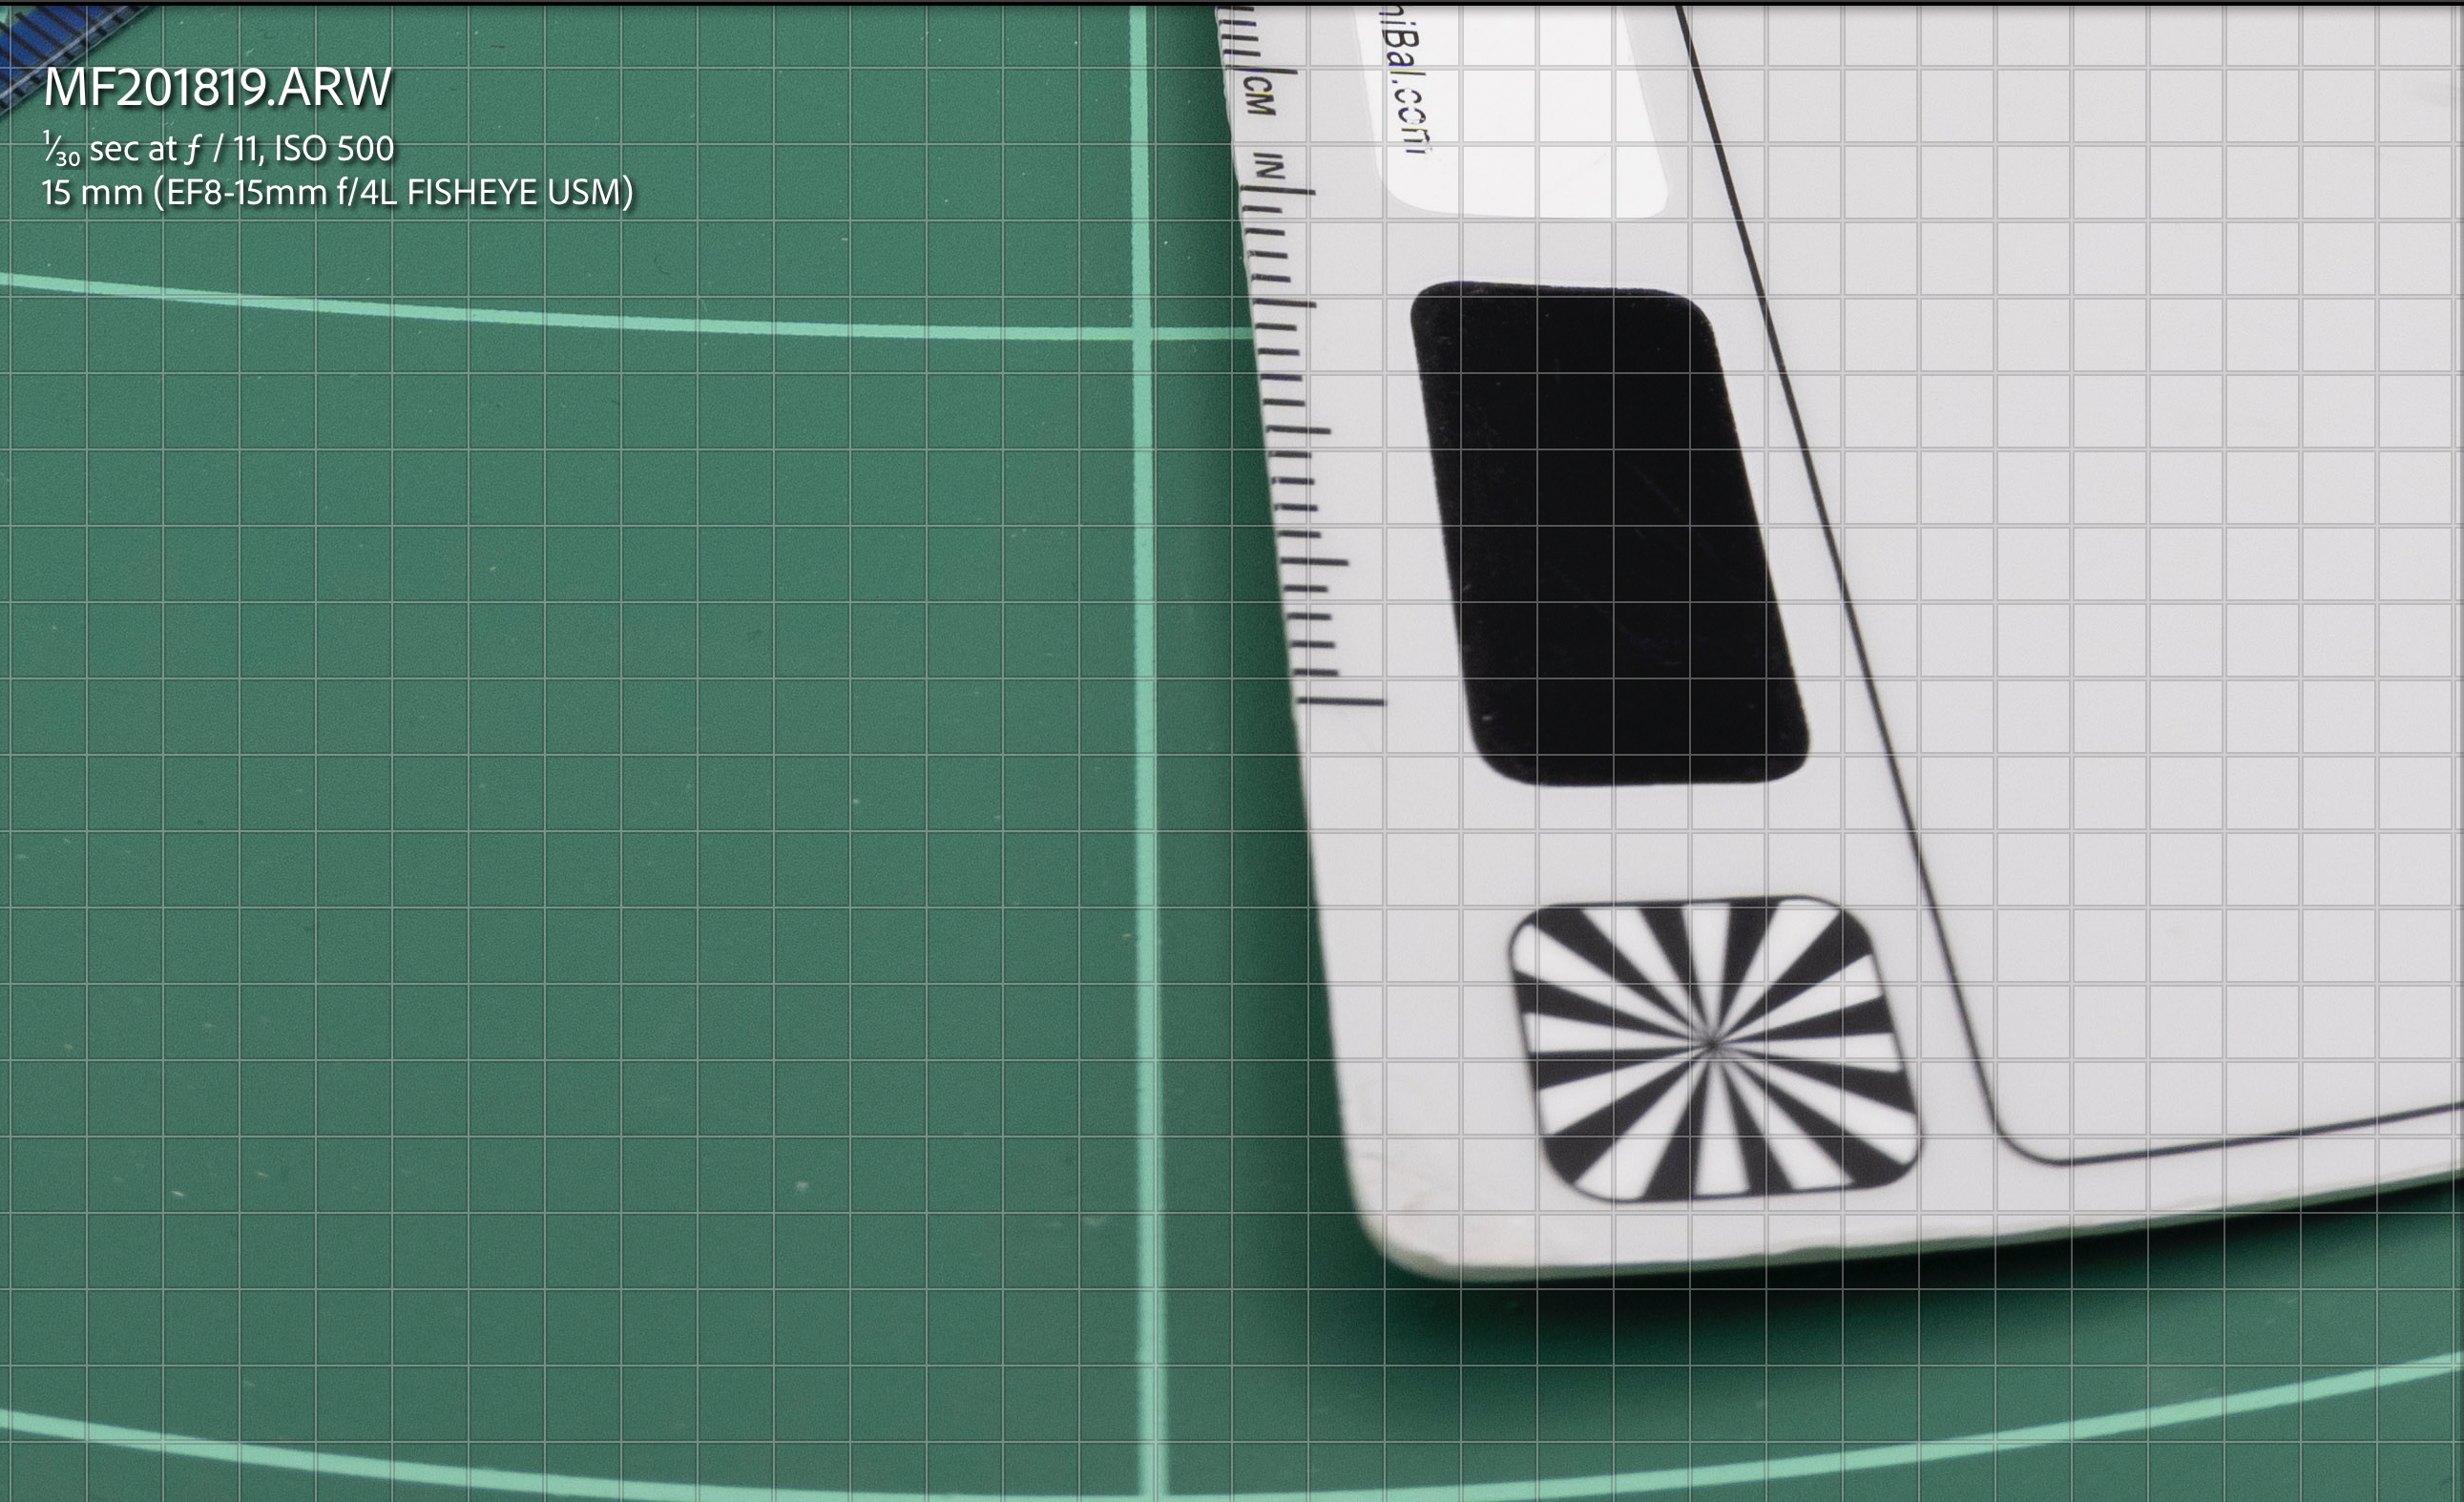
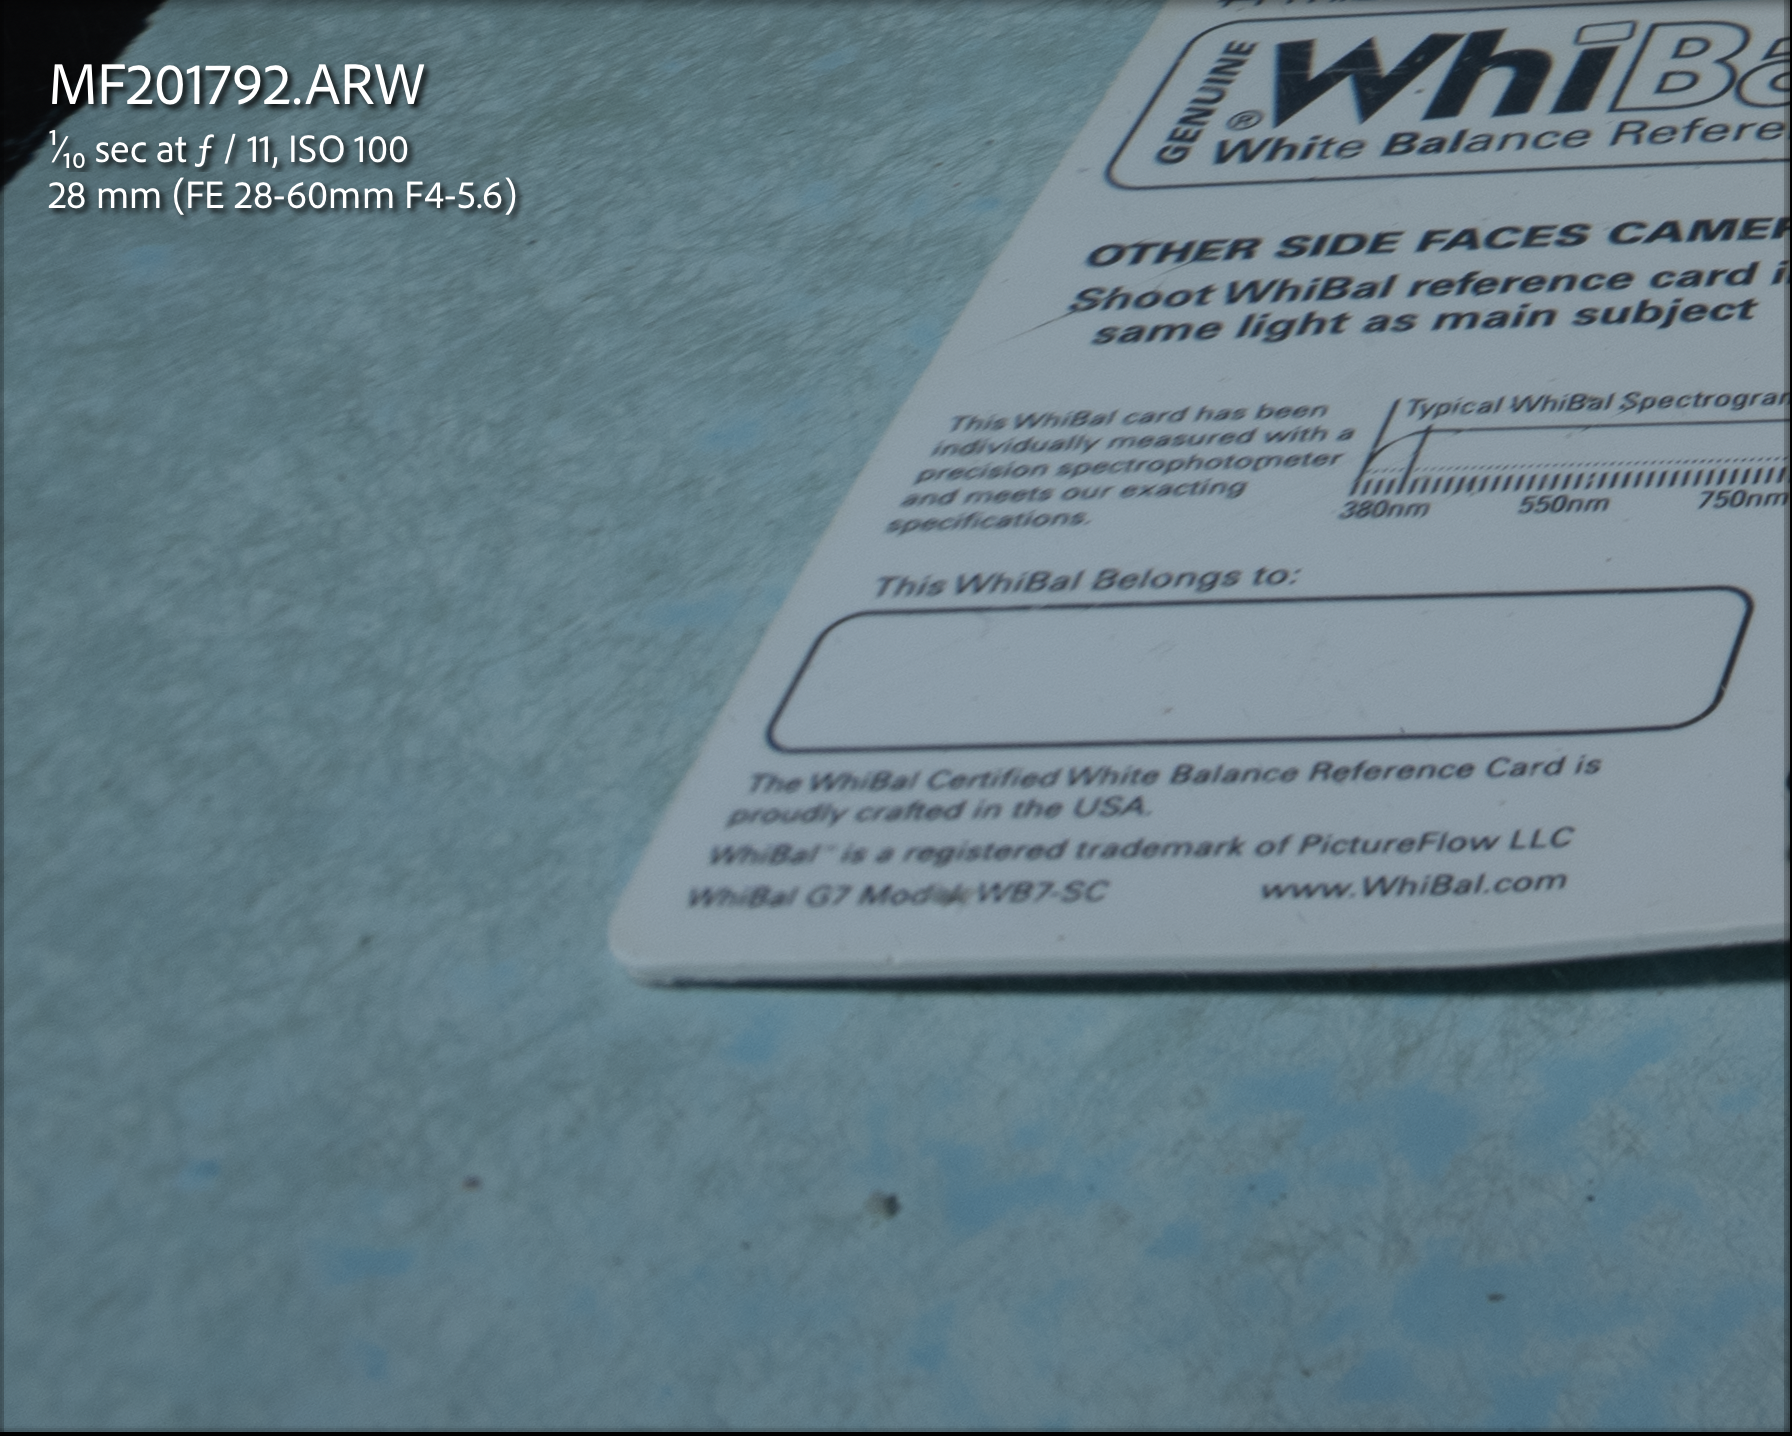
So I did another experiment placing the slate on the edge.
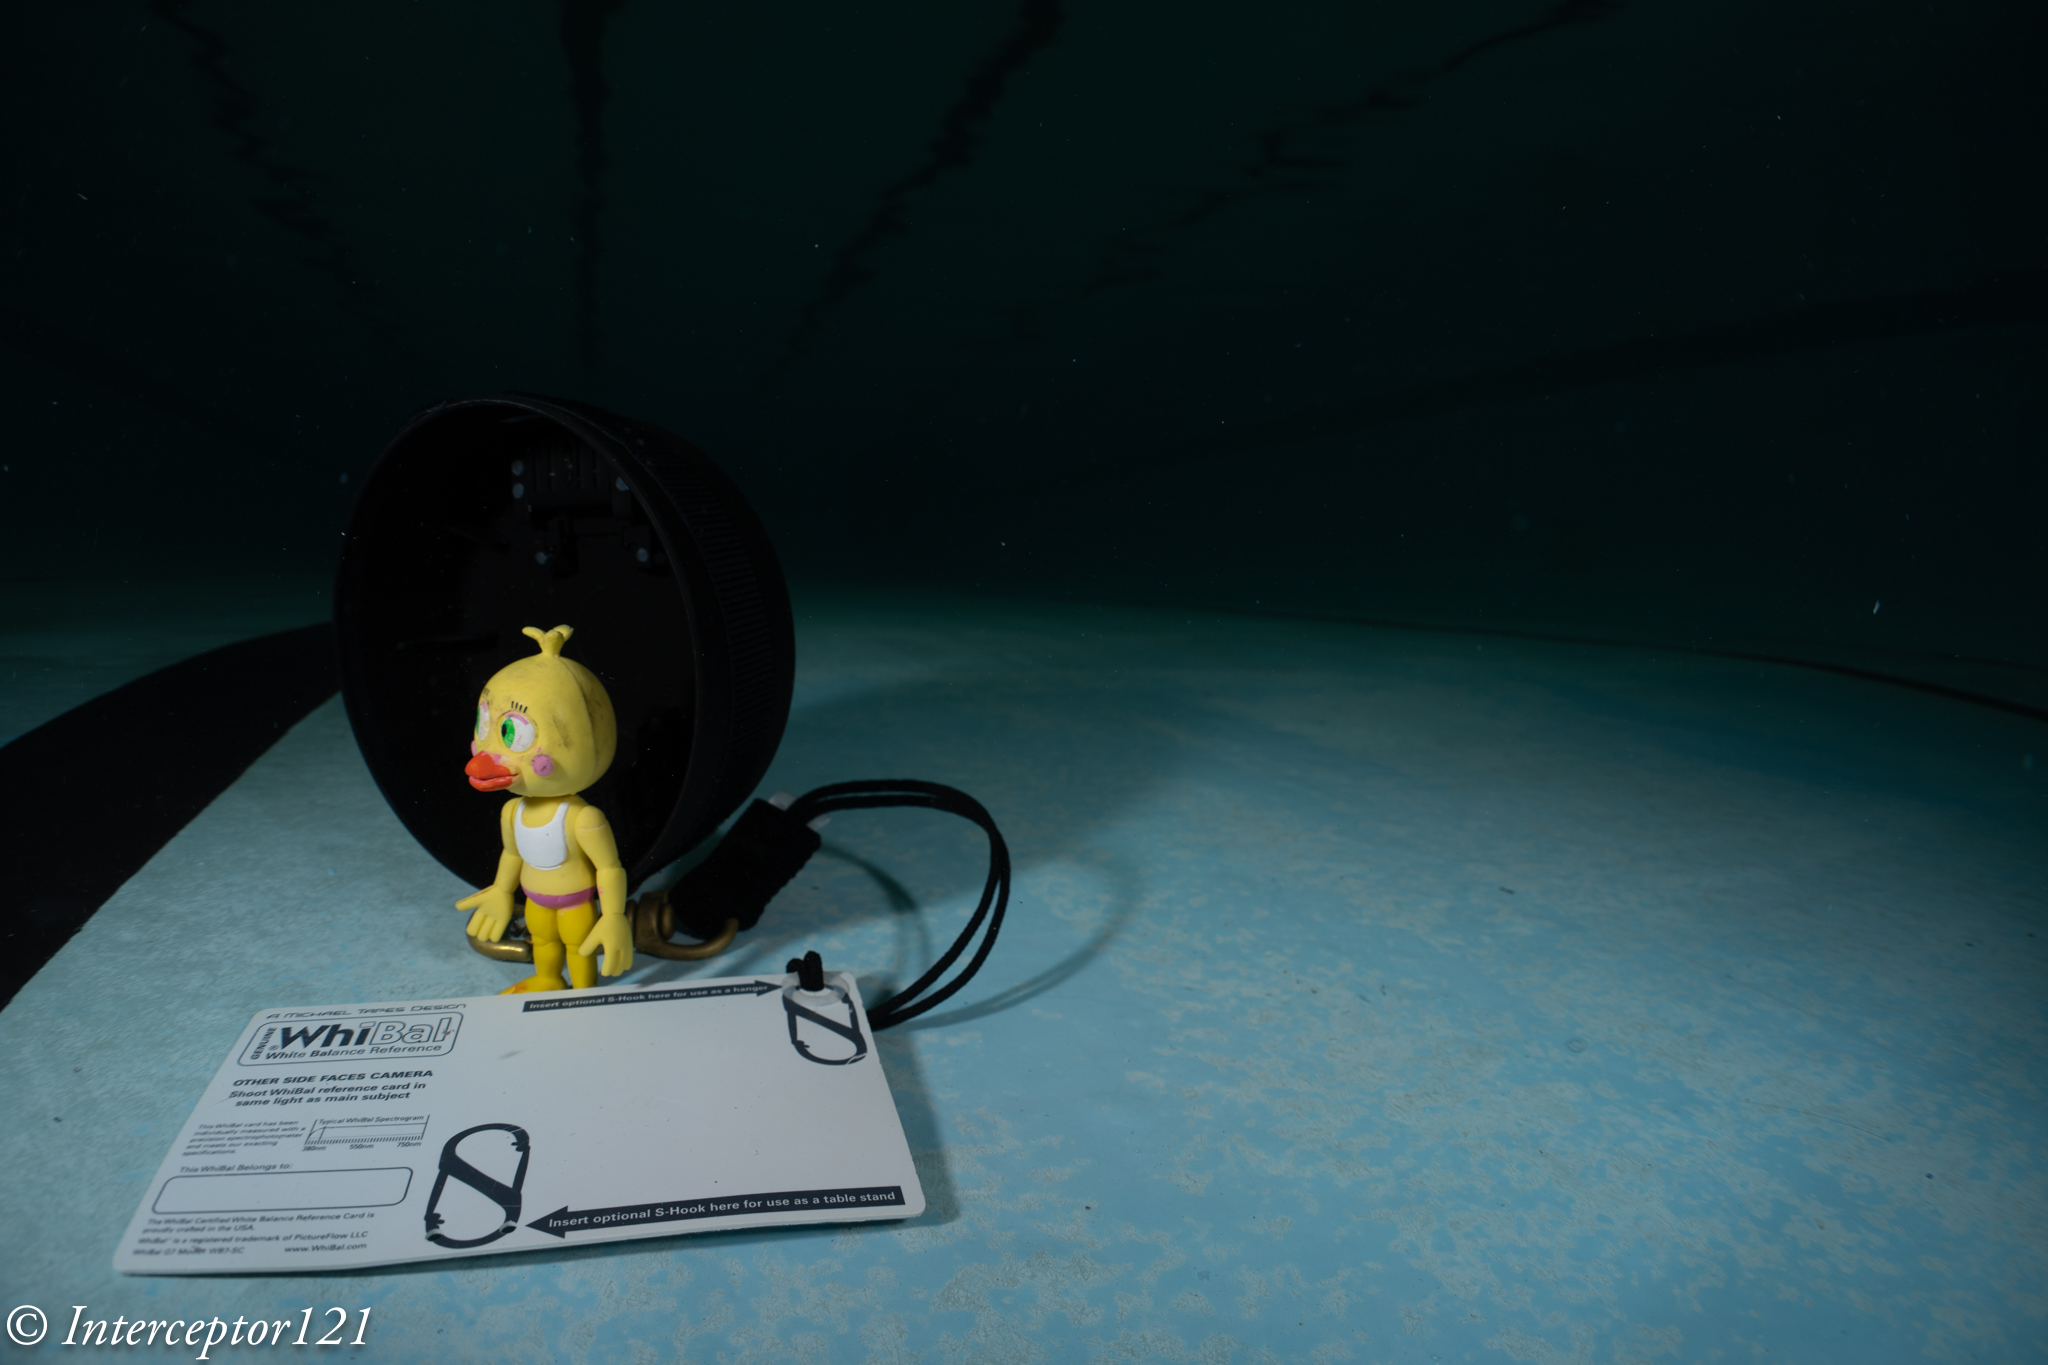
The edges were quite fuzzy. I wanted to exclude this was an issue of depth of field so I focussed right on the corner.

This is the resulting image and is still soft on the edge.

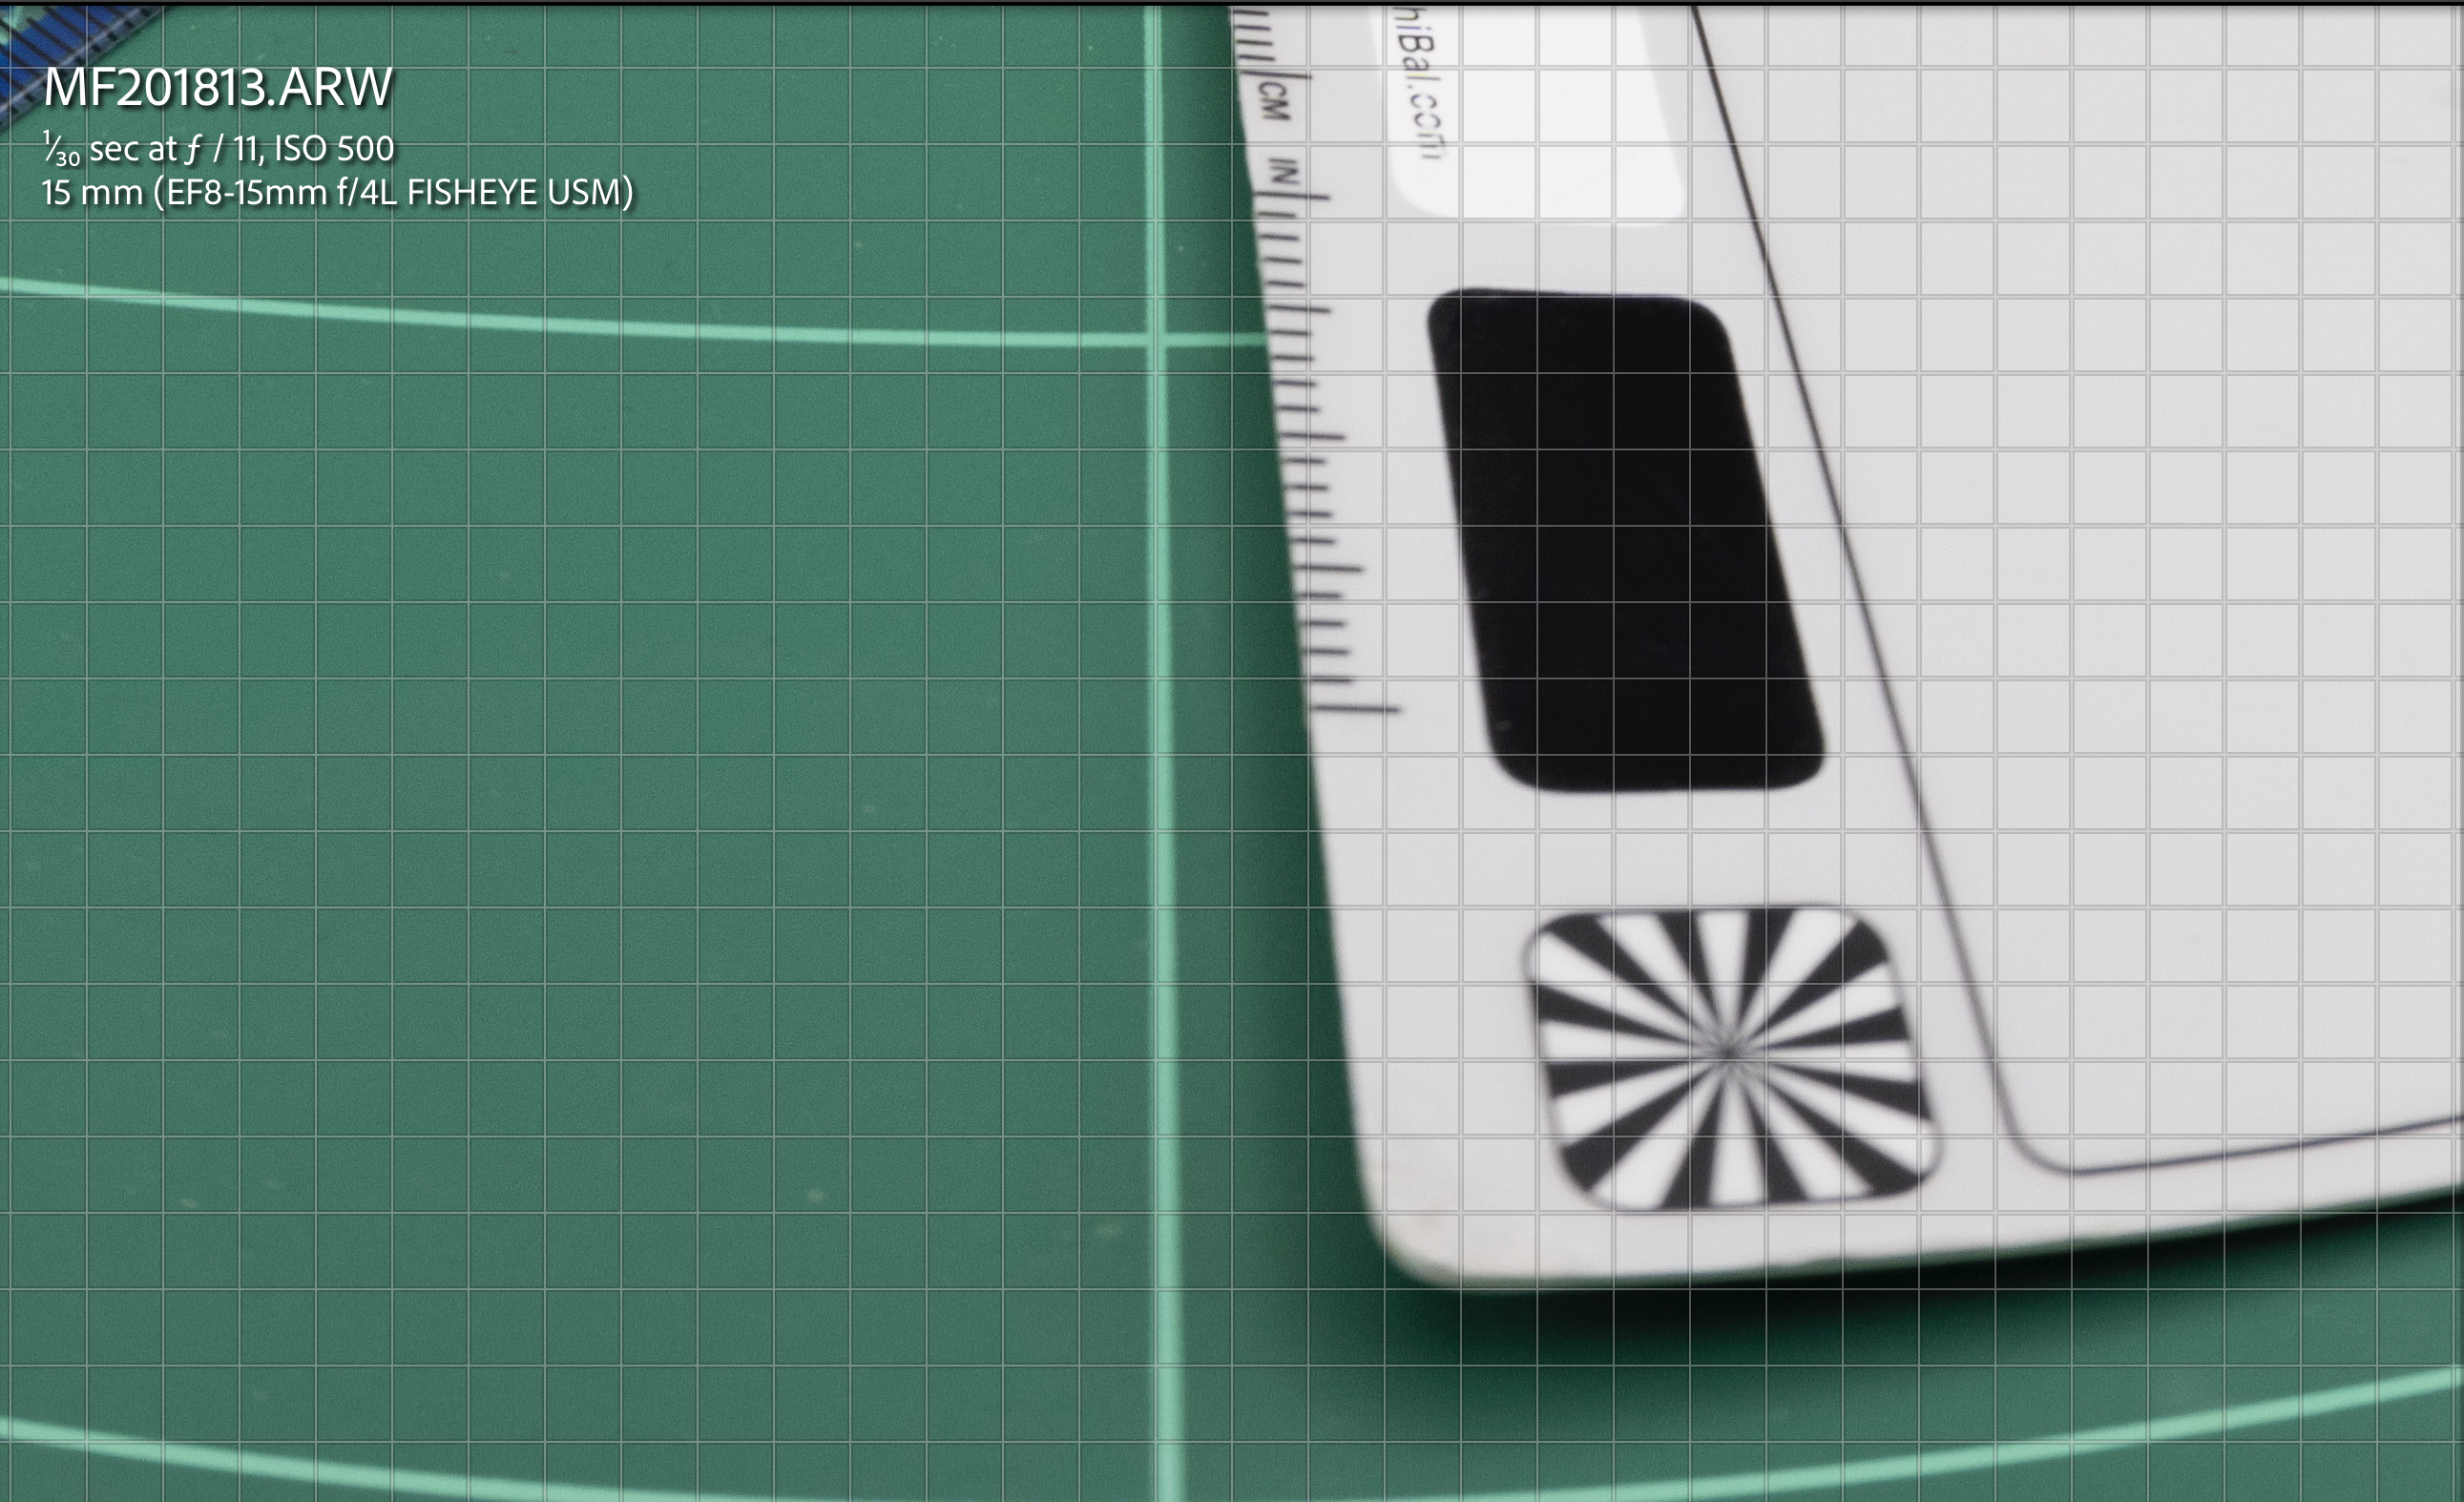
I then took the same shot at f/11 with focus on centre.

The image at the edges is better. Then moved the slate to the edge.

The image improved overall regardless of the focus point indicating this is not a depth of field issue but some other defect of the lens, most likely as the lens meridional and sagittal resolution are different we have an example of astigmatism.

The sharpness improves closing down the lens regardless of where the lens is focussing consistent to the MTF charts.
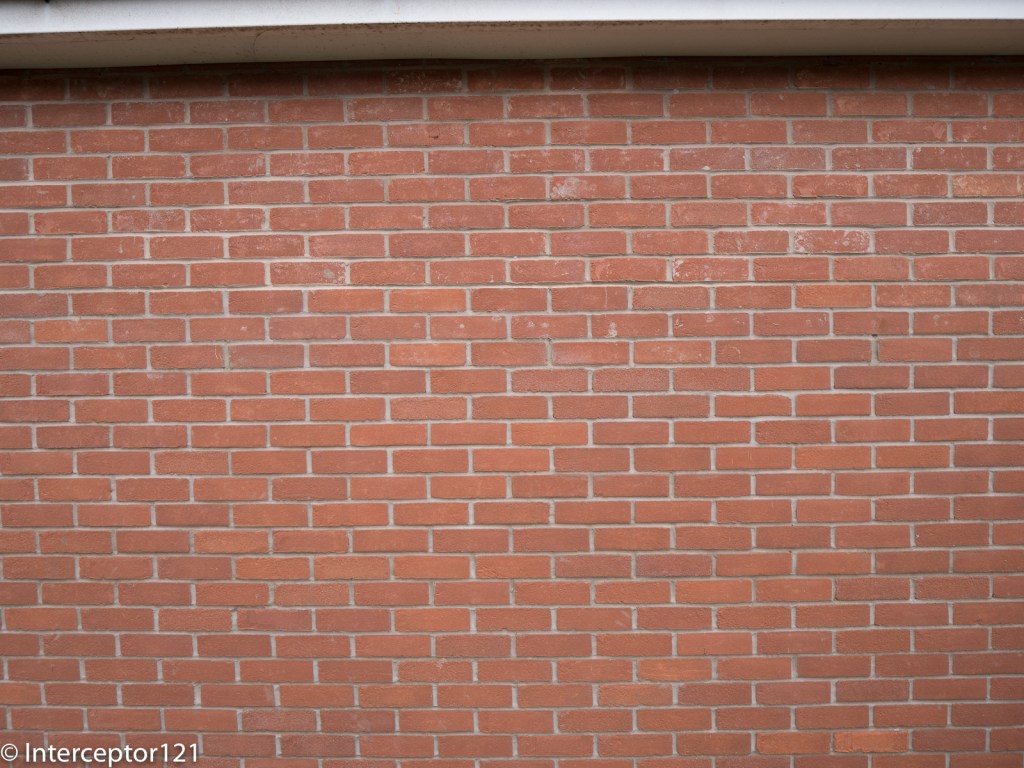
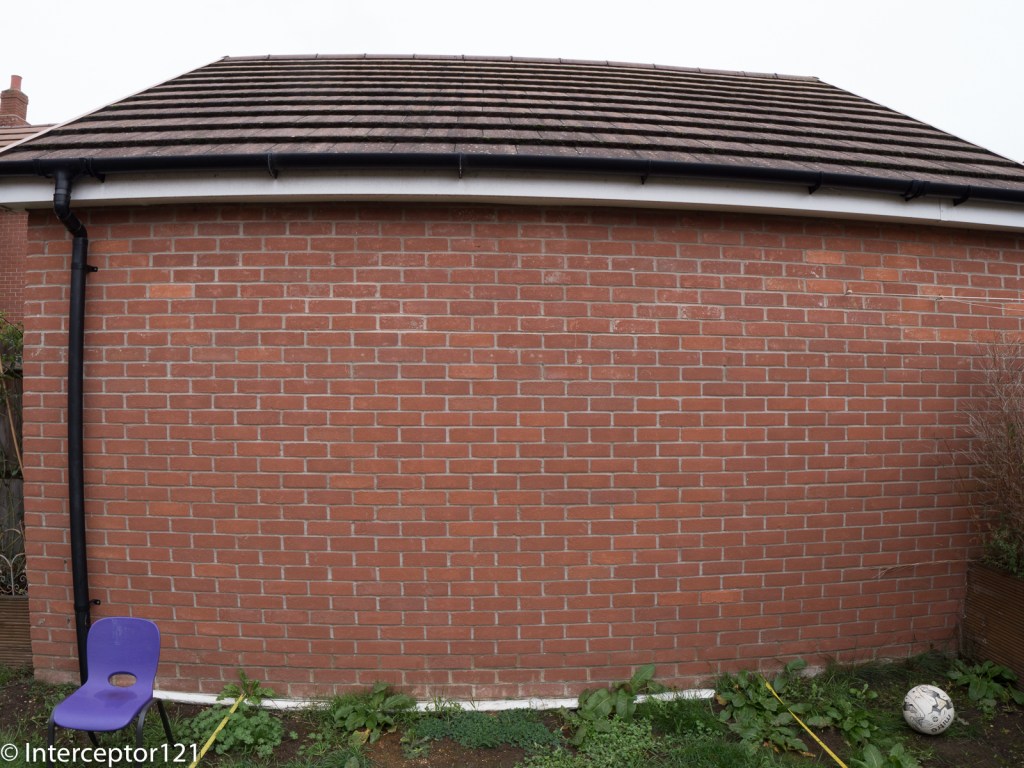
Looking back at land test shots we can see something very similar.
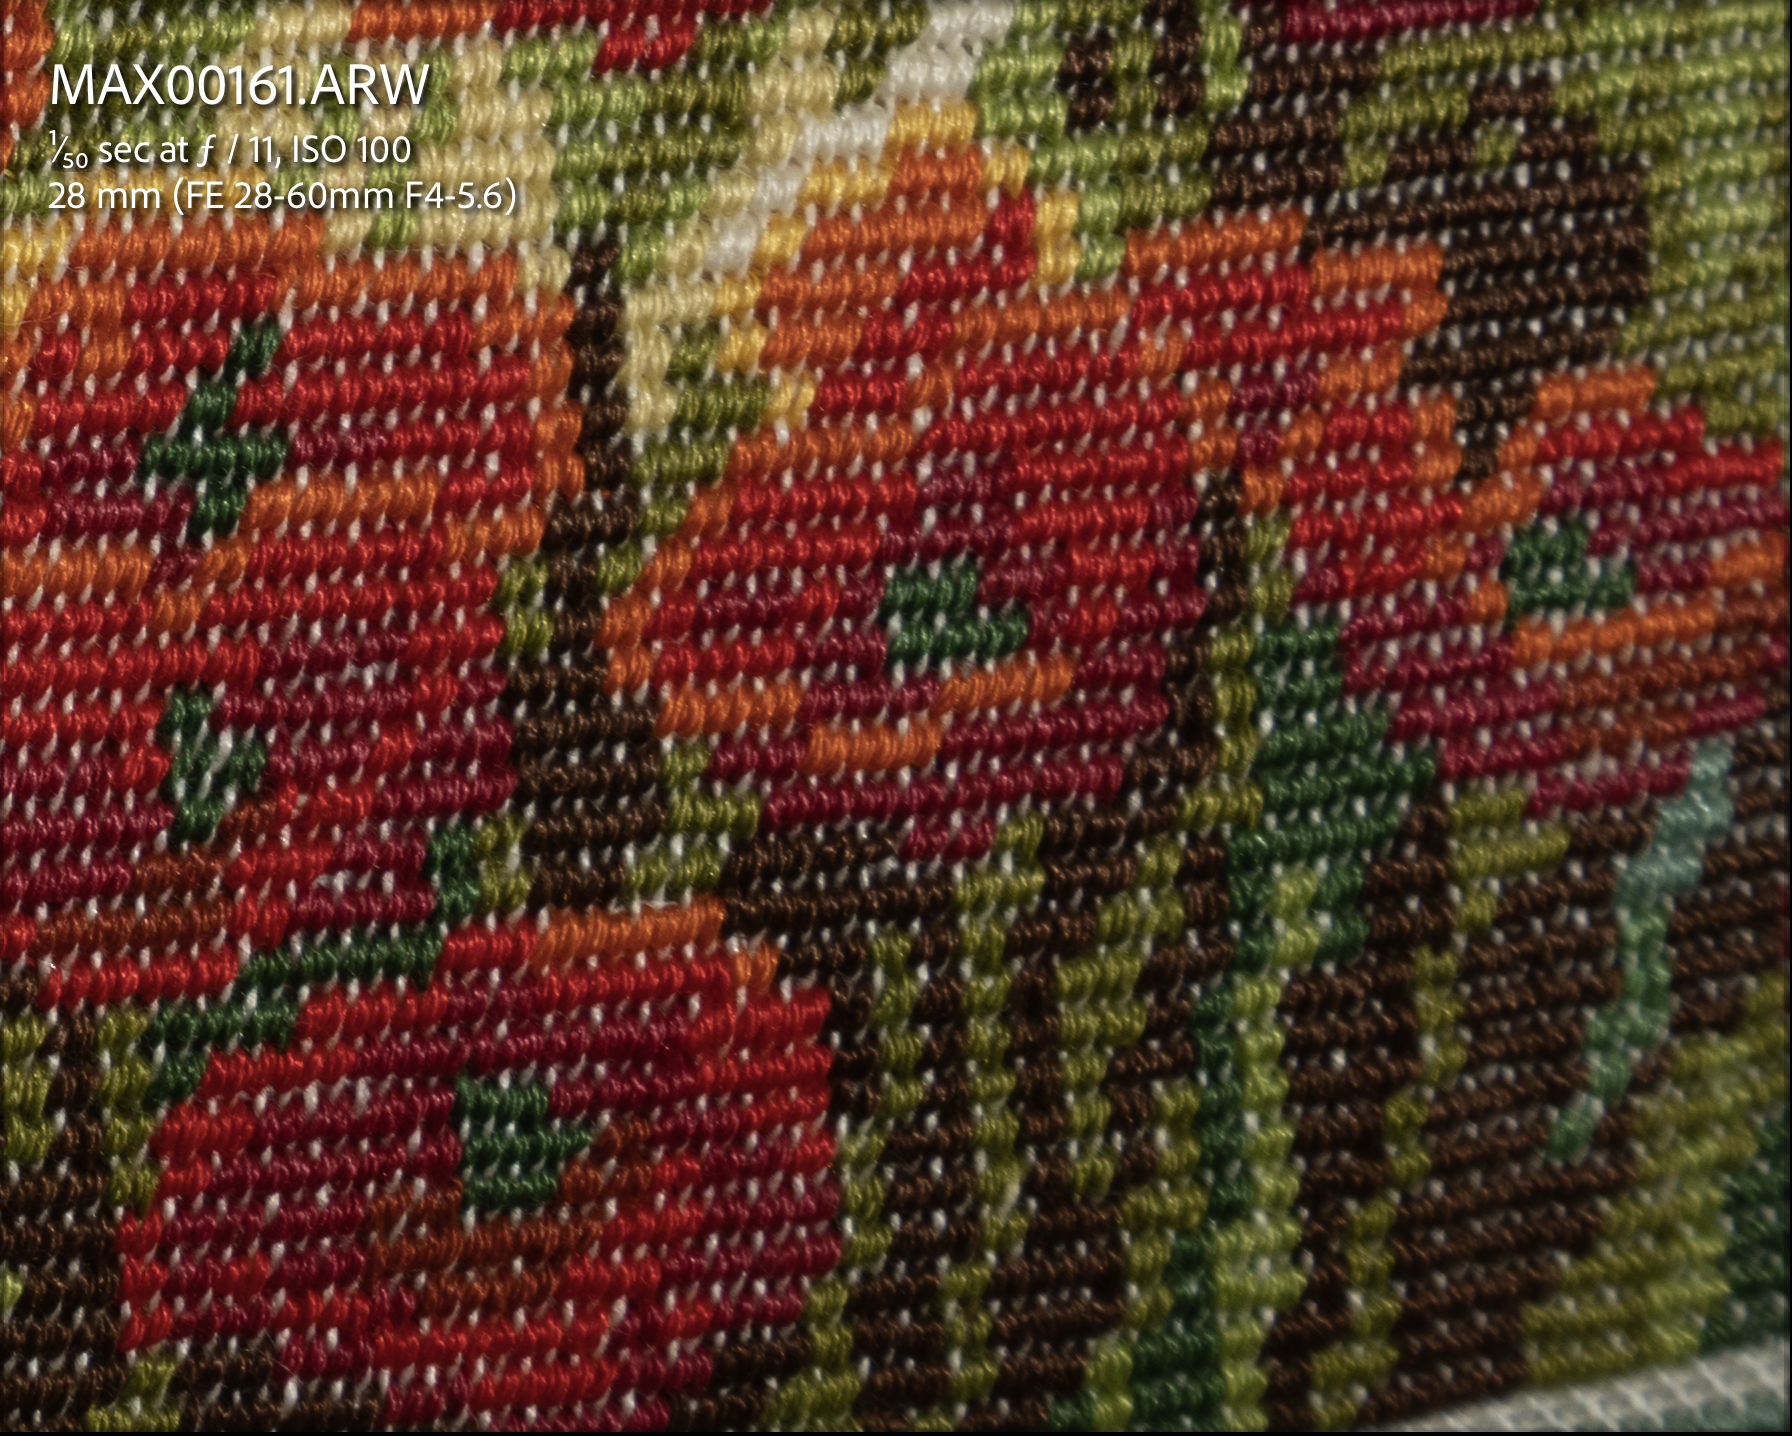

In conclusion it is not about the WWL-1 but about the lens itself.
Comparison to Rectilinear lenses
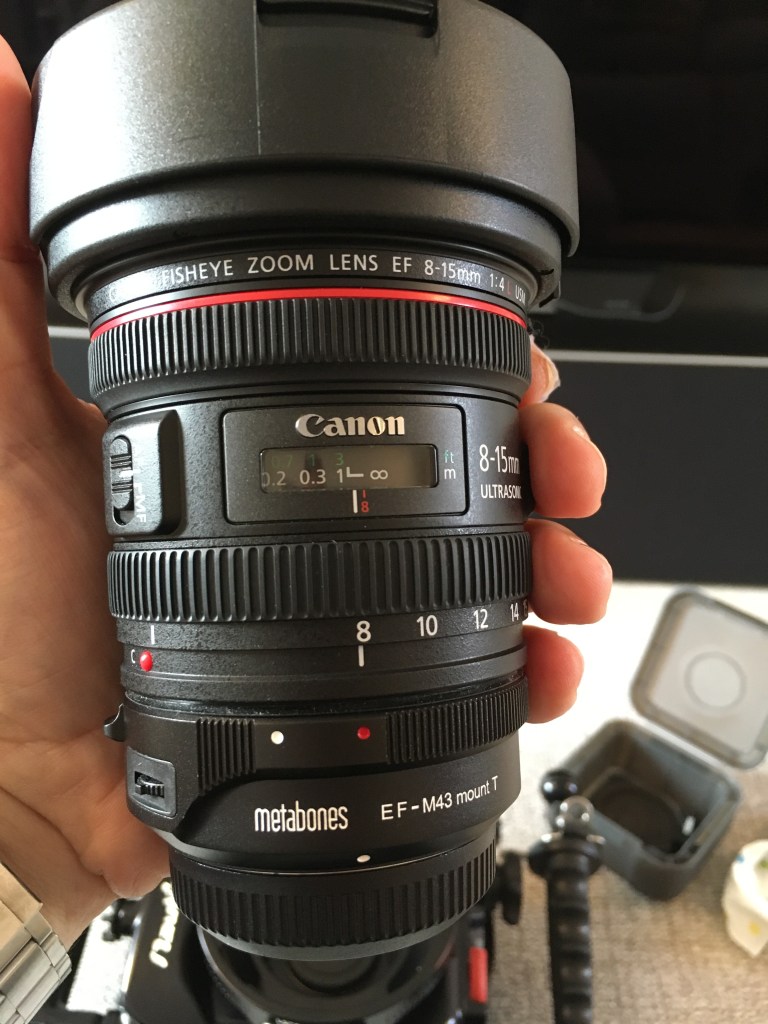
While the WWL-1 can offer a diagonal feld of view of 130 degrees the image is distorted and the lens can only offer 107 degrees horizontally and 70 vertically. Is like saying that the horizontal field of view is similar to a 13mm rectilinear lens while the vertical is is more like 17mm. A fair comparison is probably a 14mm rectilinear lens but as the WWL-1 is a fisheye like optic a direct comparison is not entirely possible. In my opinion as the image is distorted is more appropriate to compare the WWL-1 with a fisheye with teleconverter and when I look at what the canon 8-15mm with kenko 1.4 tc can produce for me the results are very similar, I would say the Canon has in fact an edge however the field of view are not comparable except when the WWL-1 is at the widest and the canon with the tc at the maximum zoom. I would go as far as to say that the canon + TC at f/8 is as good as the WWL-1 at f/11.

Conclusion
If you have the WWL-1 from your previous rig it makes absolutely sense to get the Sony 28-60mm and flat port. This combination will give you decent (but not sensational) shots and work very well for 4K video at reduced resolution. I do not believe that this lens can resolve the full 50 or 60 megapixels of the A1 or A7R4 or A7R5 even topside.
If you are starting from scratch I would recommend to think careful at your intended use case. If you want angles wider than 130 degrees and already have the Canon 8-15mm you may want to check the kenko telecovenverter before you buy a new port as all you need is a 20mm extension ring and a zoom gear.
If you really like the field of view range of 69-130 degrees you need to consider which water contact optic you need.
I am still looking for a test WACP-C but until then my general guidance would be to consider simply if you prefer a dry or wet mount.
A dry mount has the benefit of being ready to go as you hit the water, without the need to remove bubbles between the wet lens and the port. As photographer a dry mount may be the best way forward.
If you intend to use your camera for video and insert filters between the lens and the flat port or you require the lens to be removed in water then go for the WWL-1.
Rigorous comparisons between WACP-C and WWL-1 are not yet available but the first indications are that the difference in image quality is very small therefore I would not loose my sleep there and look more at overall ergonomics.
The final consideration is should you get the WACP-1 instead? Based on my assessment of the Sony 28-60mm I would think this is not particularly wise even if this choice is very popular. Personally I always believe that the master lens needs to be good enough to justify the cost of the water optic so I would like to see how the Tamron 28-75mm performs however no test images are available so I am not in a position to conclude.
In my case having seen what the Sony 28-60mm lens can do I am not planning to invest in a WACP-C but I would be very interested in testing one.
The WWL-1 gets my approval also on full frame but it is not going to give me the same resolution than the Canon 8-15mm or the Sony 90mm macro will give. I look forward to testing some rectilinear lenses to see how those compare and this will happen in a week from now so stay tuned.
Costs to get one for your Sony full frame excluding lens:
- WWL-1B €1,424
- Bayonet adapter €102
- N100 45 flat port €494
Total €2,020 vs WACP-C + N100 Extension Ring 30 €3,333